

Scope
Install efficient ceiling fans such as ENERGY STAR® rated ceiling fans, to provide efficient supplemental cooling.
- Follow local code requirements.
- Measure the room and select an appropriately sized fan for the space.
- If the fan will include a light kit, install energy efficient LED bulbs.
- Provide ceiling fan documentation to the homeowners to ensure proper operation and maintenance.
See the Compliance Tab for links to related codes and standards and voluntary federal energy-efficiency program requirements.
Description
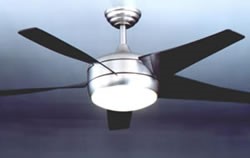
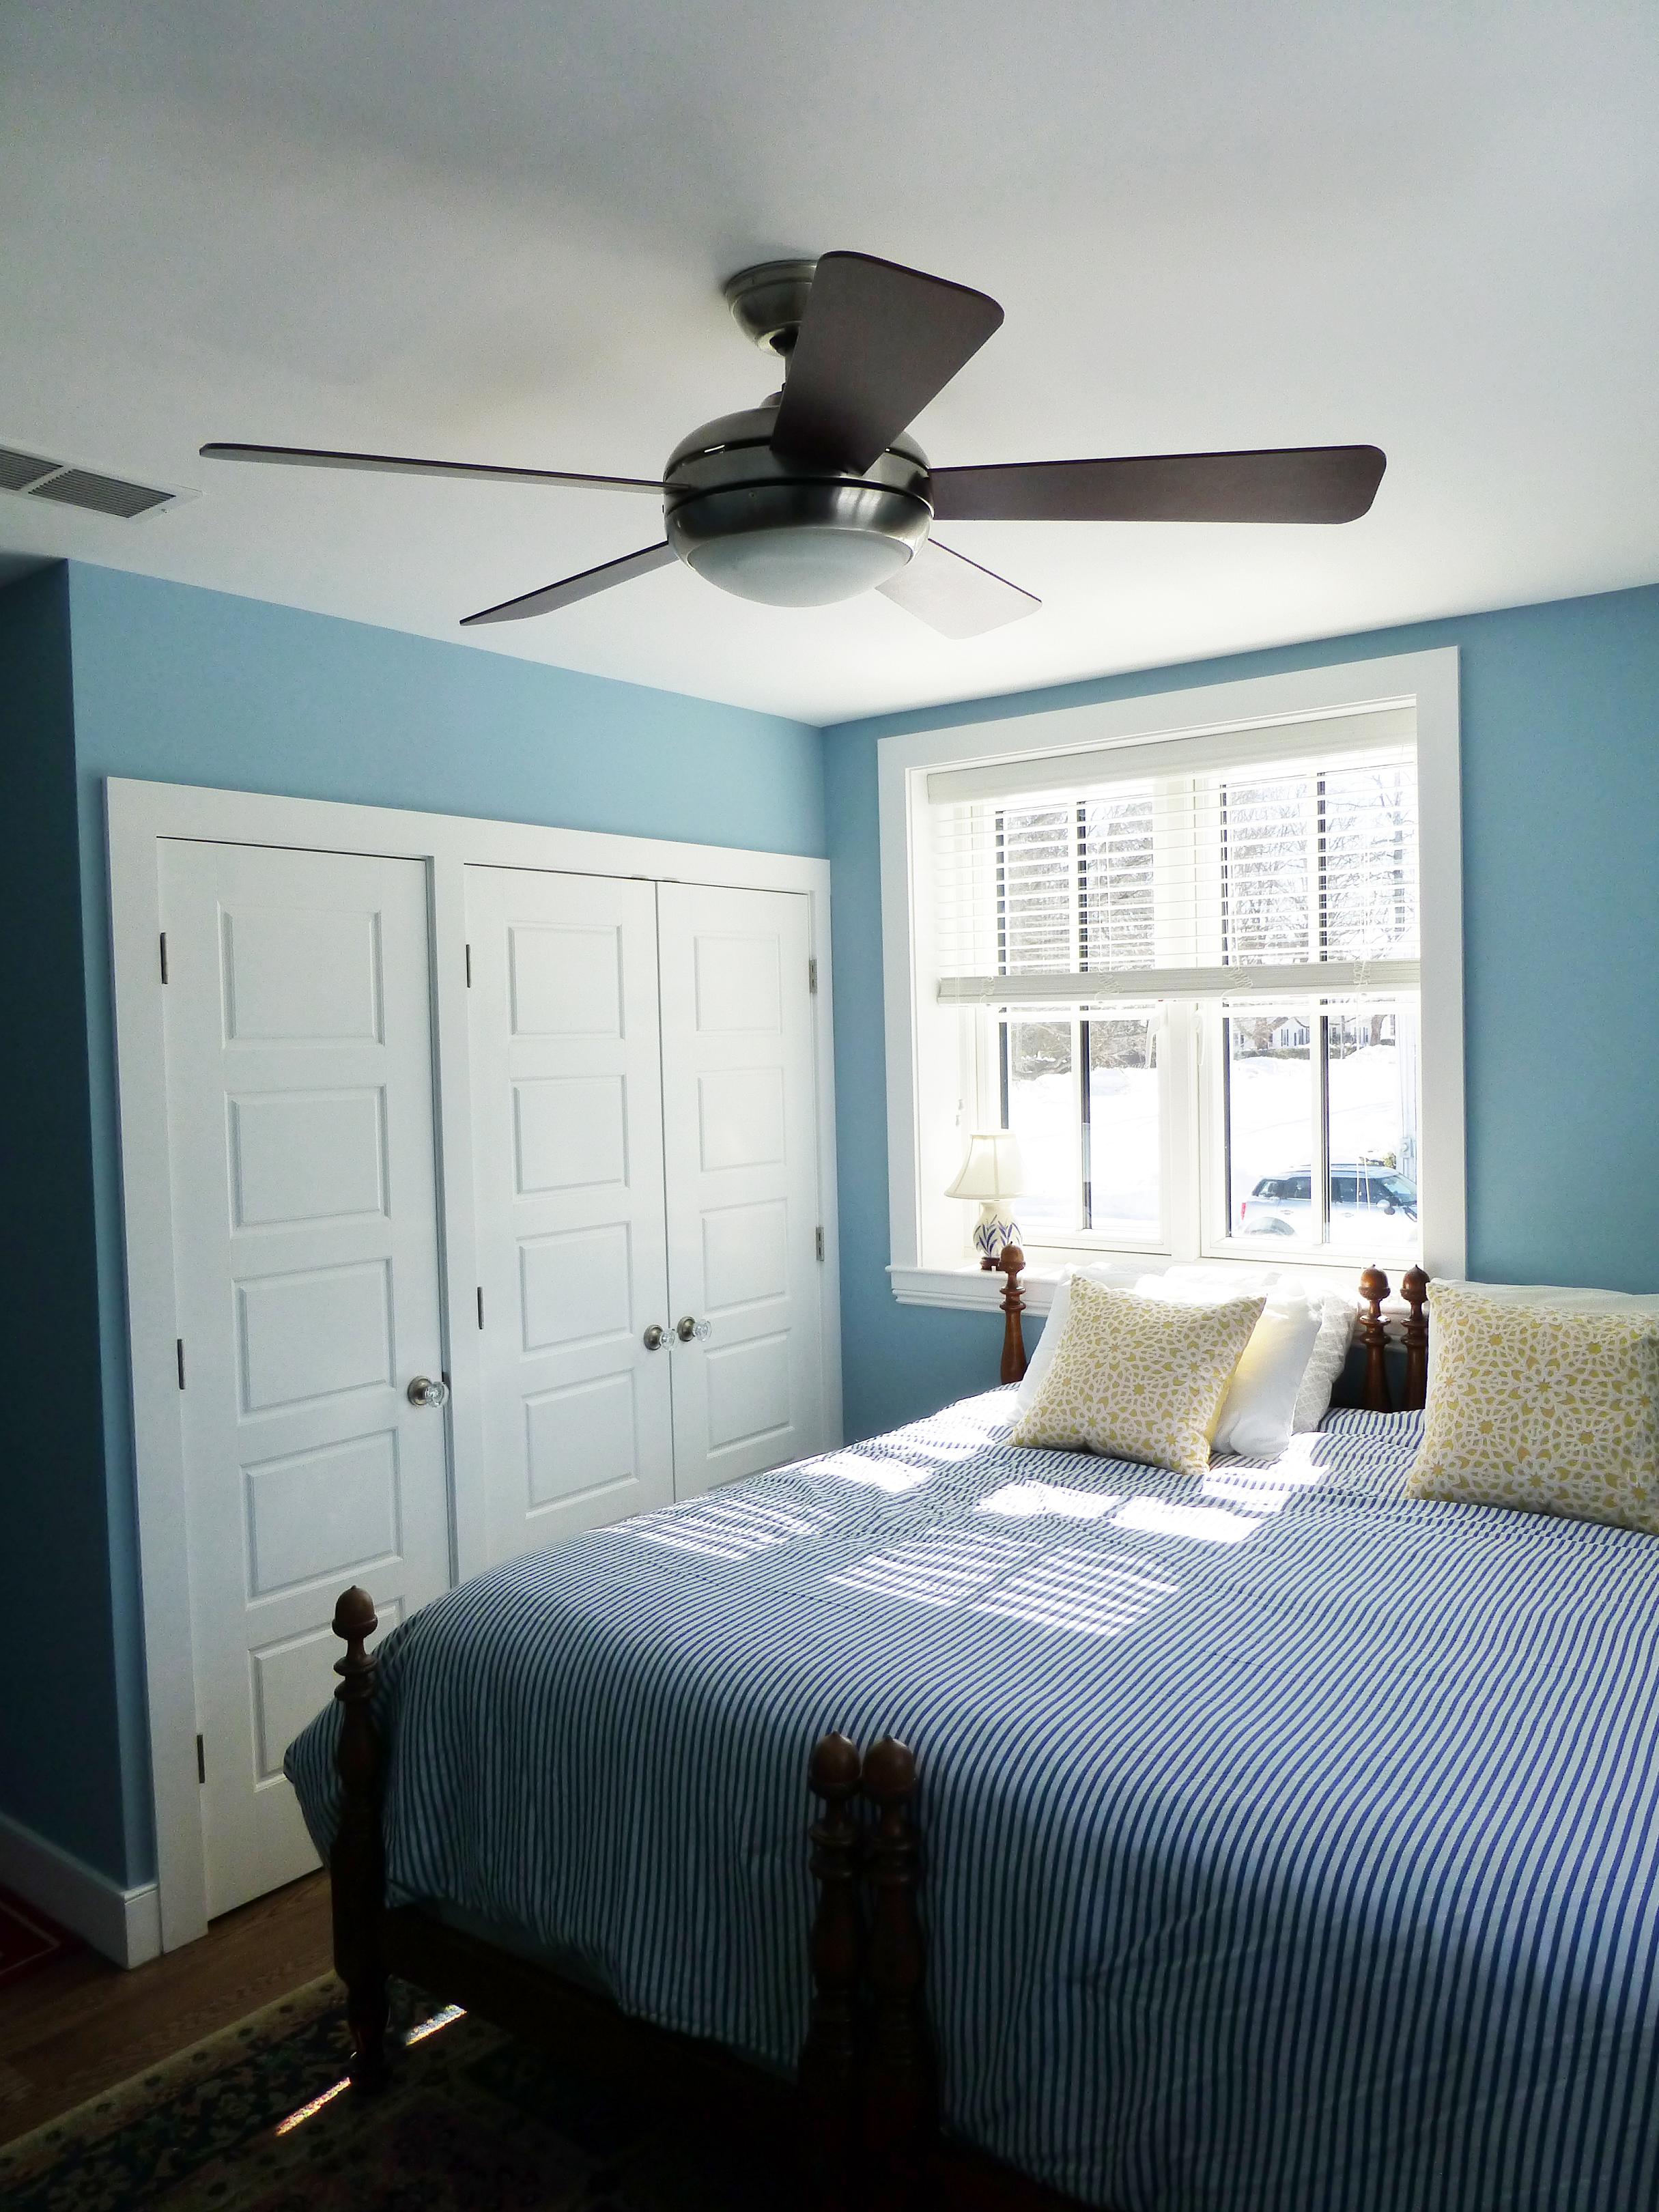
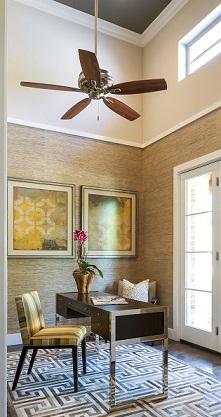
Over 70% of American households now have ceiling fans (EIA 2020). Sales to do-it-yourselfers as well as contractors account for a brisk and growing business at home improvement centers. It is not uncommon for builders to install ceiling fans in nearly every bedroom and living area of many new homes (Figure 1).
Ceiling fans are electrically powered, ceiling-mounted fans that create air movement which can encourage evaporation and make people feel cooler. Research has shown that, during warm weather, the thermostat can be raised as much as 4°F with no noticeable reduction in comfort if a ceiling fan or other source of air flow is present (U.S. DOE. Fans for Cooling). See the guide “Passive and Low-Energy Cooling” for more information on the cooling effect of airflow from fans as well as strategies for operating ceiling fans as part of a low-energy cooling approach.
Ceiling fans can supplement traditional HVAC systems but cannot duplicate the wide range of functions HVAC systems perform. While they can circulate the air, they cannot heat, cool, filter or dehumidify it, and they do not provide ventilation.
Ceiling fans can be installed in rooms with ceilings that are at least eight feet high. For optimal airflow, they work best when the blades are 7 to 9 feet above the floor and 8 to 10 inches below the ceiling. They should be installed so their blades are no closer than 6 inches from the ceiling and 18 inches from the walls.
When purchasing ceiling fans, homeowners should consider ENERGY STAR certified models. Fans that earn the ENERGY STAR label use advanced technologies to move air 20% more efficiently, on average, than standard models. In addition, ENERGY STAR certified ceiling fan/light combination units are 60% more efficient than standard units. Energy-efficient motors, advanced blade designs, fan optimization, efficient lighting, and modern controls are some of the technologies separating ENERGY STAR certified models from standard fans. Installers should use energy-efficient light kits on fans that specify lighting. “Smart” controls can also improve performance and provide additional comfort and convenience to occupants.
Performance and Components
The following components and factors all affect ceiling fan performance.
ENERGY STAR Rating
To simplify the selection process, select an ENERGY STAR-rated ceiling fan, which must meet several performance criteria to qualify for the ENERGY STAR designation. If the home-owner chooses a fan that is not ENERGY STAR rated, review the manufacturers’ performance data and select one that has a high airflow efficiency-to-low watt ratio. This number can be manually input into energy simulation software, such as Energy Gauge, RemRate, etc., to determine the impact of the actual chosen fan in lieu of a default number (i.e., average). The airflow efficiency is the ratio of airflow divided by power at a specific residential ceiling fan setting (low, medium, high, etc.) expressed in cubic feet per minute/watt (CFM/watt). Most software allows manual input of this data, and for typical use the “medium” value is recommended.
Lighting
It is important to also ensure that optional light kits on ceiling fans are ENERGY STAR rated or meet efficiency goals. About 80% of the possible savings from a more efficient ceiling fan are due to more efficient lighting. New fans with lights installed should contain ENERGY STAR-labeled LED lighting. ENERGY STAR-labeled lighting, in most cases, will reduce a fan’s total lighting energy use by 60% to 80% compared to incandescent bulbs and will lessen the need to change light bulbs as often.
Motor
Basically, there are two types of ceiling fan motors: those with sealed and lubricated ball bearings and those with bearings that rotate in an oil bath. Lubrication provides smooth operation and contributes to the longevity of the motor. Motors with sealed bearings require little or no maintenance whereas motors with oil baths need occasional service, such as adding oil. High-efficiency fans use permanent magnet motors and are 3 to 5 times as efficient as standard ceiling fan motors. Fans with these efficient motors tend to be more expensive, but they draw 9 watts or less at medium speed as opposed to 30 to 40 watts for a standard ceiling fan motor.
Motor Grade
- Performance Grade fans use larger and more powerful motors that are designed for continuous use and quiet operation. These are usually the most expensive models.
- Medium Grade fans are suitable for operating 12 hours or less per day.
- Moderate or Economy Grade fans work best in rooms with 8-foot ceilings, running no more than 8 hours a day. These are the most inexpensive ceiling fans.
Motor Housing
The housing is the decorative body of the fan that encloses the fan motor. Fans that use heavier materials, such as die cast metals, tend to vibrate less for housing, provide more stability for longer down rods, and provide a good surface for high quality finishes.
Other features that ensure longevity and quiet operation include heavy-duty windings, precision engineering bearings, and shock-absorbent internal components. These features are commonly found in more expensive ceiling fan models.
Blade
Pitch is the angle of the fan's blades, and it is measured in degrees. Higher blade pitches usually move more air, which is given in cubic feet per minute, or CFM. However, blade pitch alone does not determine air movement. Other factors such as the motor design and speed, as well as blade design, material, number, and length can contribute to the amount of air movement. Higher pitch is NOT always better — some models offer a higher blade pitch to compensate for a smaller, less efficient motor.
Blades should be sealed from moisture to prevent warping, bubbling, or peeling. Some manufacturers offer special coatings on metal finishes to prevent scratches or tarnishing. High-quality blades are weighed and balanced prior to shipment and come in factory-matched sets. For this reason, they cannot be switched out with other fan blades. For flexibility in design, a number of manufacturers offer a variety of blade styles and finishes for a particular fan. However, changing the blade style could affect the performance of the fan.
Controls
Most residential ceiling fans (and all ENERGY STAR-qualified fans) feature the ability to reverse the motor and airflow direction, allowing you to operate the fan year-round. This control is usually found on the fan's switch housing, just below the blades. In the winter, reverse the motor and operate the ceiling fan at low speed in the clockwise direction. This produces a gentle updraft, which forces warm air near the ceiling down into the occupied space. Remember to adjust your thermostat when using your ceiling fan — additional energy and dollar savings could be realized with this simple step.
Smart/Remote Controls
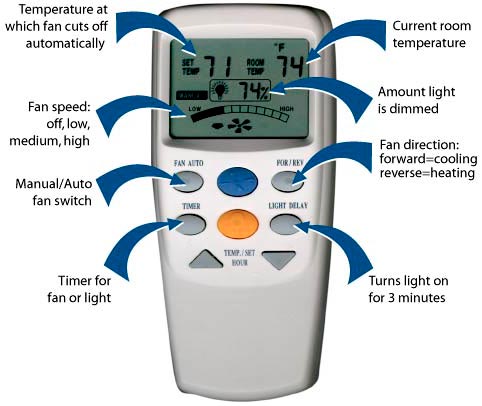
Conventional fans use pull-chains or rotary wall switches, which are often unintentionally left on even when no one is home. A ceiling fan can only improve comfort if someone is there to feel its air motion. Some ceiling fan models come equipped with smart controls that can increase the energy savings and comfort potential of the fan. A 360-degree infrared motion sensor automatically activates the fan when anyone enters a room and turns the fan off when occupants have left the room. There are also smart controls (Figure 2) that can be easily installed into existing fan canopies. These controllers can be used to adjust fan speed, lights, and light dimming. These functions can be controlled wirelessly via a handheld remote controller or wall keypad. However, some smart controls may not be compatible with fans that have remote controls built into the motor.
Sizing and Clearance
Choosing the right size fan is the first step to optimizing air distribution. Ceiling fan blade-spans range from 29 to 54 inches – the most popular being the 52-inch model. To determine which size you need, measure the room where the ceiling fan will be installed and follow these guidelines from the American Lighting Association.
Table 1. Ceiling Fan Size Recommendations Based on Room Size (Source: American Lighting Association)
| Room Dimensions | Suggested Fan Size |
|---|---|
| Up to 75 ft2 | 29 - 36" |
| 76 - 144 ft2 | 36 - 42" |
| 144 - 225 ft2 | 44" |
| 225 - 400 ft2 | 50 - 54" |
For maximum performance, ceiling fans should be installed, or mounted, in the middle of the room; they should be at least 7 feet above the floor, 18 inches from the walls, and 6 inches from the ceiling. The report Fans to Reduce Cooling Costs in the Southeast by the Florida Solar Energy Center (FSEC) shows that circulation increases when the blade-to-ceiling clearance increases. Six inches is a bare minimum because fan performance drops sharply when the blade-to-ceiling clearance is less. FSEC tests also show that “ceiling hugger” fans provide 40% less air flow than standard ceiling fans, even when a 6 inch clearance is maintained. Thus, standard ceiling fans with an 8 to 10 inch blade-to-ceiling clearance are recommended. If ceiling height allows, install the fan 8 to 9 feet above the floor for optimal airflow.
Larger ceiling fans can move more air than smaller fans. Small- and medium-sized fans will provide efficient cooling in a 4- to 6-foot diameter area, while larger fans are effective up to 10 feet. Fans with larger blades can also provide comparable cooling at a lower velocity than those with smaller blades. This may be important in areas where loose papers or other objects will be disturbed by a strong breeze. Multiple fans work best in rooms longer than 18 feet.
Mounting System
The ceiling fan mounting system is an important consideration during the selection process. There are four common mounts for ceiling fans.
- Standard mounts have a down-rod of 3 to 5 inches. The down-rod is the metal pipe that extends from the ceiling bracket to the top of the fan.
- Extended mounts are viable for hanging the ceiling fan at the desired height of 8 to 9 feet from the floor in homes with tall ceiling heights. Down-rods can be purchased from 6 inches (9-ft ceiling) to 120 inches (20-ft ceiling) and typically have a diameter of either 1/2 or 3/4-inches.
- Flush mounts anchor the ceiling fan directly against the ceiling. Most standard fans can be installed as a flush mount, although manufacturers sell “hugger” or “low profile” ceiling fans designed specifically for this purpose. Hugger fans are ideal for rooms that have ceilings under 8 feet in height or in situations where a fan with a light fixture would hang down too low. Hugger fans will not move as much air as regular fans because the blades are closer to the ceiling.
- Sloped mounts are used for angled or vaulted ceilings.
How to Install an ENERGY STAR Qualified Ceiling Fan
Size the ceiling fan according to the construction documents and maintain a minimum of 8 to 10 inches of clearance from the ceiling (Figure 3).

Figure 3. Installation dimensions for which ceiling fans are effective. - Choose an ENERGY STAR-qualified ceiling fan (and light kit if applicable).
- Install the ceiling fan according to all local codes. Install per manufacturer’s instructions. Ensure that the mounting box can handle the weight of the fan.
- If the ceiling fan box isn't labeled for weight, it is allowed to support a fan up to 35 pounds. If the box is marked with a weight, it can support a fan up to that weight, but not more than 70 pounds. Ceiling fans more than 70 pounds must be supported independently of the outlet box. Check the manufacturer’s installation instructions and make sure to purchase an approved electric ceiling box for the ceiling fan.
- Make sure to use the appropriate UL-rated electrical box for the ceiling fan. The outlet box should be marked “for use with ceiling fans.” The box is mounted on the ceiling where the fan is attached, and houses all wiring needed to operate and connect the fan.
- Test the fan for wobble after installation and fix if necessary.
- Leave fan product information with the homeowner to encourage proper operation and maintenance. During winter months, the ceiling fan’s circular direction should be reversed to draw air upward and recirculate warm air that has collected near the ceiling. During summer months, the ceiling fan should circulate air downward toward the room occupants. Ceiling fans blades should be cleaned regularly.
Ensuring Success
Builders are encouraged to verify performance data for ceiling fans using manufacturers’ specifications and/or the ENERGY STAR Product Finder website. Installers should test the operation of the fan before leaving the site to ensure the fan does not wobble. Additional key considerations include the following:
- Choose the right size and location for the ceiling fan.
- Optimize clearances.
- Choose the appropriate mounting system.
- Choose ceiling fans rated for wet and damp locations if installing in areas of high humidity.
Region
In moderate and cold climates with moderate humidity levels, ceiling fans, possibly in combination with opened windows, may provide all the cooling that is needed; thus alleviating the need for mechanical air-conditioning.
Even in hot-humid climates, ceiling fans may produce enough of a cooling effect to put off the need for air conditioning during the shoulder seasons. A study by the Florida Solar Energy Center (FSEC), Are Energy Savings Due to Ceiling Fans Just Hot Air? confirmed that occupants will tolerate a higher thermostat setting when provided a breeze. This effect can significantly impact energy bills. The FSEC research showed that for every 1°F the thermostat setting is increased, cooling energy use is decreased by 10% to 15%.
Training
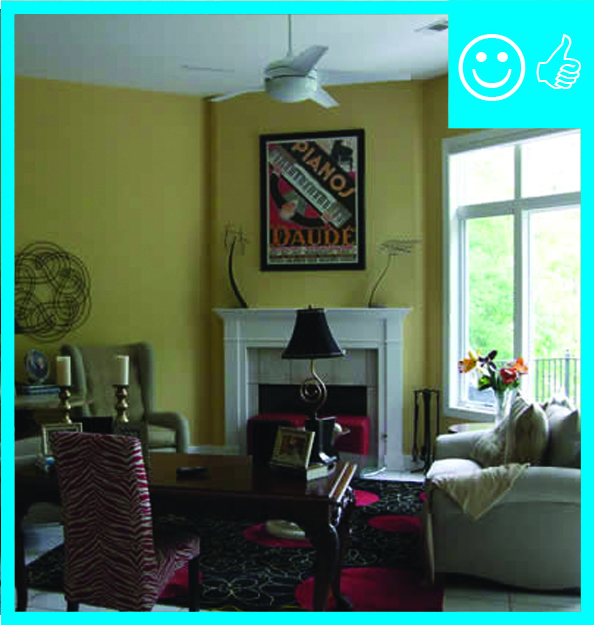
Right and Wrong Images

Presentations

Retrofit
SCOPE
Install or replace a ceiling fan for improved energy efficiency.
- Select an energy-efficient, appropriately sized ENERGY STAR-certified ceiling fan model.
- Remove and recycle the old ceiling fan.
- Install the new ENERGY STAR certified ceiling fan.
- Provide the homeowner with product and maintenance information.
For more on ceiling fan replacement in existing homes, see the U.S. Department of Energy's Standard Work Specifications. Please follow safe work practices as described in the U.S. Department of Energy’s Standard Work Specifications when replacing ceiling fans in homes.
DESCRIPTION
For a detailed description of ceiling fans, see the Description Tab for new homes.
How to Replace an Old Ceiling Fan with an ENERGY STAR Certified Ceiling Fan
1. Select an ENERGY STAR Certified Ceiling Fan.
The home performance contractor should encourage the home-owner to do the following:
- Choose a ceiling fan model that meets the needs of the household. The following criteria should be considered in the selection process: size, mounting system, wet/damp rating, energy efficiency, warranty, noise rating, and features/controls.
- Use a tape measure to determine the space constraints of the room in which it will be installed, including the room length, room length, and floor-to-ceiling height.
- Use the ENERGY STAR Product Finder to determine the energy use of a new, ENERGY STAR certified ceiling fan model.
- Consider an ENERGY STAR light kit if replacing just the light kit on an existing fan.
- Check the Database of State Incentives for Renewables & Efficiency® or the ENERGY STAR Rebate Finder to determine whether a ceiling fan model is eligible for a rebate or incentive in your area.
- If the homeowner doesn’t have internet access at the time of purchase to help choose the right ceiling fan for the home, the EnergyGuide Label can be used to identify energy efficient models.
- Ceiling fans can be heavy. The National Electrical Code (NEC) calls for ceiling fan boxes to be listed and marked for their suitability for supporting ceiling fans by weight. If the box isn’t marked, it is allowed to support a fan up to 35 pounds. If the box is marked with a weight, it can support a fan up to that weight, but not more than 70 pounds. Ceiling fans more than 70 pounds must be supported independently of the outlet box. Check the manufacturer’s installation instructions and make sure to purchase an approved electric ceiling box for the ceiling fan.
- Make sure to use the appropriate UL-rated electrical box for the ceiling fan. The outlet box should be marked “for use with ceiling fans.” The box is mounted on the ceiling where the fan is attached, and houses all wiring needed to operate and connect the fan. If you are replacing a ceiling fixture with a ceiling fan, you will likely need to replace the electrical box.
2. Disconnect and Remove the Old Ceiling Fan.
The contractor should:
- Plan ahead when helping homeowners remove and recycle their old ceiling fans. Ceiling fans contain metals and parts that can and should be recycled. Many municipalities offer curbside pickup of old ceiling fans for little to no charge. Ceiling fans can also be donated to charitable organizations, given to repair shops for spare parts, or re-purposed.
- Shut off power to the ceiling fan at the breaker panel and place a piece of tape over the breaker switch to ensure no one turns it back on while you’re working. Another option is to turn off the power to the whole house.
- Mount a ladder beneath the fan. Confirm that no electricity is entering the fan by holding a non-contact circuit tester near the motor.
- Ceiling fans are heavy, some models can weigh more than 70 pounds. Ask someone to help. Your assistant can spot you on the ladder while removing the fan and help bring the fan down once it’s detached from the ceiling. Another option is for the assistant to stand on a second ladder and steady the motor as you unmount it.
- Using a screwdriver or Allen key, unscrew the two or three screws holding each fan blade to the motor housing. Set the blades aside. Locate the two or three screws holding the canopy, which covers the wiring above the motor, and unscrew them from the mounting plate.
- Examine the mount to identify how to disengage the motor and its housing. Depending on the model, you may have to push a pin out of the support bracket, or disconnect a ball notch, and/or disconnect another connector.
- Twist the wire nuts on each wire counterclockwise to remove them. Untwist the wires with pliers and set aside. Unhook the motor housing from the safety hook or cable and set it onto the floor. Twist the wire nuts back on the bare wires in the junction box to avoid shorting them.
- Screw a cover on the junction box if you don’t intend to replace the ceiling fan with a new one.
- If you plan on replacing the ceiling fan, unscrew the junction box and remove it. Using a flat bar, pry the nails from the ends of the hanger bar and remove it. Now you should have a hole in the ceiling that contains three wires for the new ceiling fan.
3. Install a new ENERGY STAR Certified Ceiling Fan.
The contractor should:
- Remove the packaging from the ceiling fan. Ask the homeowner to keep the box and packaging materials for a few days in case the unit has to be returned for replacement or repair.
- Shut off power to the ceiling fan at the breaker panel and place a piece of tape over the breaker switch to ensure no one turns it back on while you’re working. Use a circuit tester to ensure the wires are dead. Another option is to turn off the power to the whole house.
- Make sure you’ve reviewed the manufacturer’s installation instructions to ensure you’ve received or purchased an approved electrical ceiling box for the fan.
- If the new ceiling fan includes a light fixture, remove the light bulb cover and bulbs.
- The hole in the ceiling should include three wires in the colors black (hot), white (neutral), and green (ground). These wires will be needed to power the ceiling fan.
- Follow the manufacturer’s instructions to install the adjustable hanger bar and electrical pancake box. Most hanger bars are installed by pushing them through the hole in the ceiling left by the old electrical box. When the hanger bar is completely through the hole, rotate it until it’s perpendicular to the ceiling joists. The bar expands until it engages the ceiling joists. The ends of the hanger bar should have sharp steel pins that dig into the wood joists once the bar is fully expanded. Depending on the model, you may need to screw or nail the hanger bar into the joists to secure it.
- Feed the electric wires coming through the hole in the ceiling through the knockout hole in the electrical pancake box. Screw the box to the hanger bar, locking it in place to provide a secure base for the fan.
- If the ceiling fan has a ceiling medallion, apply a small bead of urethane-based adhesive to the back of the medallion. Pass the wires through the middle opening of the medallion, center the medallion so the electrical pancake box is in the middle opening, and then press it against the ceiling. Fasten the medallion with four finishing nails driven into the joist. Set the nail heads and fill with caulk or spackle. If you plan to paint the medallion, now is the time to do so.
- Hold the ceiling plate up to the electrical pancake box and pull the wires through its center hole, then screw the ceiling plate into the electrical box.
- Assemble the fan according to the manufacturer’s instructions. Feed the wires from the fan’s motor through the center of the canopy and set the canopy on top of the motor. Next, pass the wires through the hollow down rod pipe. Thread the down rod into the top of the motor. Use a wrench to tighten the square-head locking screw on the side of the down rod. Notice that the down rod has a factory-applied coating. Do not remove this coating, it keeps the down rod from unscrewing.
- Since ceiling fans are heavy, they require support while you attach the wires. Most models provide a way to suspend them below the ceiling box while attaching the wires. If the model you’re installing doesn’t, make sure you have someone help you by supporting the fan assembly while you attach the wires.
- Hook one side of the canopy onto the ceiling plate. Wire schemes vary by fan model, depending on whether they’re equipped with speed control or a light. Using twist-on wire connectors or wire nuts, join the two green wires to the bare copper wire coming from the cable. Join the two white wires, then join the two black wires. Bring the fan up into position against the medallion and secure it with two canopy screws, attaching the fan assembly into the ceiling box.
- Install the trim and fan blades according to the manufacturer’s instructions. This typically calls for screwing the trim and fan blades into the fan assembly.
- If the ceiling fan has a light fixture, plug the housing into the wire on the underside of the fan’s motor. Install the light bulbs, cover, and shades.
- Once the ceiling fan is installed, turn the power back on to the fan. Then, test the ceiling fan on its lowest speed to ensure it is operating properly.
- All fan blades should be balanced prior to shipment. If the fan is wobbly after installation, first make sure that all connections are properly aligned and tightly fastened. Check the alignment of the blades by holding a yardstick vertically along the edges. You may be able to gently bend a misaligned blade holder back into proper place. If all blades are aligned, then a balancing kit can be used to identify the issue. Balancing kits are either provided within the ceiling fan product packaging (e.g., balancing clips and blade weights) or can be sent by the manufacturer.
4. Install and Set Up an Internet-Connected Ceiling Fan.
The contractor should:
- Depending on the ceiling fan model, you may only need to set up the WiFi connection to enable connectivity, or you may need to both install a receiver and set up the WiFi connection for connectivity. Different manufacturers and models have different steps to install a receiver and establish a network connection. The following steps are generalized.
- Install the receiver.
- Shut off power to the ceiling fan at the breaker panel and place a piece of tape over the breaker switch to ensure no one turns it back on while you’re working. Use a circuit tester on the ceiling fan wires to ensure they’re dead. Another option is to turn off the power to the whole house.
- Unscrew and lower the canopy. You may want to take a digital photo of the existing wiring for reference. Remove the wire nuts that connect the wires from the ceiling to the fan, leaving the ground wire connected.
- Place and position the receiver within the canopy or ceiling bracket according to the manufacturer’s instructions.
- The receiver should have four wires. Connect the blue wire from the receiver to the blue or black and white striped wire from the fan. Next, connect the yellow wire from the receiver to the black wire from the fan’s motor.
- Connect the wires from the fan and receiver to the wires from the ceiling.
- Connect the black wire from the ceiling to the black wire from the receiver.
- Connect the white wire from the ceiling to both the white wire from the receiver and white wire from the fan.
- If you have a dual switch, cap the secondary power wire from the ceiling.
- After all wires are connected and secured with wire nuts, reinstall the canopy.
- Restore power at the circuit breaker.
- Set up connectivity
- The ceiling fan manufacturer will have an app available for download on a smartphone, tablet, or other mobile device. Download the app on the homeowner’s preferred device. The app will guide you through all of the steps to connect the ceiling fan.
- Open the app on the device and sign in or create a WiFi connect account. This account will allow you to associate the ceiling fan with the homeowner’s device.
- Find the connected identification label on the ceiling fan or Bluetooth controller. If using a Bluetooth controller, make sure that Bluetooth is enabled on the mobile device.
- In the app, type in the password or pin from the information label.
- Communication between the mobile device and ceiling fan and/or Bluetooth controller will begin. Once the communication has completed, you should receive a prompt indicating that connectivity is enabled.
5. Provide Product Literature, Maintenance, and Operations Instructions to the homeowner.
More Info
References and Resources
*For non-dated media, such as websites, the date listed is the date accessed.
Contributors to this Guide
The following authors and organizations contributed to the content in this Guide.
Pacific Northwest National Laboratory
Sales
High-Efficiency Ceiling Fans = High-Efficiency Ceiling Fans
Technical Description
Two-thirds of American households now have ceiling fans. Ceiling fans create air movement that helps people feel cooler. They can save money by assisting mechanical air conditioning or even replacing it in climates with mild or dry summers. High-efficiency ENERGY STAR-rated ceiling fans use permanent magnet motors that are 3 to 5 times more efficient than standard ceiling fan motors. ENERGY STAR ceiling fans can be equipped with high-efficiency lighting, which adds to savings.
Questions? Comments? Contact our webmaster.