

Scope

When installing interior storm windows,
- Choose models that are certified by ENERGY STAR.
- Choose models that are certified by the Attachments Energy Rating Council (AERC).
- Install according to manufacturers’ instructions.
See the Compliance Tab for links to related codes and standards and voluntary federal energy-efficiency program requirements.
Description
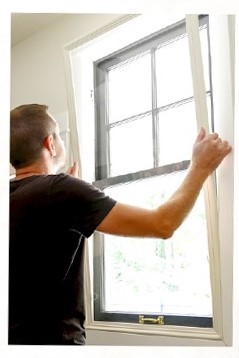
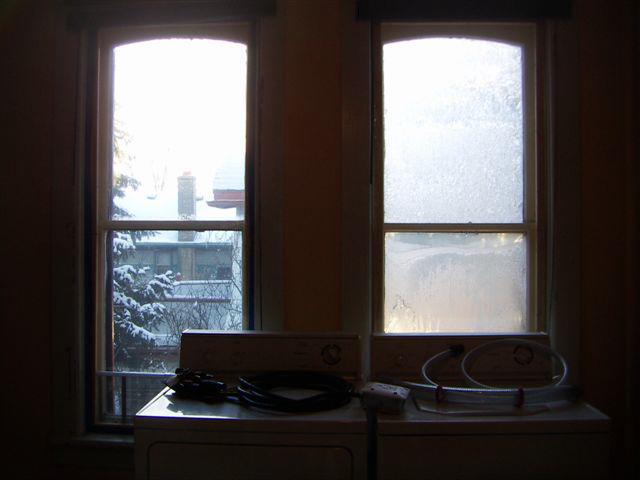
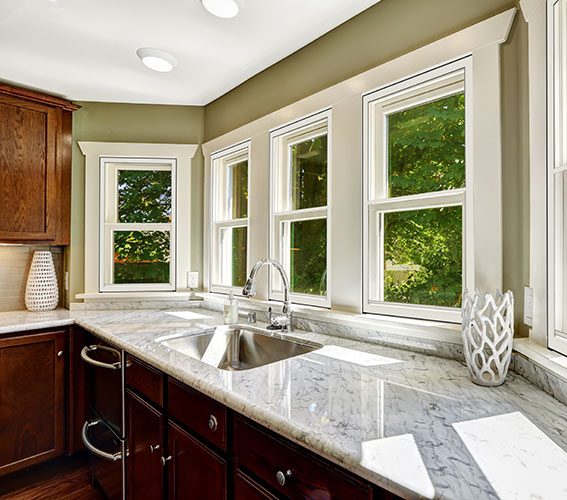
Interior storm windows and panels (also sometimes called secondary windows or secondary glazing) offer a cost-effective method for upgrading the energy efficiency of existing windows; they also offer additional benefits such as improved thermal comfort and sound control. Modern interior storm windows and panels include new energy-efficient technology and sleek design features that provide an easy-to-install, cost-effective method for upgrading existing windows (Figure 1). These products are designed to be installed and remain in place year-round, although some products can also be removable. Both fixed panels and operable windows with movable sashes are available.
Interior storm windows and panels are available with different glazing materials, including glass or plastic. Each has advantages that should be considered for the particular project. Plastic storm panels offer lighter weight, flexibility, and impact resistance. Plastic panels are typically fixed, not operable. They can come with flexible silicone frames that friction fit into place, or some models use a magnetic fastening system. These storm panels are very easy to remove, and some homeowners only use them in the winter while others leave them up year-round for cooling savings as well. Interior glass storm windows offer durability, scratch resistance, and the ability to include low-emissivity (low-E) coatings, which significantly improve the thermal performance of the window. Low-E glass includes a durable, transparent coating that reduces energy loss through the window by reflecting the radiant heat back into the home. Coatings can also reduce the amount of solar heat gain to a space, reducing cooling loads in summer. Low-E storm windows cost about the same as standard glass storm windows but are about 50% more energy efficient than traditional uncoated storm windows (Cort 2013). Both plastic and glass products also provide energy savings and sound control by reducing the air leakage of the window. While most interior panels use a single layer of glazing (i.e., a single pane of glass), there are also options that use double-glazed IGUs (insulated glazing units) for even higher energy performance.
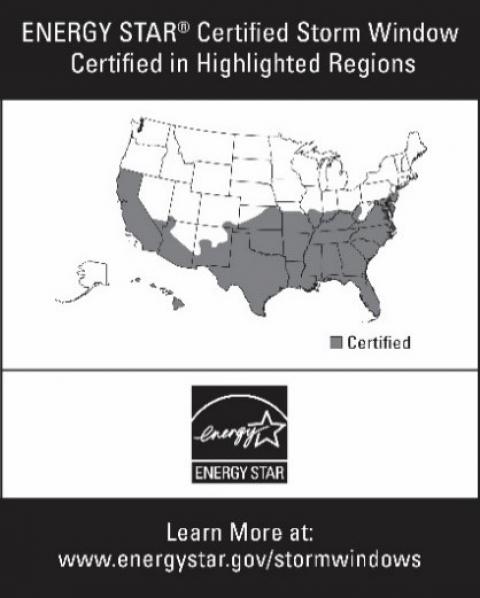
The U.S. Environmental Protection Agency (EPA) now recognizes glass storm windows with low-E coatings in its ENERGY STAR® Program (Figure 2). Information on ENERGY STAR certified storm window products may be found on the ENERGY STAR Certified Storm Windows webpage.
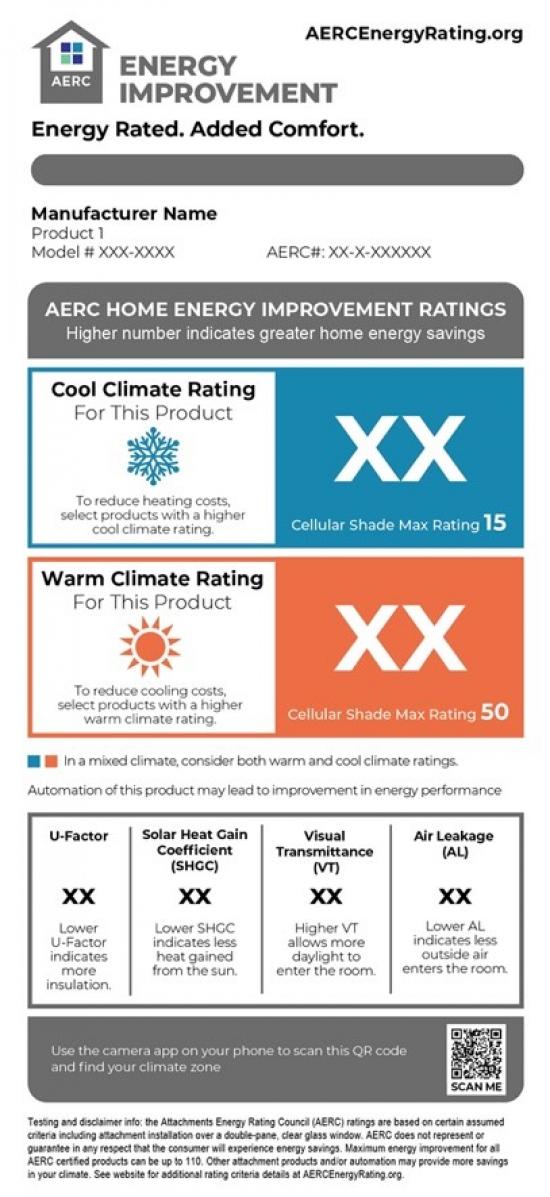
The Attachments Energy Rating Council (AERC) (Figure 3) also provides information, certified ratings, and labeling for energy-efficient low-E glass storm windows and other window attachments. Interior and exterior storm windows that are glass can get both an ENERGY STAR and an AERC label, if they meet the performance criteria. Interior storm windows that are plastic can receive an AERC rating if they meet qualifying characteristics, but they cannot receive an ENERGY STAR label, because they do not come with the low-E coating required by ENERGY STAR. See the Attachments Energy Rating Council website for more information about the AERC label and qualifying products.


Benefits of Installing Interior Low-E Storm Windows
Interior low-E storm windows provide many benefits including the following:
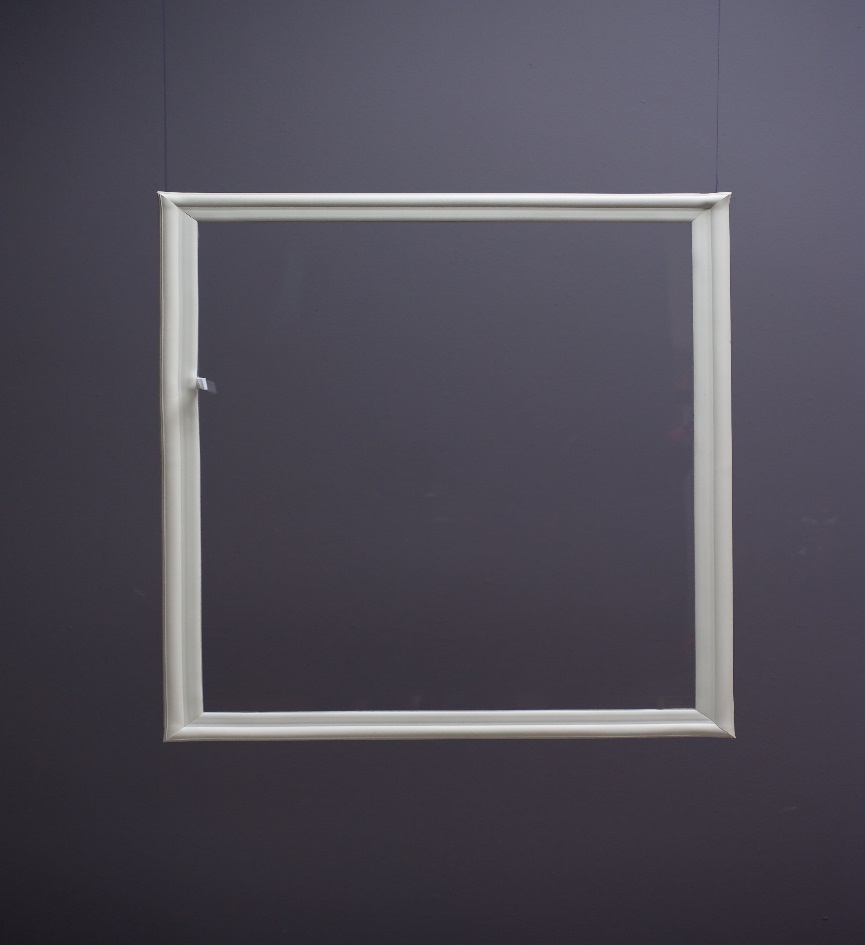
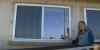
- The exterior appearance of the window is maintained. The interior appearance of the window will change as the framing will appear slightly wider (Figure 4), although narrow frame options can minimize the visual impact.
- Interior storm windows and panels are typically acceptable for most historic preservation projects because they do not alter the exterior appearance of the window and because they are easy to remove; they are considered a reversible retrofit, which is a desirable and sometimes required feature when dealing with historic homes.
- Many frame colors are available, including the option for custom color matching.
- Low-E storm windows will significantly improve the energy performance of the assembly by reducing air infiltration, thermal conductance, and solar heat gain through the assembly (Figure 5).
- Low-E storm windows will reduce the potential for interior condensation problems on the window system. There may be some risk of interstitial condensation between the interior storm and original window if the interior storm is not air tight.
- The cost is low to moderate depending on the system chosen.
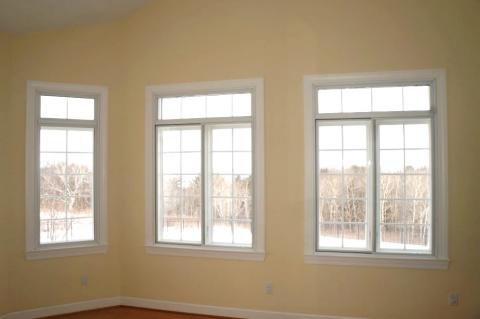
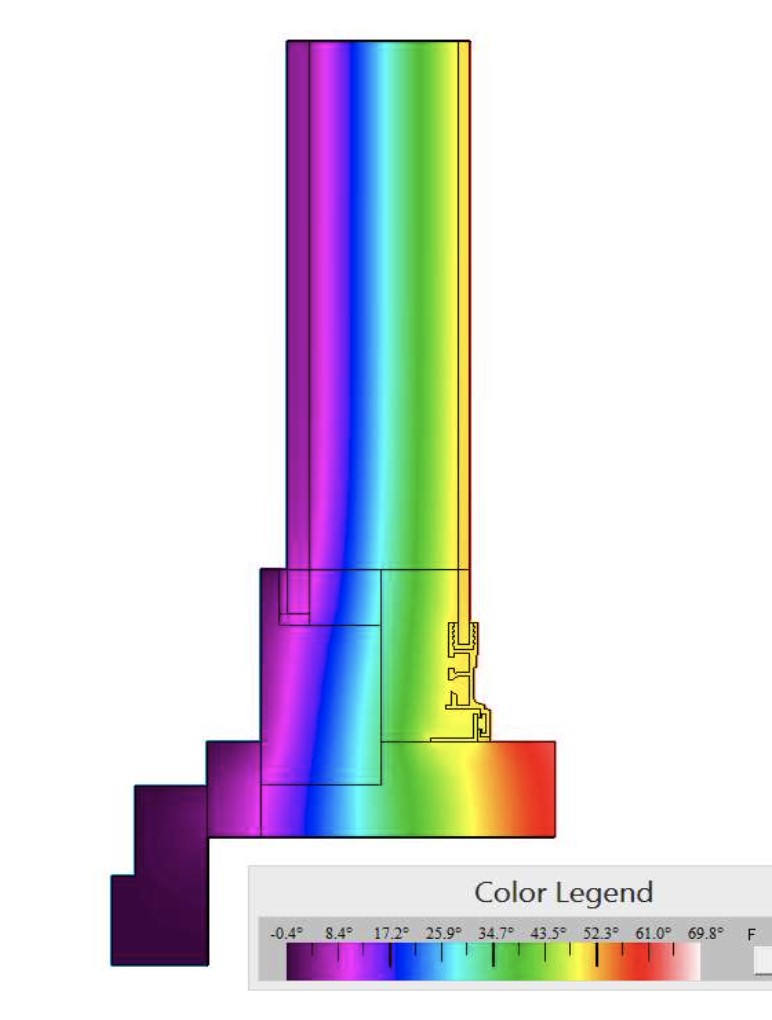
Figure 5. This thermal image of an interior storm window shows how much temperature change occurs between the interior storm window panel on the right, at 50°F and the existing glass on left at approximately 0°F.
Installation of Low-E Storm Windows
Installing an interior low-E storm window is a simple project and the labor, time, cost, and waste is considerably reduced compared to a full window replacement. If the existing window is in good shape, the installation of interior low-e storm windows is quick and easy, requiring only simple tools and less than about 20 minutes of time. It can be a do-it-yourself task, although contractor installation may be advised for higher installations if heights are a concern. Note that while interior low-e storm windows will greatly improve thermal performance, air leakage, and sound control, they will not provide any protection for the existing windows. The existing windows must be in good condition, as they will continue to be exposed to the elements.
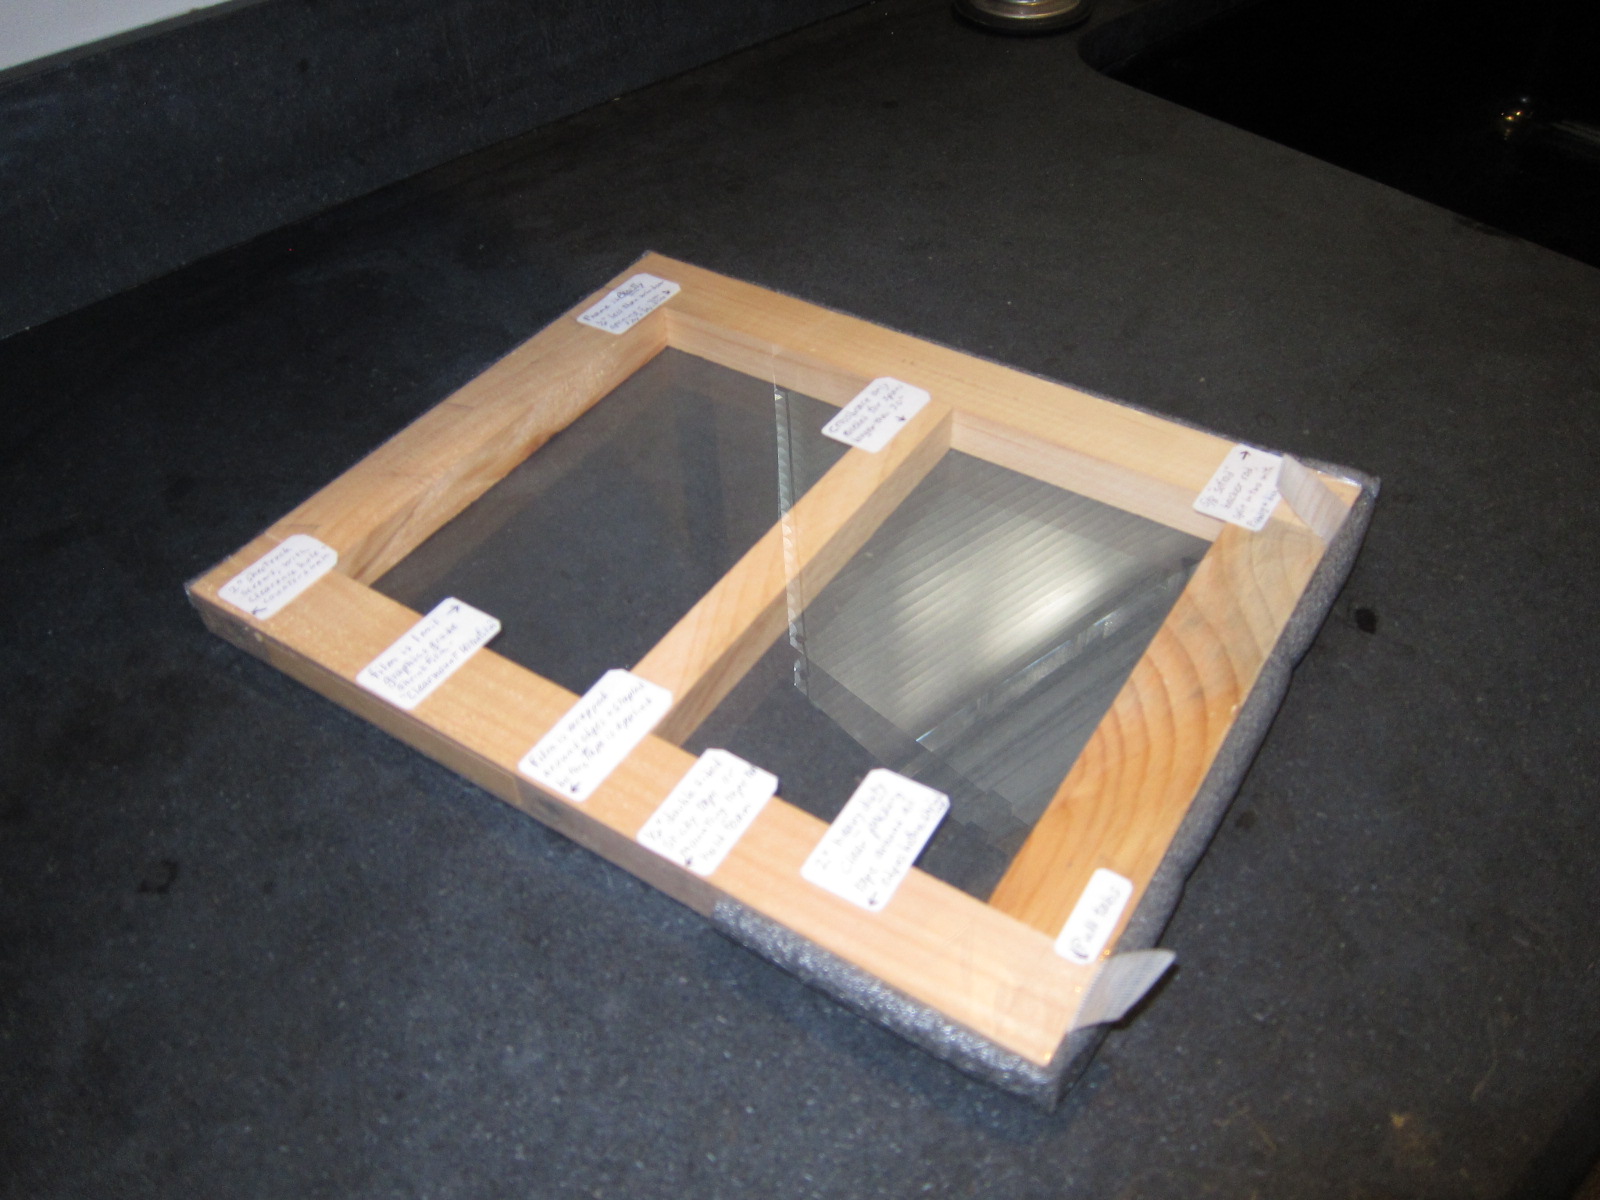
Installation will vary based on the specific product type. Plastic interior storm windows (referred to as panels) are light weight and may have flexible gasket-like material around the frame (Figure 6) allowing the windows to be simply friction fit in place or they may employ magnetic attachments. Interior glass storm windows are typically screwed and sealed in place.
Reducing the Potential for Condensation
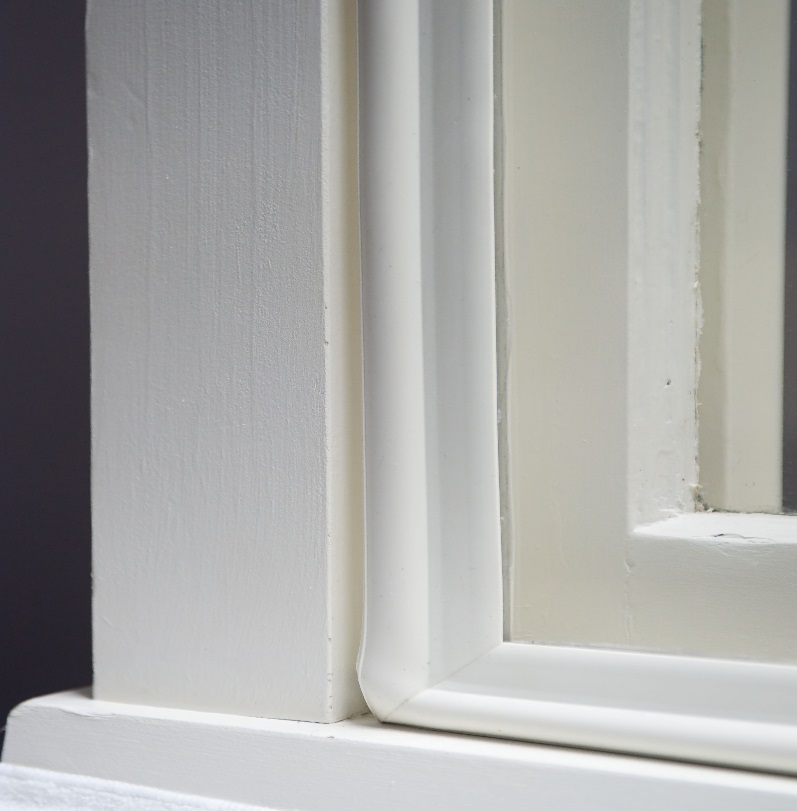
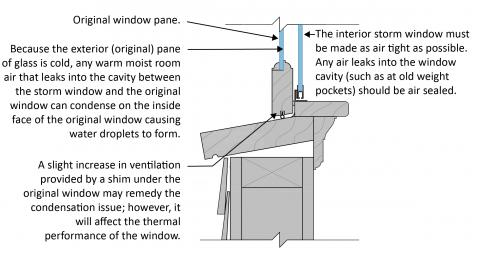
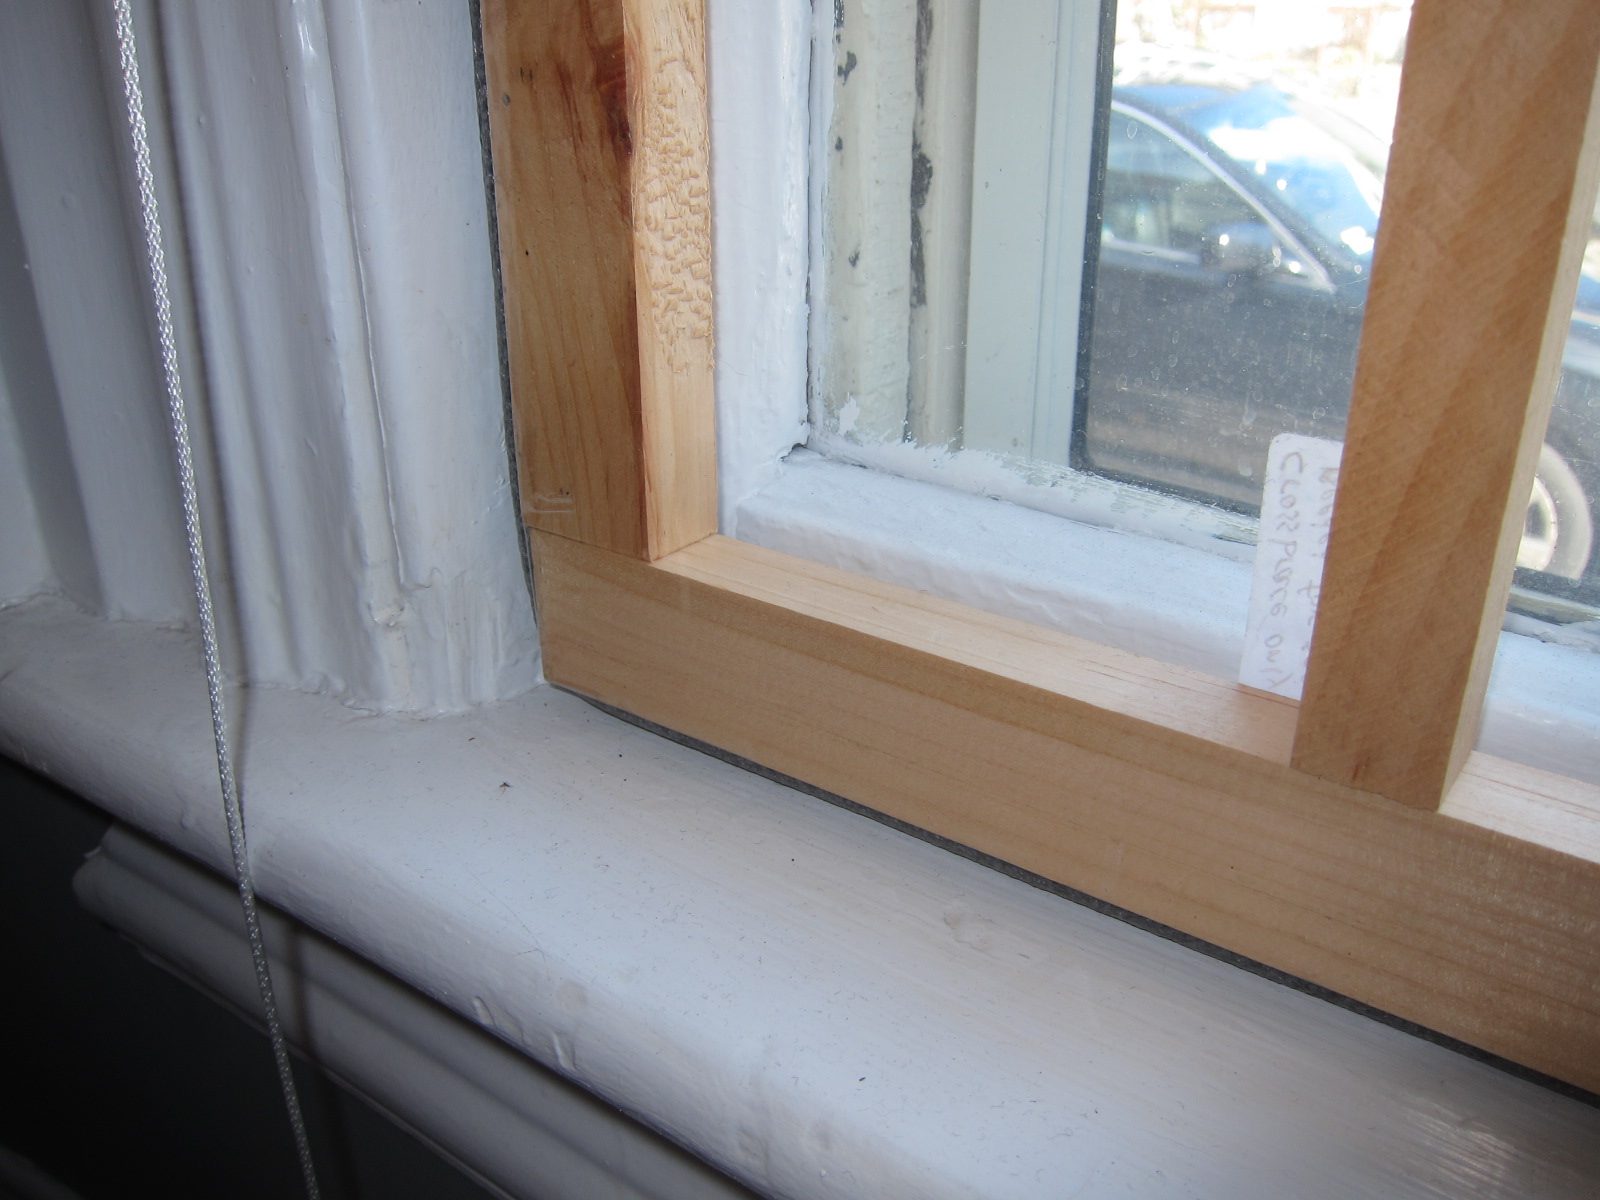
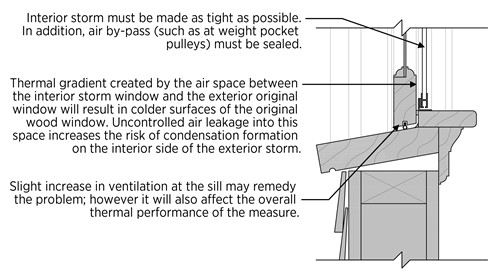
An interior storm reduces the potential for condensation on the room side of the window system by providing a warmer, more insulated surface. However, there is the potential for interstitial condensation on the interior surface of the original exterior window if the interior storm window or panel is not airtight and allows the passage of humid air (Figure 7). Therefore, it is important that the interface between the interior storm and the window frame be as airtight as possible (Figure 8). Also, if the placement of the units is such that other air leakage paths (such as through the pulleys for the sash weights) could bypass the storm window, these bypasses can lead to moisture problems even if the interface between the storm window and window frame is perfectly airtight. Condensation potential can be reduced by increasing the ventilation of the space to the outside. This needs to be done carefully, as increased ventilation to the exterior may result in diminished energy performance of the window and could render the strategy ineffective. If condensation problems continue, sources of excessive moisture and high humidity in the home should be reduced if possible, as that can be a major cause of condensation issues.
If condensation does appear on the storm windows, take the following steps:
- First, attempt to improve the seal of the storm window.
- If that does not work, try making the exterior window incrementally slightly leakier until the problem is resolved. This could be done by slightly gapping the lower sash at the sill with a shim or removing the lower sash sill gasket if it exists.
If condensation persists as an ongoing problem, consider the following additional steps to control indoor sources of humidity:
- Add timers or humidity sensors to bath exhaust fans and advise occupants to run exhaust fans when showering or cooking.
- It is recommended to dry clothes outside or in the dryer; hang-drying clothes indoors adds a considerable amount of moisture to the indoor air.
- Ensure that the exhaust fans and clothes dryer duct to the outside, not into the attic or crawlspace.
- Verify that the crawlspace floor is covered with a continuous vapor barrier that covers the entire floor and is secured to the walls and that the sump pump basin is covered with a tight-fitting lid. Or, address any basement moisture issues.
- Run a dehumidifier if needed.
How to Install Interior Low-E Storm Windows
- Determine the ENERGY STAR climate zone of the house.
- Select a storm window that is ENERGY STAR rated for your climate zone. The ENERGY STAR Product Finder can filter rated products by climate zone and other criteria.
- Inspect and repair or replace original window, sills, weather stripping, and hardware if damaged or missing.
- Follow manufacturer’s installation instructions, typically:
- Ensure proper size and fit in accordance with the manufacturer's measurement guidelines.
- Match the current opening style of the window to ensure operability and egress, if desired or required.
- For pressure-fit or magnetic storm windows, press the windows into place.
- For mechanically attached storm windows intended to be permanently placed, apply caulk or sealant to the existing window frame where the sides, top, and bottom of the storm window will be mounted. Mount and screw the storm window into place, following the manufacturer's instructions. They may recommend removing the glass panels, screwing the frame into place, then reinserting the glass panels taking care that the low-e surface faces towards the outside not the interior of the home.
For more information, see the video "Interior and Exterior Low-E Window Installation."
Ensuring Success
Prior to considering interior low-E storm windows, examine the condition of the existing windows. Replace or repair broken panes, broken hardware, and missing weather stripping. If the existing window shows excessive deterioration or frame rot, then full window replacement may be required. Additionally, the condition of the windowsill is critical to provide water management and to avoid water intrusion. Cracked or rotting sills need to be replaced prior to any installations being done.
To reduce the potential for interstitial condensation, the ability for warm moist air to travel from the interior to the exterior should be minimized by making the interior storm window as air tight as possible. Examine seals and weather stripping around the storm window perimeter and adjust as needed to maintain a tight seal.
When selecting low-E storm windows, choose configurations and operator types (vertical slider, horizontal slider, fixed) that match the original windows (e.g., fixed over fixed, vertical slider over vertical slider, etc.) if the ability to open the windows is desired or required for egress by code.
Region
Historically, storm windows have been used in colder northern climates, but energy savings have also been demonstrated across most of the United States, including more moderate regions with a mix of heating and cooling needs. The ENERGY STAR® program for Exterior and Interior Storm Windows certifies low-E storm windows for both northern and southern regions (Figures 1 and 2), where the primary difference is the type of low-E glass. All low-E glass is more insulating than normal glass, but different options are available. Most low-E storm windows use clear low-E glass with a high solar transmittance that does not block sunlight. This is particularly beneficial in central and northern regions, allowing the sun’s warmth to help offset the heating needs of the home. For southern regions or other applications where cooling is of more concern than heating, the ENERGY STAR® program requires the low-E glass to have a lower solar transmittance. This solar control low-E is still insulating, but also blocks more of the sun to reduce the cooling needs in the home. It should be noted that both types of low-E glass save energy in all regions, but choosing the type in accordance with ENERGY STAR® guidelines for your region will optimize energy performance and improve resistance to extreme heat or extreme cold. To determine whether your locations falls in the northern or southern rating category, see the ENERGY STAR storm window criteria by climate zone webpage.

The Attachments Energy Rating Council (AERC) also provides information and certified ratings on the energy performance of storm windows in both cool and warm climates (heating dominated, and cooling dominated). This allows the consumer to select the product performance most beneficial to them, based on both geography and their specific circumstances. (See Figure 3).
There are also climate differences regarding the potential for interstitial condensation to form between the storm window and the existing window. It only forms under certain conditions when warm moist air from the interior of the home can leak through the interior storm window and reach a cold surface on the existing exterior window. Using an airtight interior storm window, as well as reducing any sources of excess moisture and humidity in the home, will reduce the potential for formation of condensation. Condensation is unlikely to form in warmer regions and summer seasons because the temperature is warmer and above the dew point. In cold regions, condensation or ice is less likely to form during the deep winter season because humidity levels in winter air are typically very low, unless there are moisture issues in the home. Condensation formation is more often seen in the shoulder seasons of fall and spring when the outside temperature is cool but there is still sufficient moisture in the air. This condition is usually temporary and resolves on its own as the day warms, especially if there is sun exposure on the window.
Training
Right and Wrong Images
Source
Source
Document providing information and guidance about rehabilitating, retrofitting, and replacing wood window assemblies in residential construction.
Source
Document providing information and guidance about rehabilitating, retrofitting, and replacing wood window assemblies in residential construction.

Source
Document providing information and guidance about rehabilitating, retrofitting, and replacing wood window assemblies in residential construction.

Source
Source
Presentations

Videos
CAD Files

Compliance
Retrofit
Storm windows are typically installed by the homeowner as a retrofit measure. The information provided in this guide on the Scope and Description tabs applies to existing as well as new homes. As noted elsewhere, inspect and repair or replace windows or broken panes, hardware, sill, trim, weather stripping etc., if needed, before installing the storm windows.
More Info
References and Resources
*For non-dated media, such as websites, the date listed is the date accessed.
Contributors to this Guide
The following authors and organizations contributed to the content in this Guide.
Questions? Comments? Contact our webmaster.