Showing results 2351 - 2400 of 4973
Image
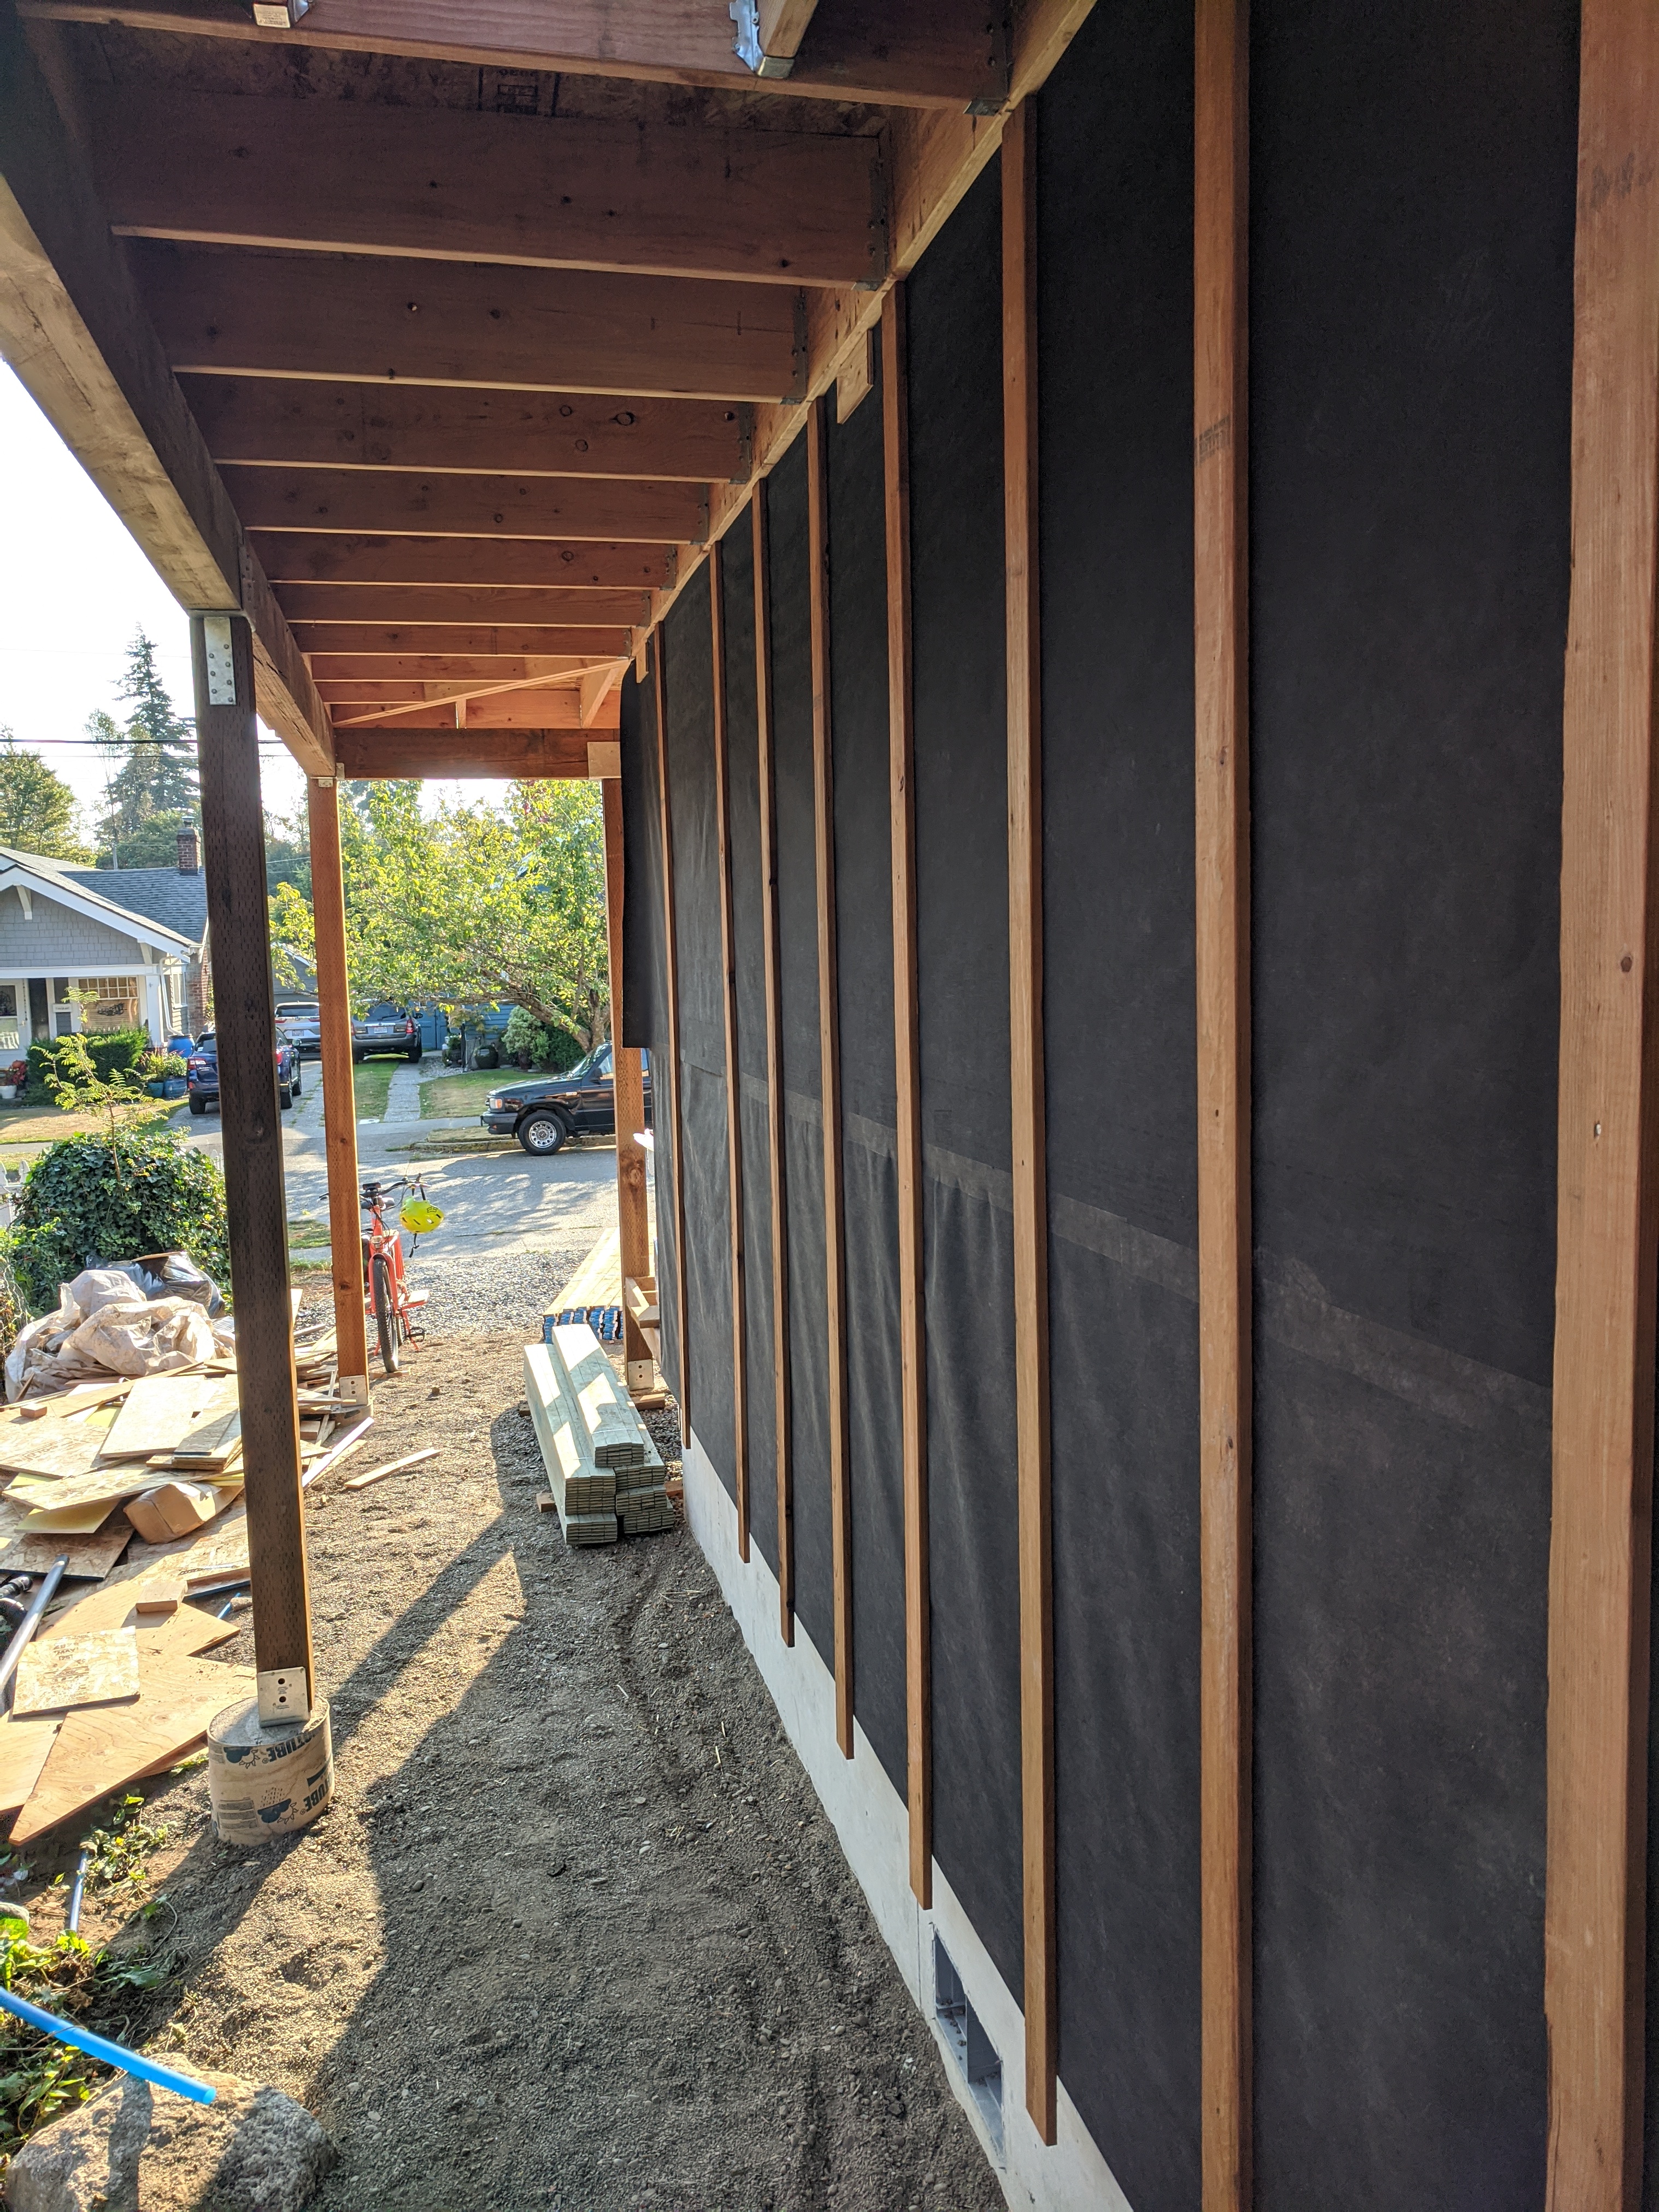
Right - Furring strips create an air gap to allow penetrating moisture to drain instead of wicking into walls; they also provide a nailing surface for siding.
Image
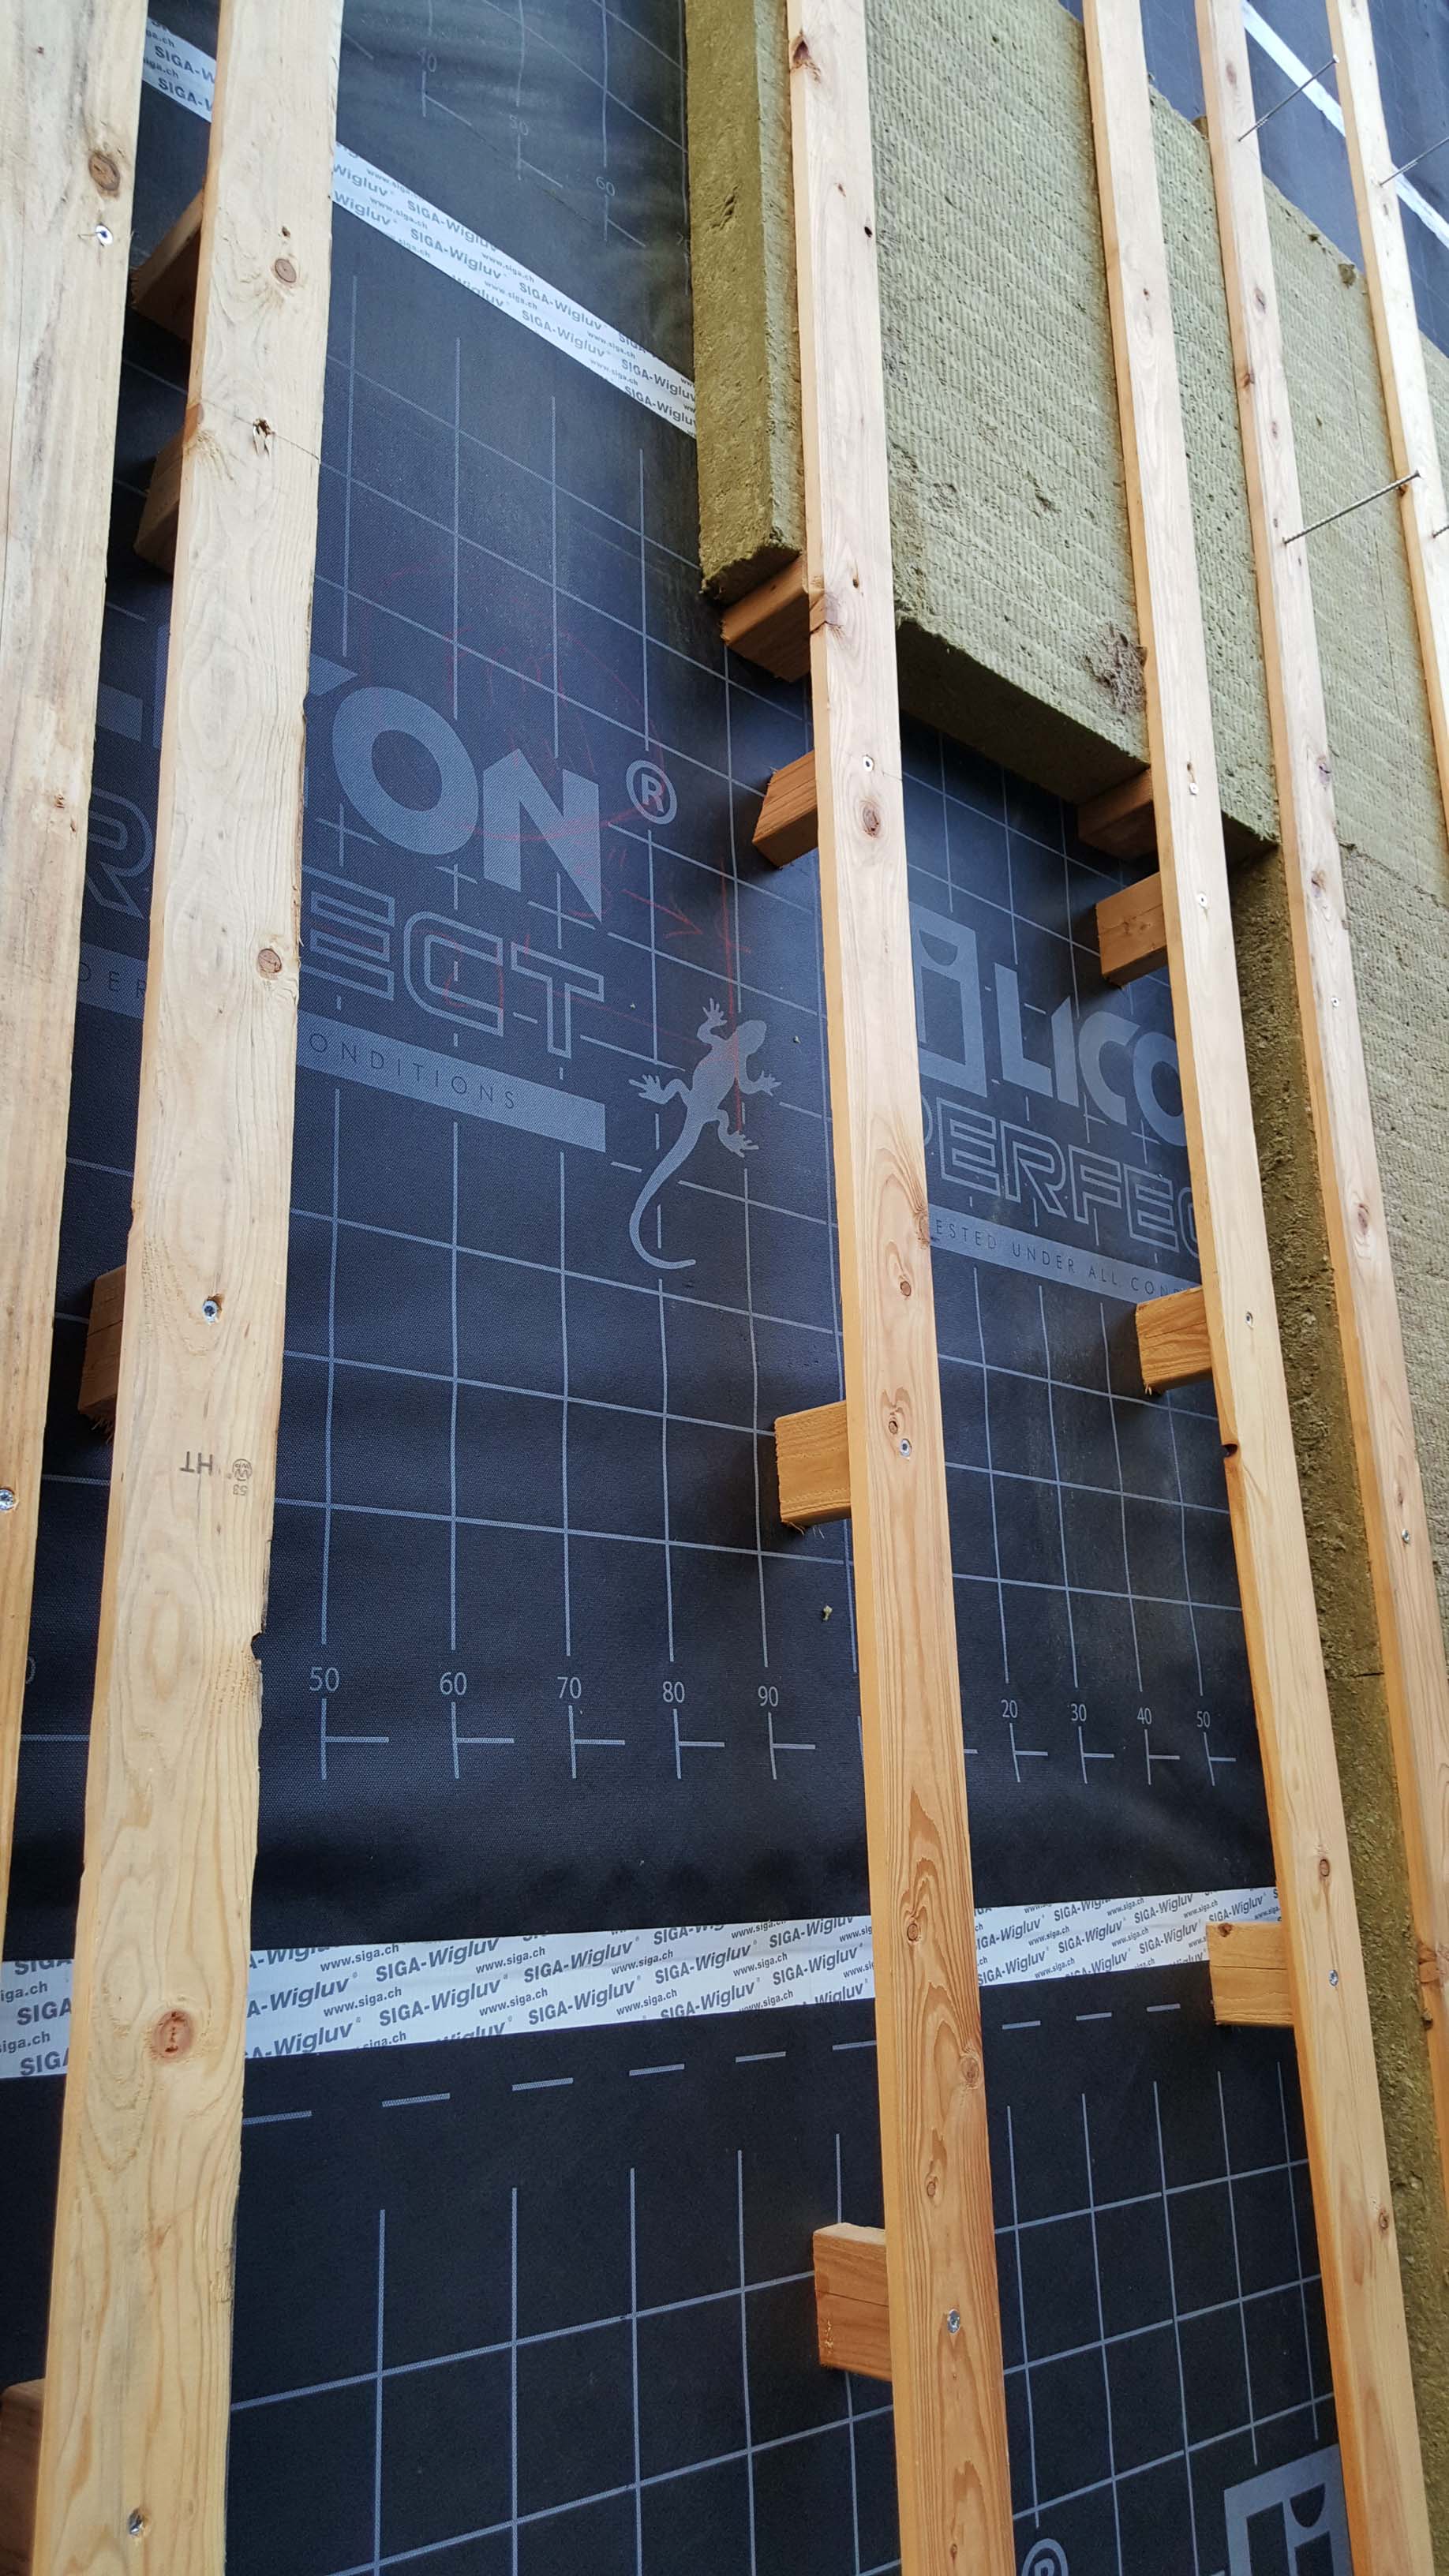
Right - Furring strips were installed with blocking to allow adequate room for 4 inches of mineral wool.
Image
RIght - Furring strips, house wrap, and siding are installed in the field after assembling panelized walls.
Image
Image
Right - Gasket installed at marriage wall connection prior to assembling modules
Image
Image
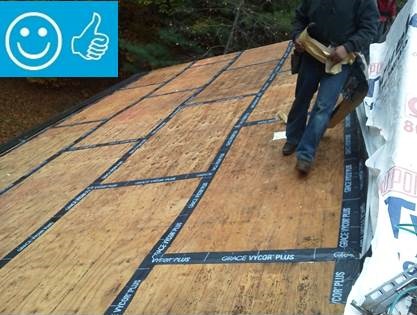
Right - Here, air control is established by taping the seams of the plywood panel sheathing. The roof sheathing is also trimmed flush with the wall sheathing to allow a simple and airtight connection between the roof and wall assemblies
Image
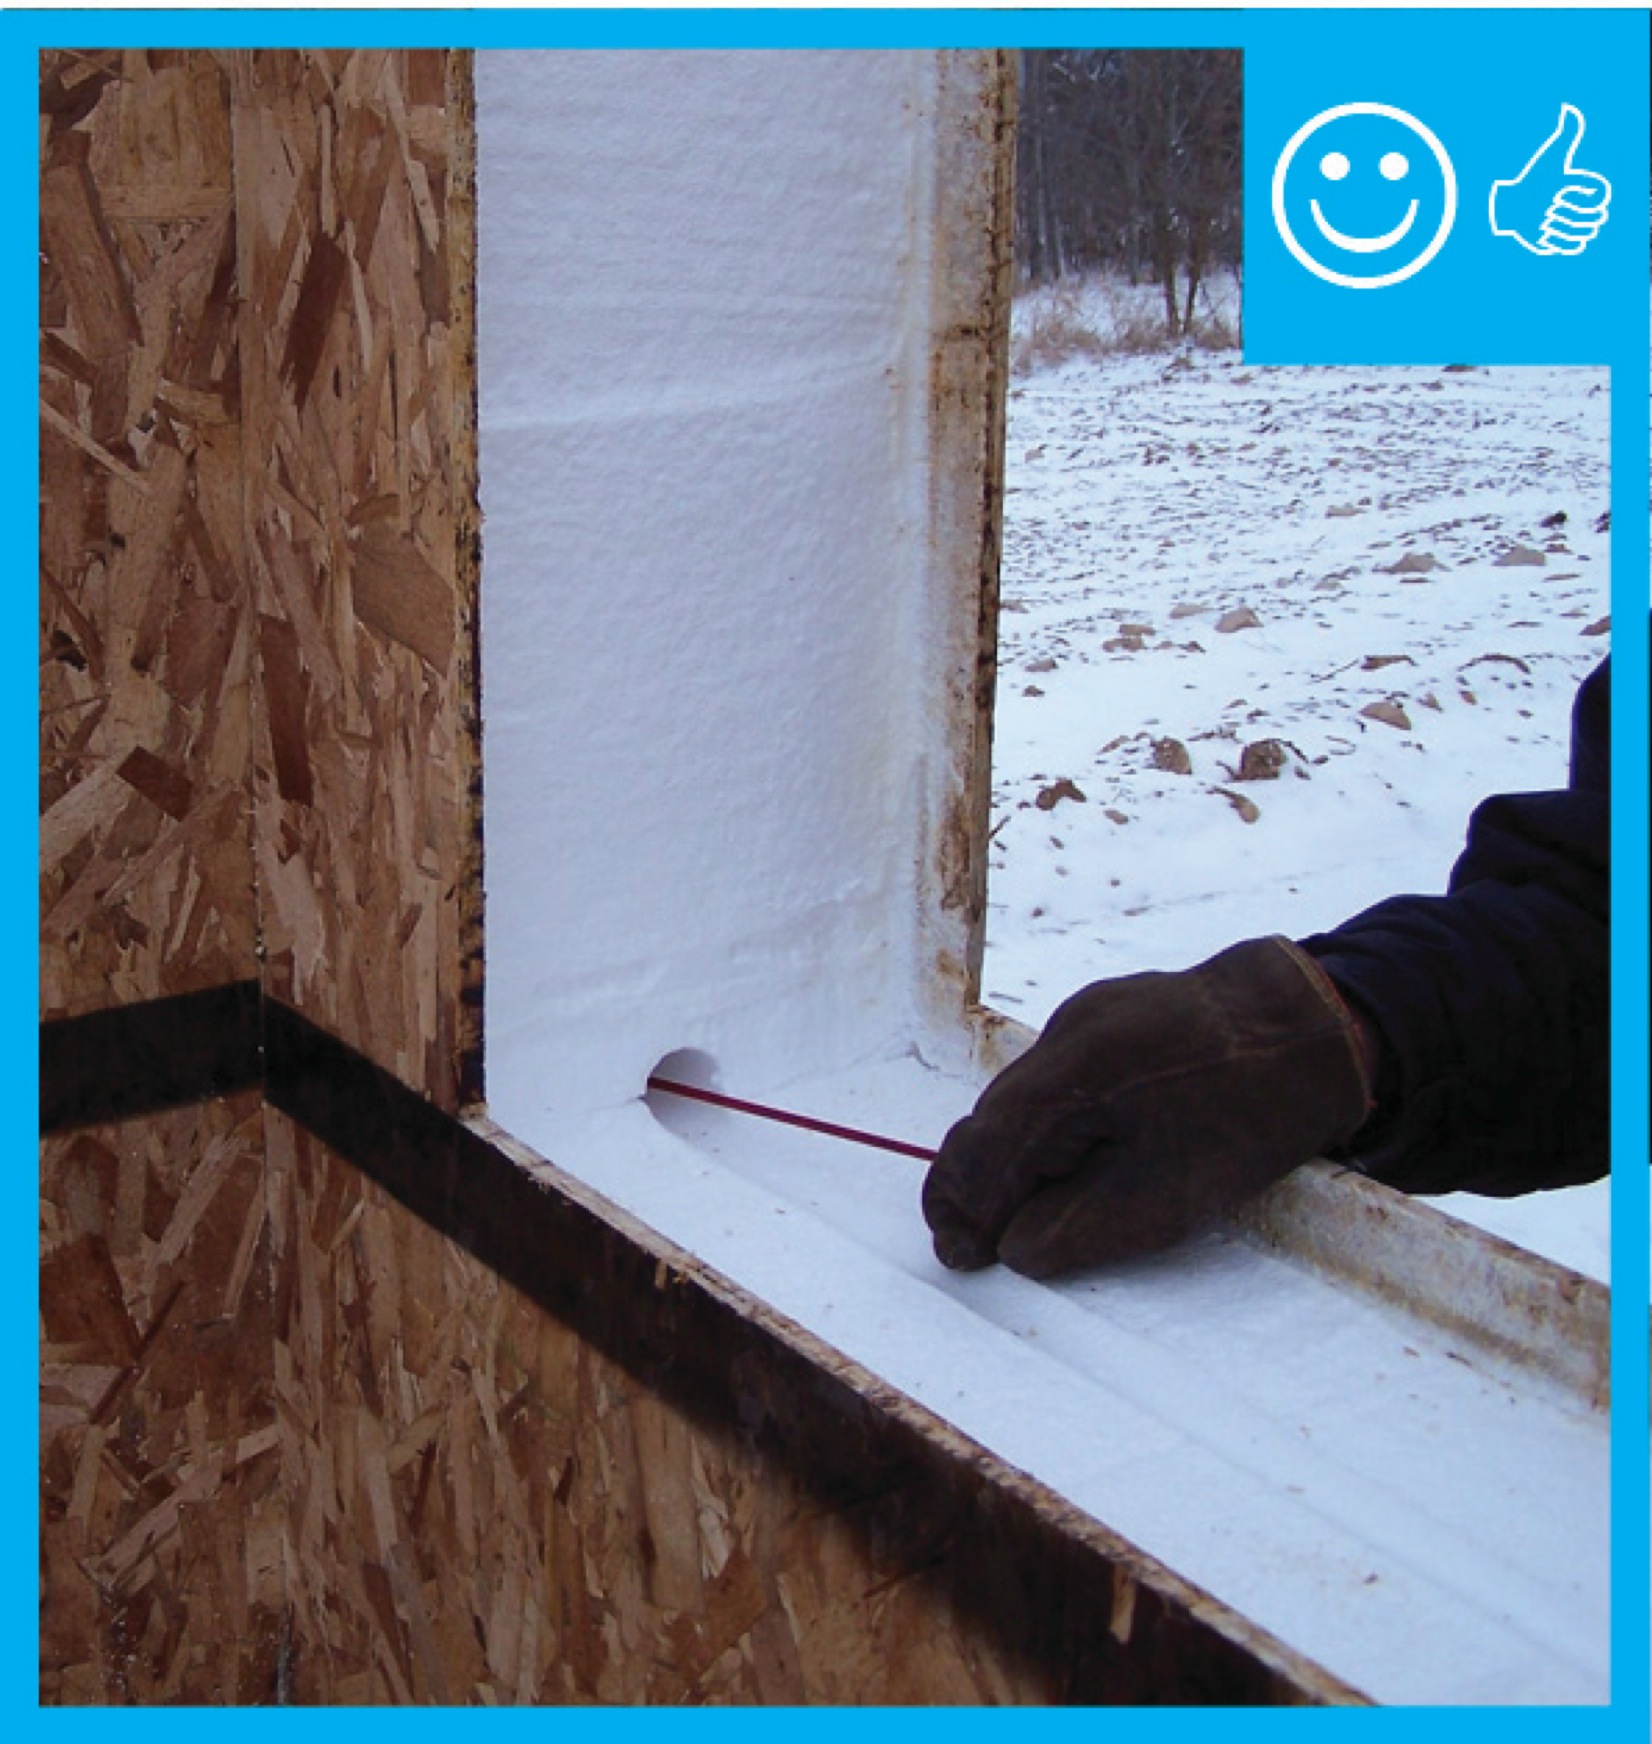
Right - Hole drilled to verify sealant is present - Hole will be sealed after verification
Image
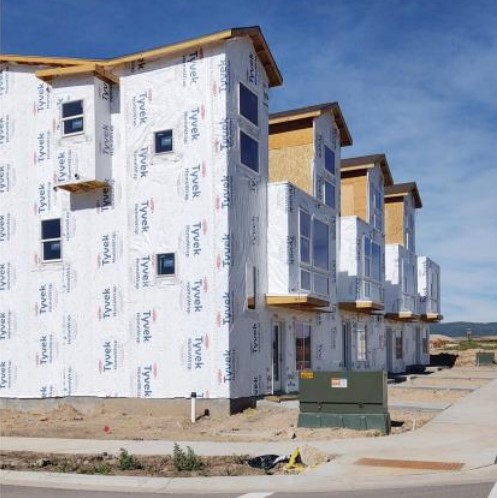
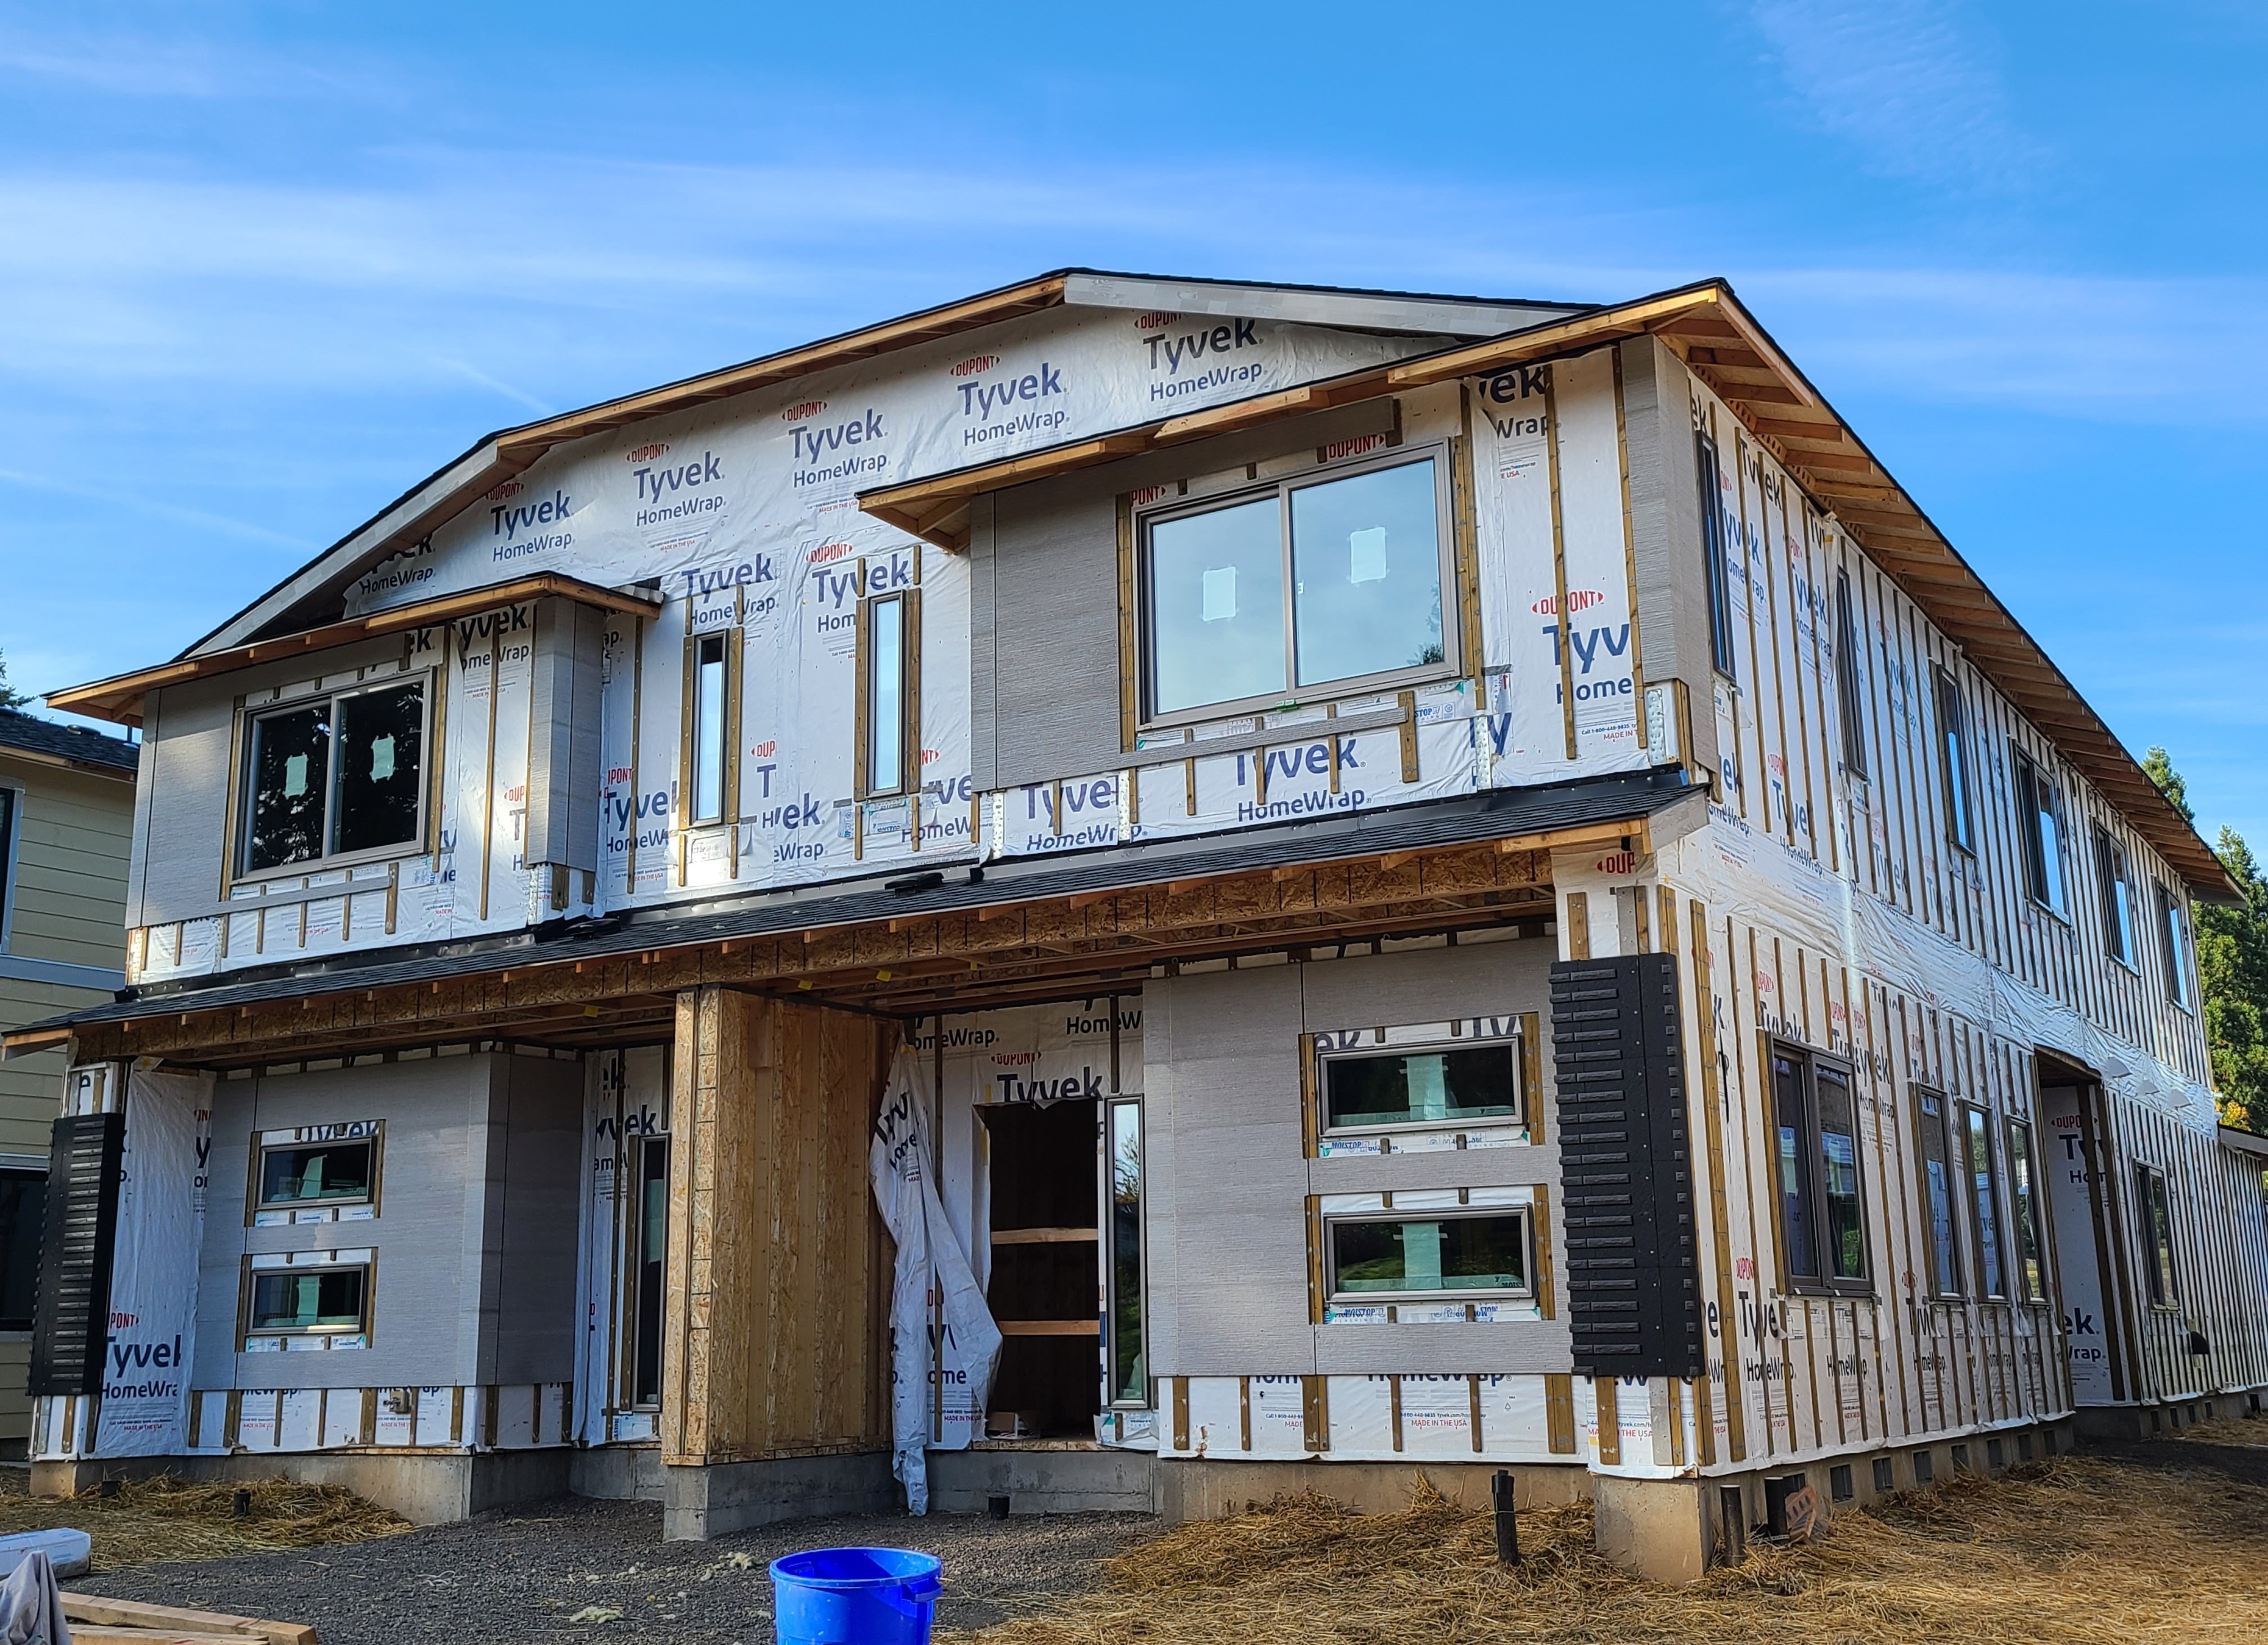
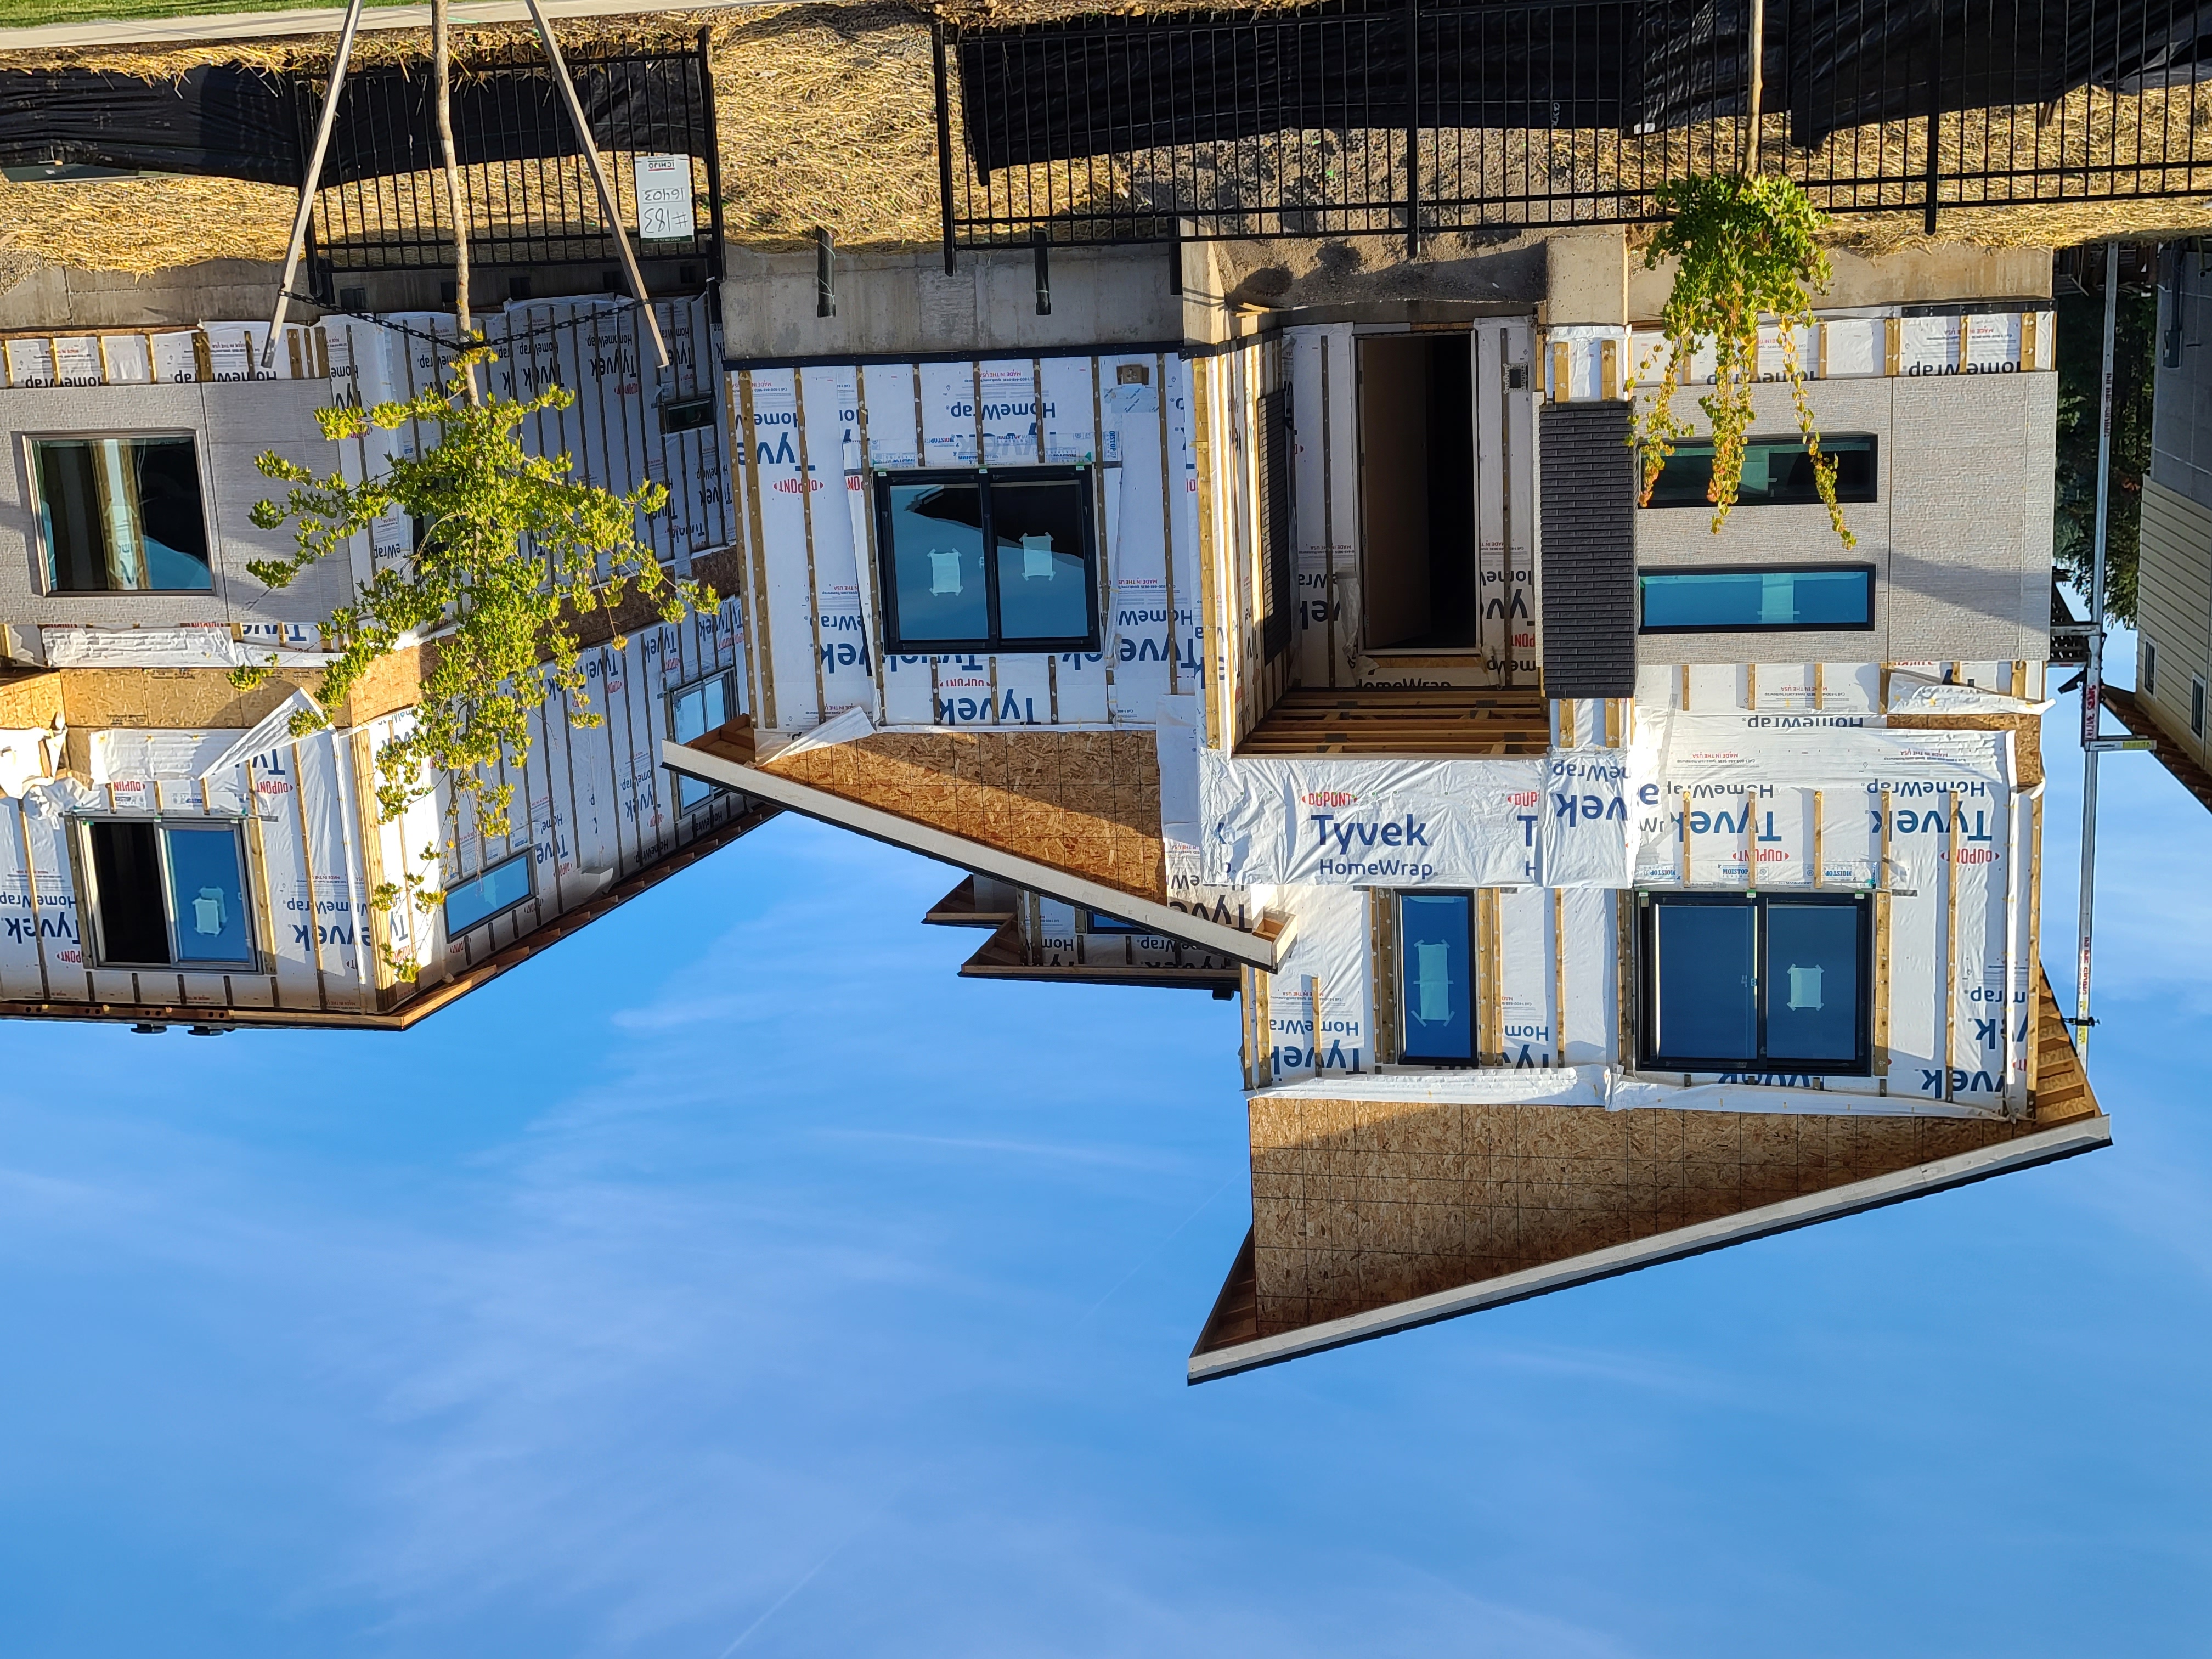
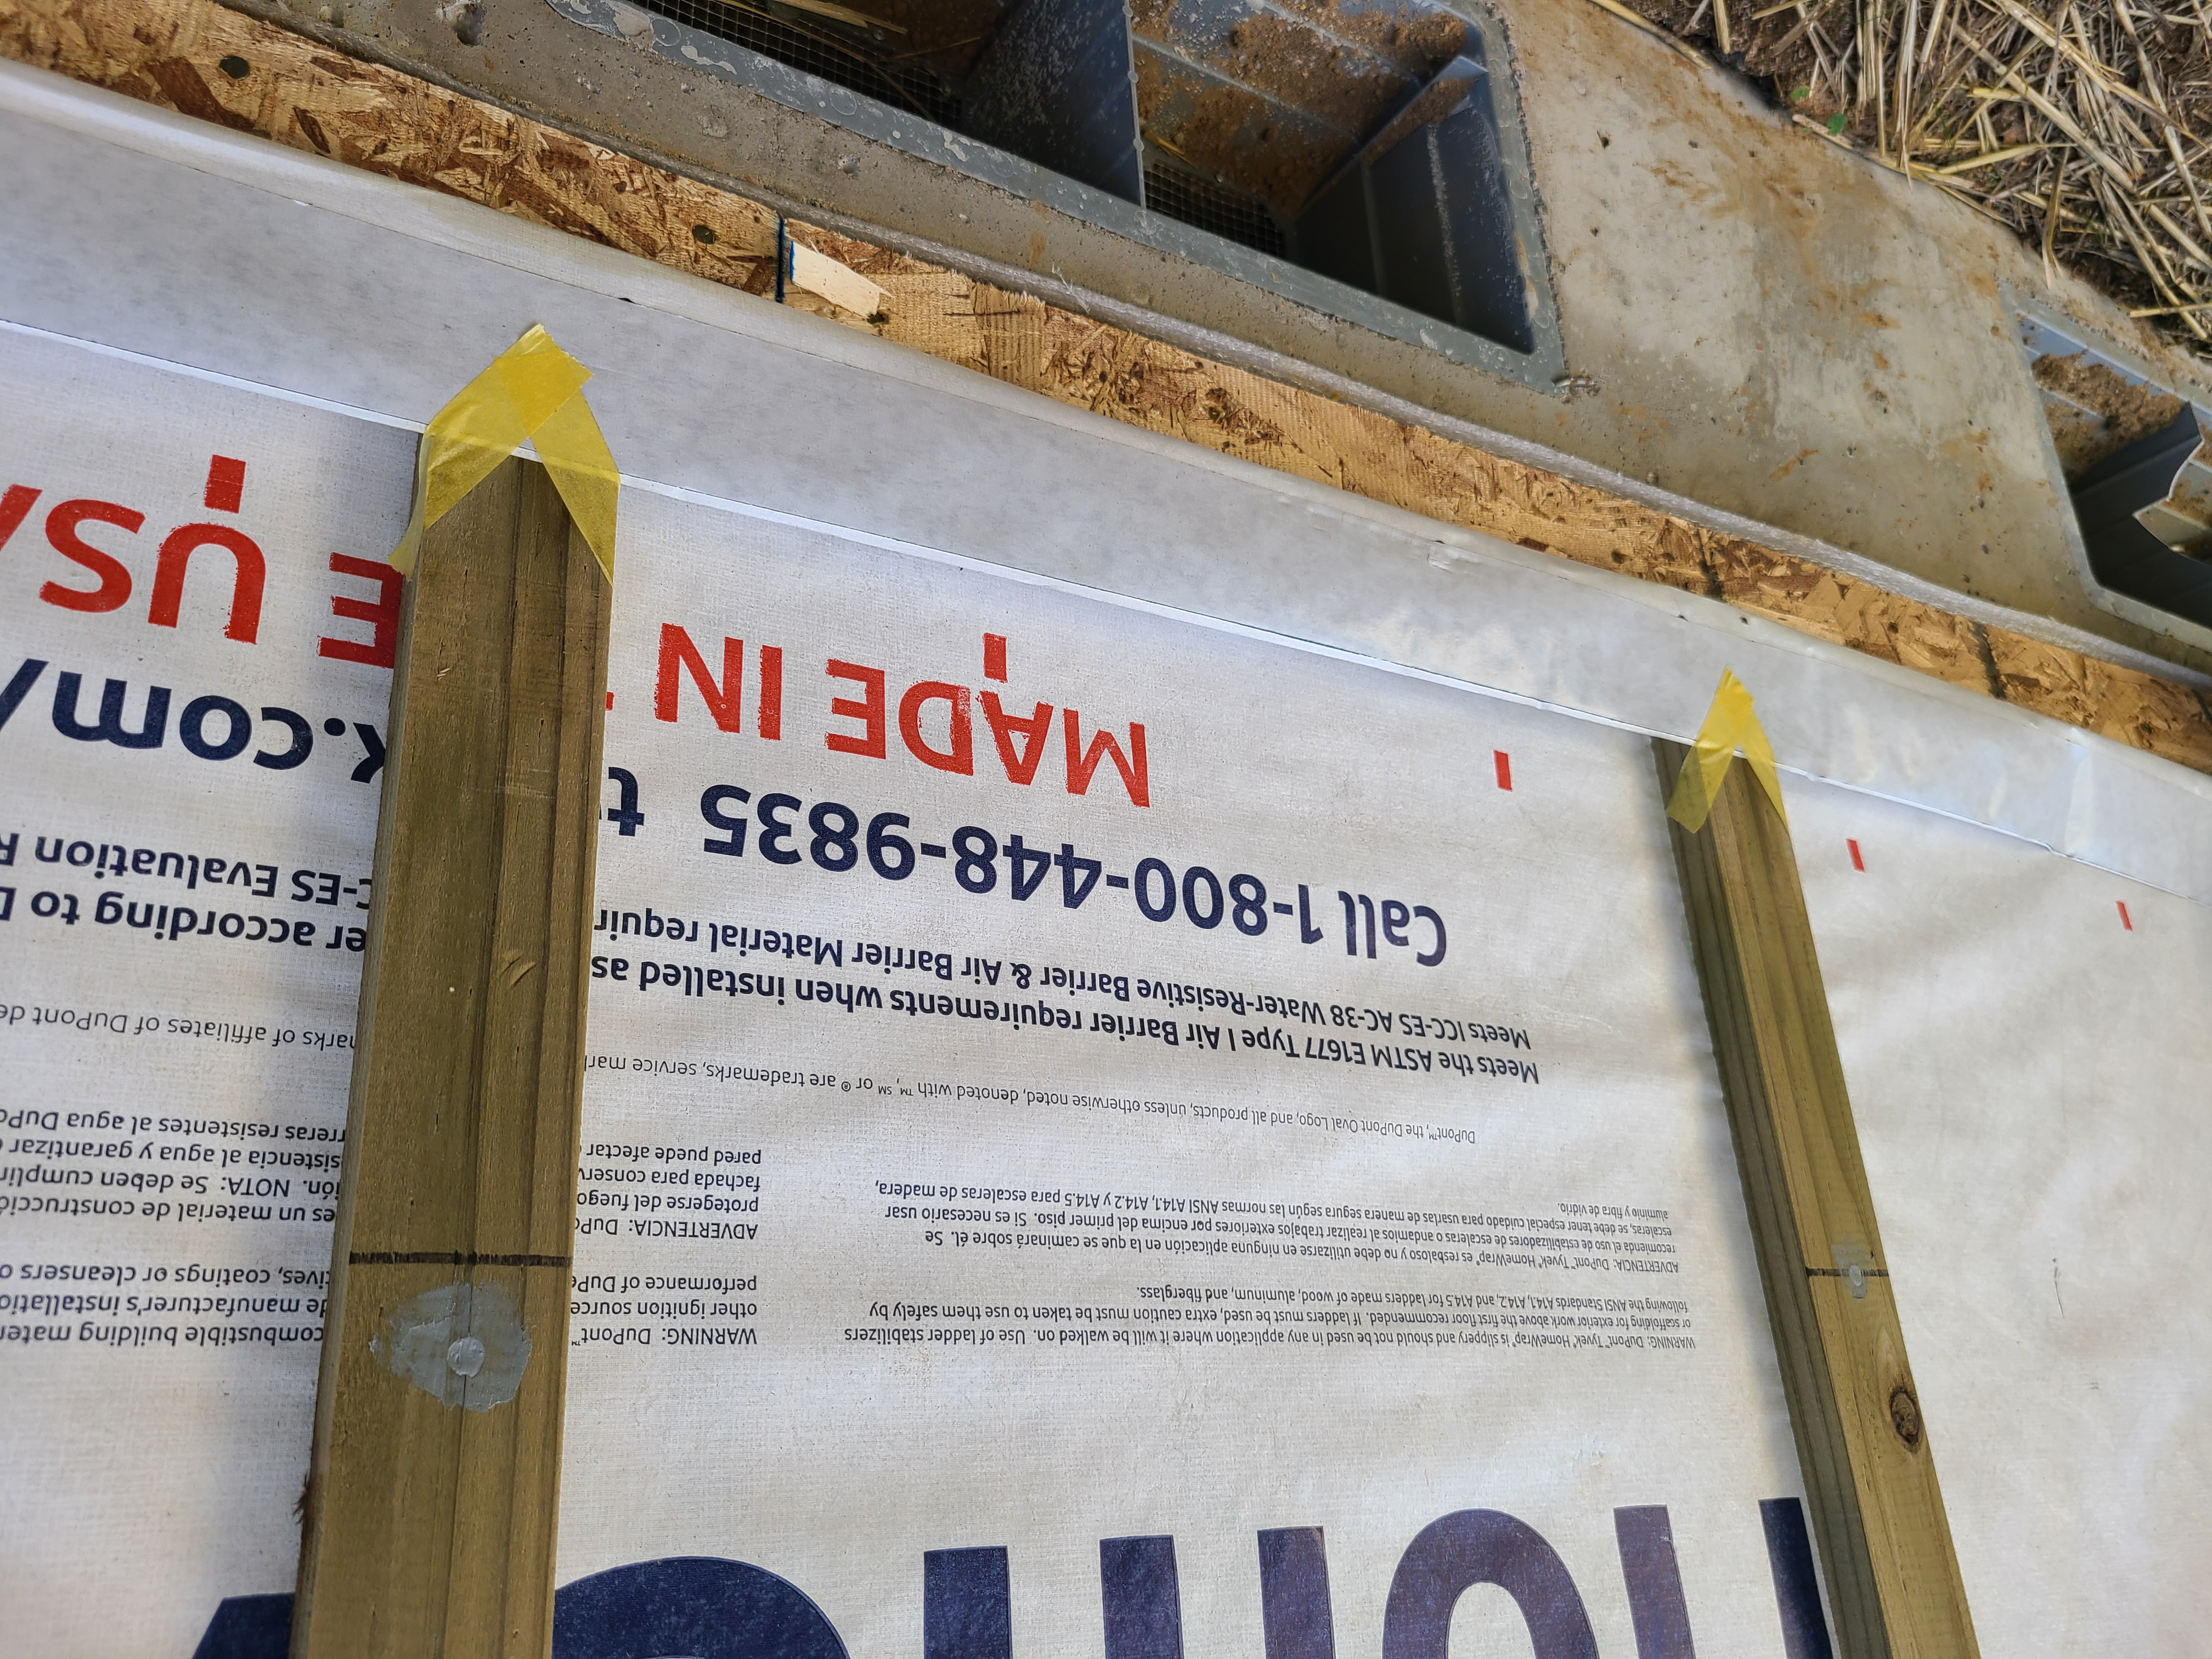
Right - House wrap is carefully installed from the top of the roof line to the foundation; seams are overlapped and taped to provide a continuous air- and weather-resistant barrier
Image

Right - House wrap is lapped back over first layer of flashing tape, then a second layer of flashing tape is applied to the sides around the duct; 13 of 14.
Image

Right - House wrap is overlapped “shingle” style to direct moisture down and away from the house; seams will be taped so house wrap serves as both an air and weather barrier.
Image

Image
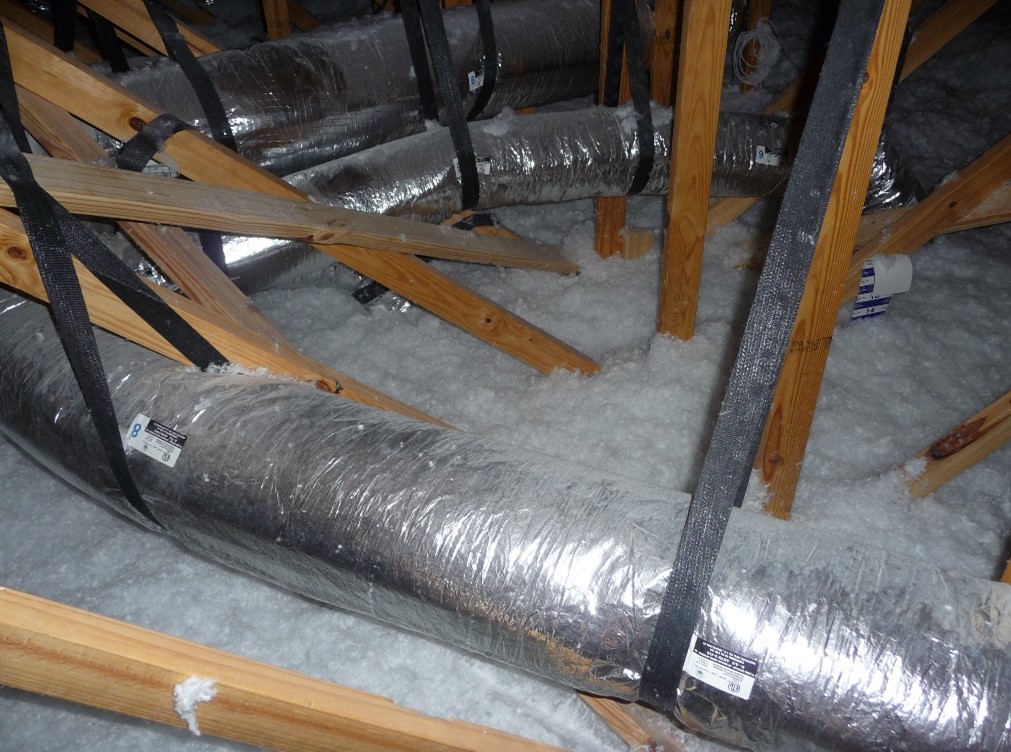
Right - HVAC ducts should be well-supported with minimal bends and pinching.
Image
Right - Impact-resistant glass protects windows from wind-borne debris and is always in place, requiring no manual deployment during a storm.
Image
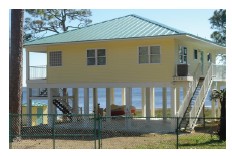
Right - In areas prone to costal flooding, elevate the bottom floor well above the design flood elevation.
Image
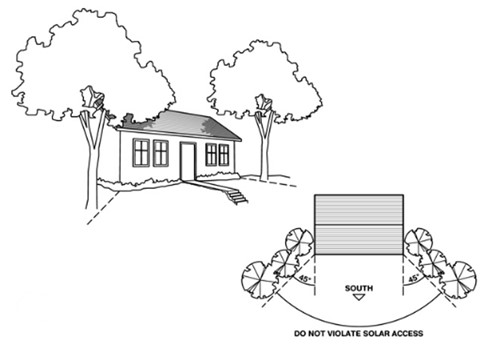
Right - In cooler climates, landscape shading should focus on the east- and west-facing walls, while leaving the south side of the house clear for solar access in winter (well-sized roof overhangs could provide summer shading for the south-facing windows)
Image
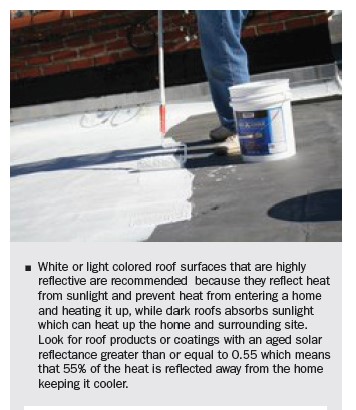
Right - In hot climates, paint flat roofs light colors to reflect solar heat gain.
Image
Right - Install backflow prevention devices on plumbing pipes to prevent wastewater from entering the home's plumbing system.
Image
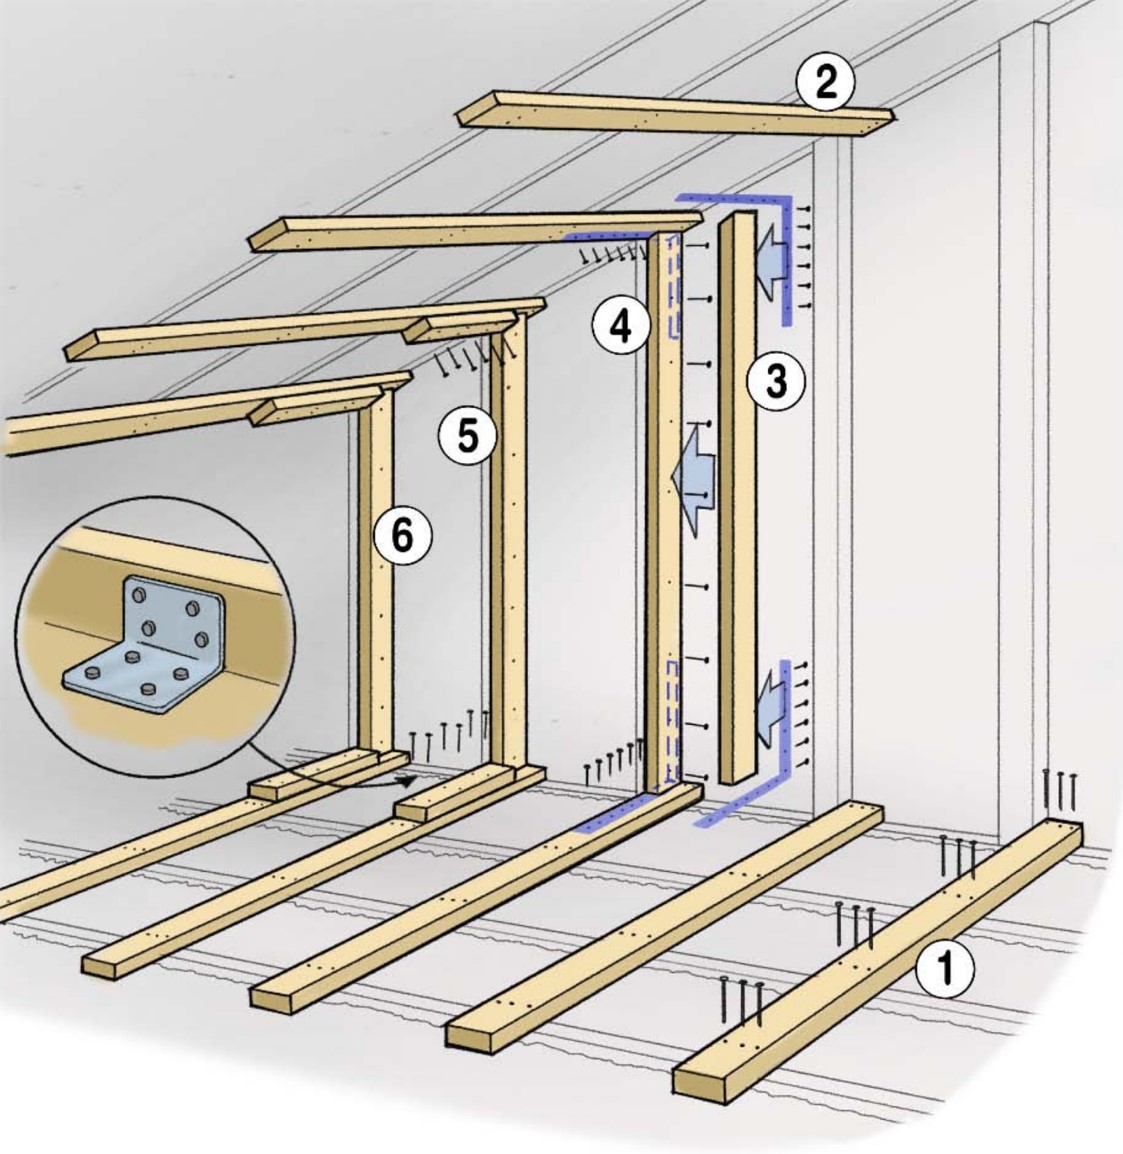
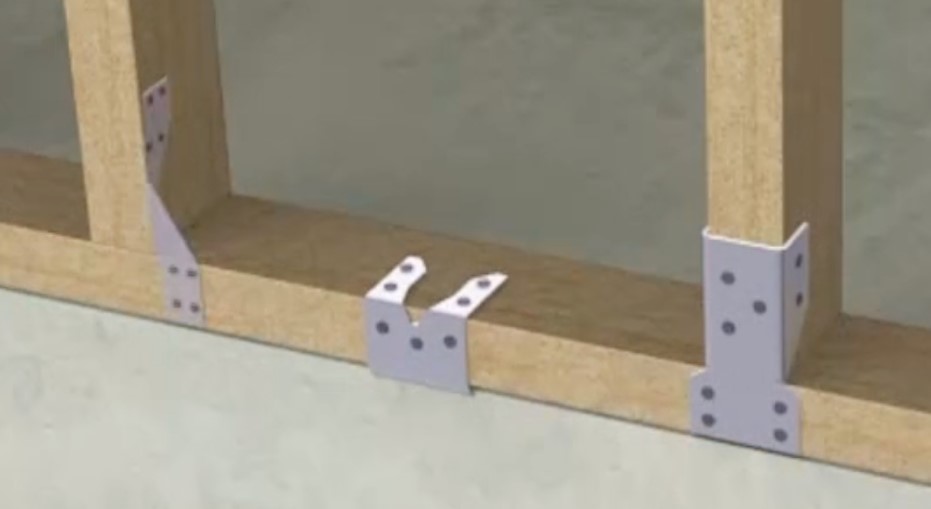
Right - Installation steps for the L-bent strap method of bracing a gable end wall
Image
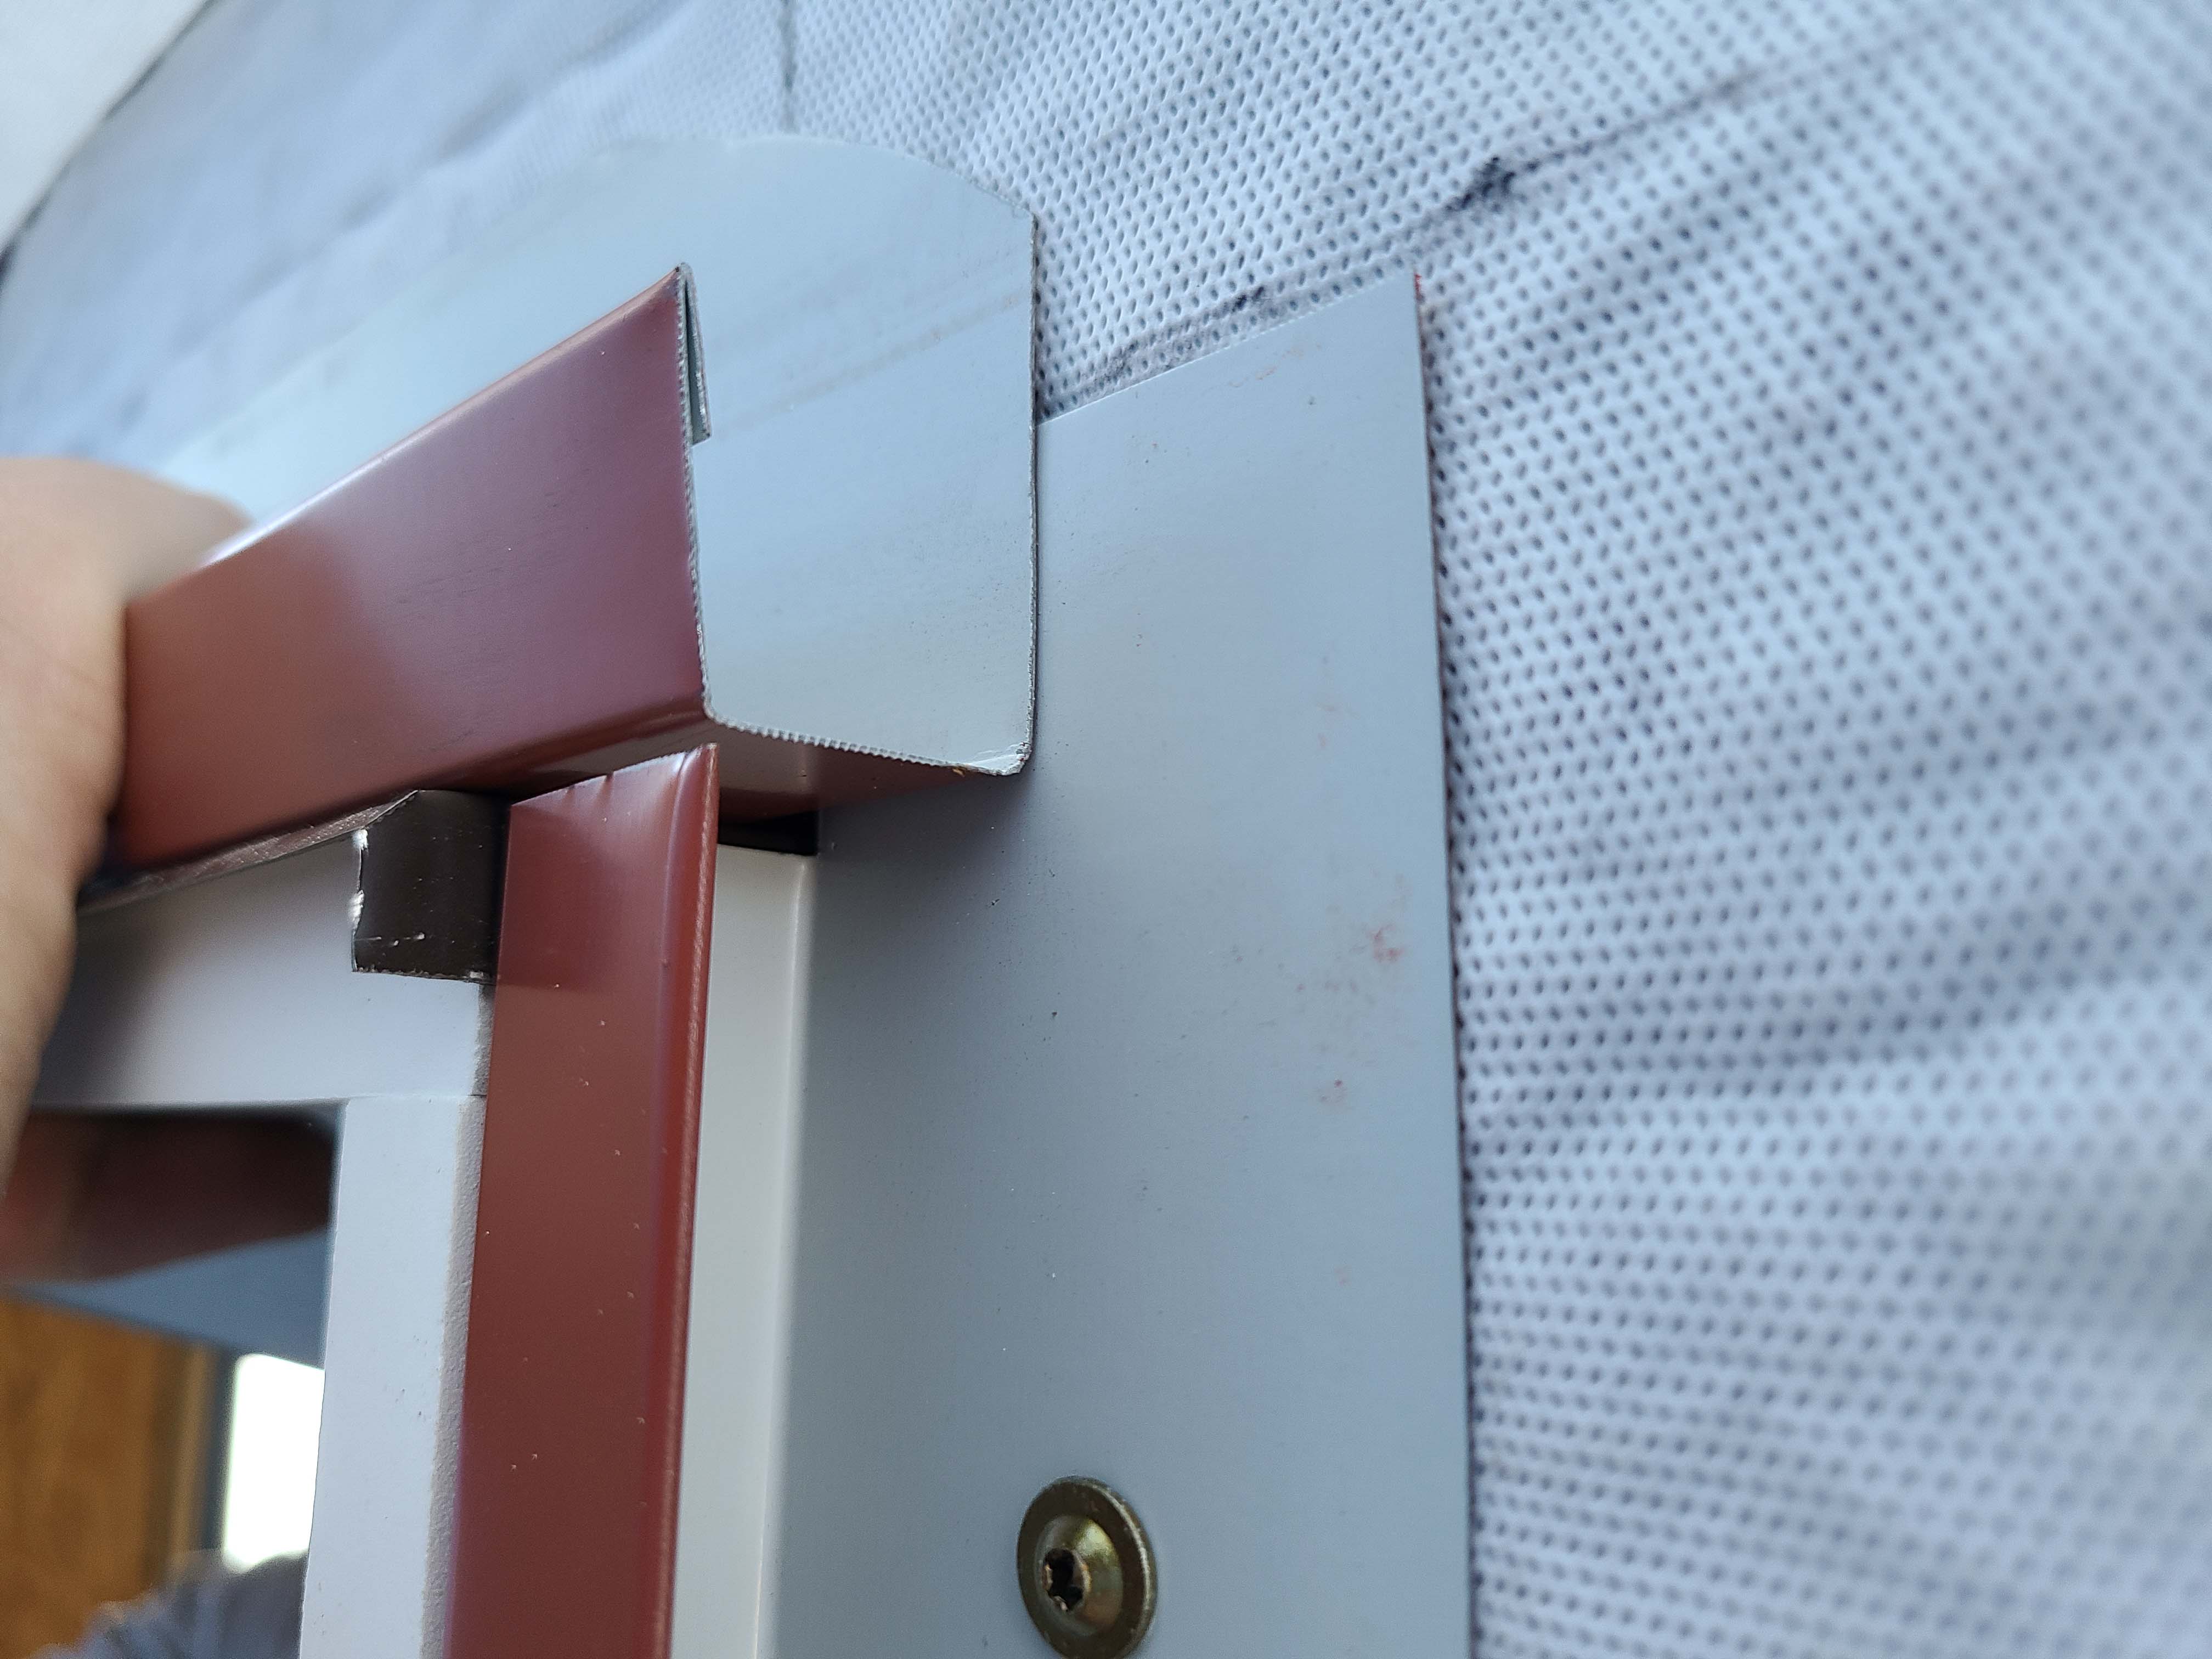
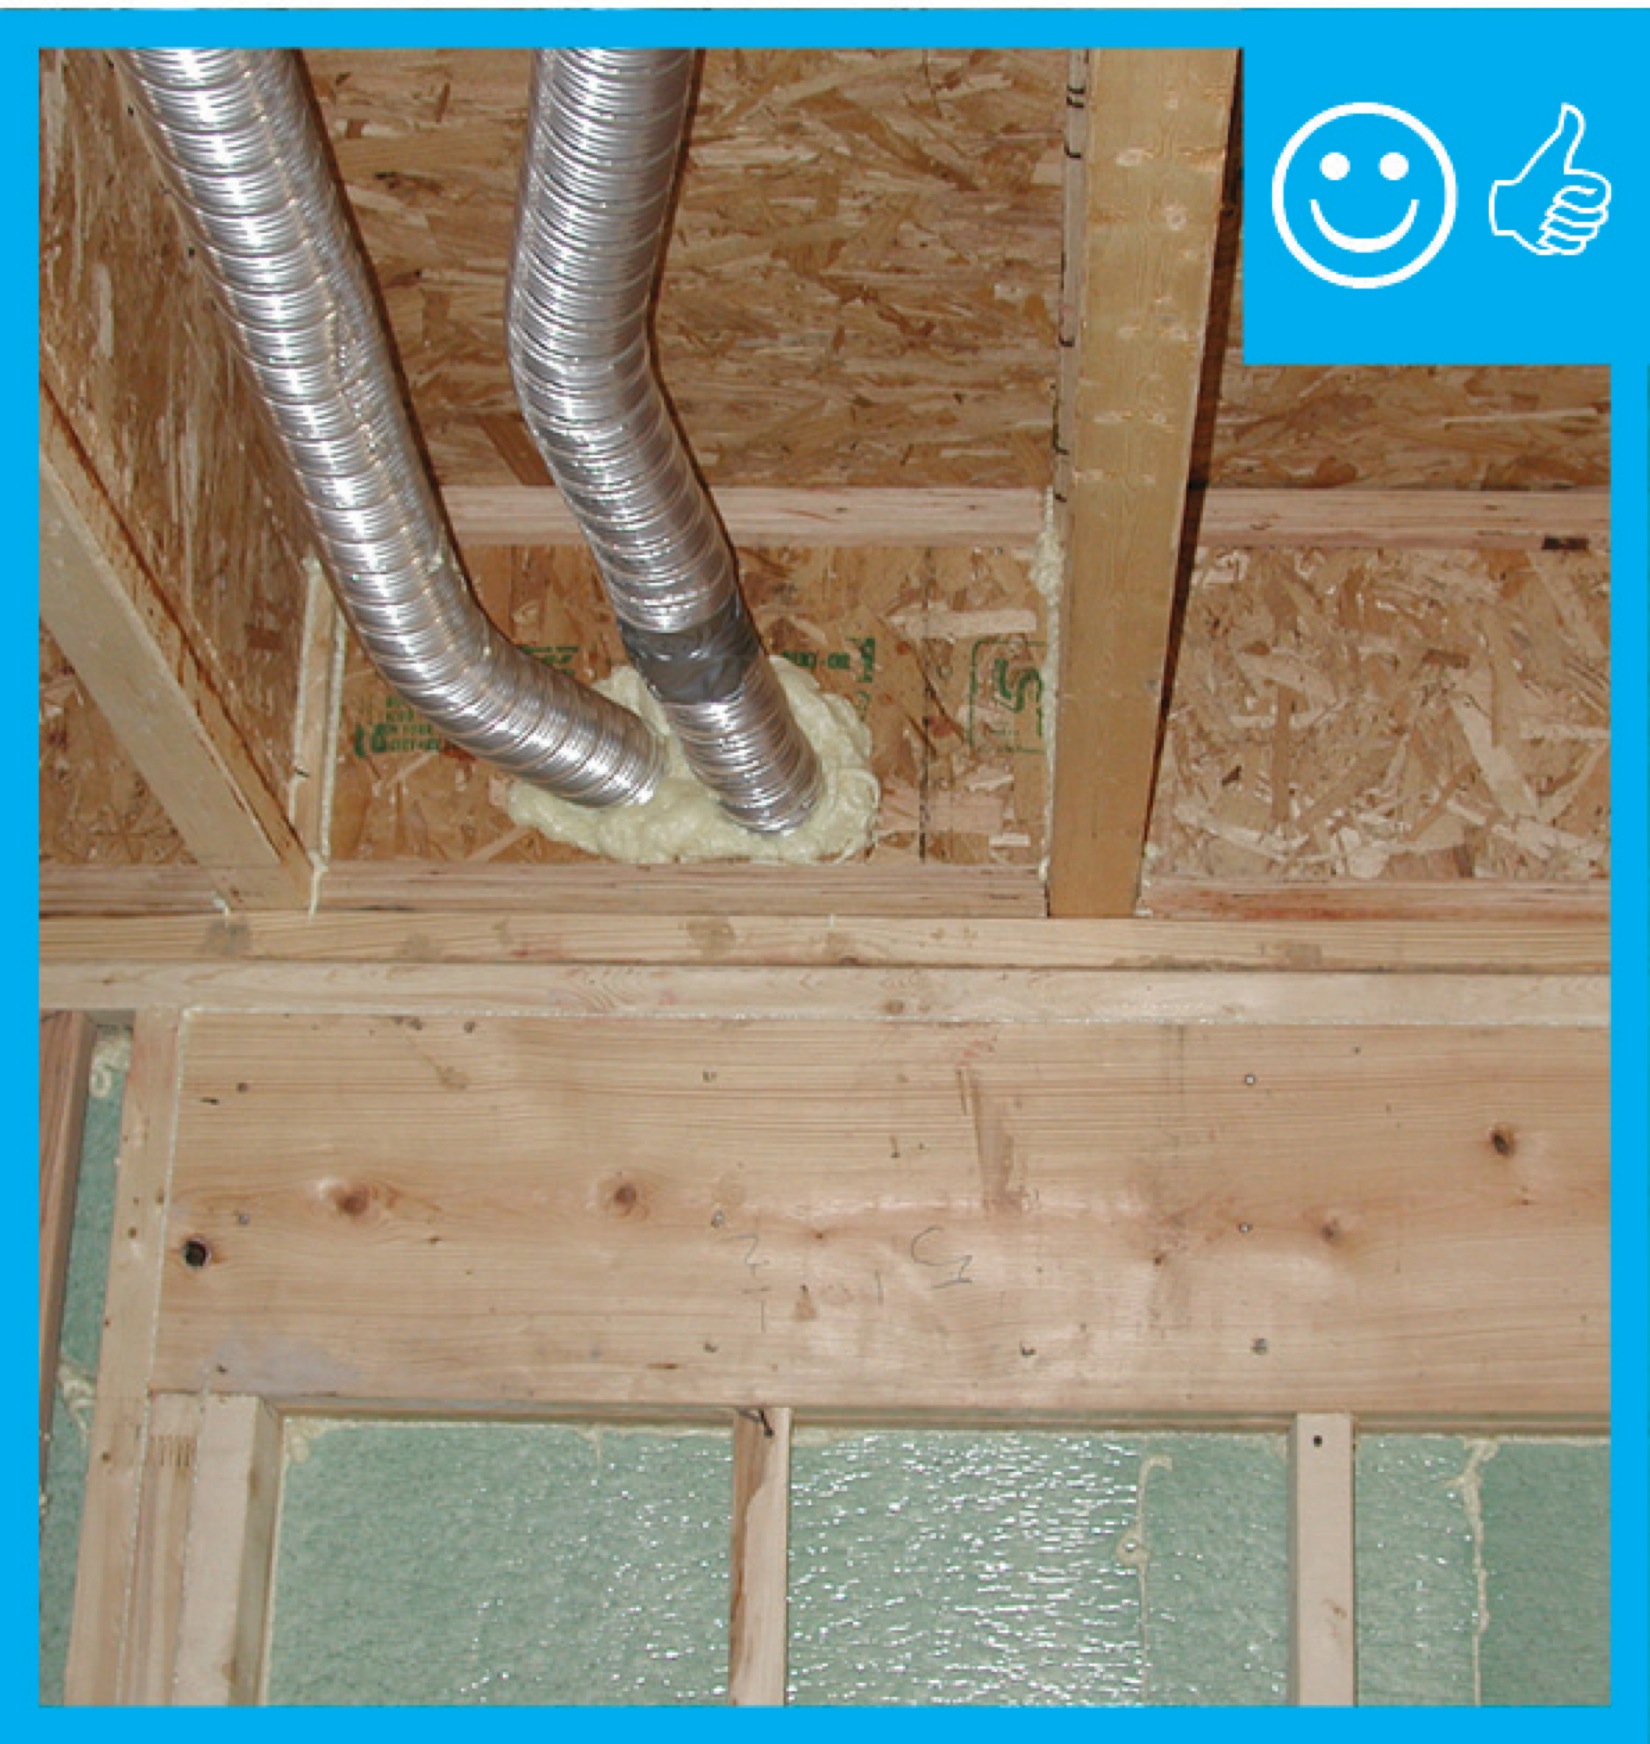
Right - Insulating sleeve for small through-the-wall HRV unit with sealing gasket; 3 of 14.
Image
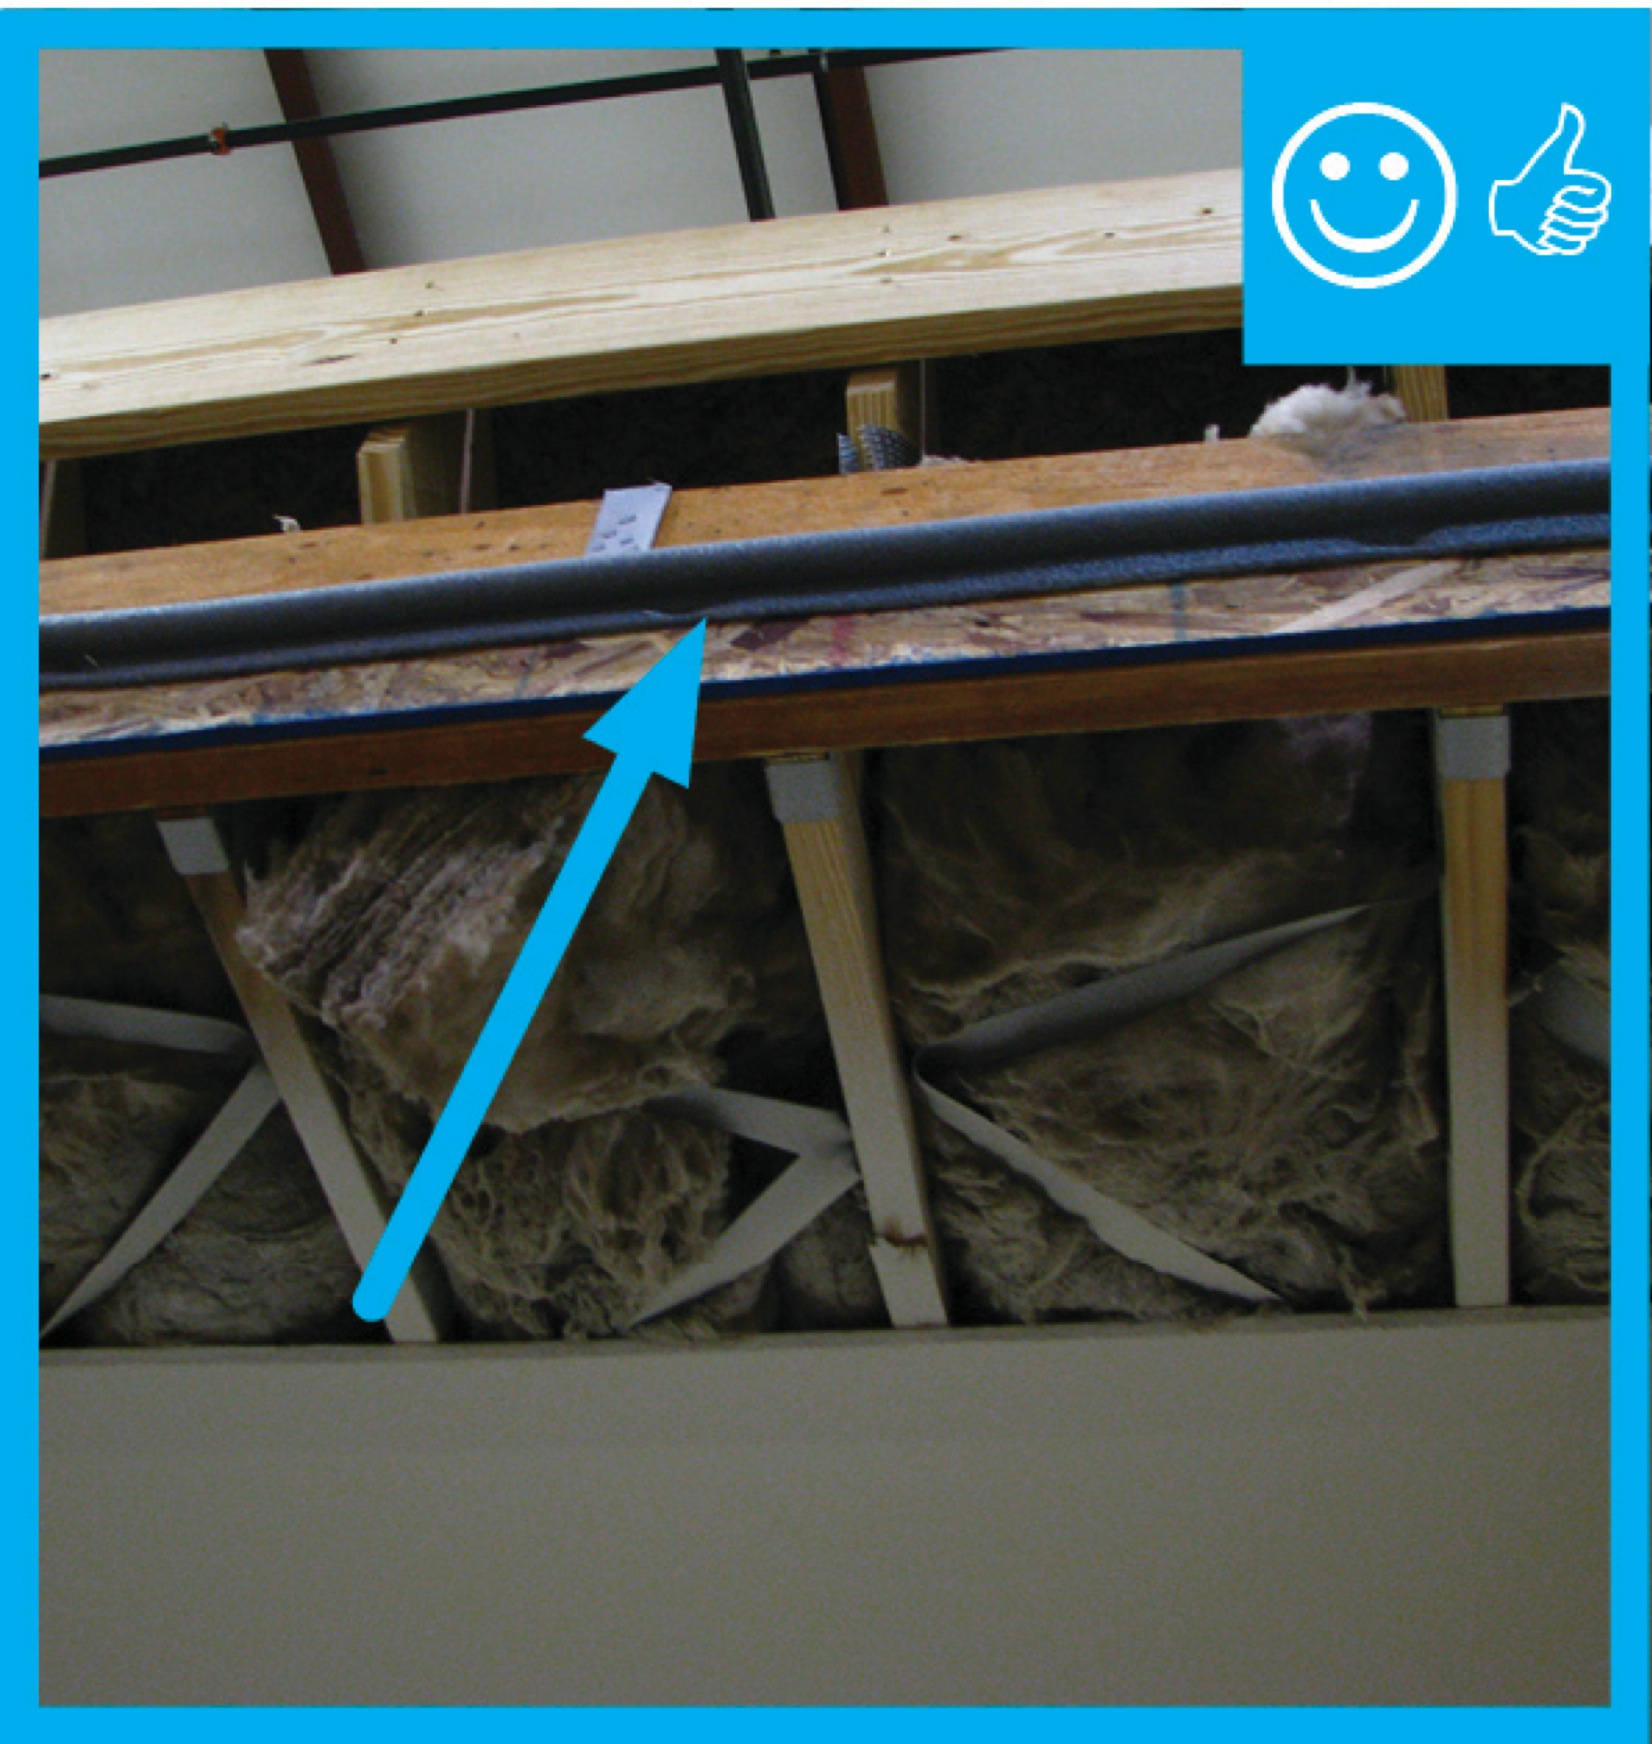
Right - Ladder blocking allows insulation to be installed in exterior walls at interior-exterior wall intersections.
Image
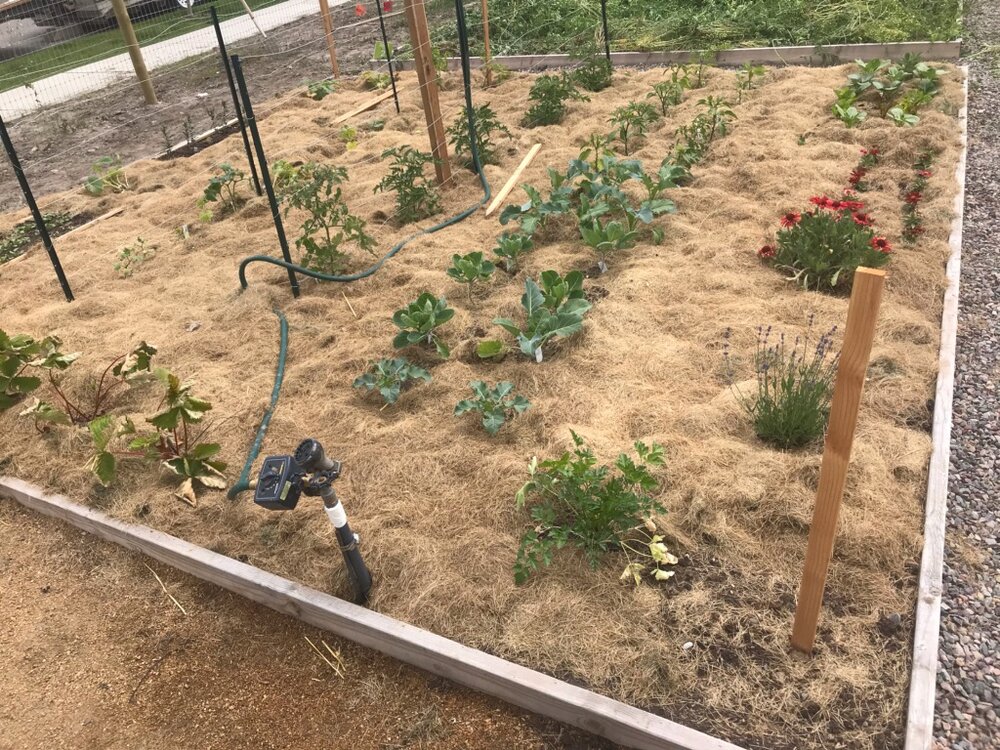
Right - Lawn clippings were placed evenly to create a layer of mulch around the garden.
Image
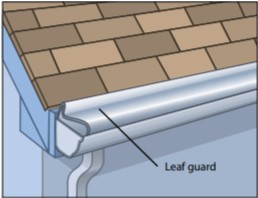
Right - Leaf guards allow rainwater into the gutter but keep combustible debris out, increasing the home's resistance to wildfires.
Image
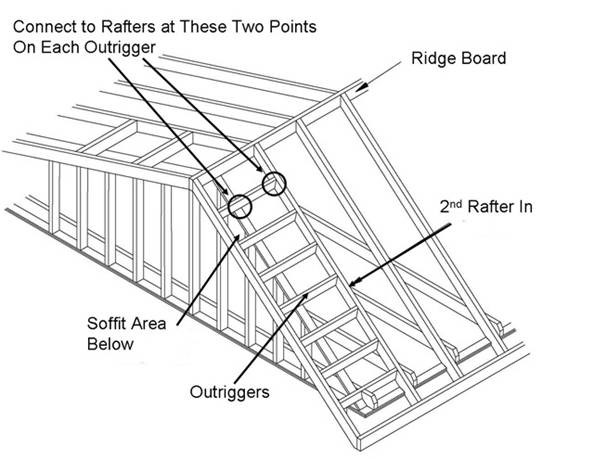
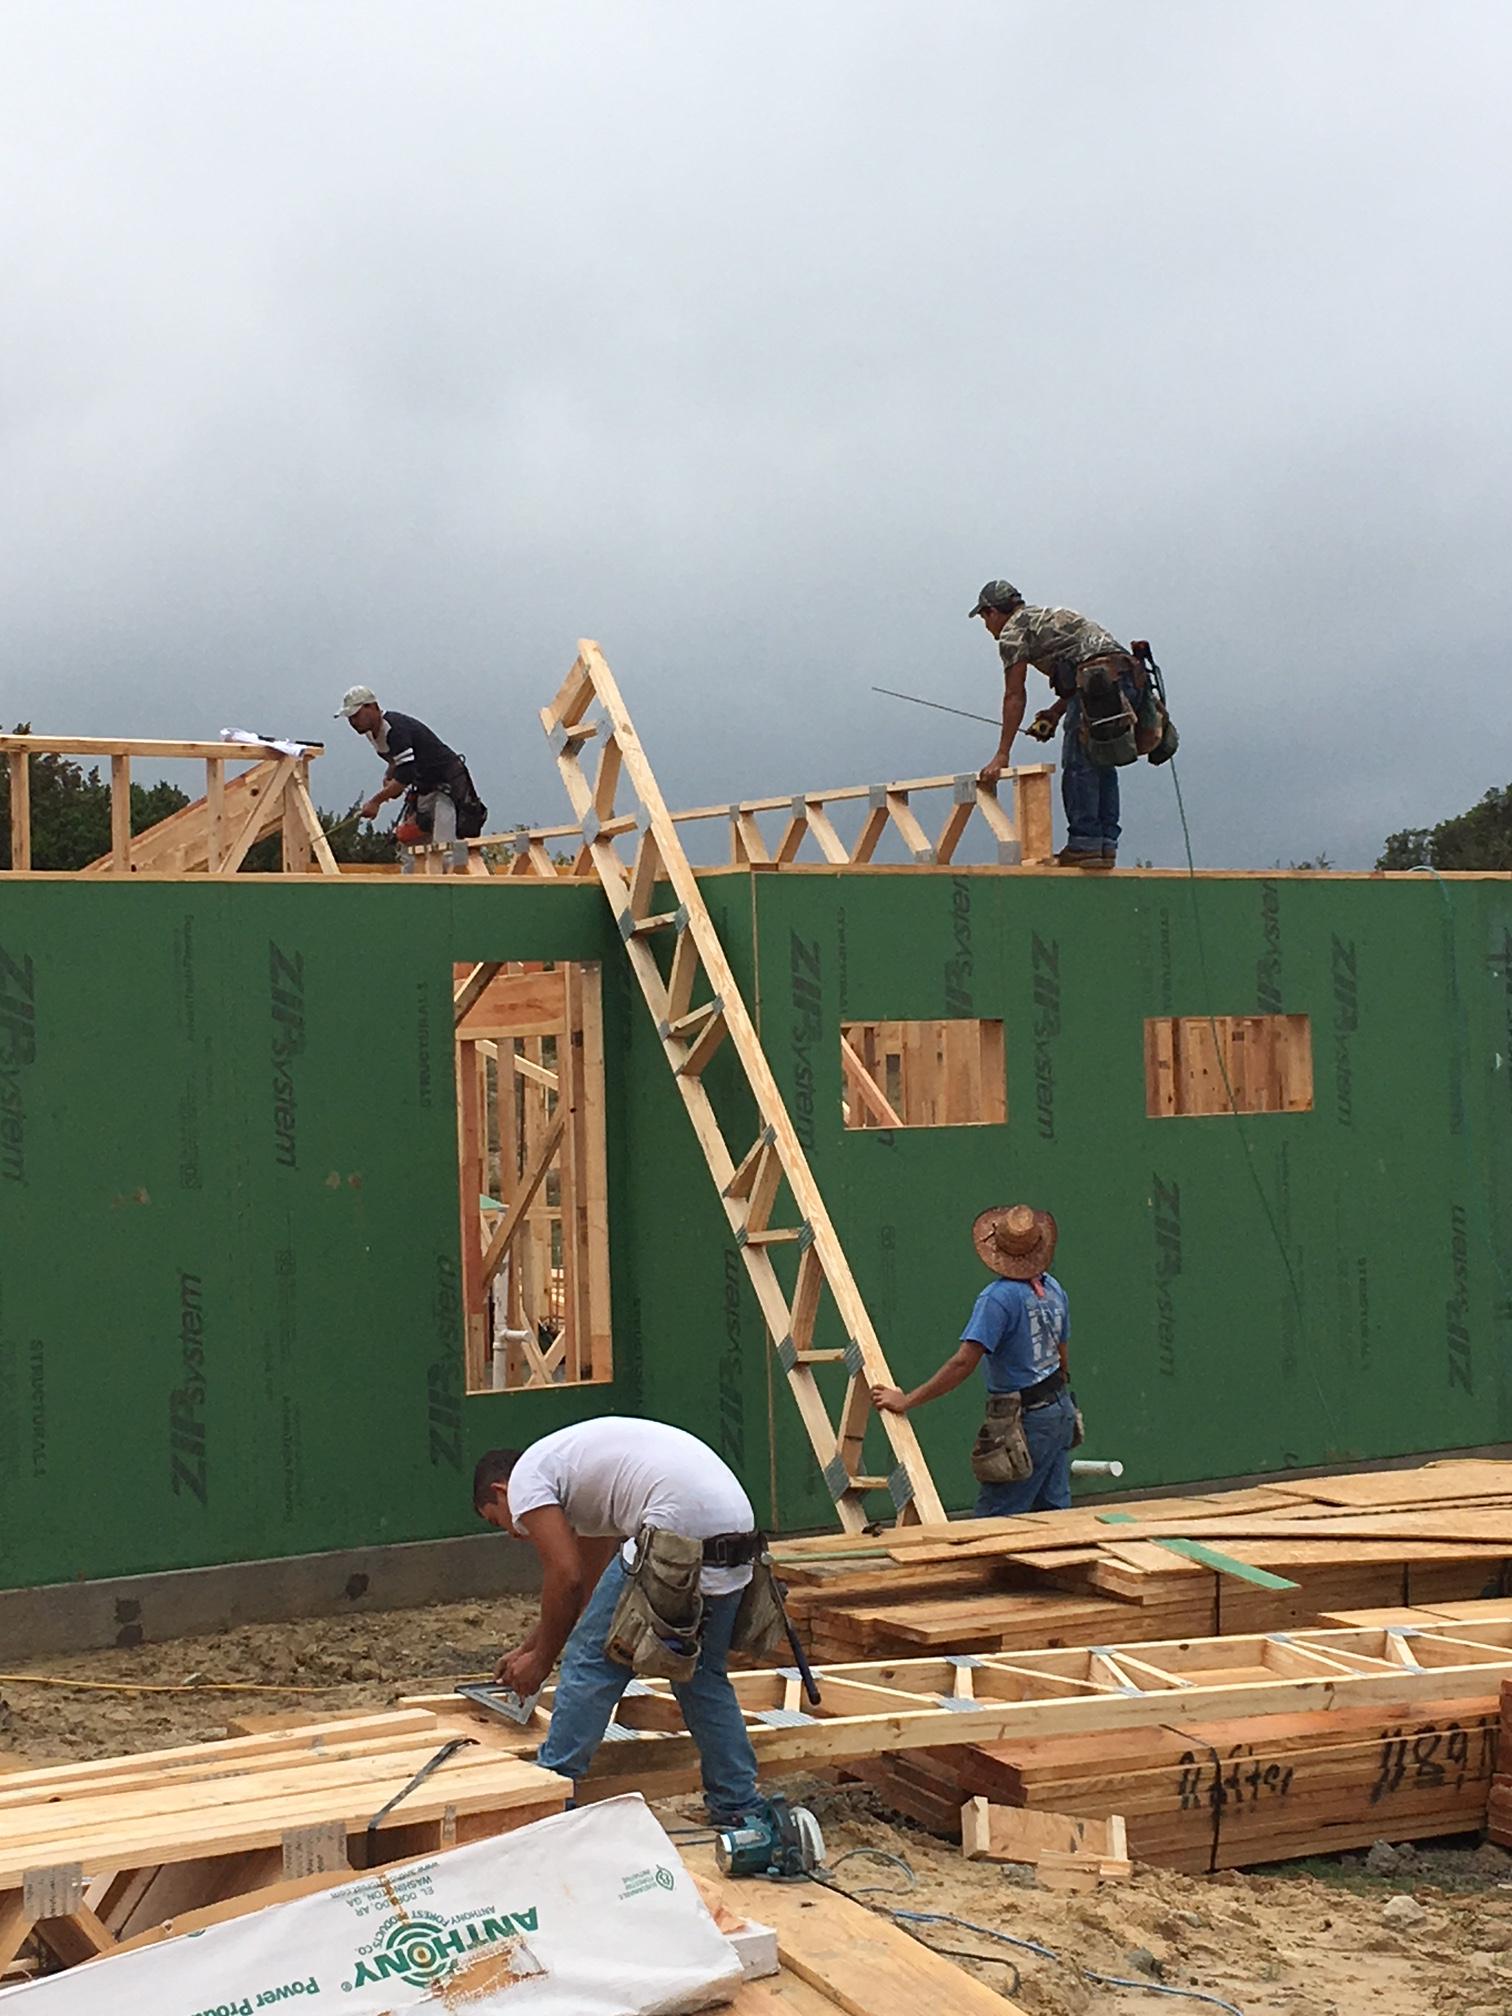
Right - Lookout or outrigger framing for a gable overhang provides two points at each outrigger to add metal connectors to strengthen the overhang against wind uplift.
Image
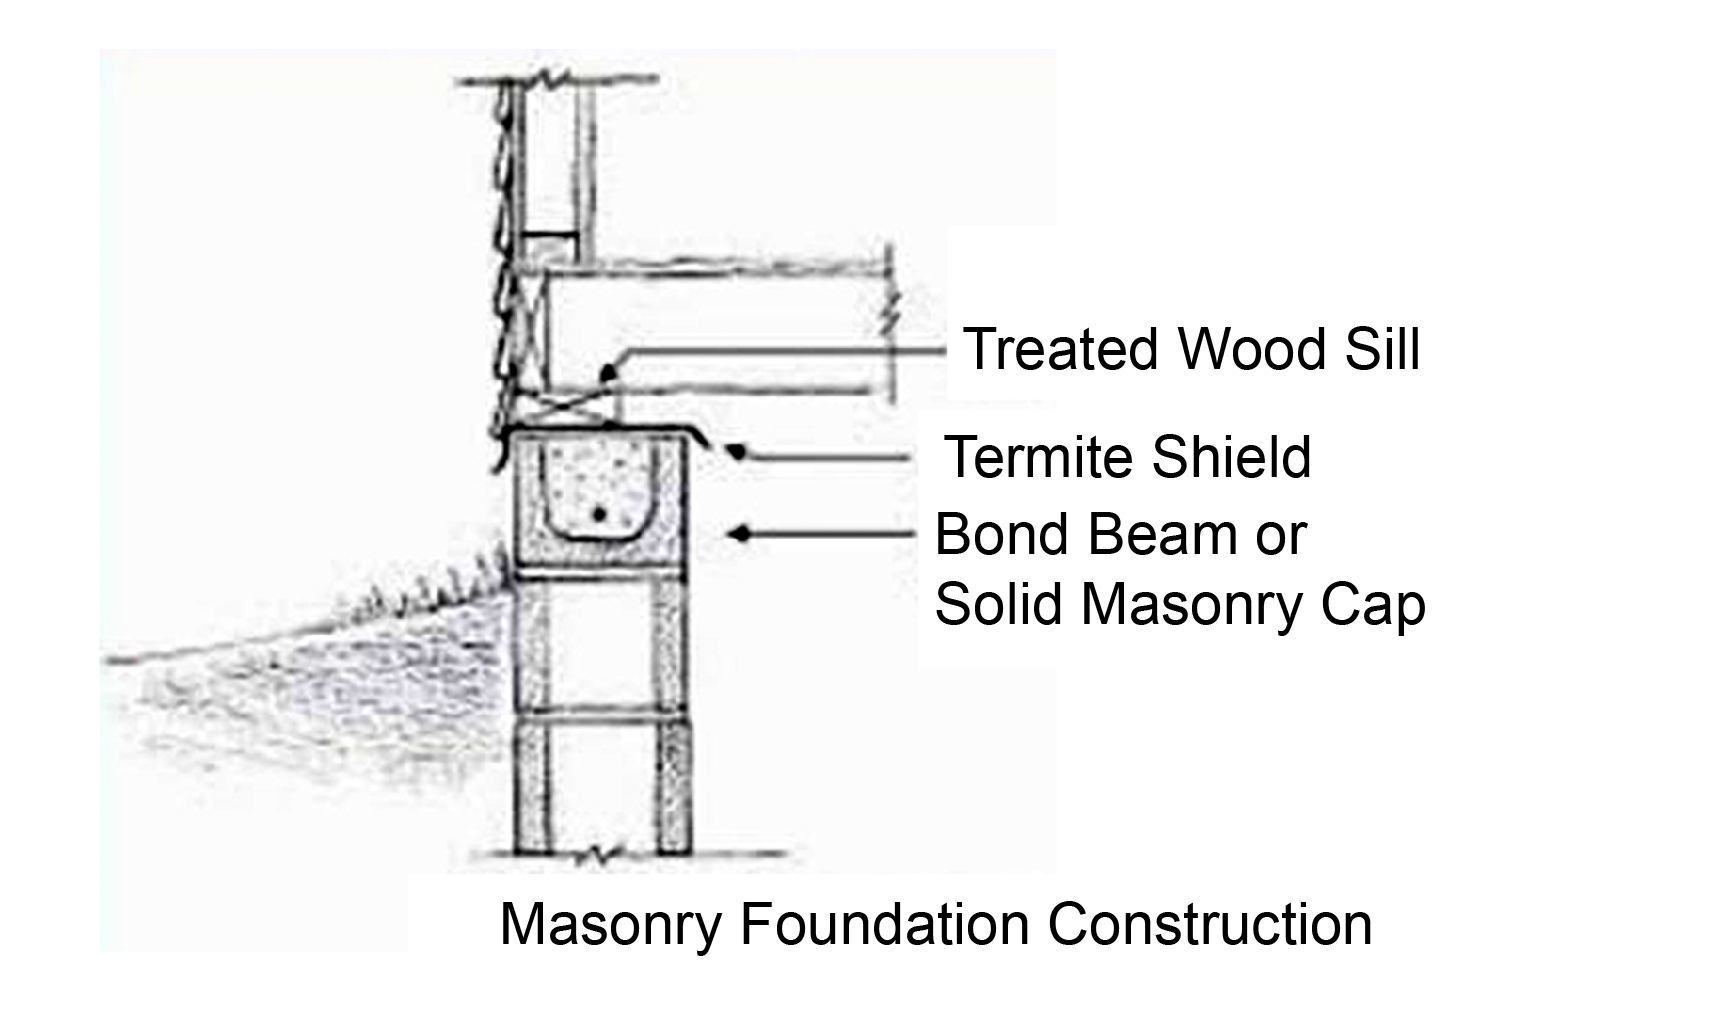
Right - Make concrete masonry unit foundations more termite resistant by using a solid masonry block or bond beam for the top course, installing a termite shield, and using a borate-treated sill plate.
Image
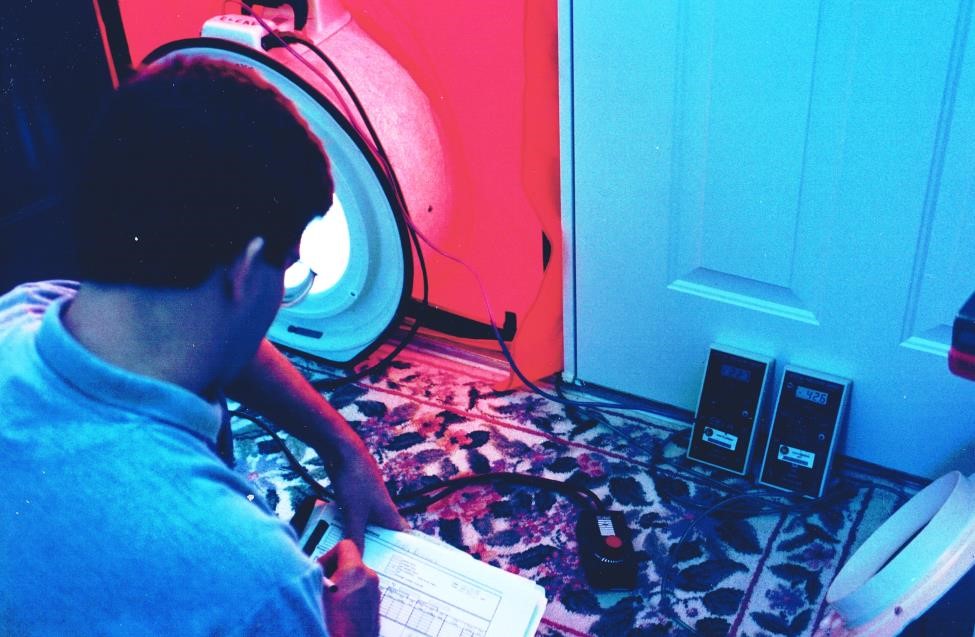
Right - Manometers are placed away from the indoor side of the fan during blower door testing
Image
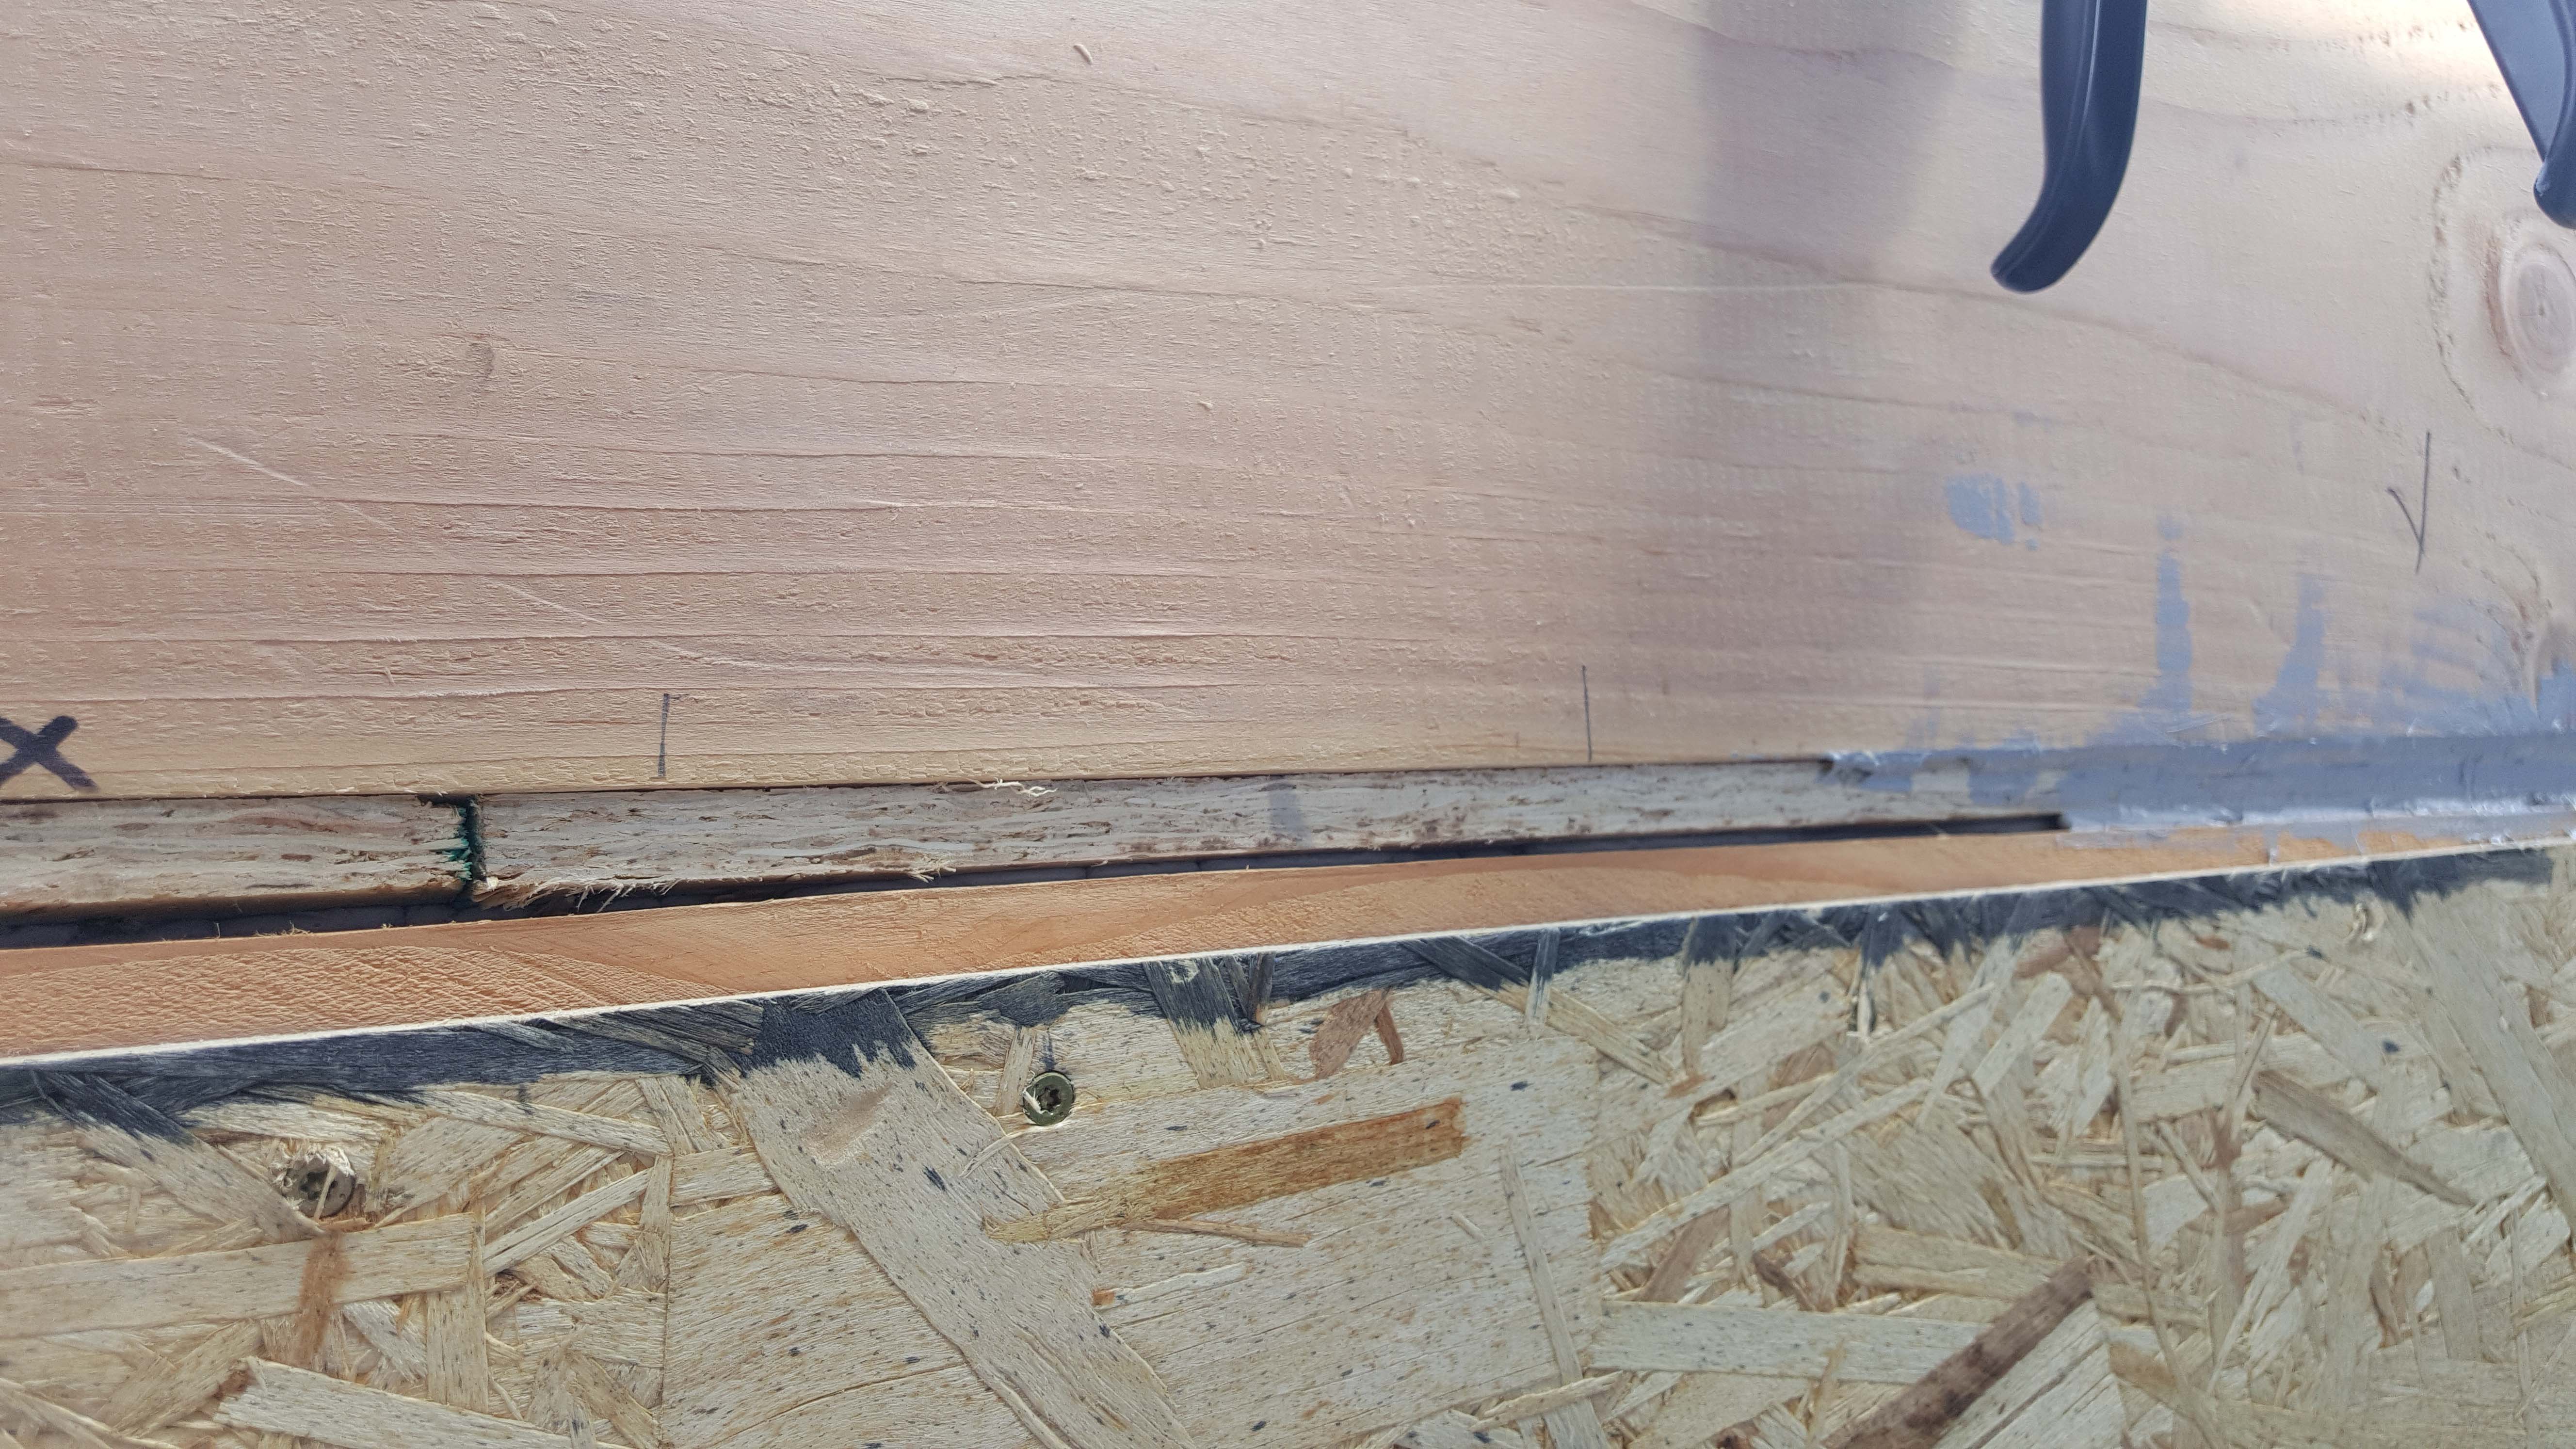
Right - Mastic is being installed to air seal the wood-to-wood joints in this wall.
Image
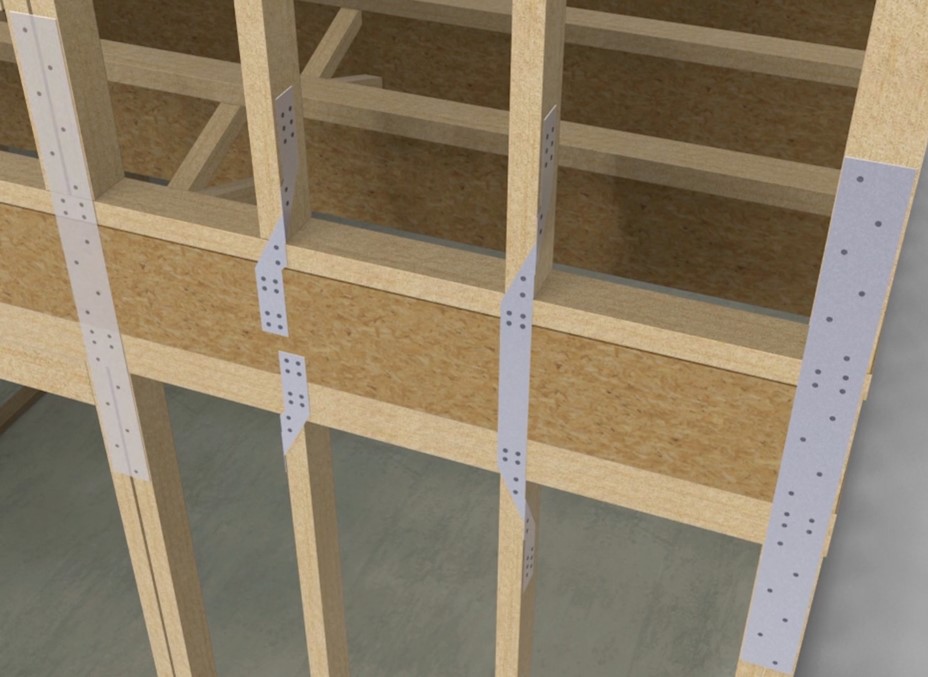
Right - Metal connectors provide uplift resistance at the rim joist between floors in new construction for a continuous load path.
Image
Right - Metal connectors provide uplift resistance at the stud-to-bottom plate connection in new construction for a continuous load path.
Image
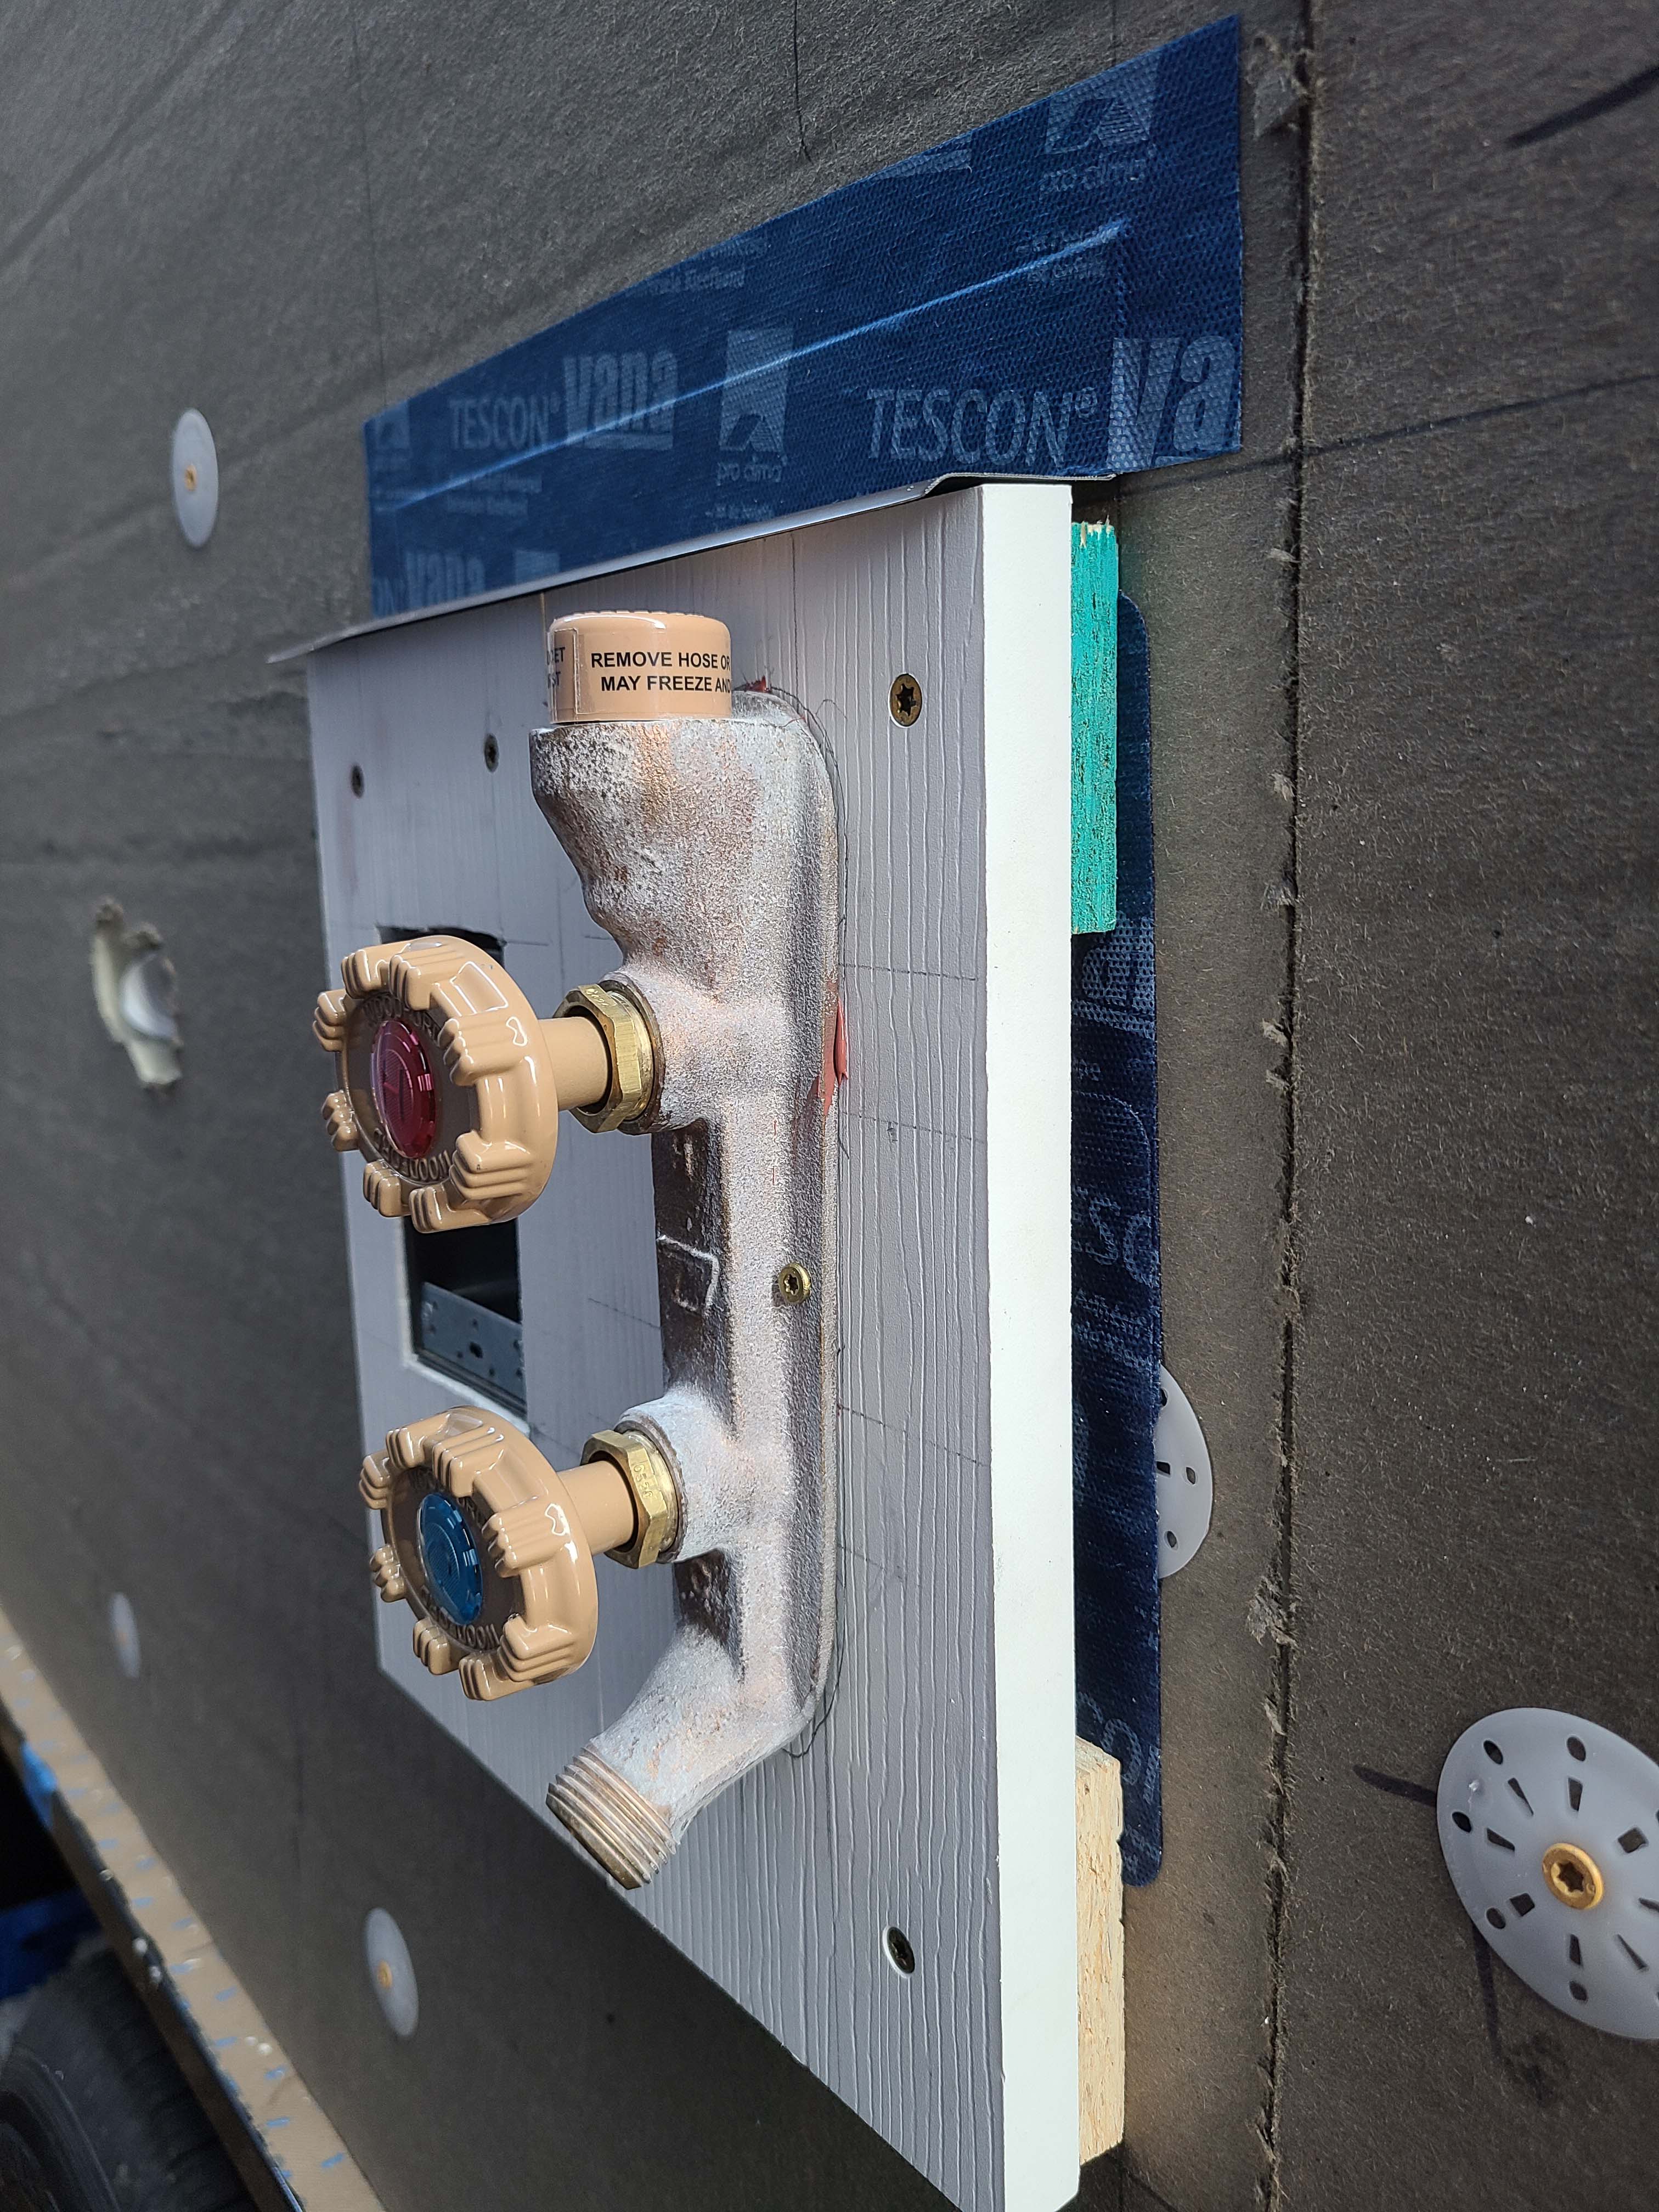
Right - Metal drip edge flashing is installed above hose bib and top of metal flashing is taped to wall.
Image
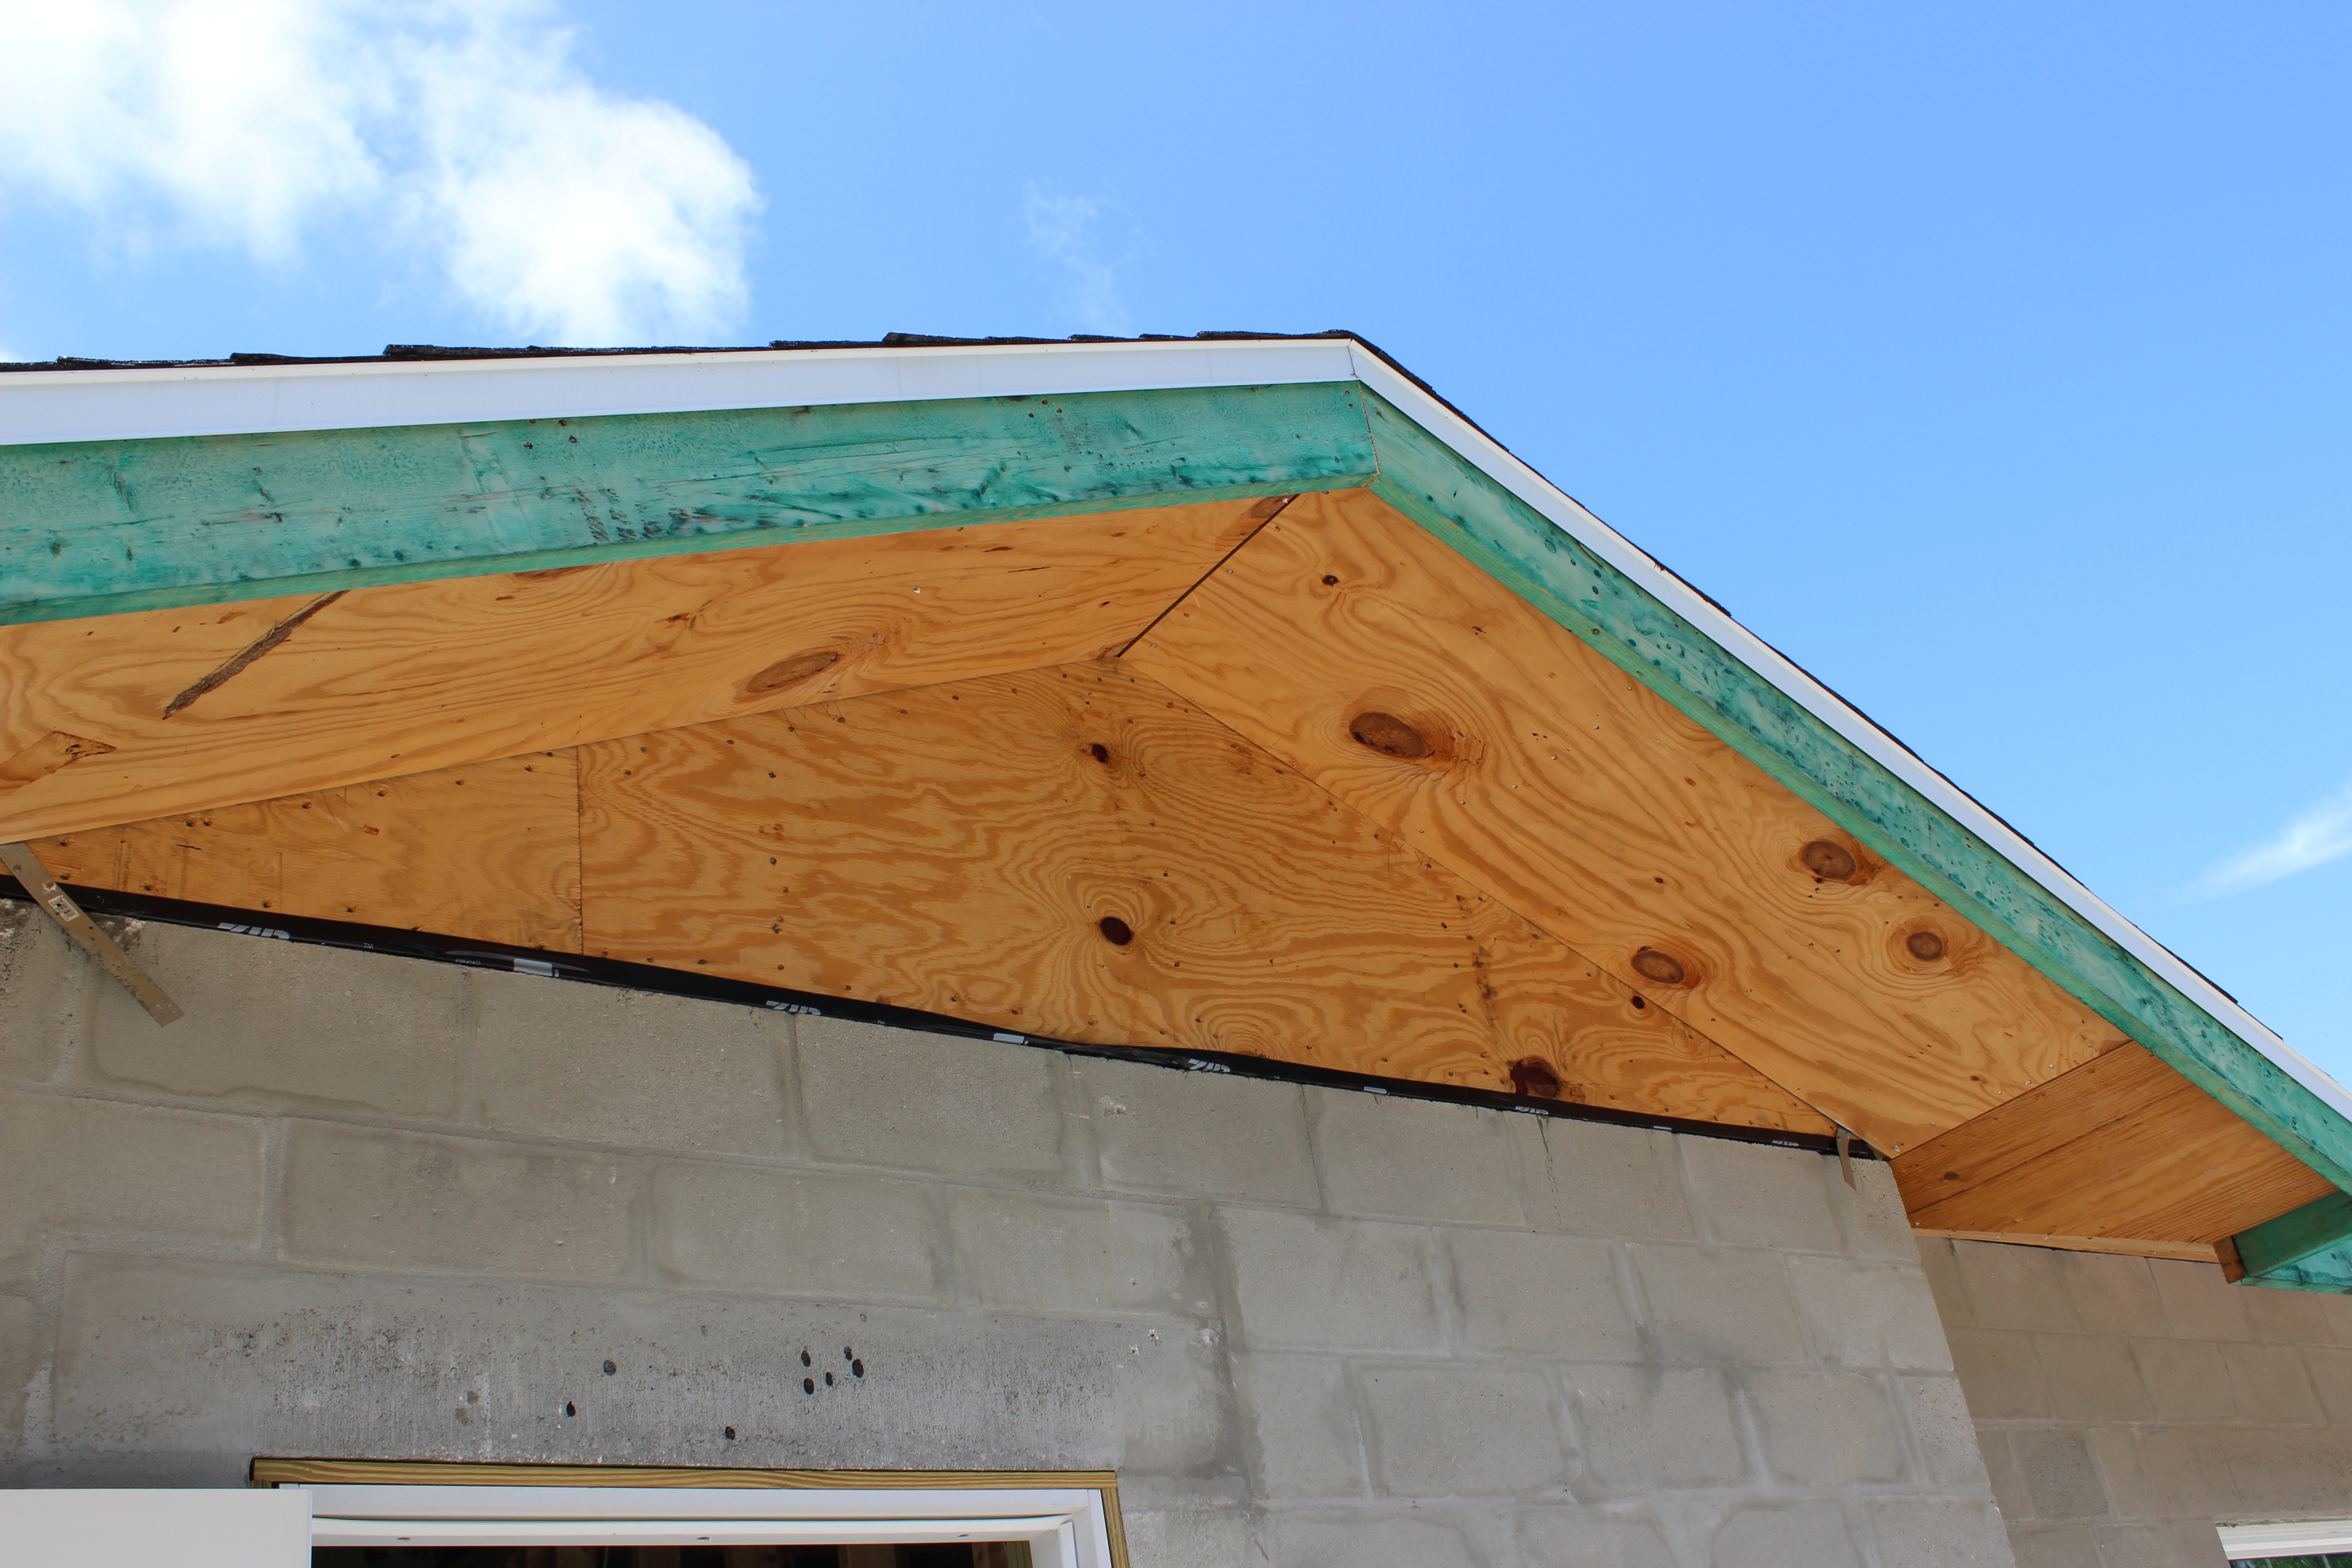
Right - Metal drip edge on this south Florida CMU home protects the top of the fascia and edge of the roof deck from water, wind-blown rain and embers, and insects.
Image
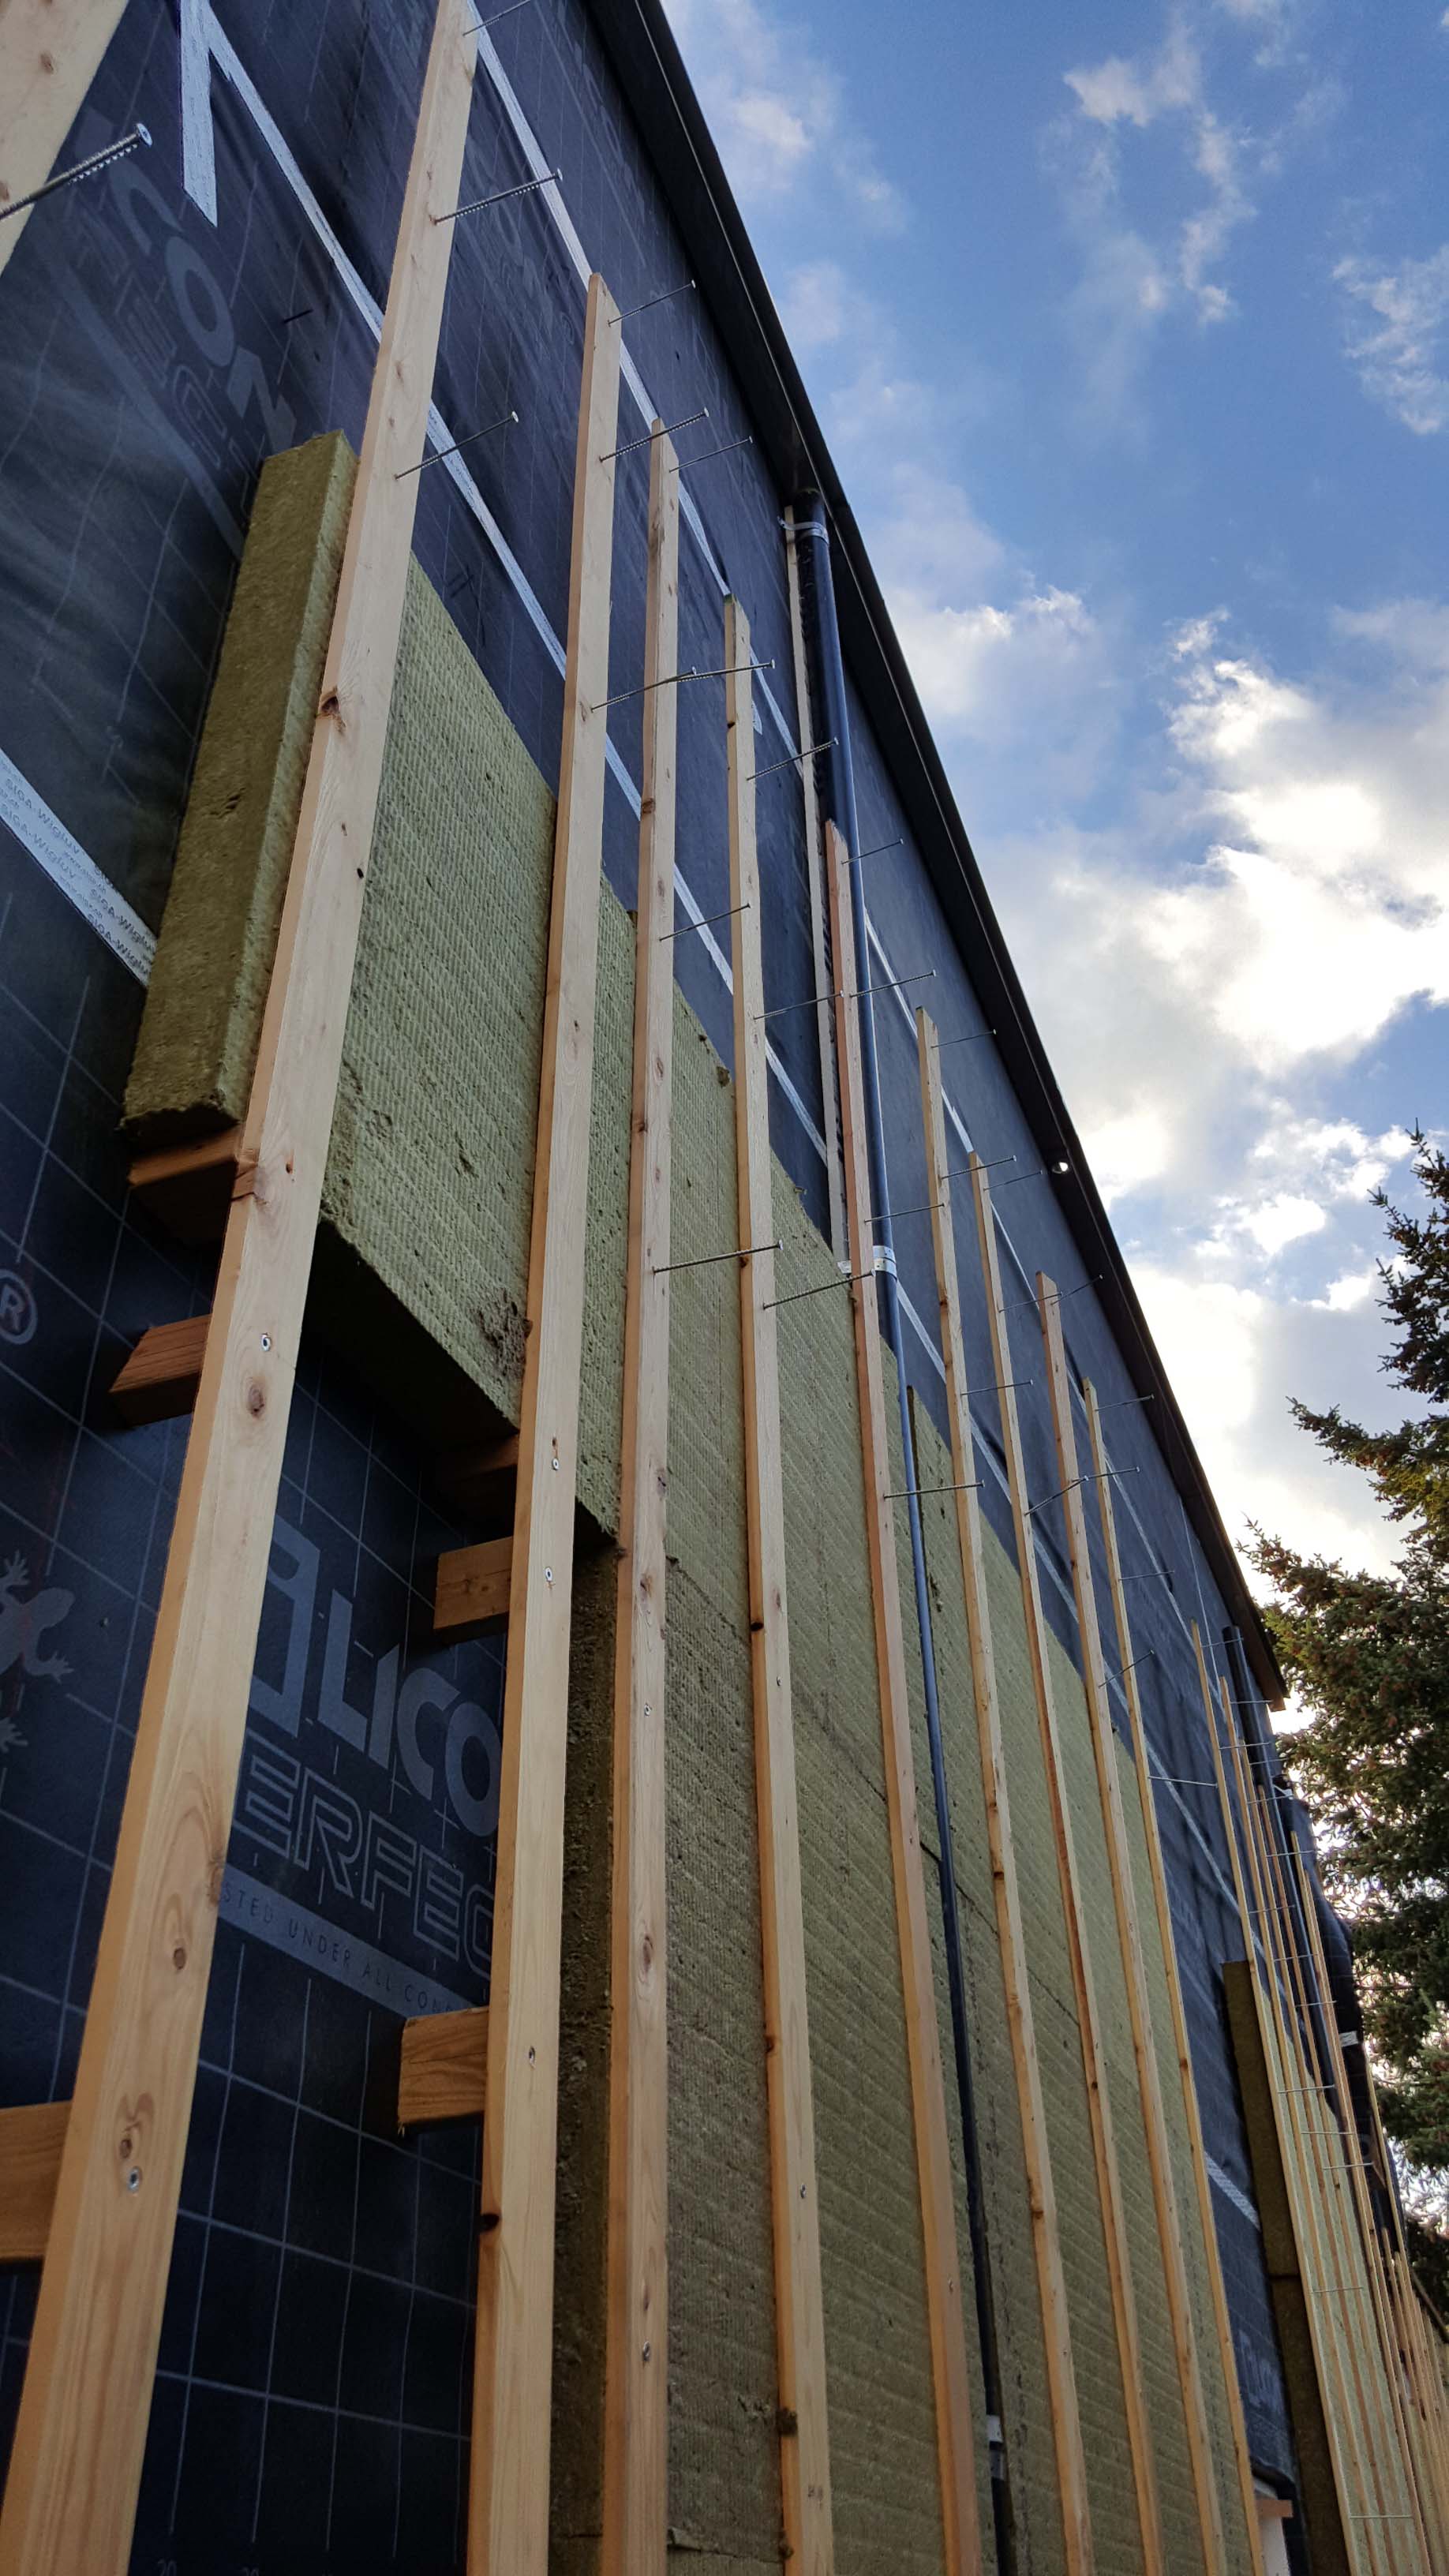
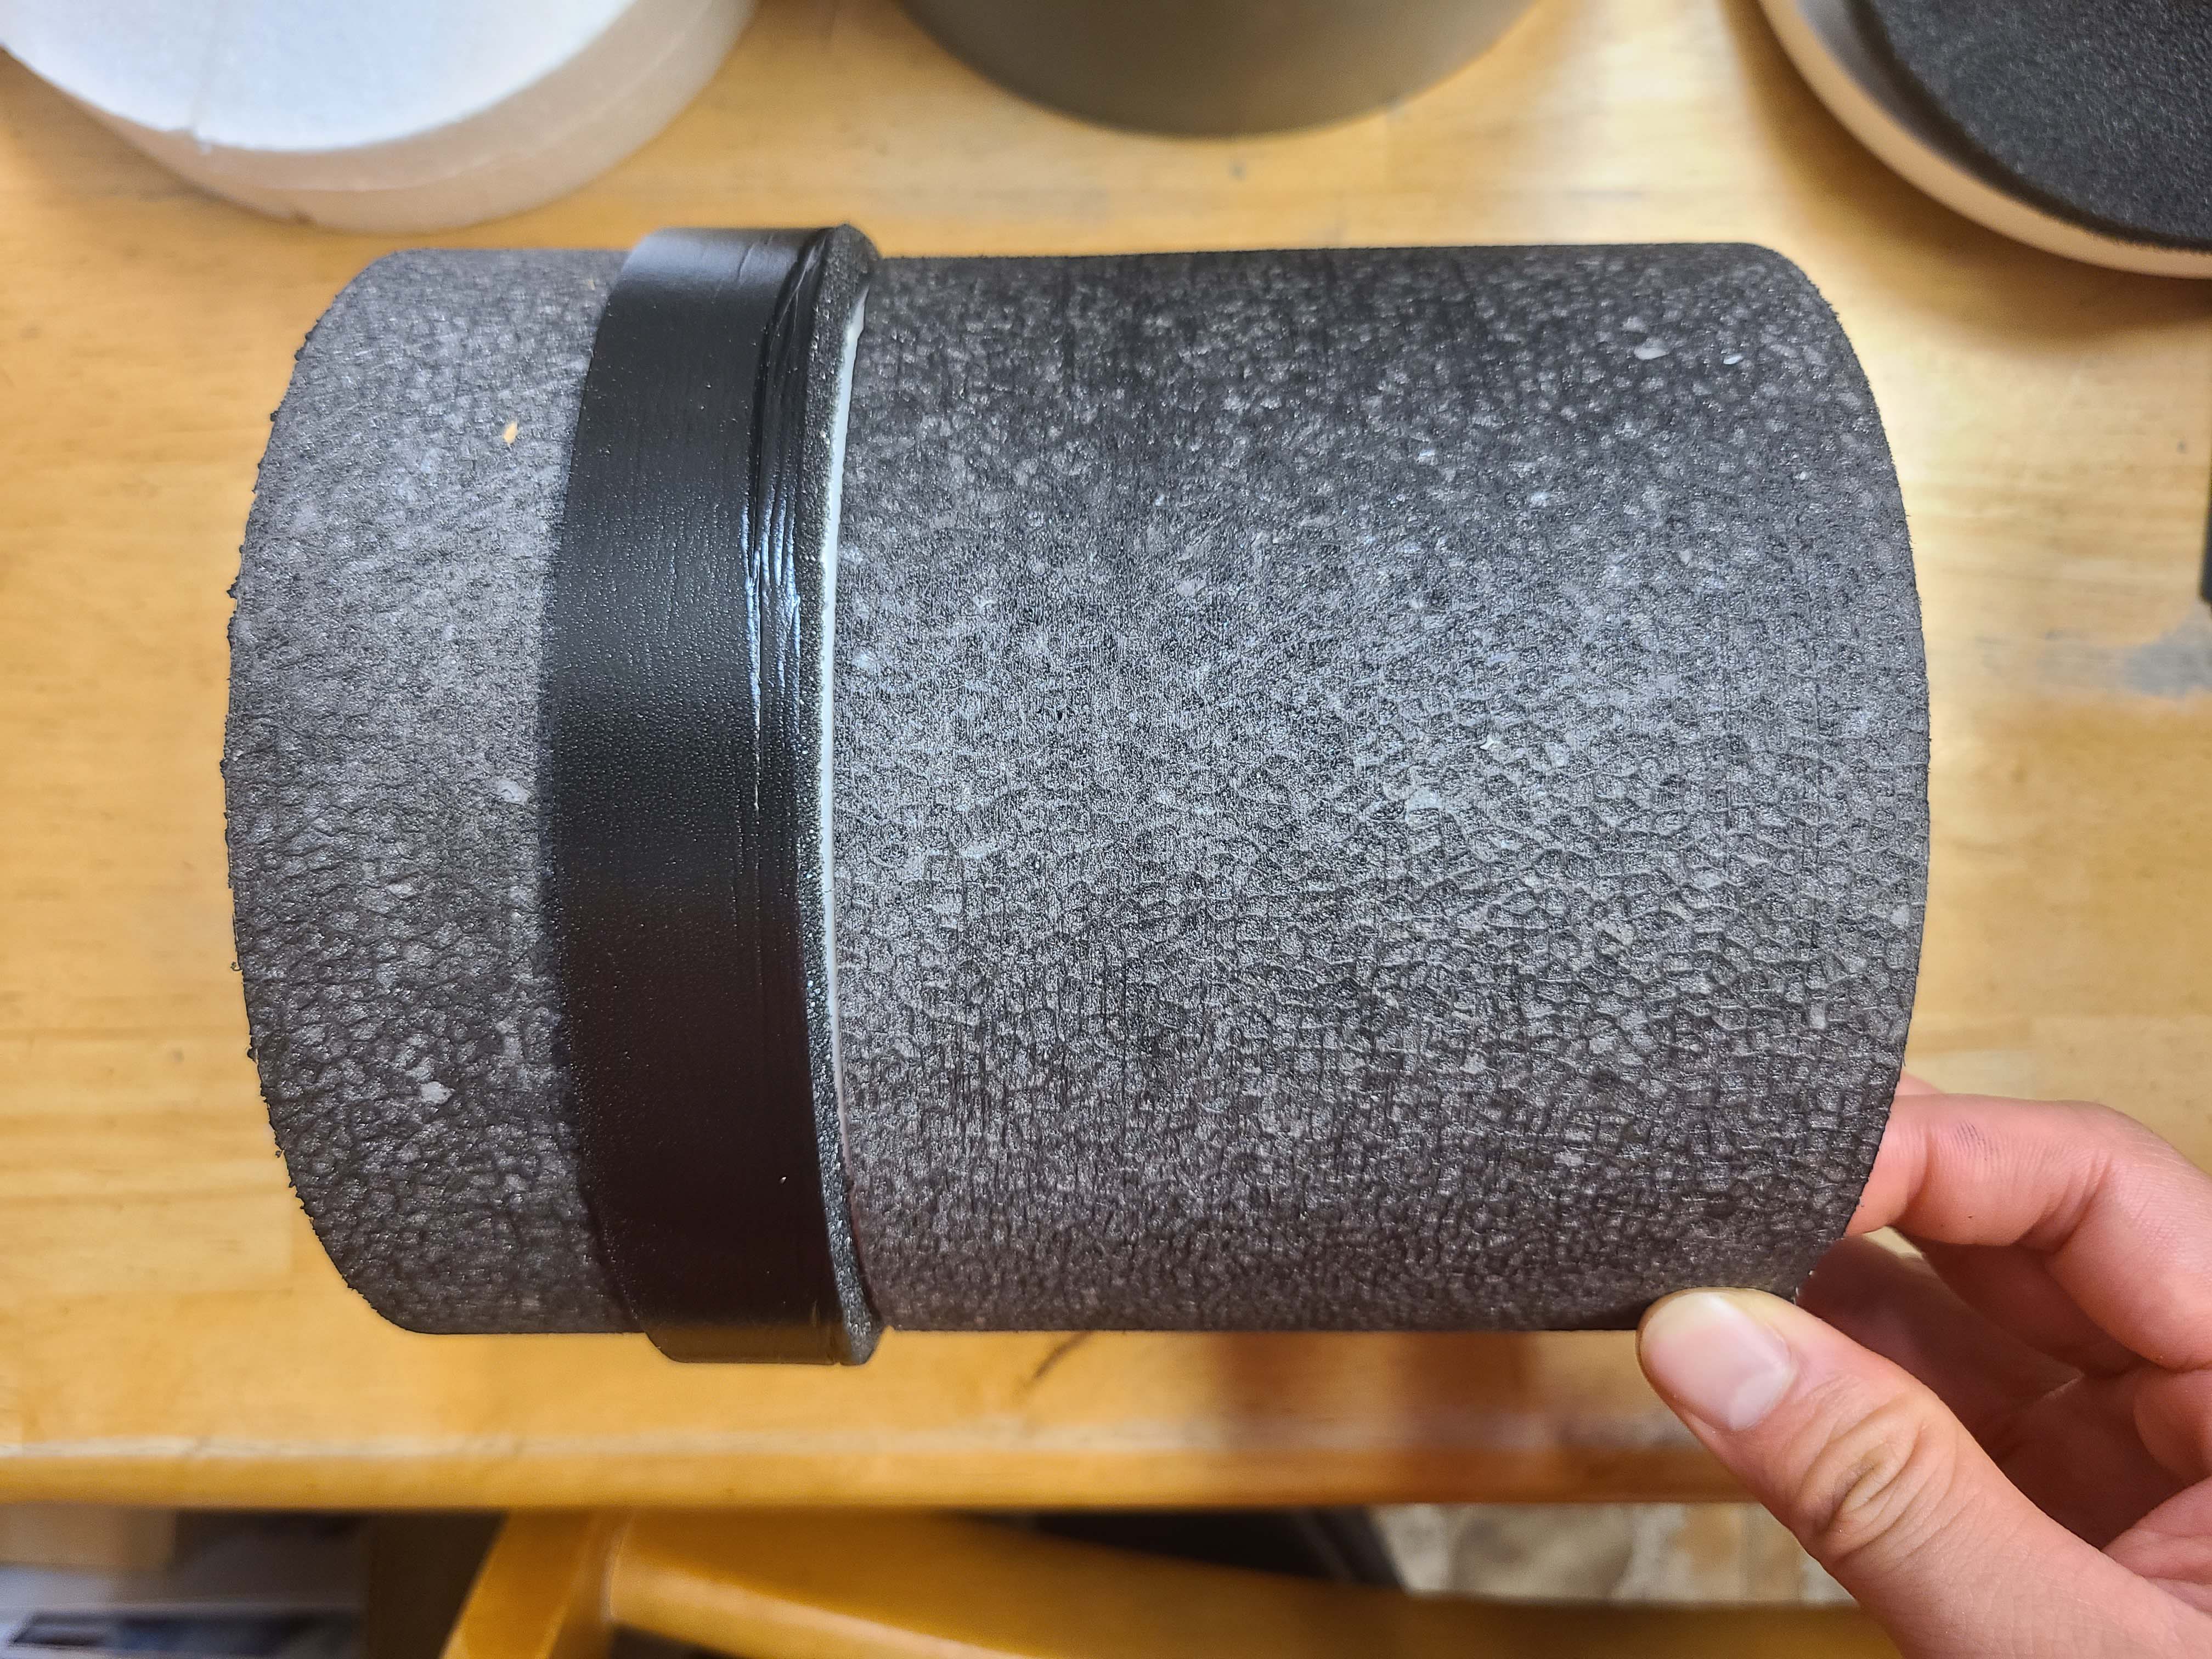
Right - Mineral Wool insulation is installed on the exterior of wall with furring strips.
Image
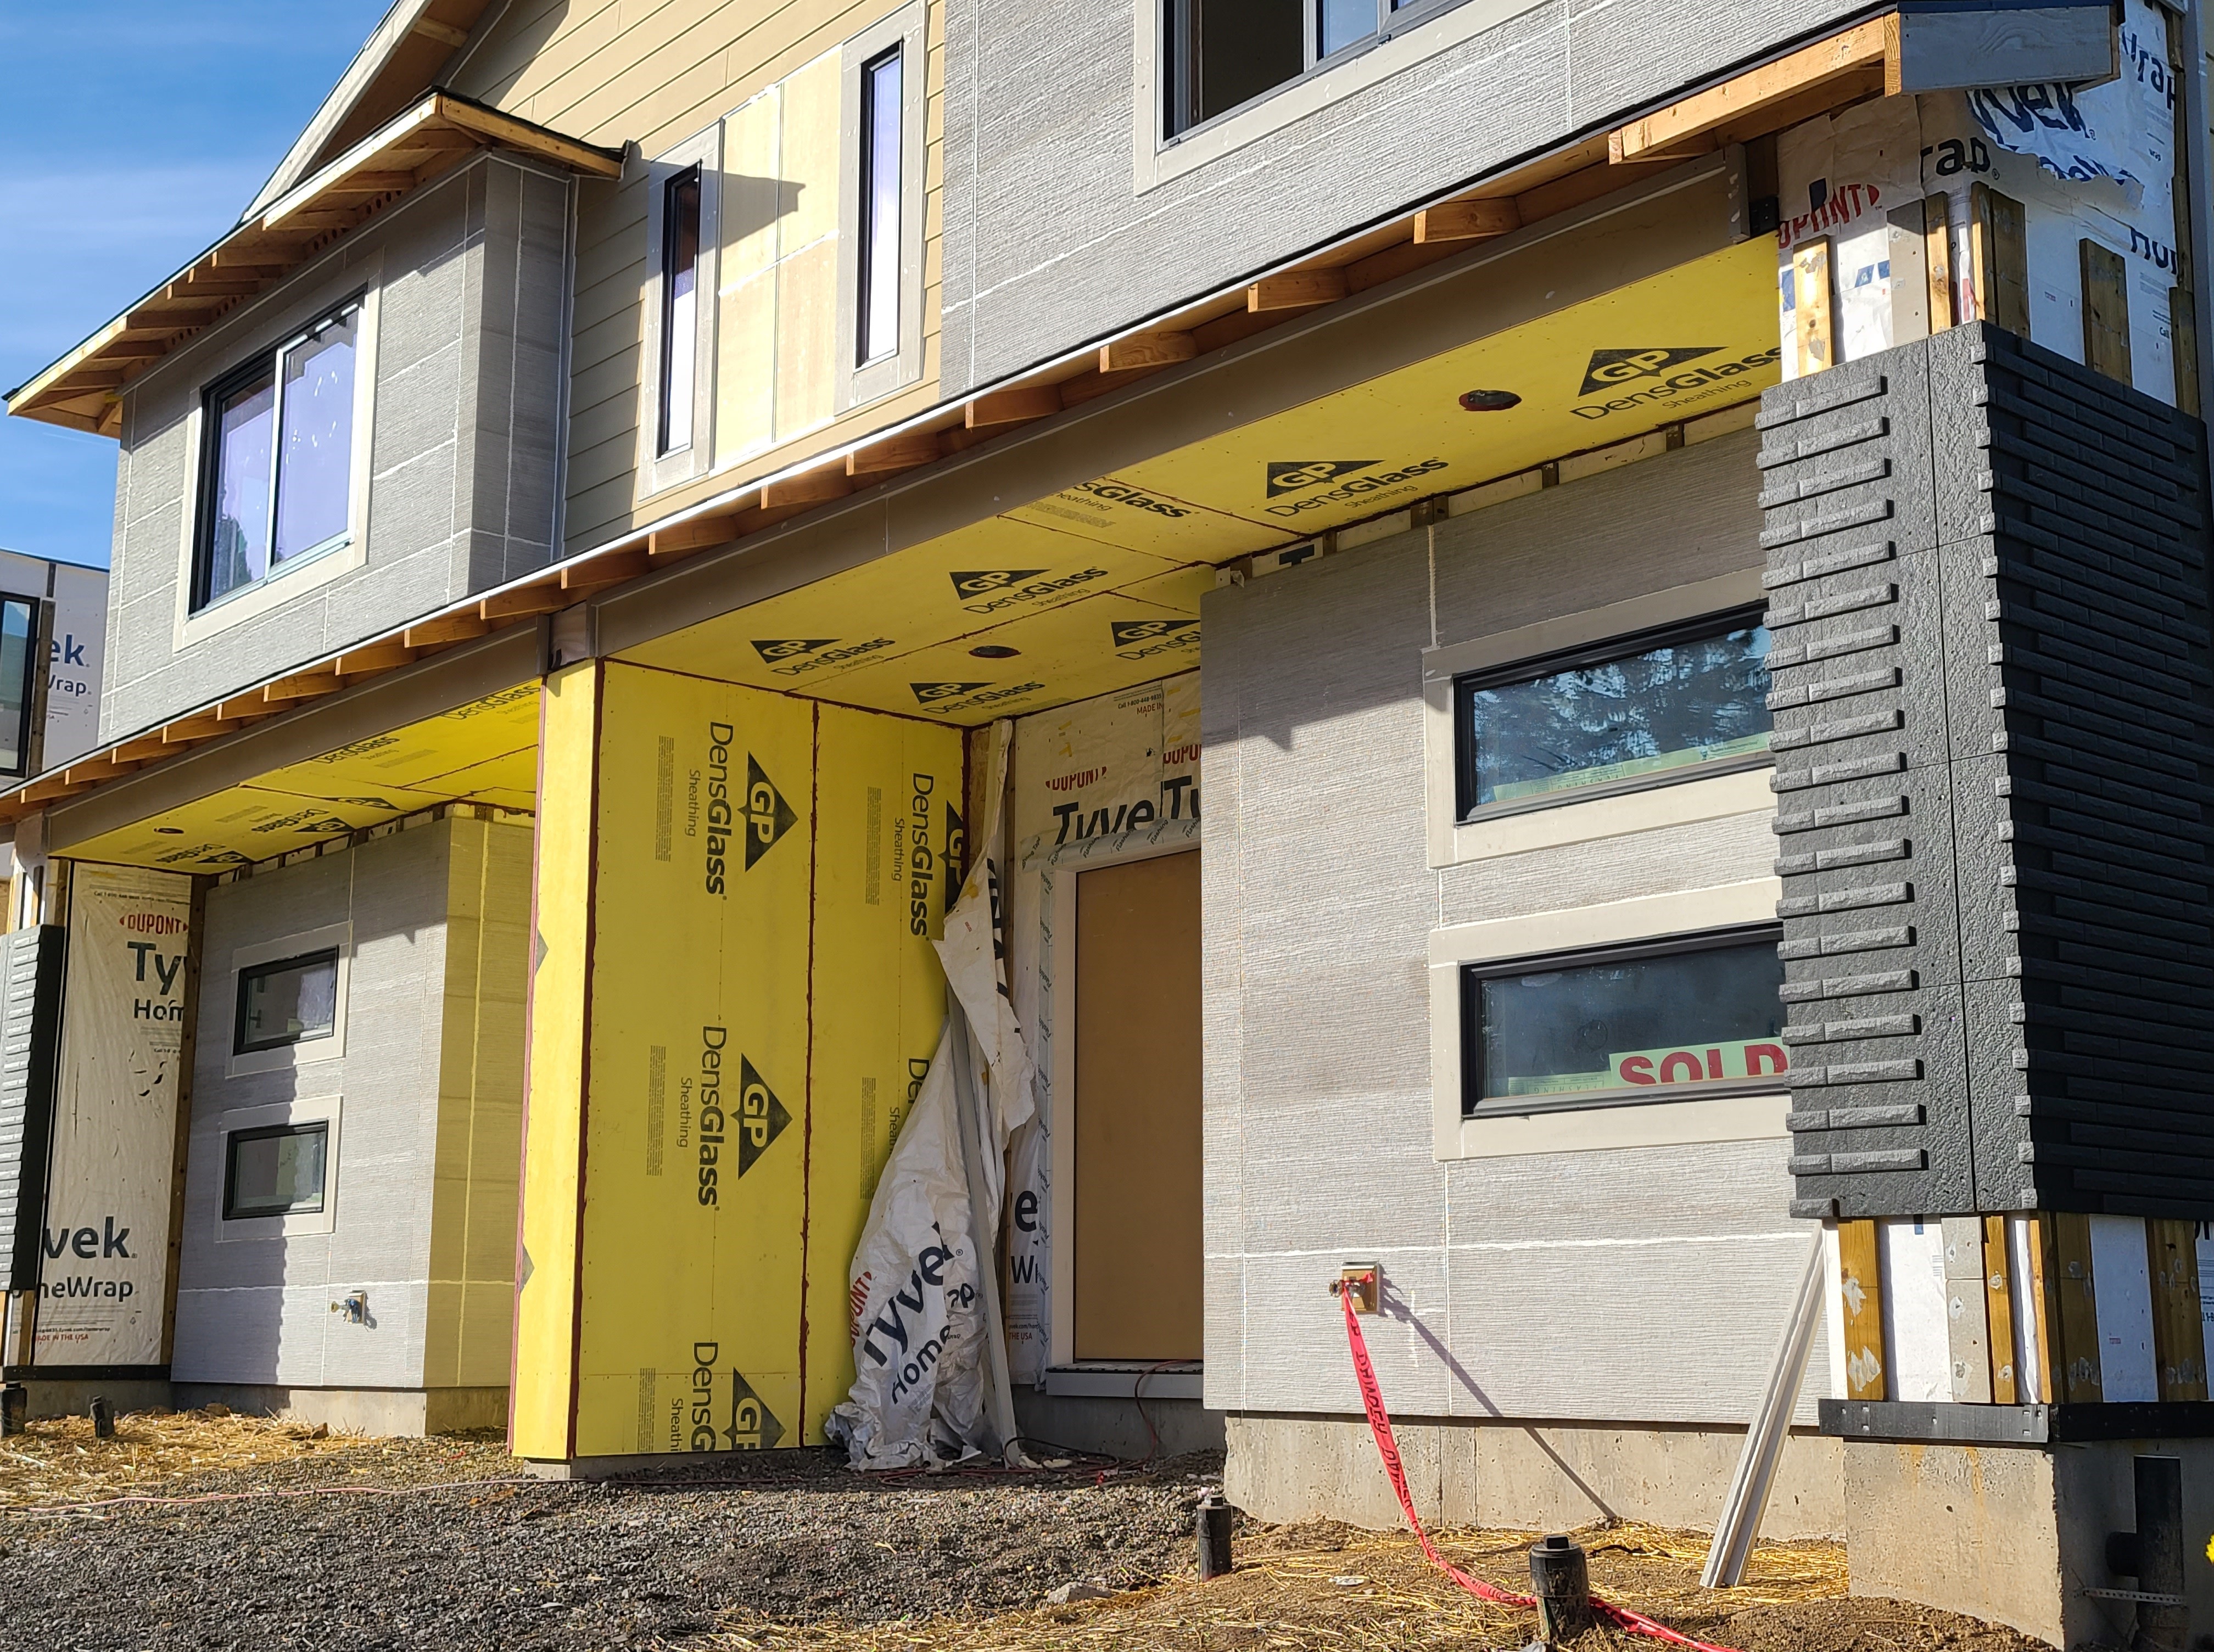
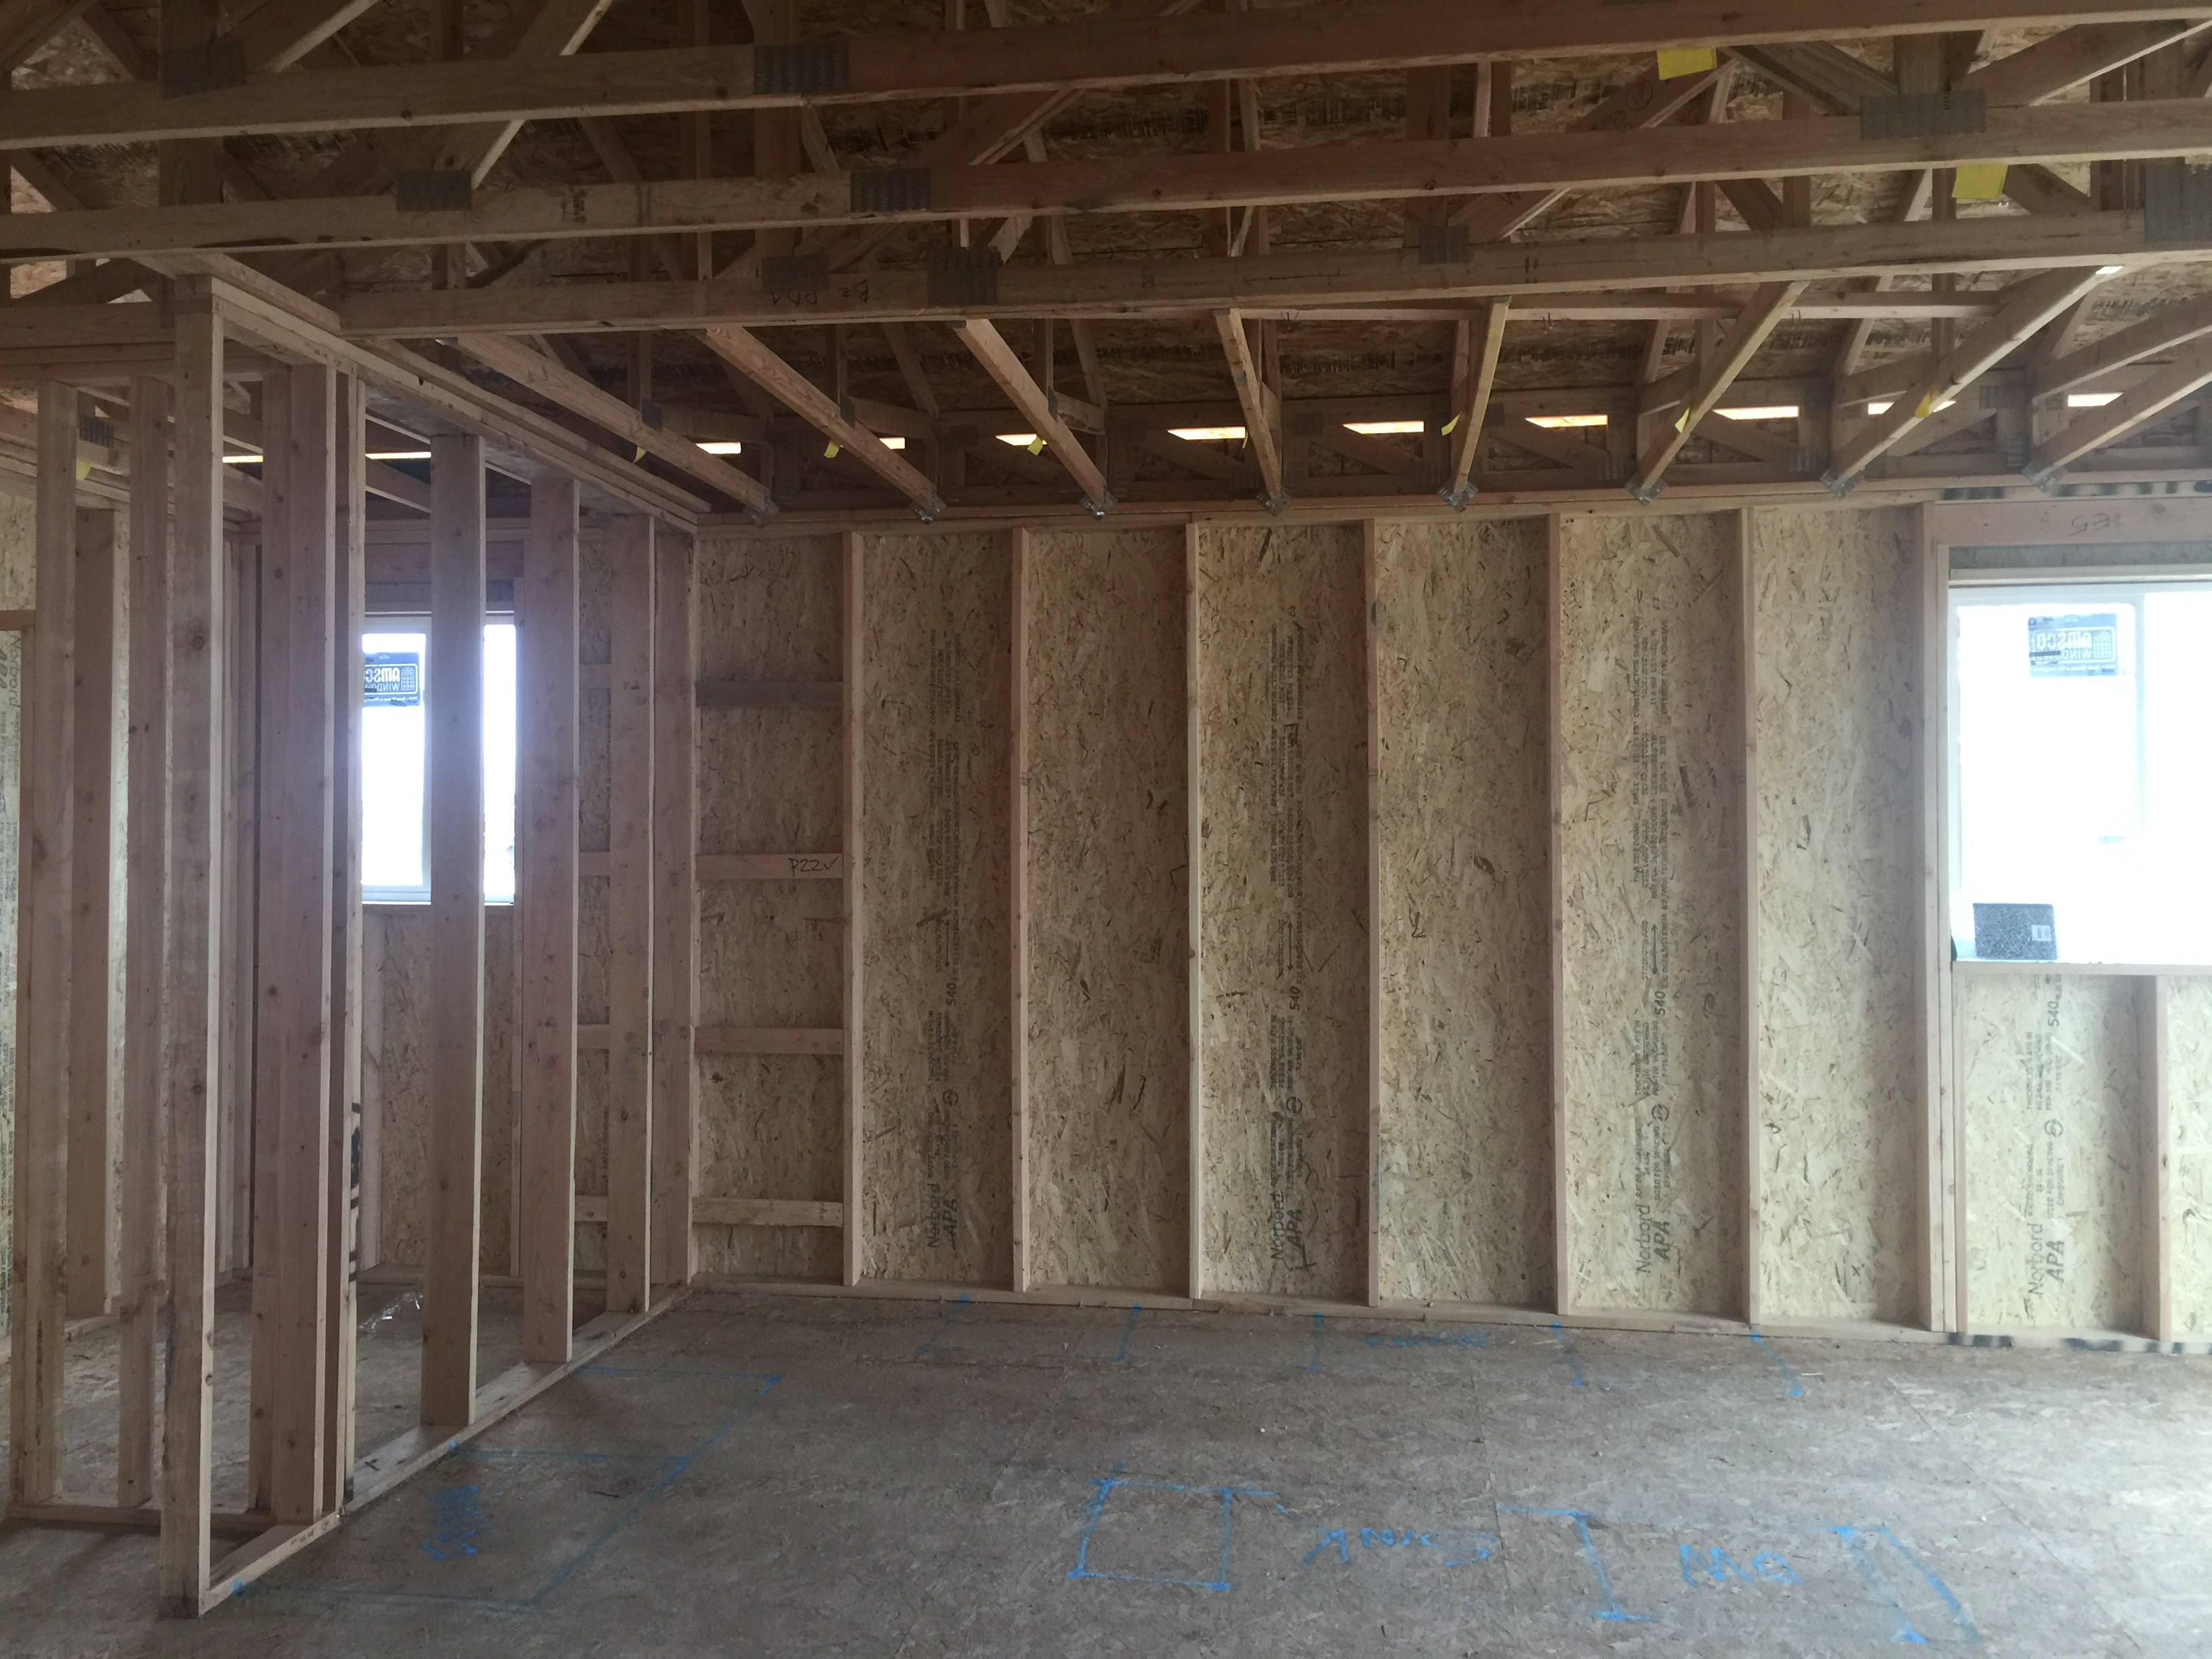
Right - Mold- and water-resistant fiber glass insulating sheathing is installed after panelized walls are assembled on site.
Image

Right - Mulch covers the empty spaces in this garden, retaining moisture, moderating temperatures, and providing nutrients as it decomposes.
Image
Image
Image
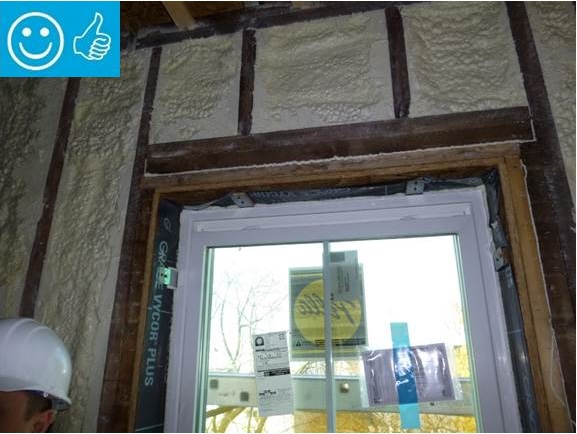
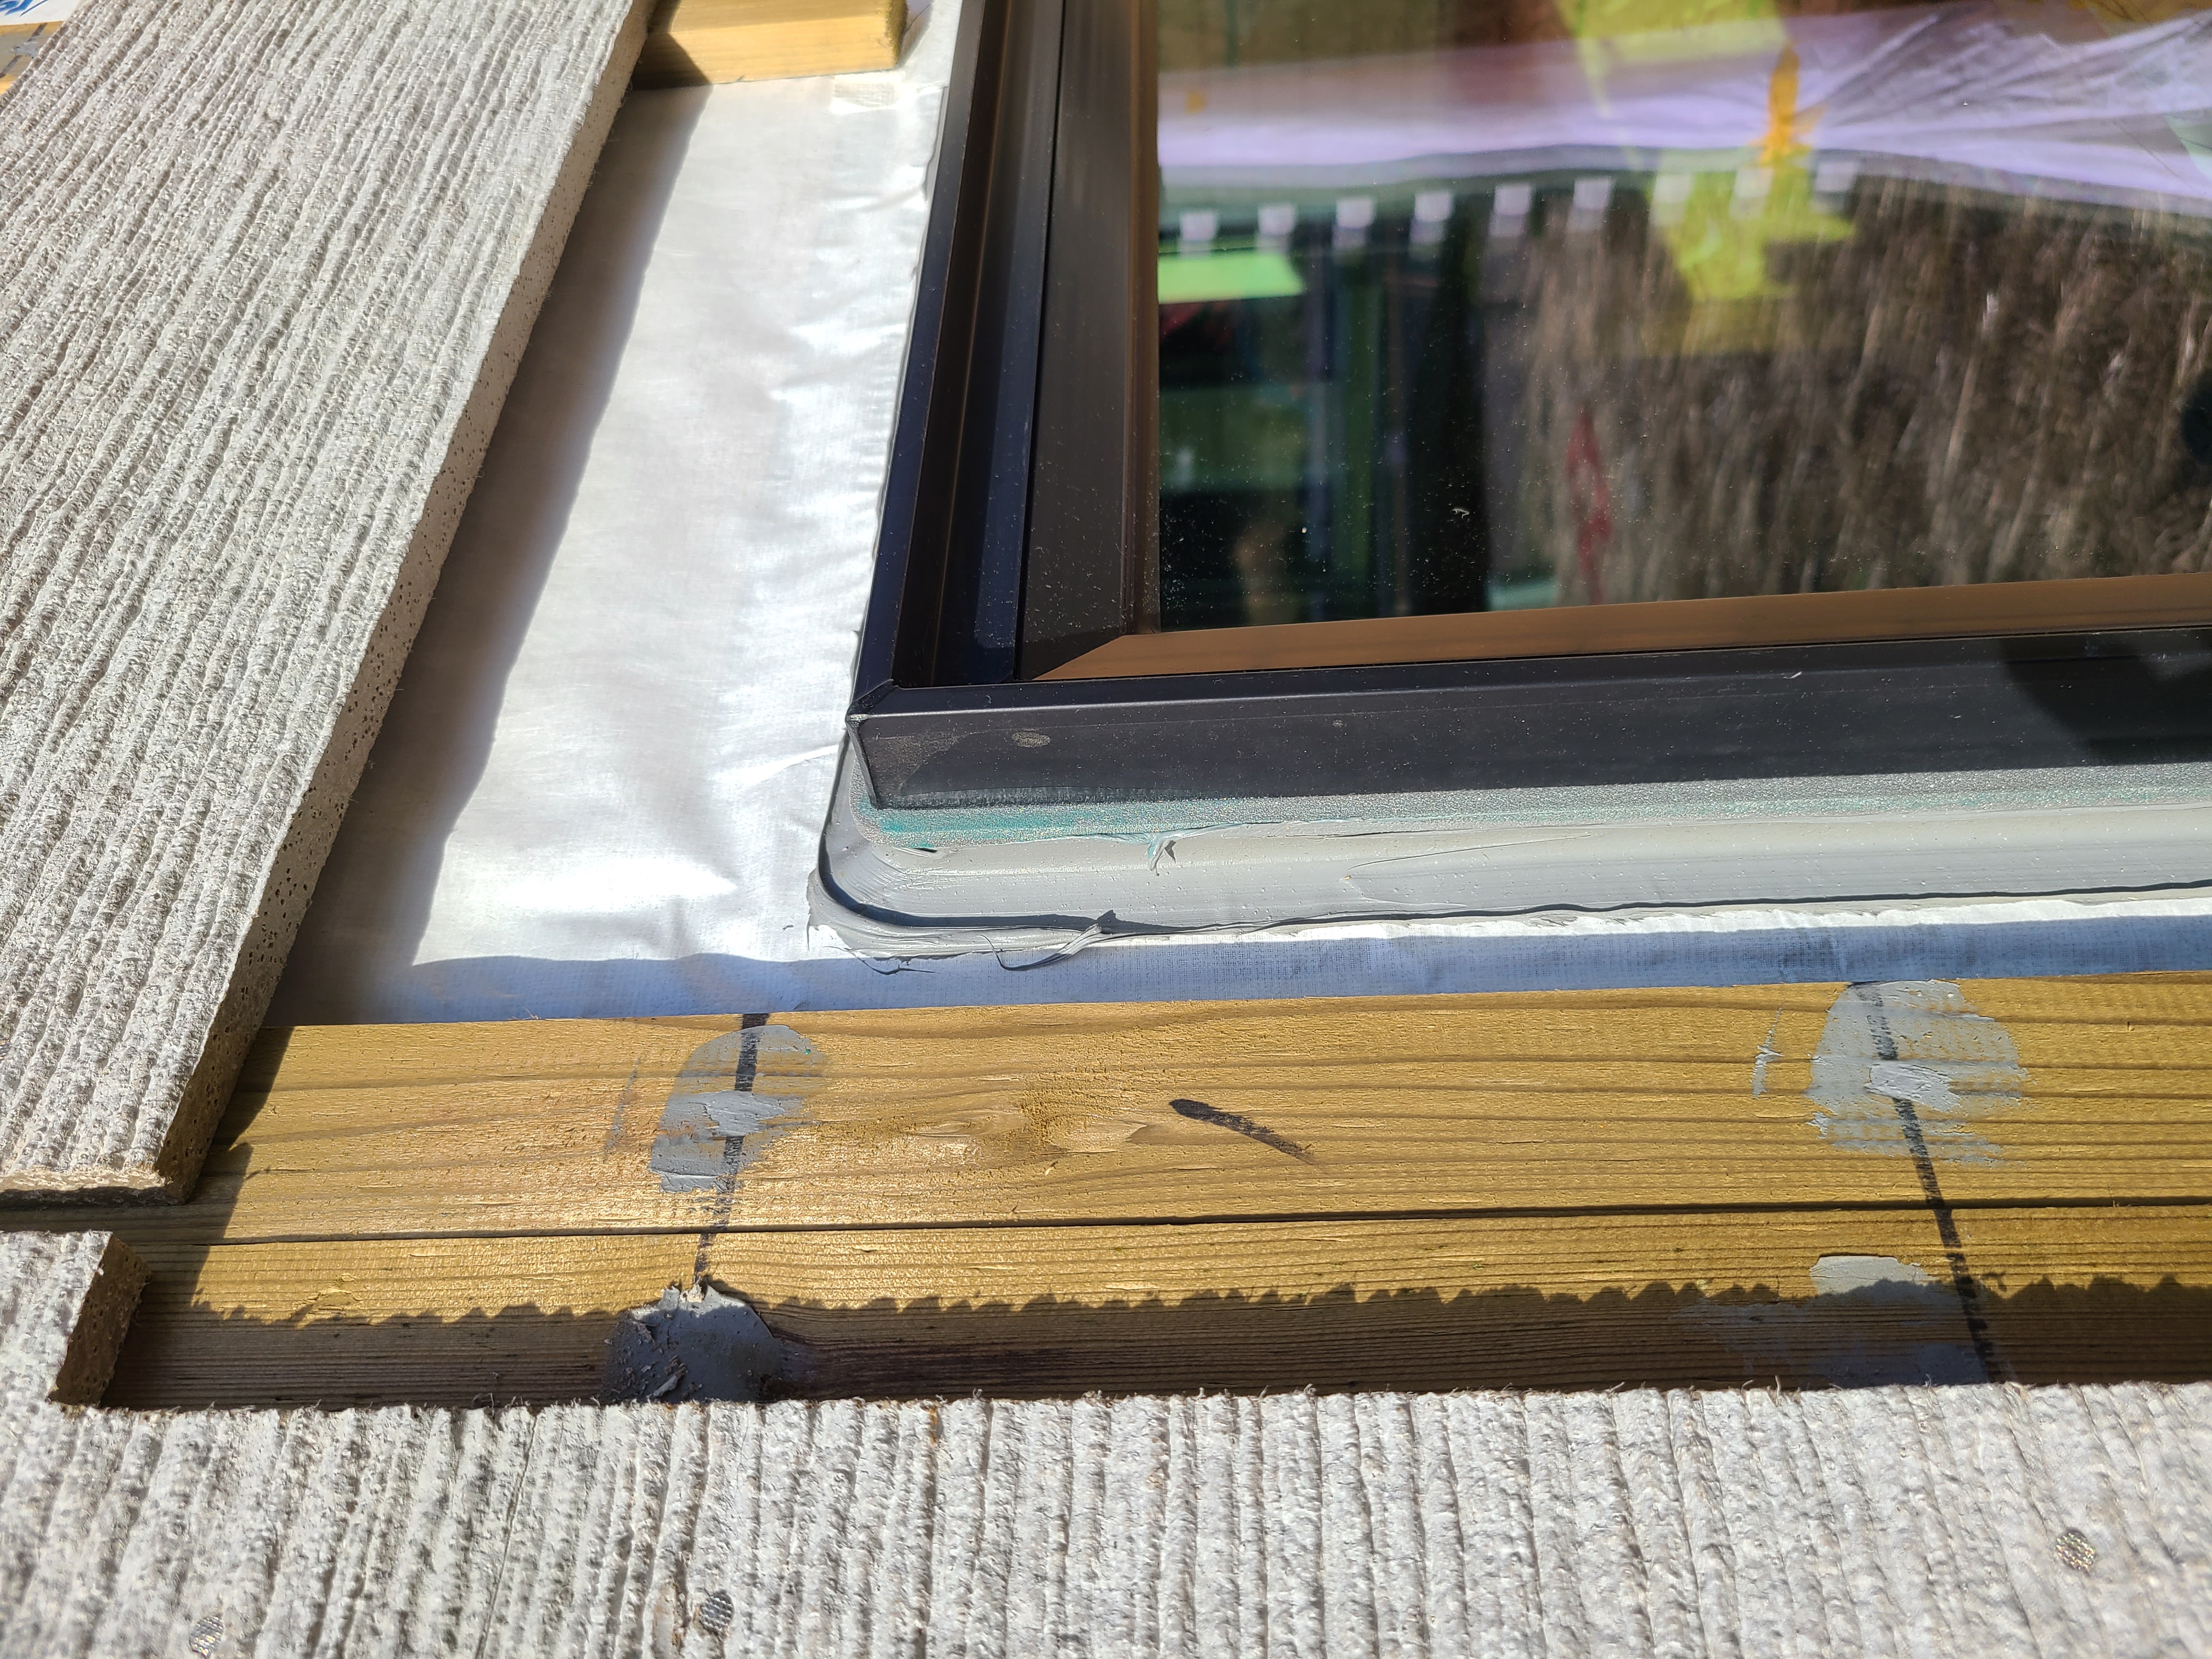
Right - New flashing has been installed to complete the air and water control layers at the window openings of this wall retrofit that includes insulating the wall cavities with spray foam
Image
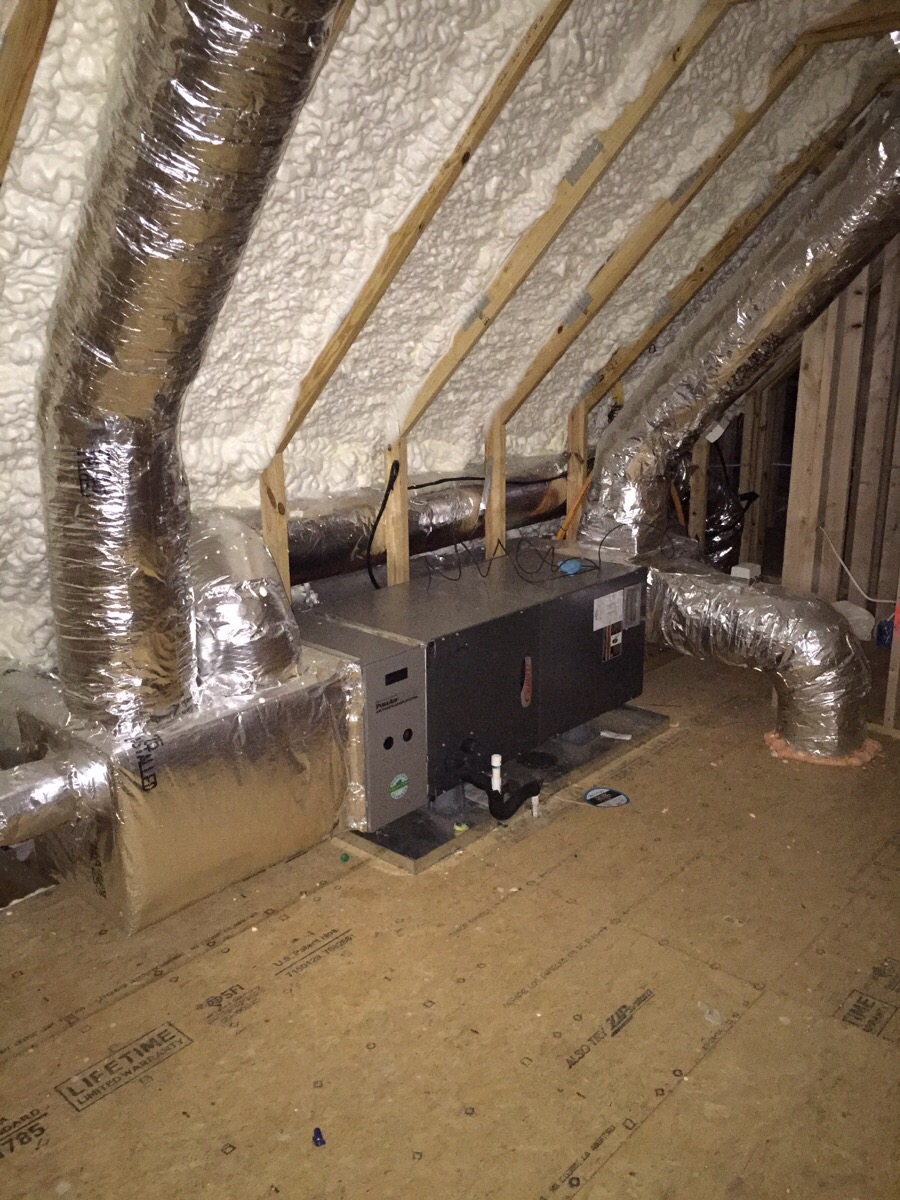
Right - Open-cell polyurethane spray foam to R-28 on underside of roof turns new attic into conditioned space for HVAC.
Image
Right - Open-web floor and ceiling trusses provide space for ducts in conditioned space.
Image
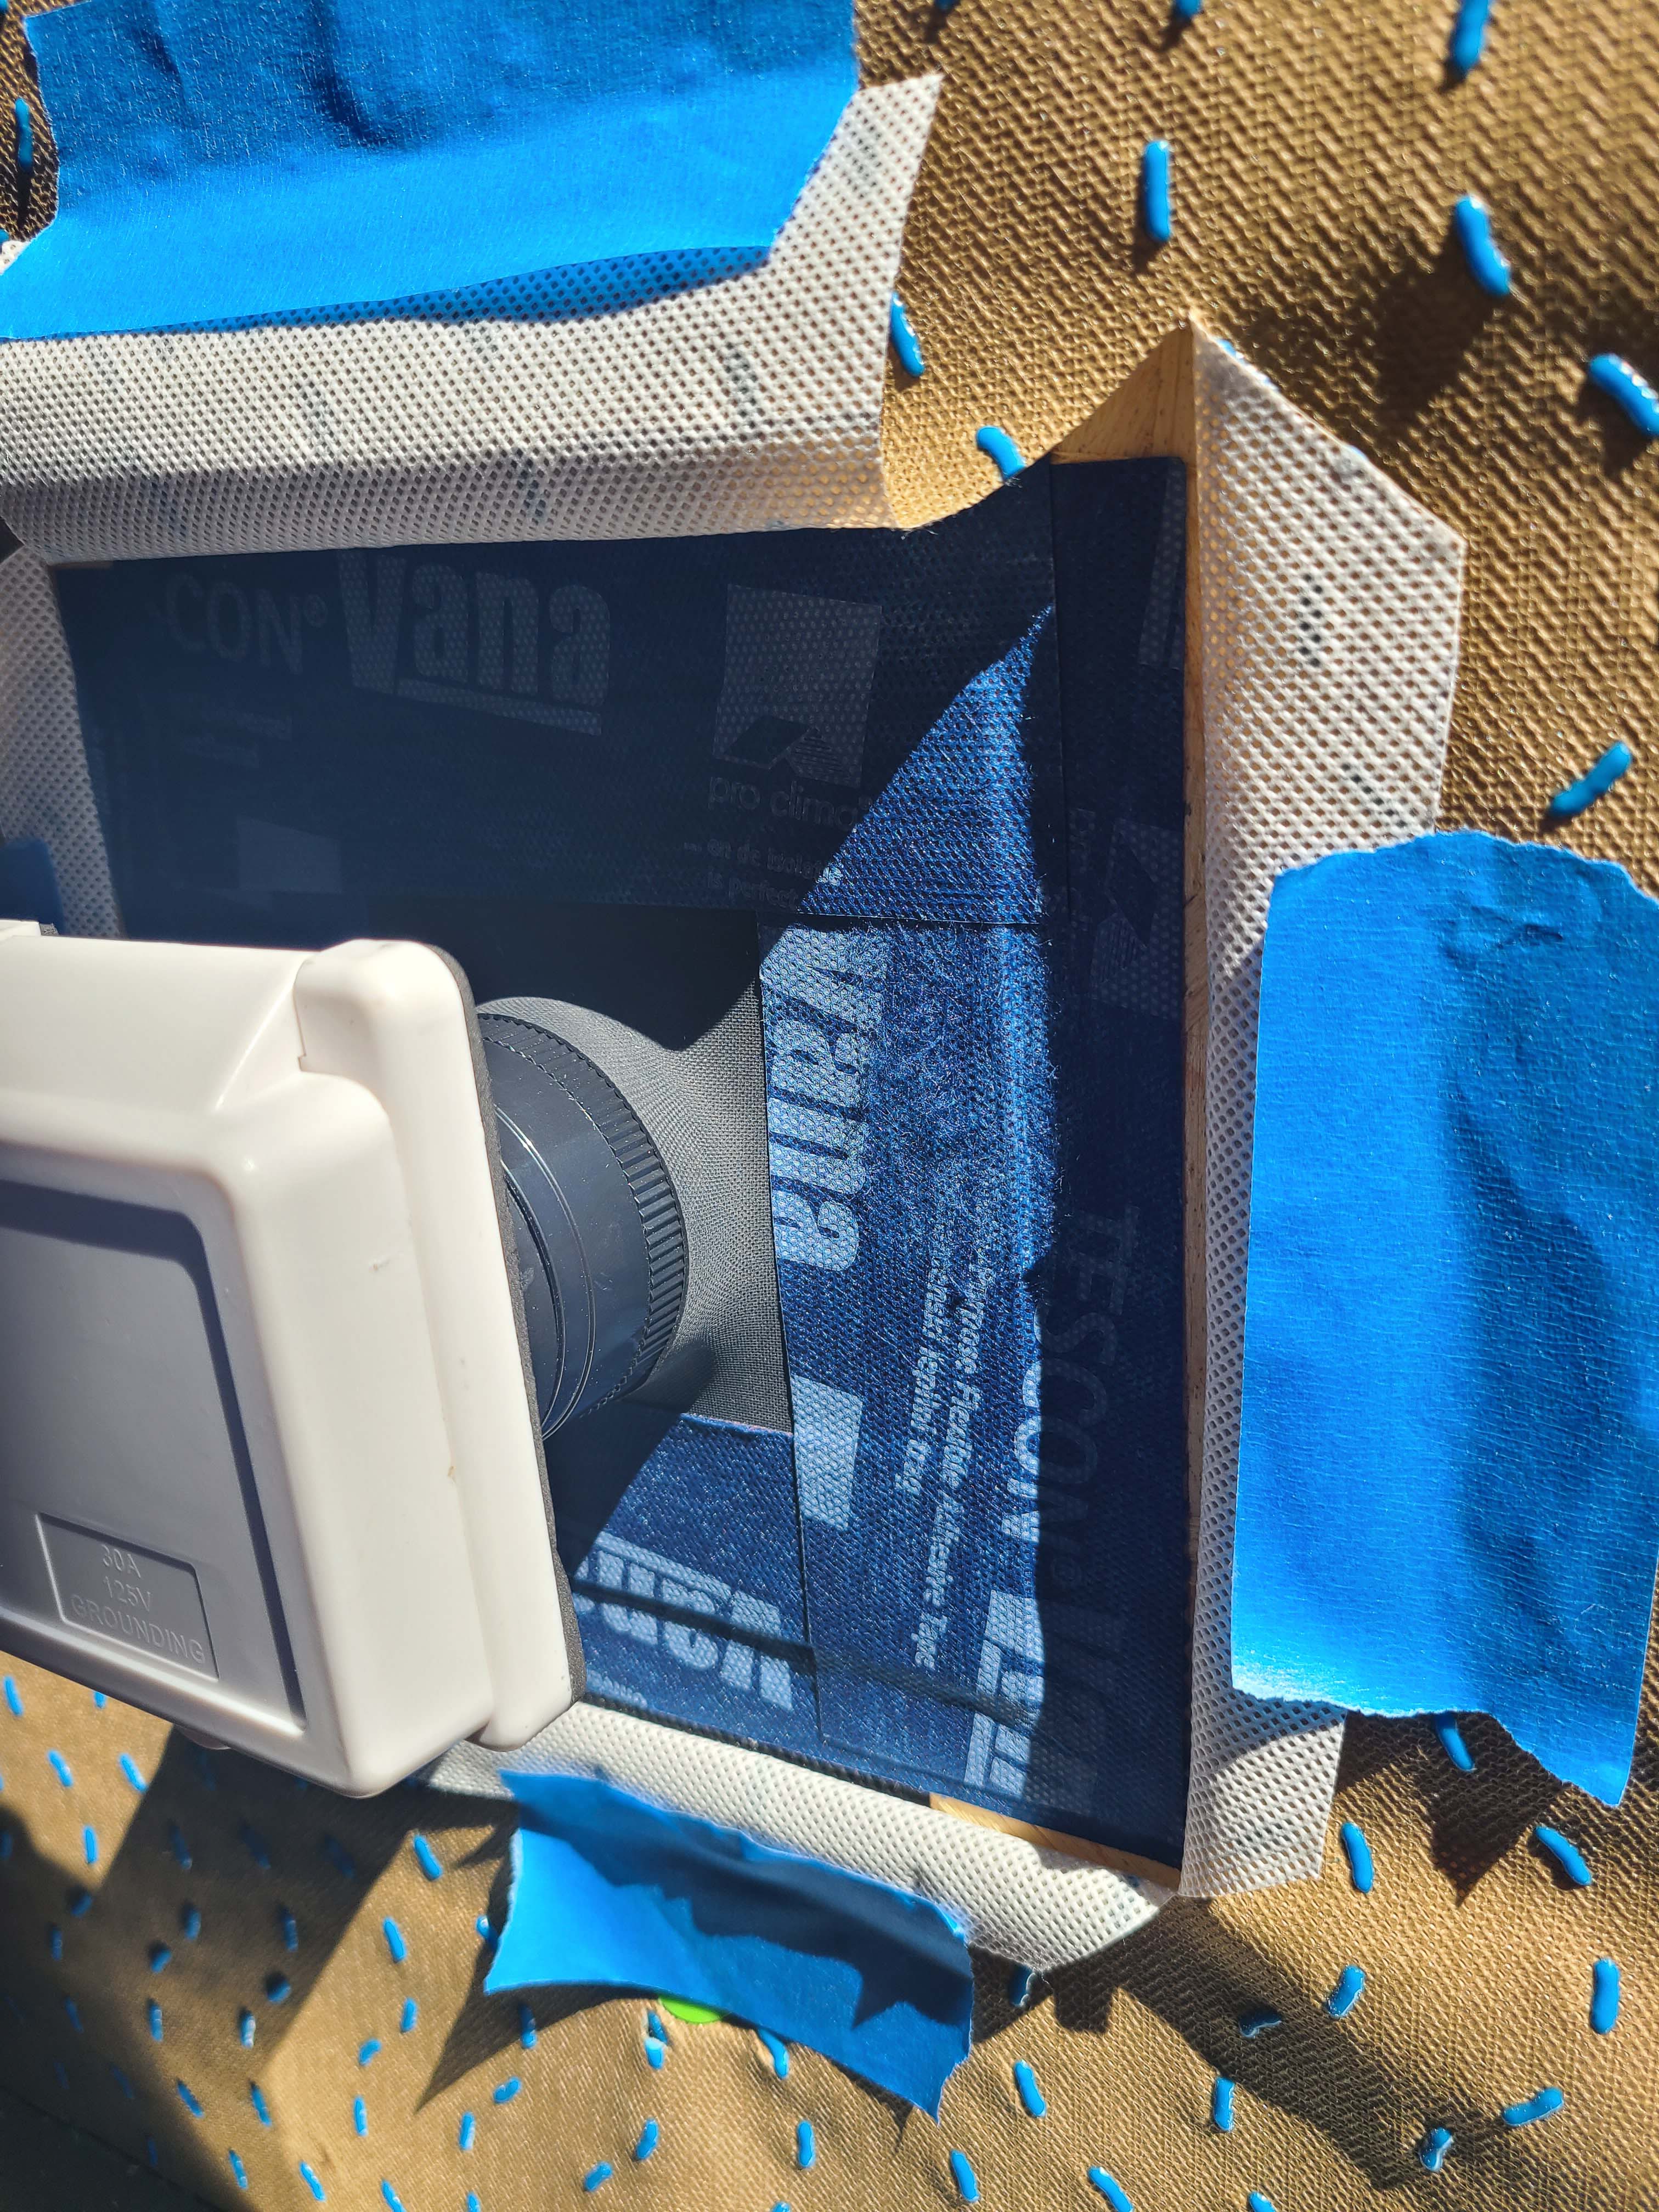
Right - Painter's tape is used to hold back house wrap while flashing layers are completed around the electric outlet.
Image
Right - Panelized walls came to site with house wrap and furring strips pre-installed; seams will be overlapped and taped on site.
Image
Right - Panelized walls came to site with house wrap pre-installed and ready to unfurl to cover foundation-to-sheathing seam.
Image
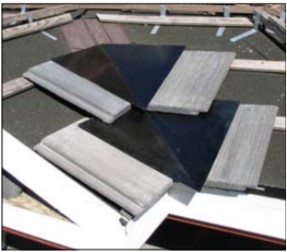
Right - Panels of 7/16-inch treated plywood are inexpensive but take time to install and are difficult to install on higher windows.
Image

Right - Peel and stick flashing and flashing tape seal a plumbing pipe that penetrates an exterior wall.
Image
Image

Right - Permeable rigid mineral wool insulation and appropriate water-management flashing details are integrated with new rigid foam siding to keep water away from the sill beam above the foundation wall
Image
Right - Pieces of metal flashing are installed under each tile course along the valley centerline to prevent debris accumulation between and below concrete roof tiles.
Image
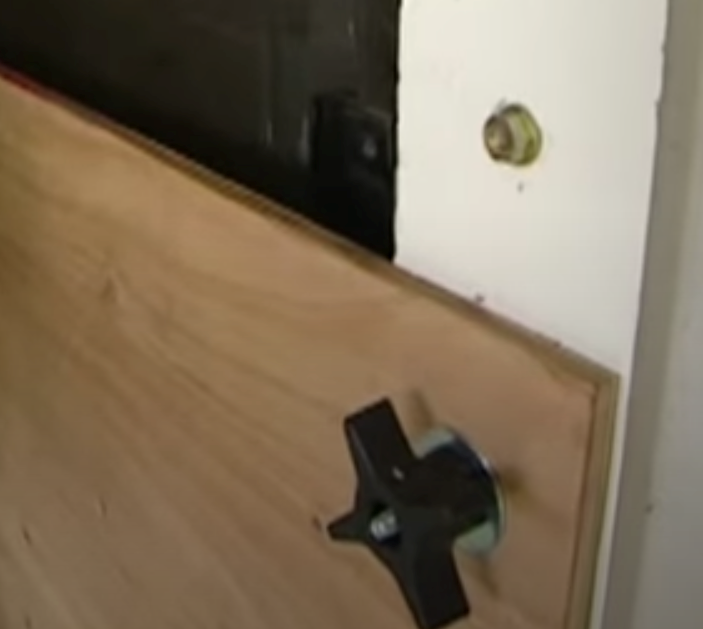
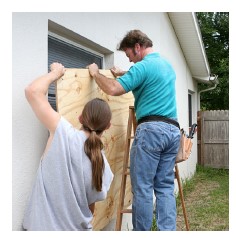
Right - Plywood storm protection covering for windows is installed with removable threaded-rod fittings.
Image
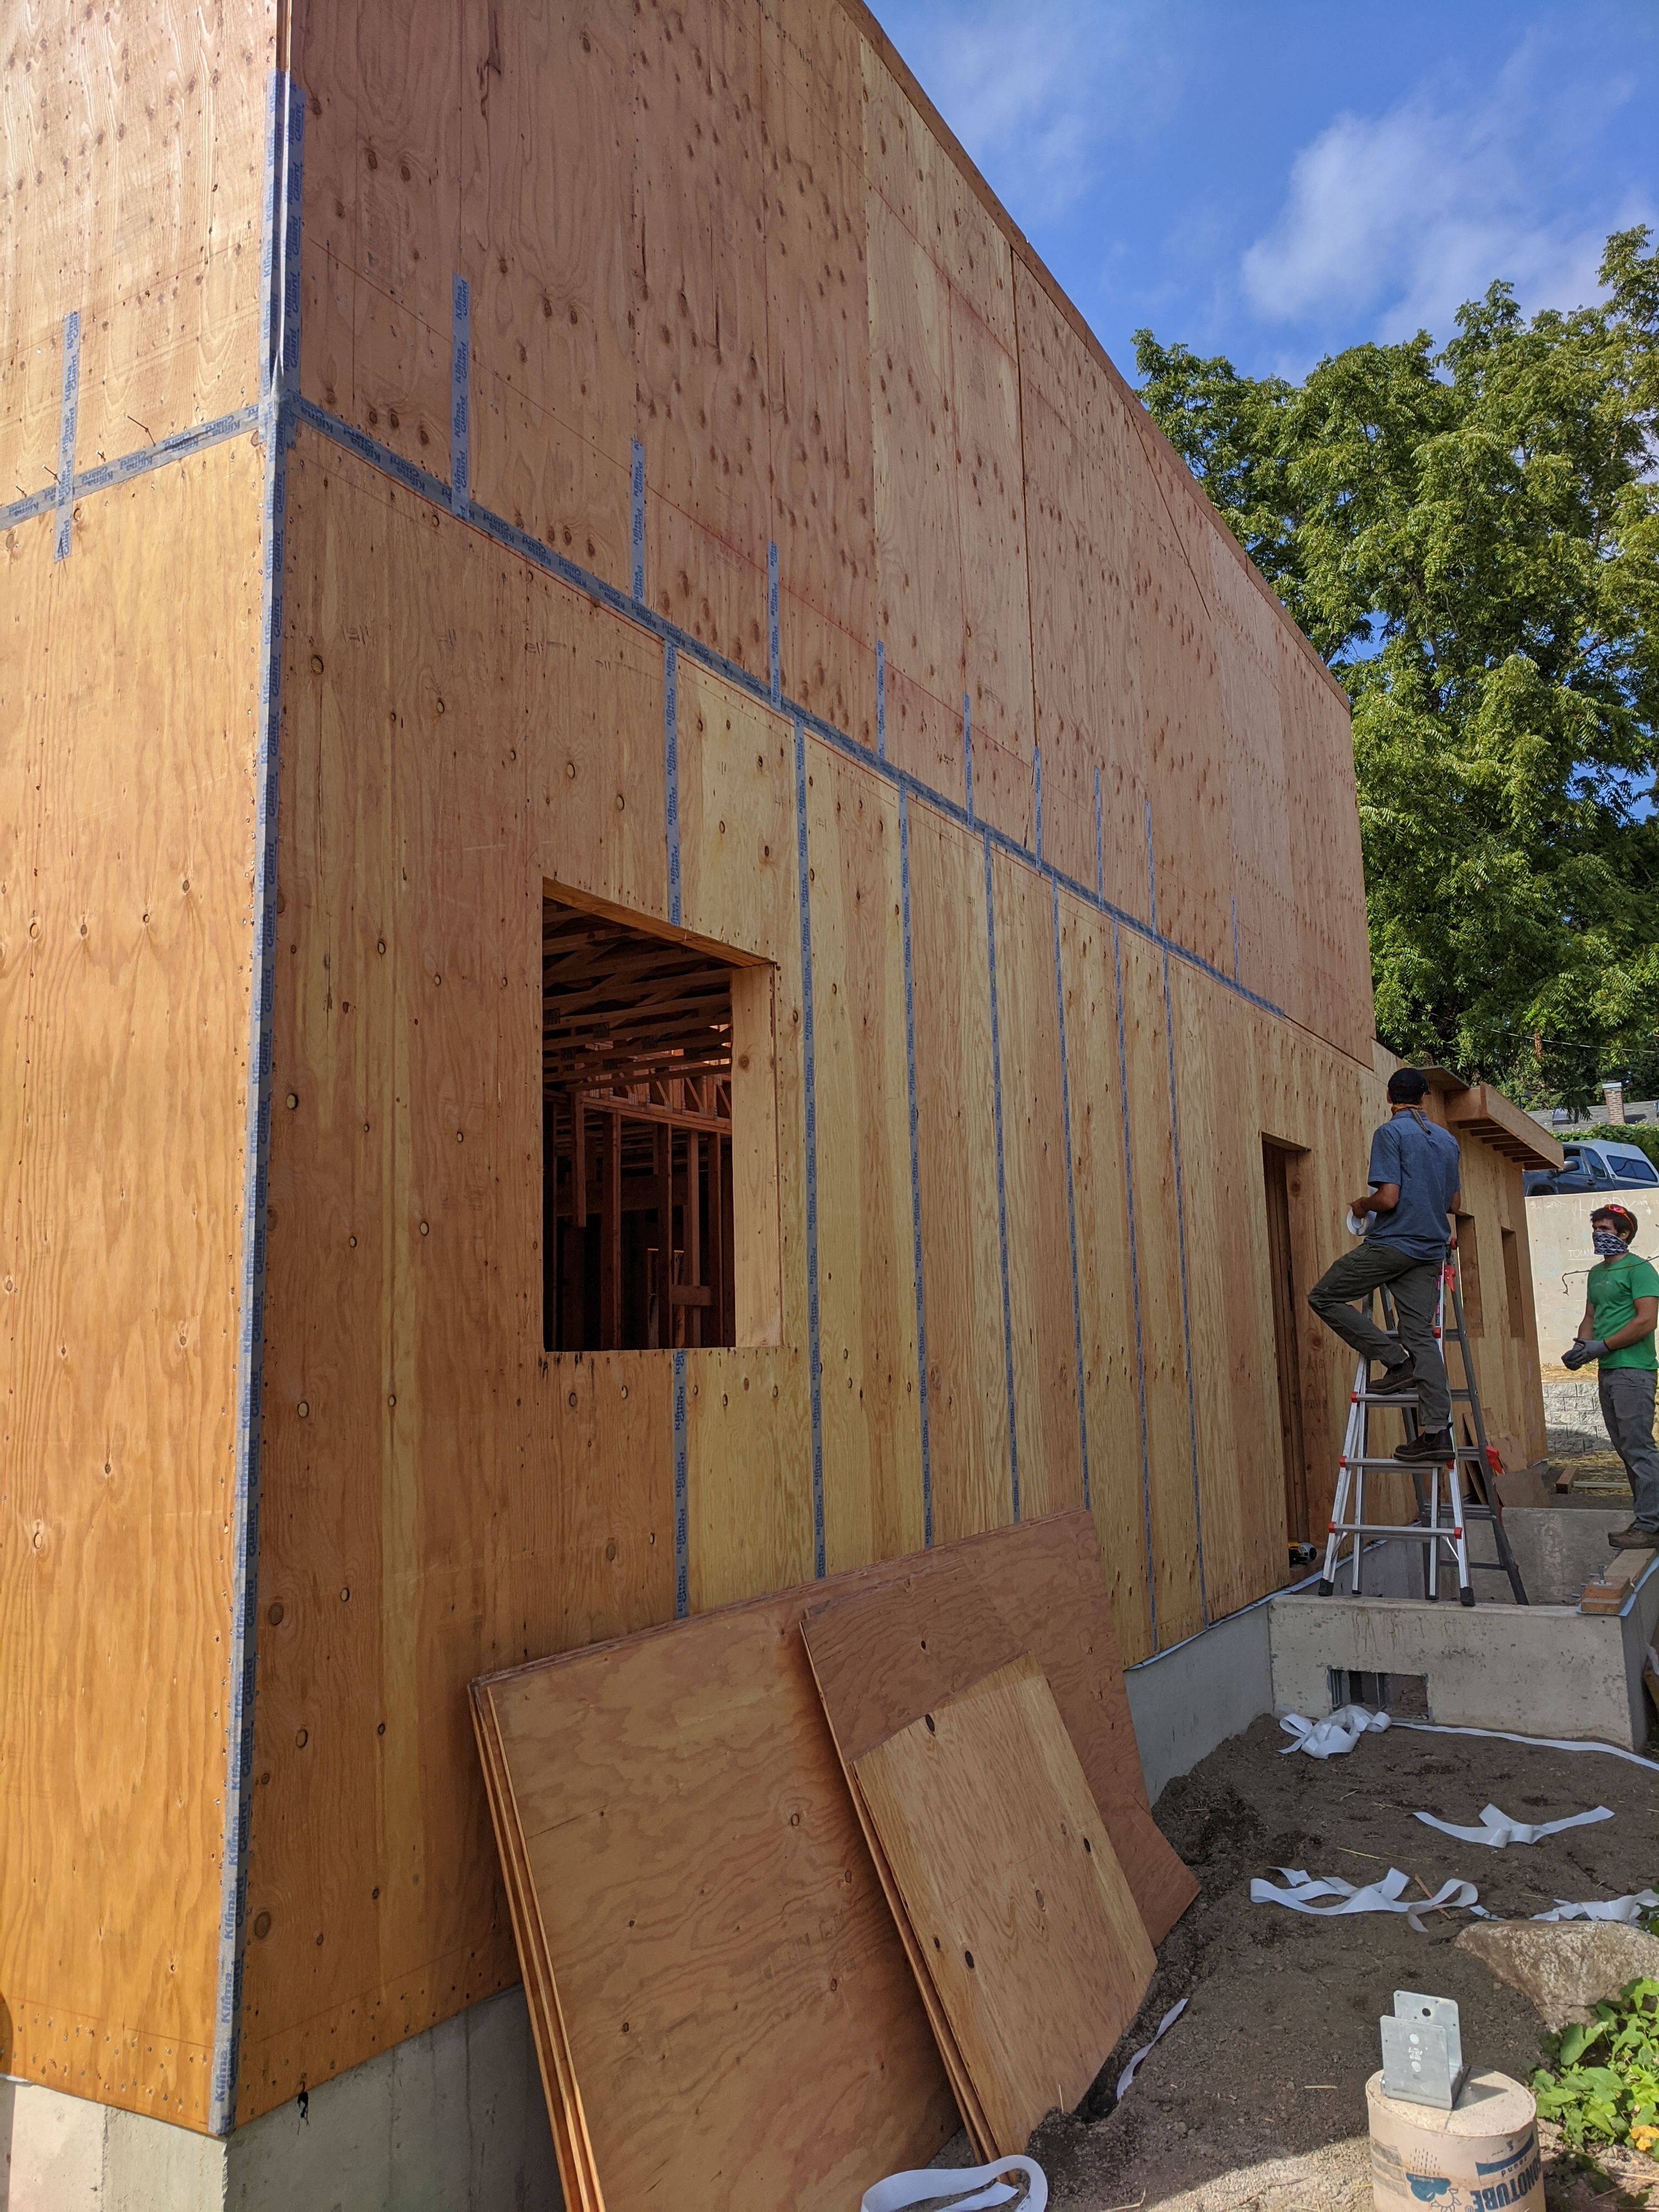
Right - Plywoood sheathing is taped at the seams to create a continuous air barrier that prevents air infiltration through critical junctures in the wall, such as at corners and between floors.
Image
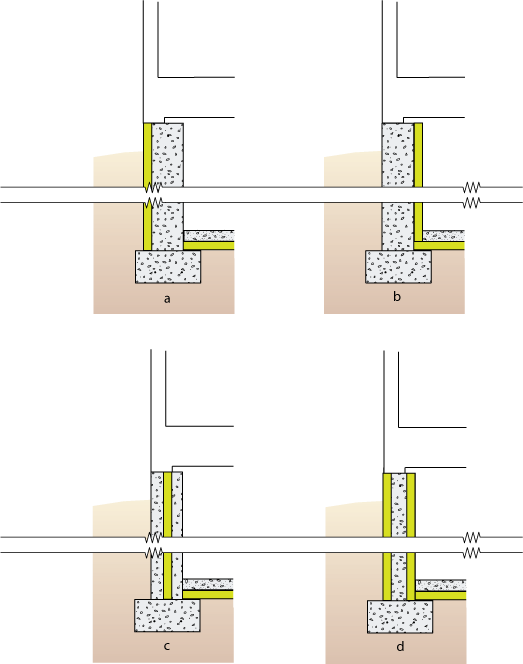
Right - Potential locations for basement insulation in new construction, slab insulation should always be underneath, with walls insulated (a) inside, (b) outside, (c) sandwiched inside, or (d) inside and outside of walls.