



Introduction
Cleaning your bathroom exhaust fan inside and out can help it to perform more effectively at removing moisture from the home while using less energy, making less noise, and helping the fan to last longer.
Why
Bath fans are critical for removing moisture from the home. Over time, these fans can collect dust and lint, inhibiting their ability to perform well. Dirt and debris can increase wear and tear on the fan motor causing the fan to use more energy and create more noise and leading to premature motor failure.
What You'll Need
- Step stool or ladder to reach the bath fan
- Eye protection
- Headlamp or flashlight
- Vacuum cleaner with hose extension and brush attachment
- Cloth rags
- Small cleaning implements (e.g., pipe cleaners, old toothbrush, old paint brush, wooden skewer)
1. Identify bath fan type.
Your bathroom exhaust fan may be a vent-only model (Figure 1) or it may be a fan/light combination unit (Figure 2).

Source

2. Get a step stool.
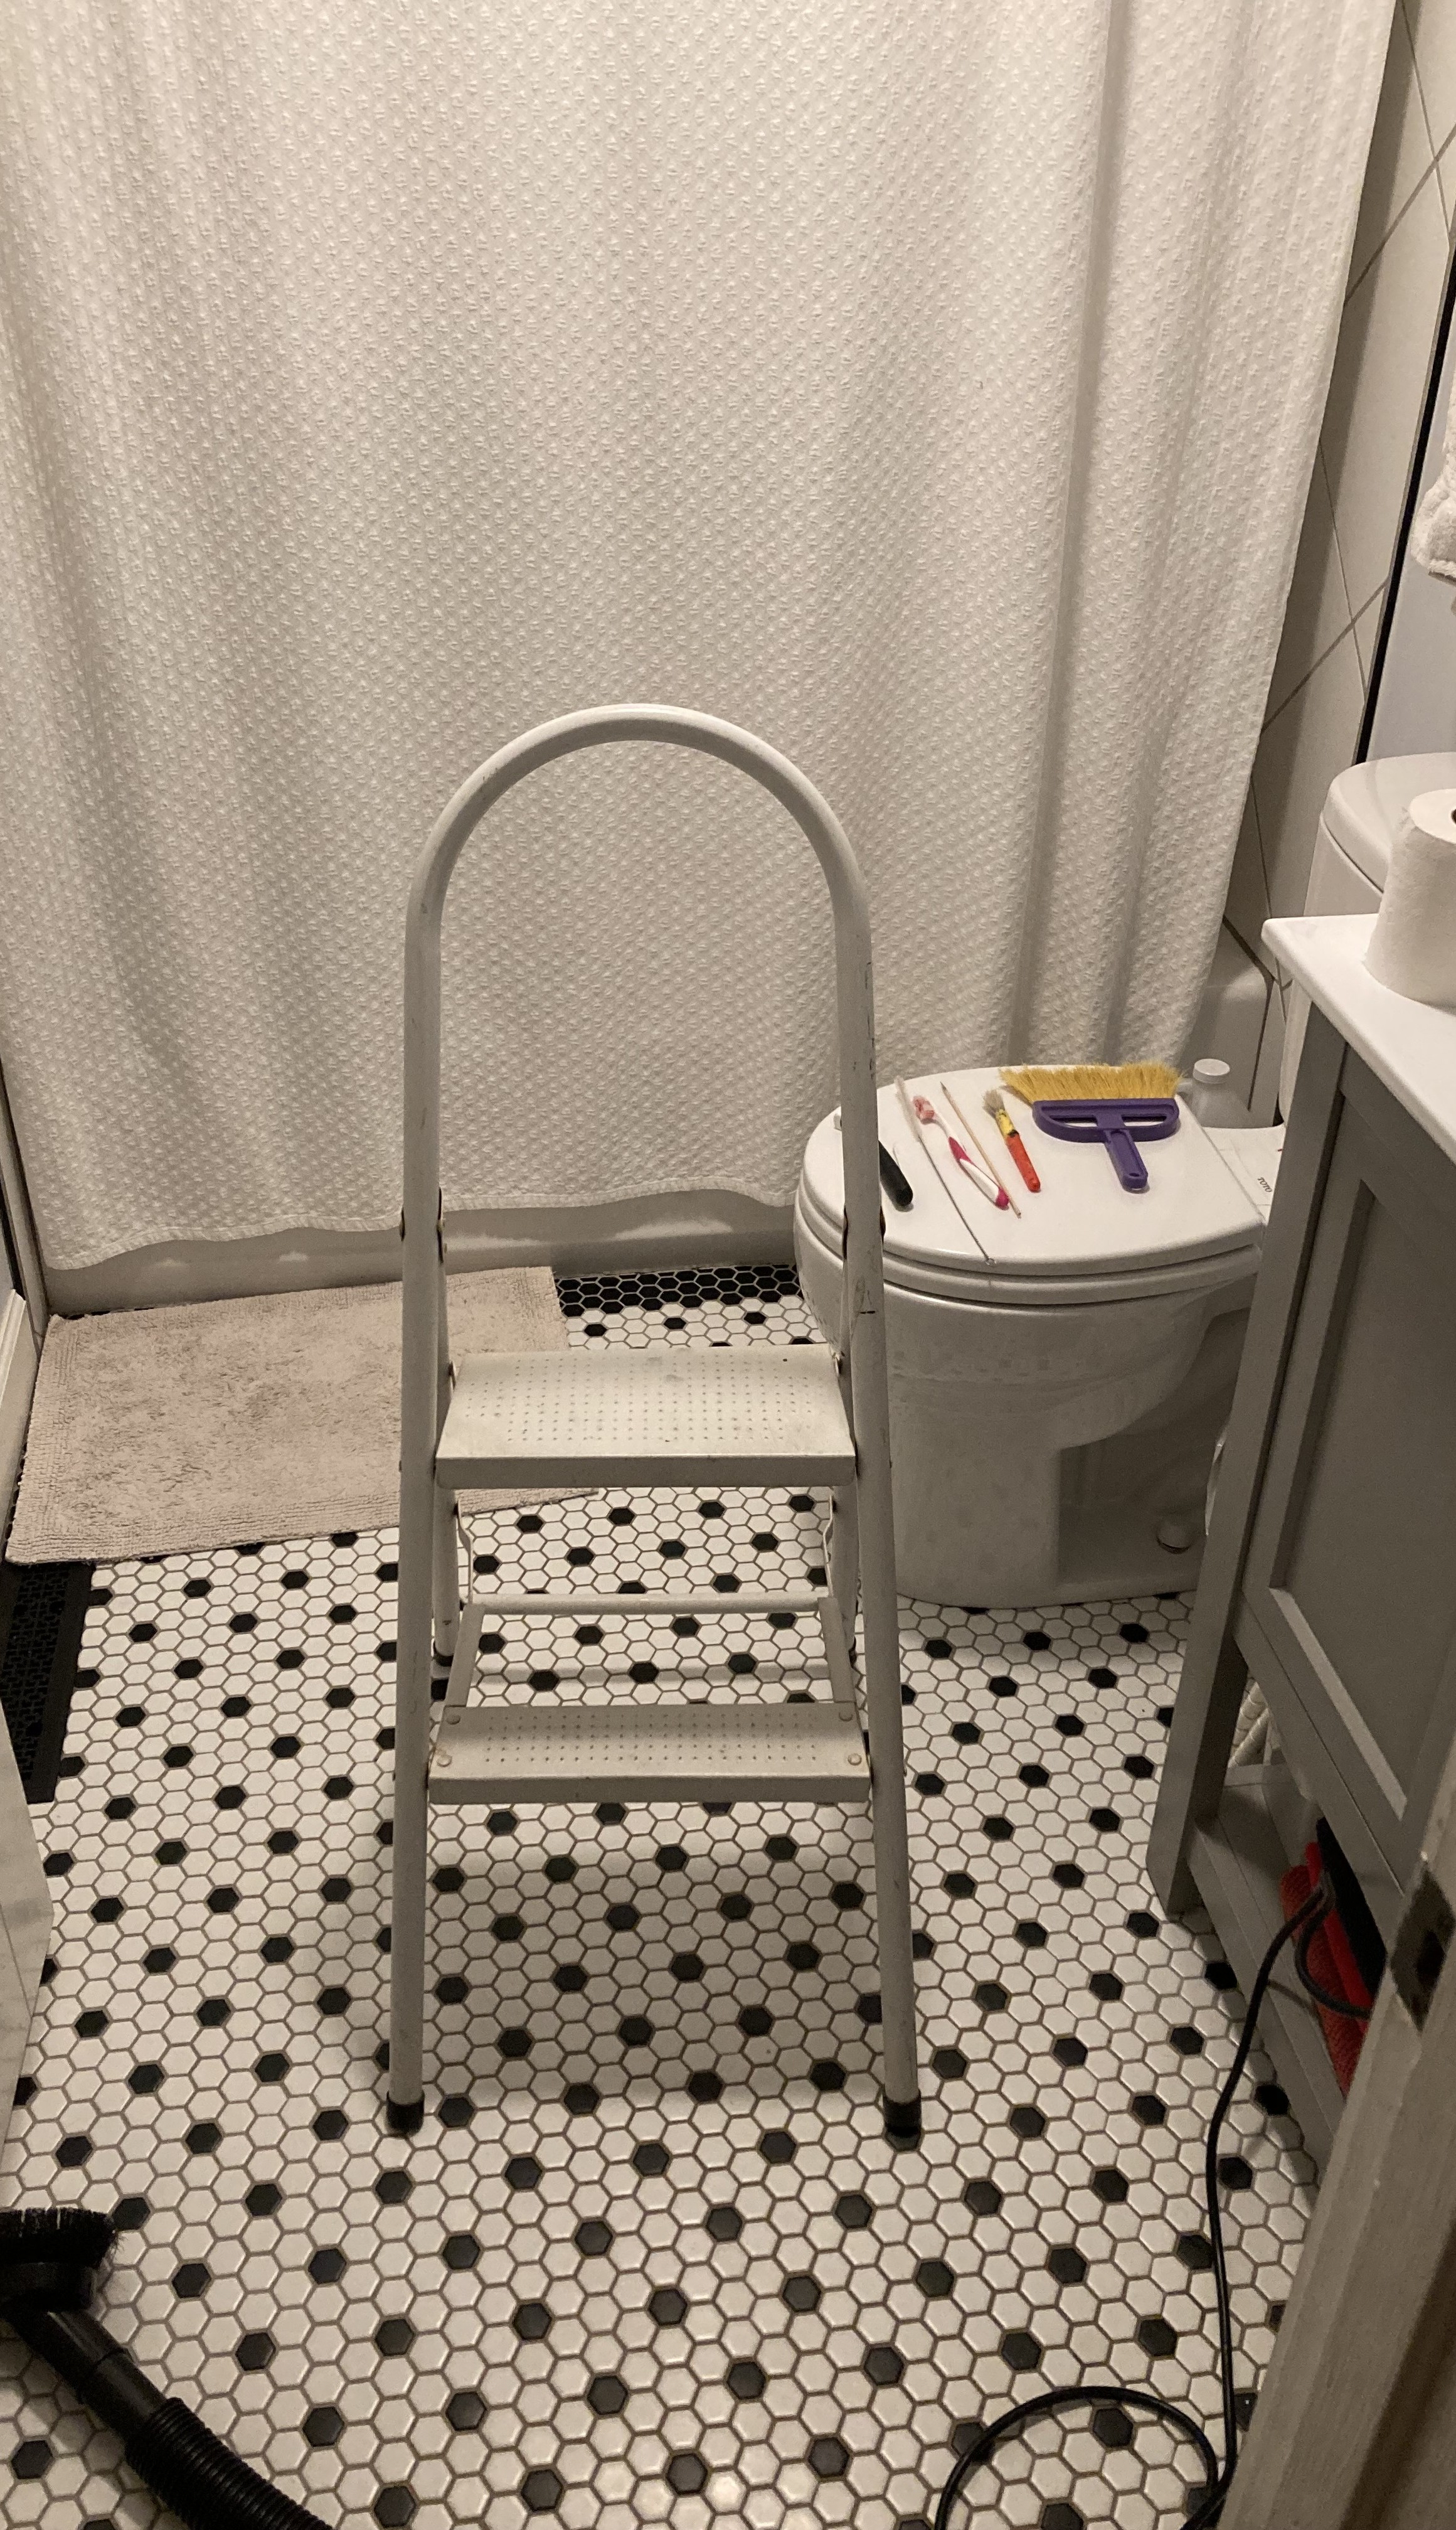
Get a ladder or step stool if needed to reach the bath fan (Figure 3). Place the step stool or ladder on an even surface on the floor.
3. Look for debris.
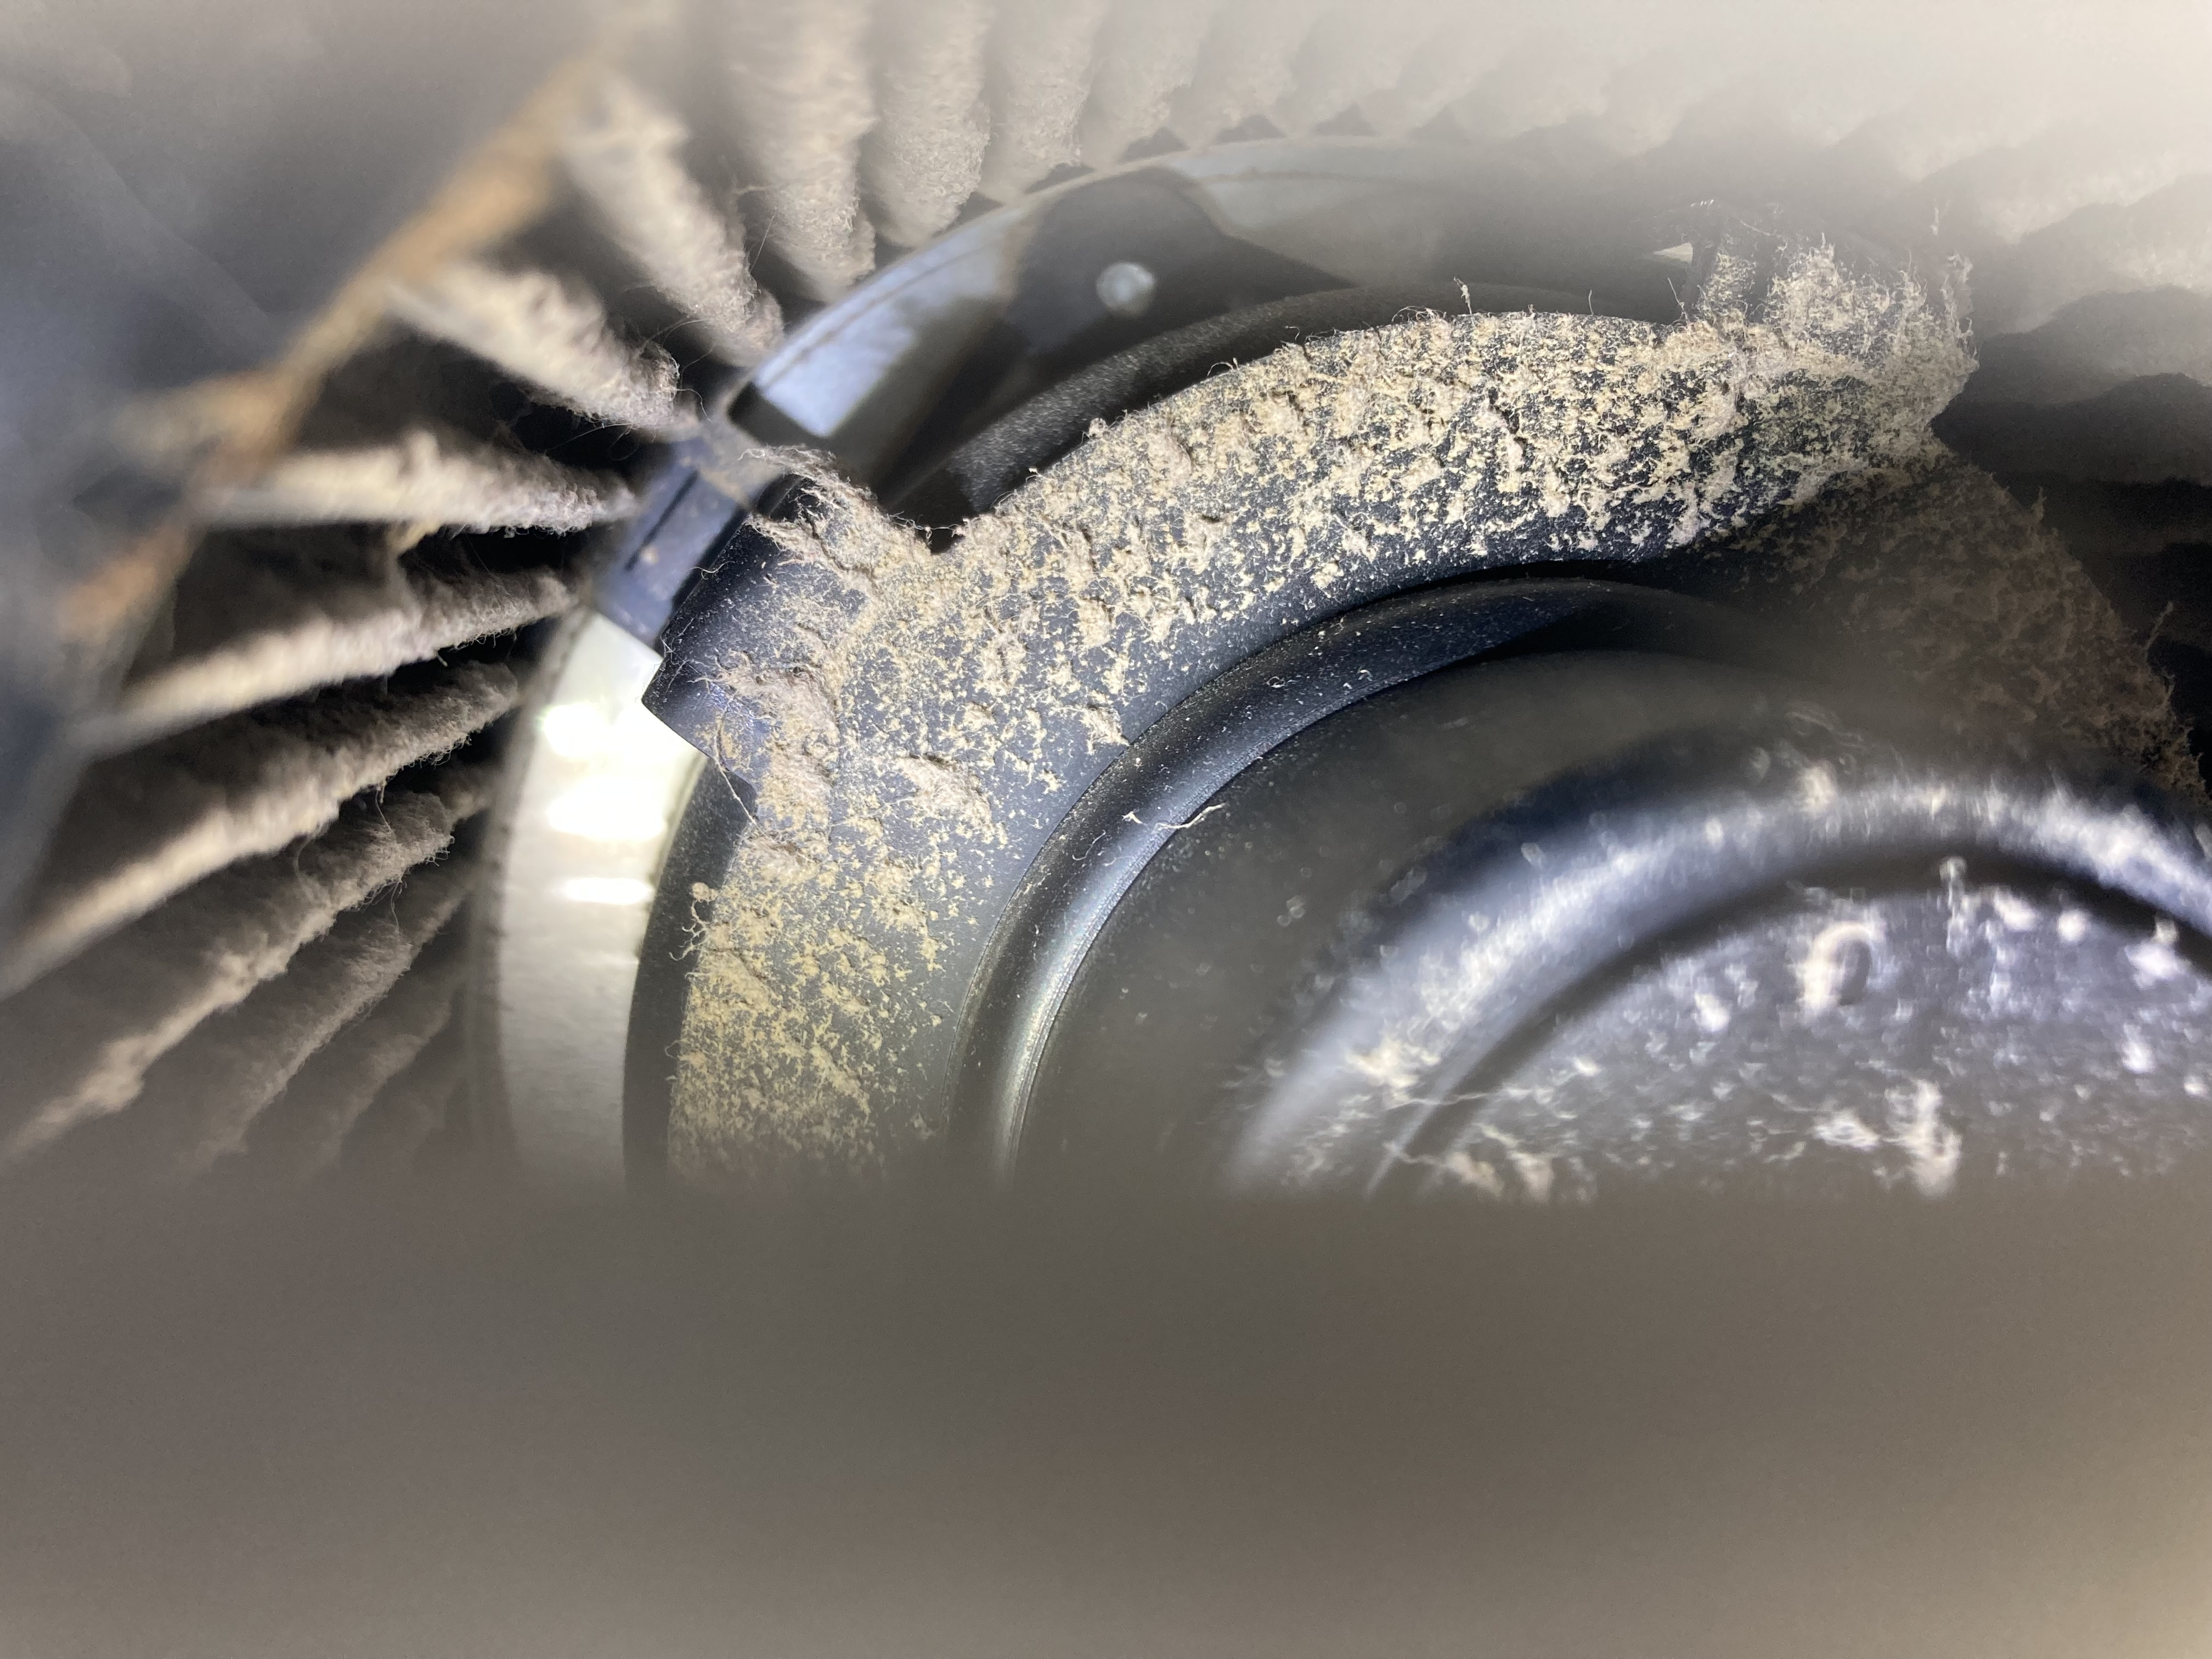
Look for dust and lint accumulation on the outside of the vent and inside the fan housing. Use a flashlight or headlamp to look inside the vent cover. If a layer of accumulated material is visible, it is time to clean the fan. Wear eye protection to keep falling debris out of your eyes.

Source
4. Turn off the power.
Switch off the fan’s circuit at the breaker box.
5. Clean the vent cover.
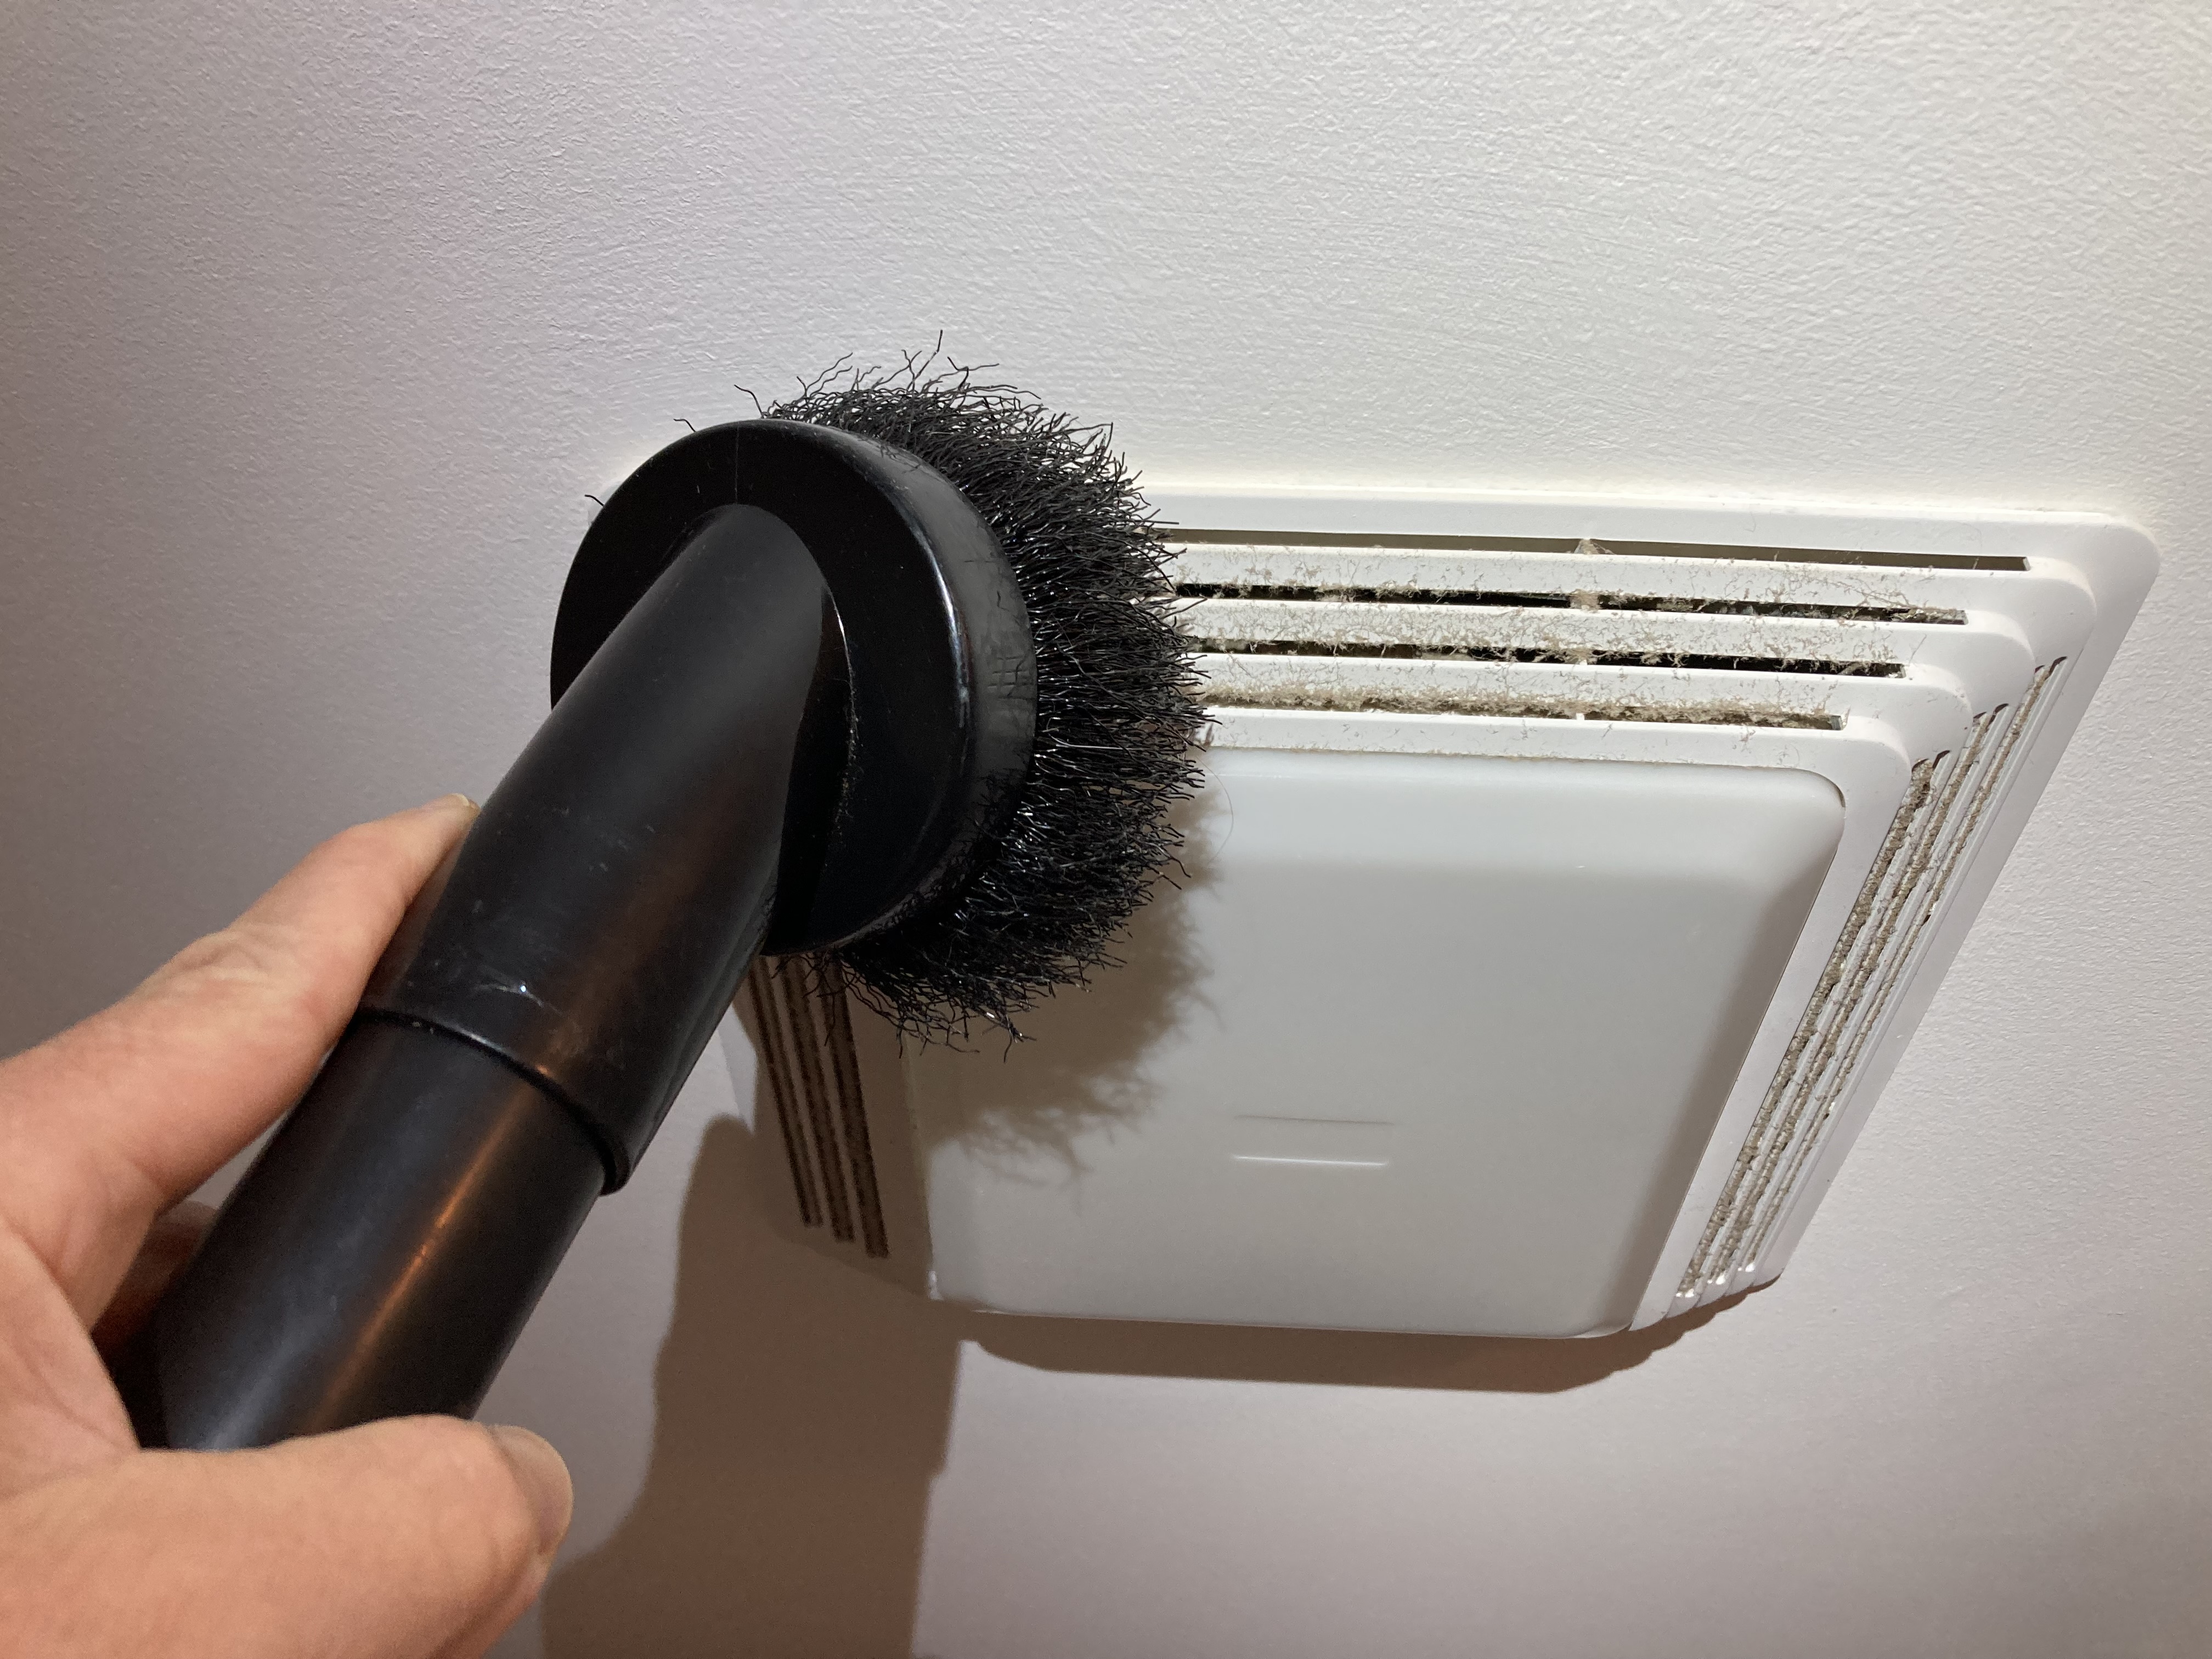
- If your vacuum hose will reach, use the brush attachment on the vacuum to clean the vent cover before removing it (Figure 6).
Source
6. Remove Vent Cover
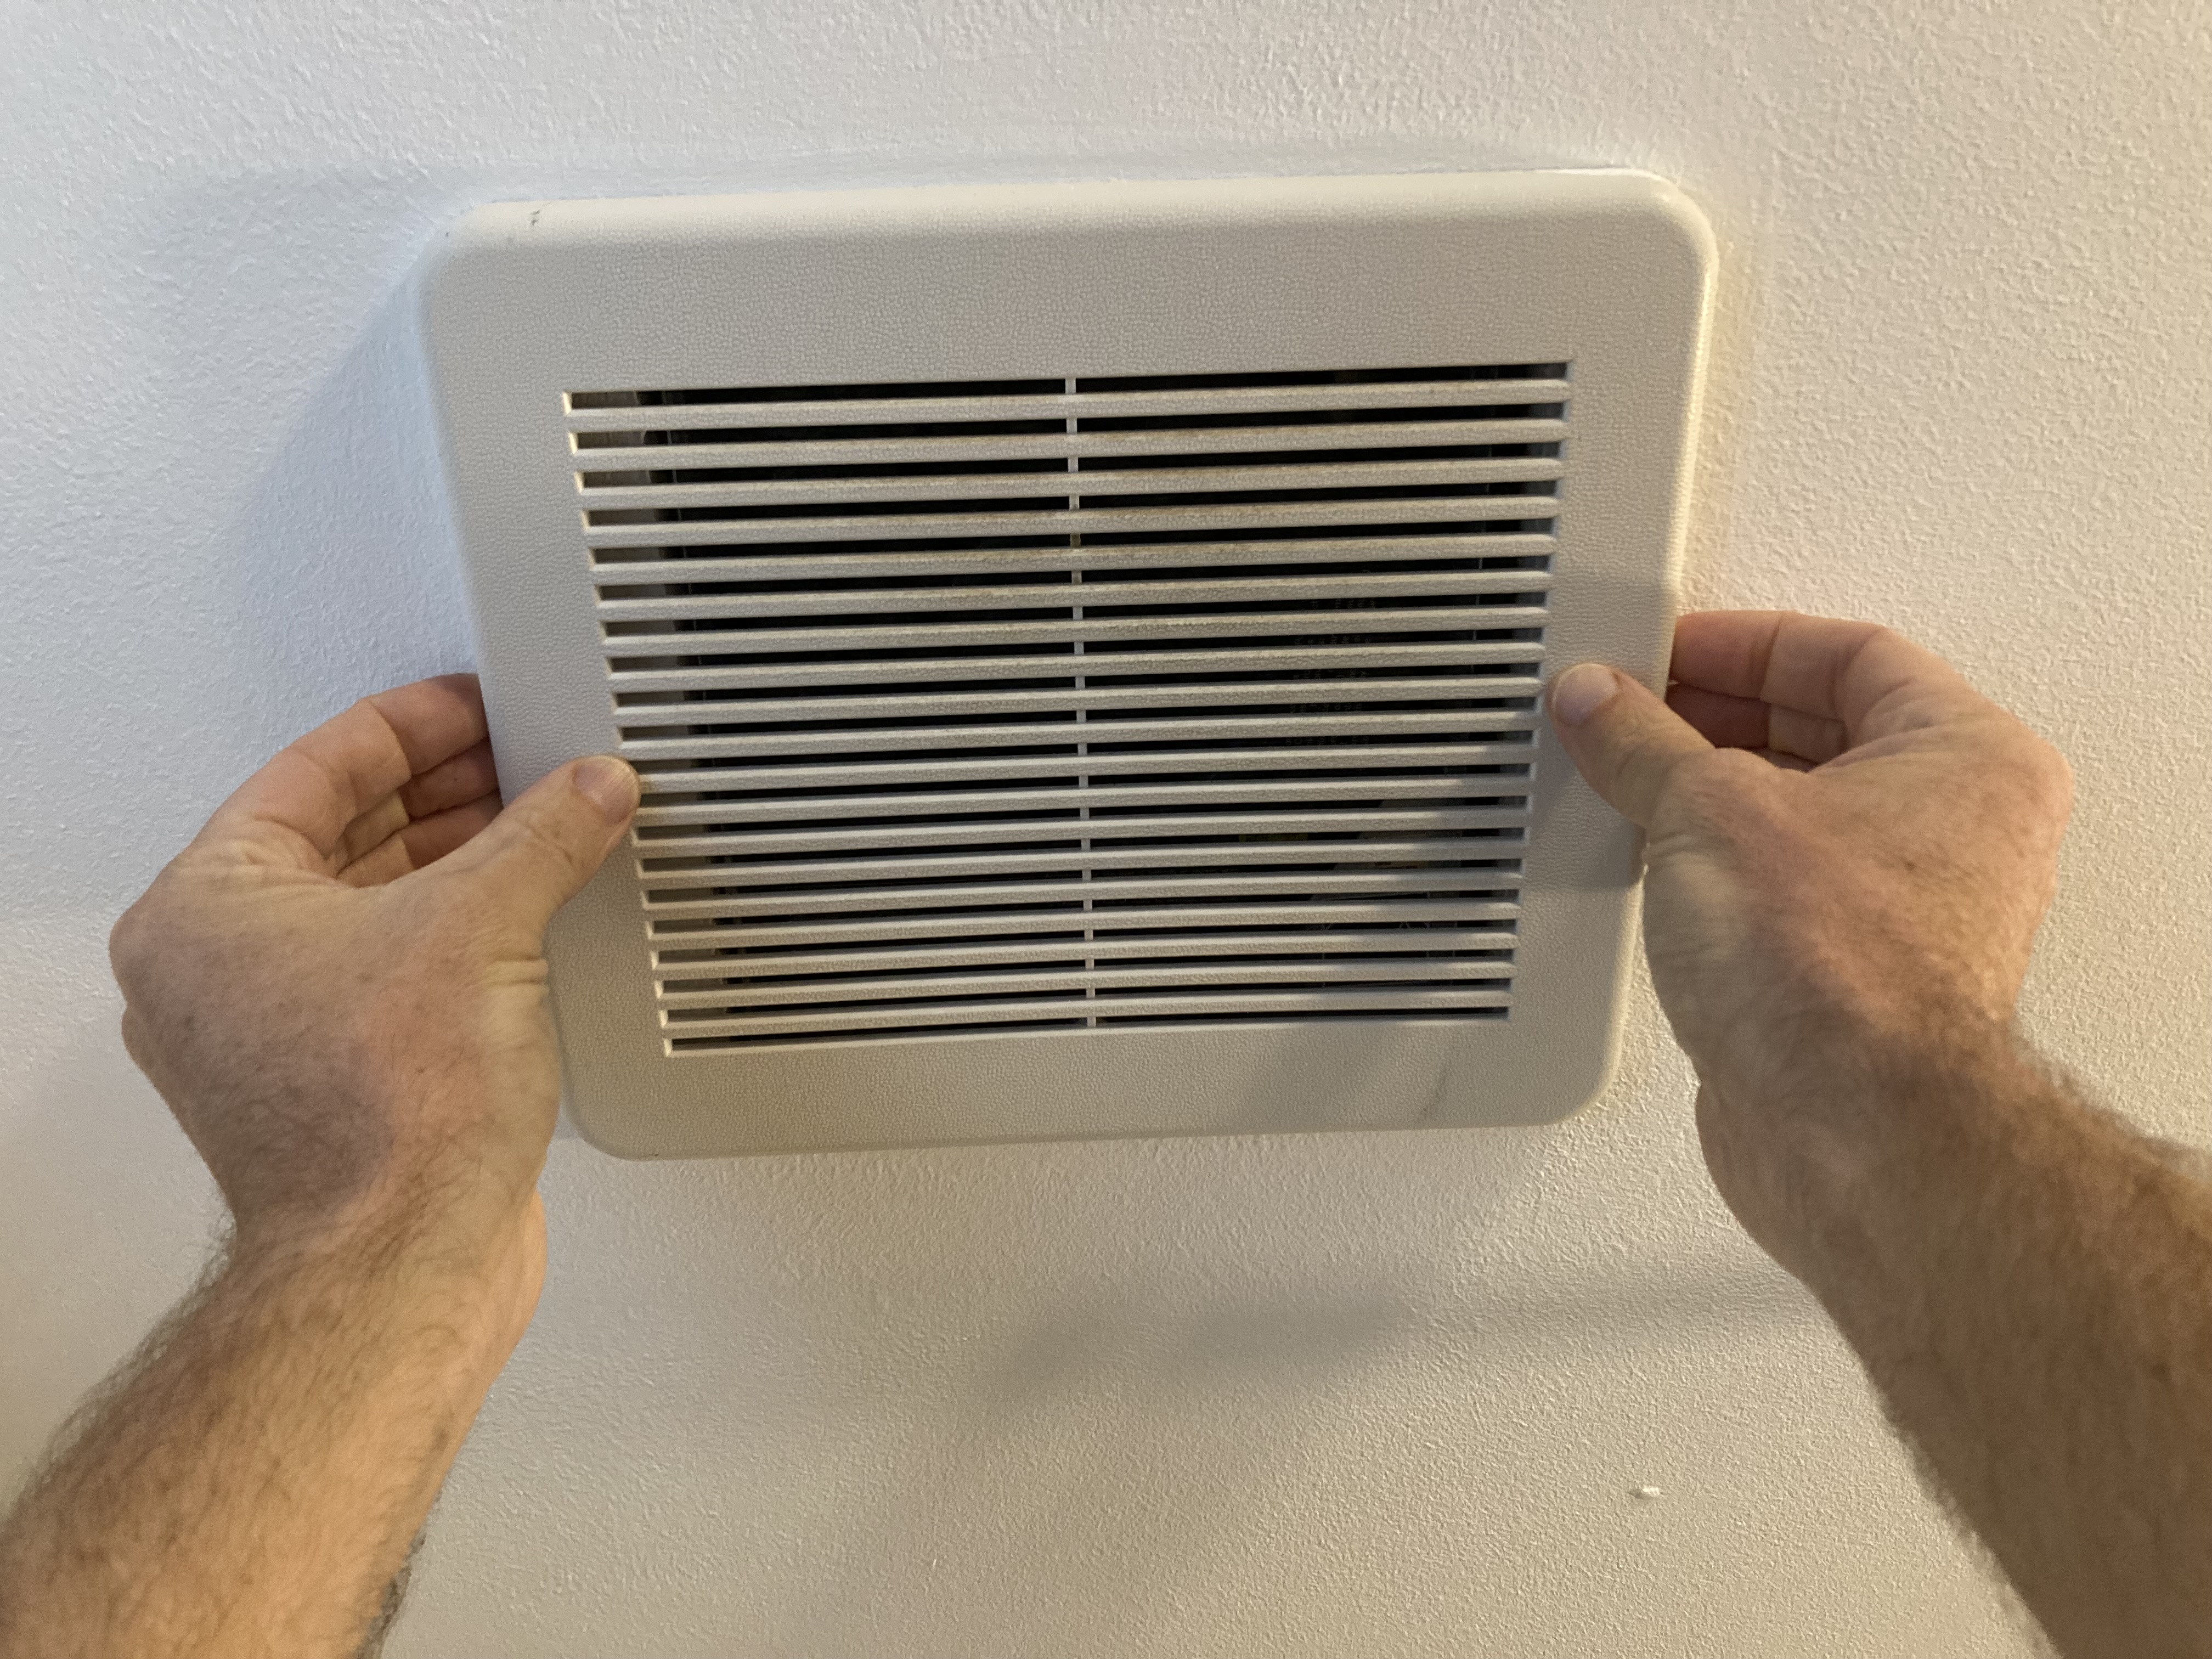
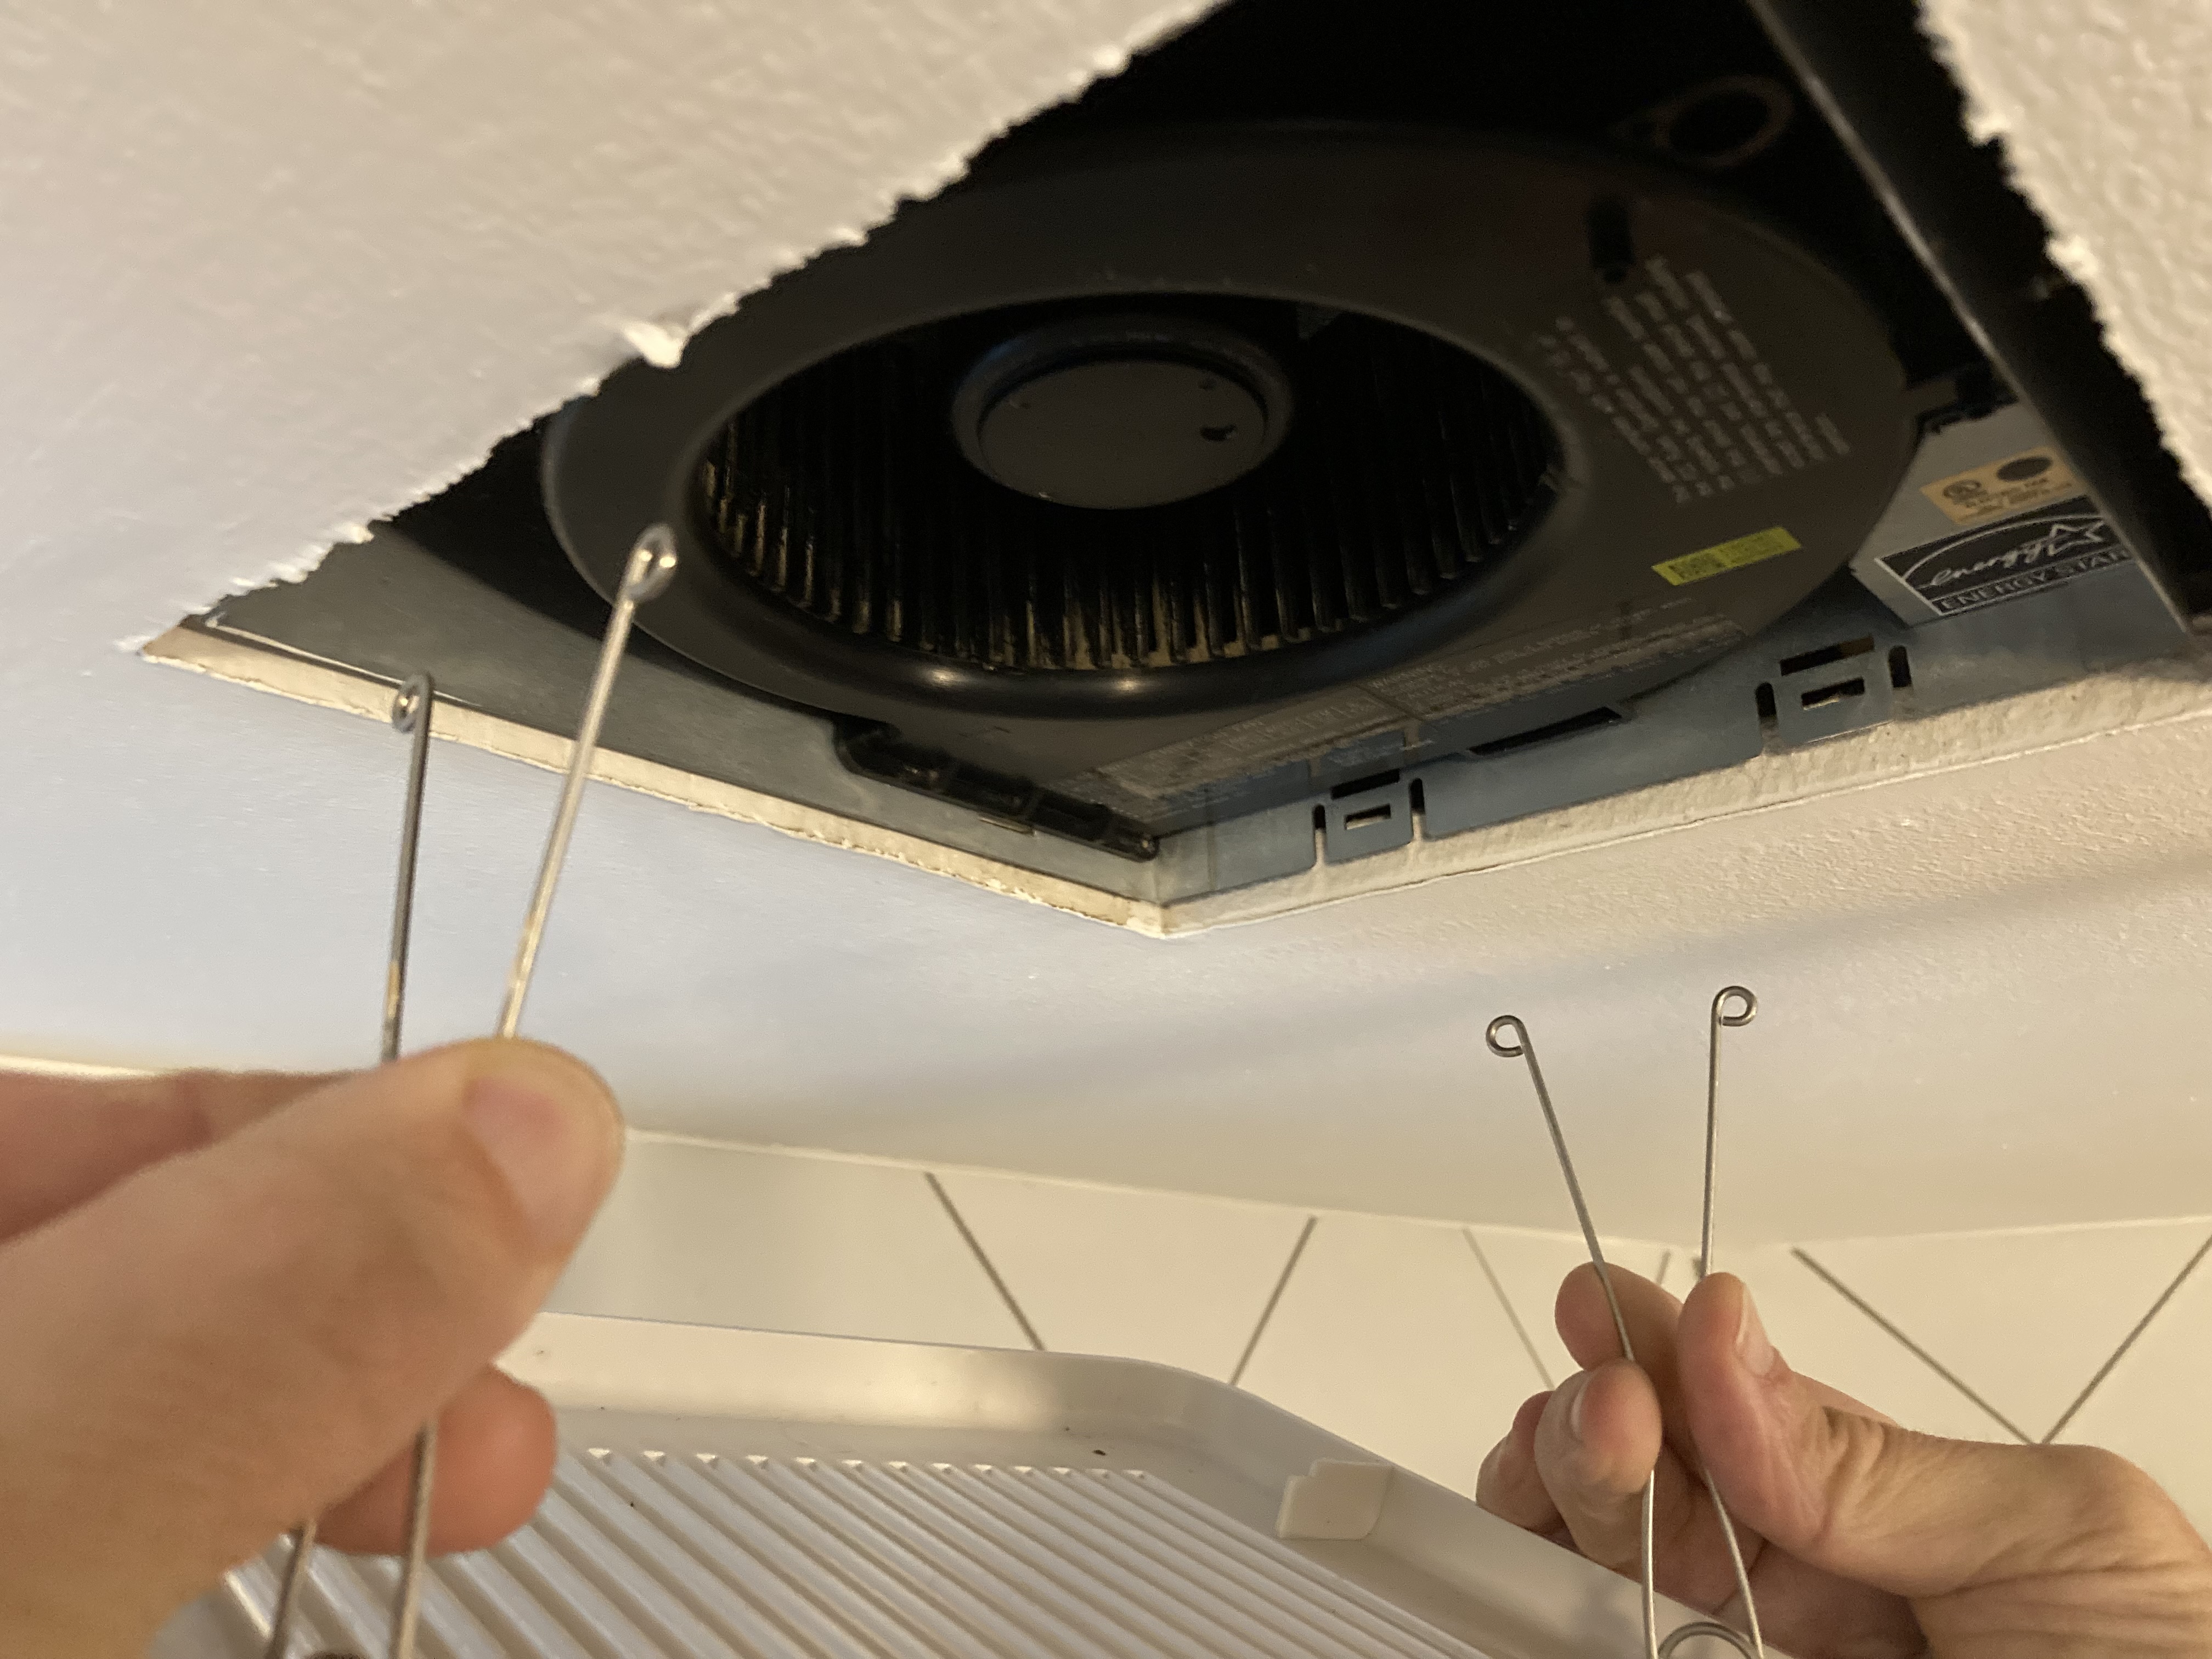
- Remove the vent cover. Some bath fan vent covers are loosened by simply pulling the cover downward (Figure 7). Then, reach up and squeeze together the metal mounting wires attached to the back side of the cover while pulling down on the cover to slide the wires out of their slots and remove the fan cover from the housing (Figure 8). Other models use screws, levers, buttons, knobs, or nuts; disconnect these to remove the vent cover.
- If you weren’t able to before, vacuum or brush off any loose debris, then fill the bathroom sink with warm water and a few drops of dish soap. Soak the cover in soapy water for a few minutes, then scrub it with a cloth or brush. Place the cover on a towel and let it air dry.
Source
Source
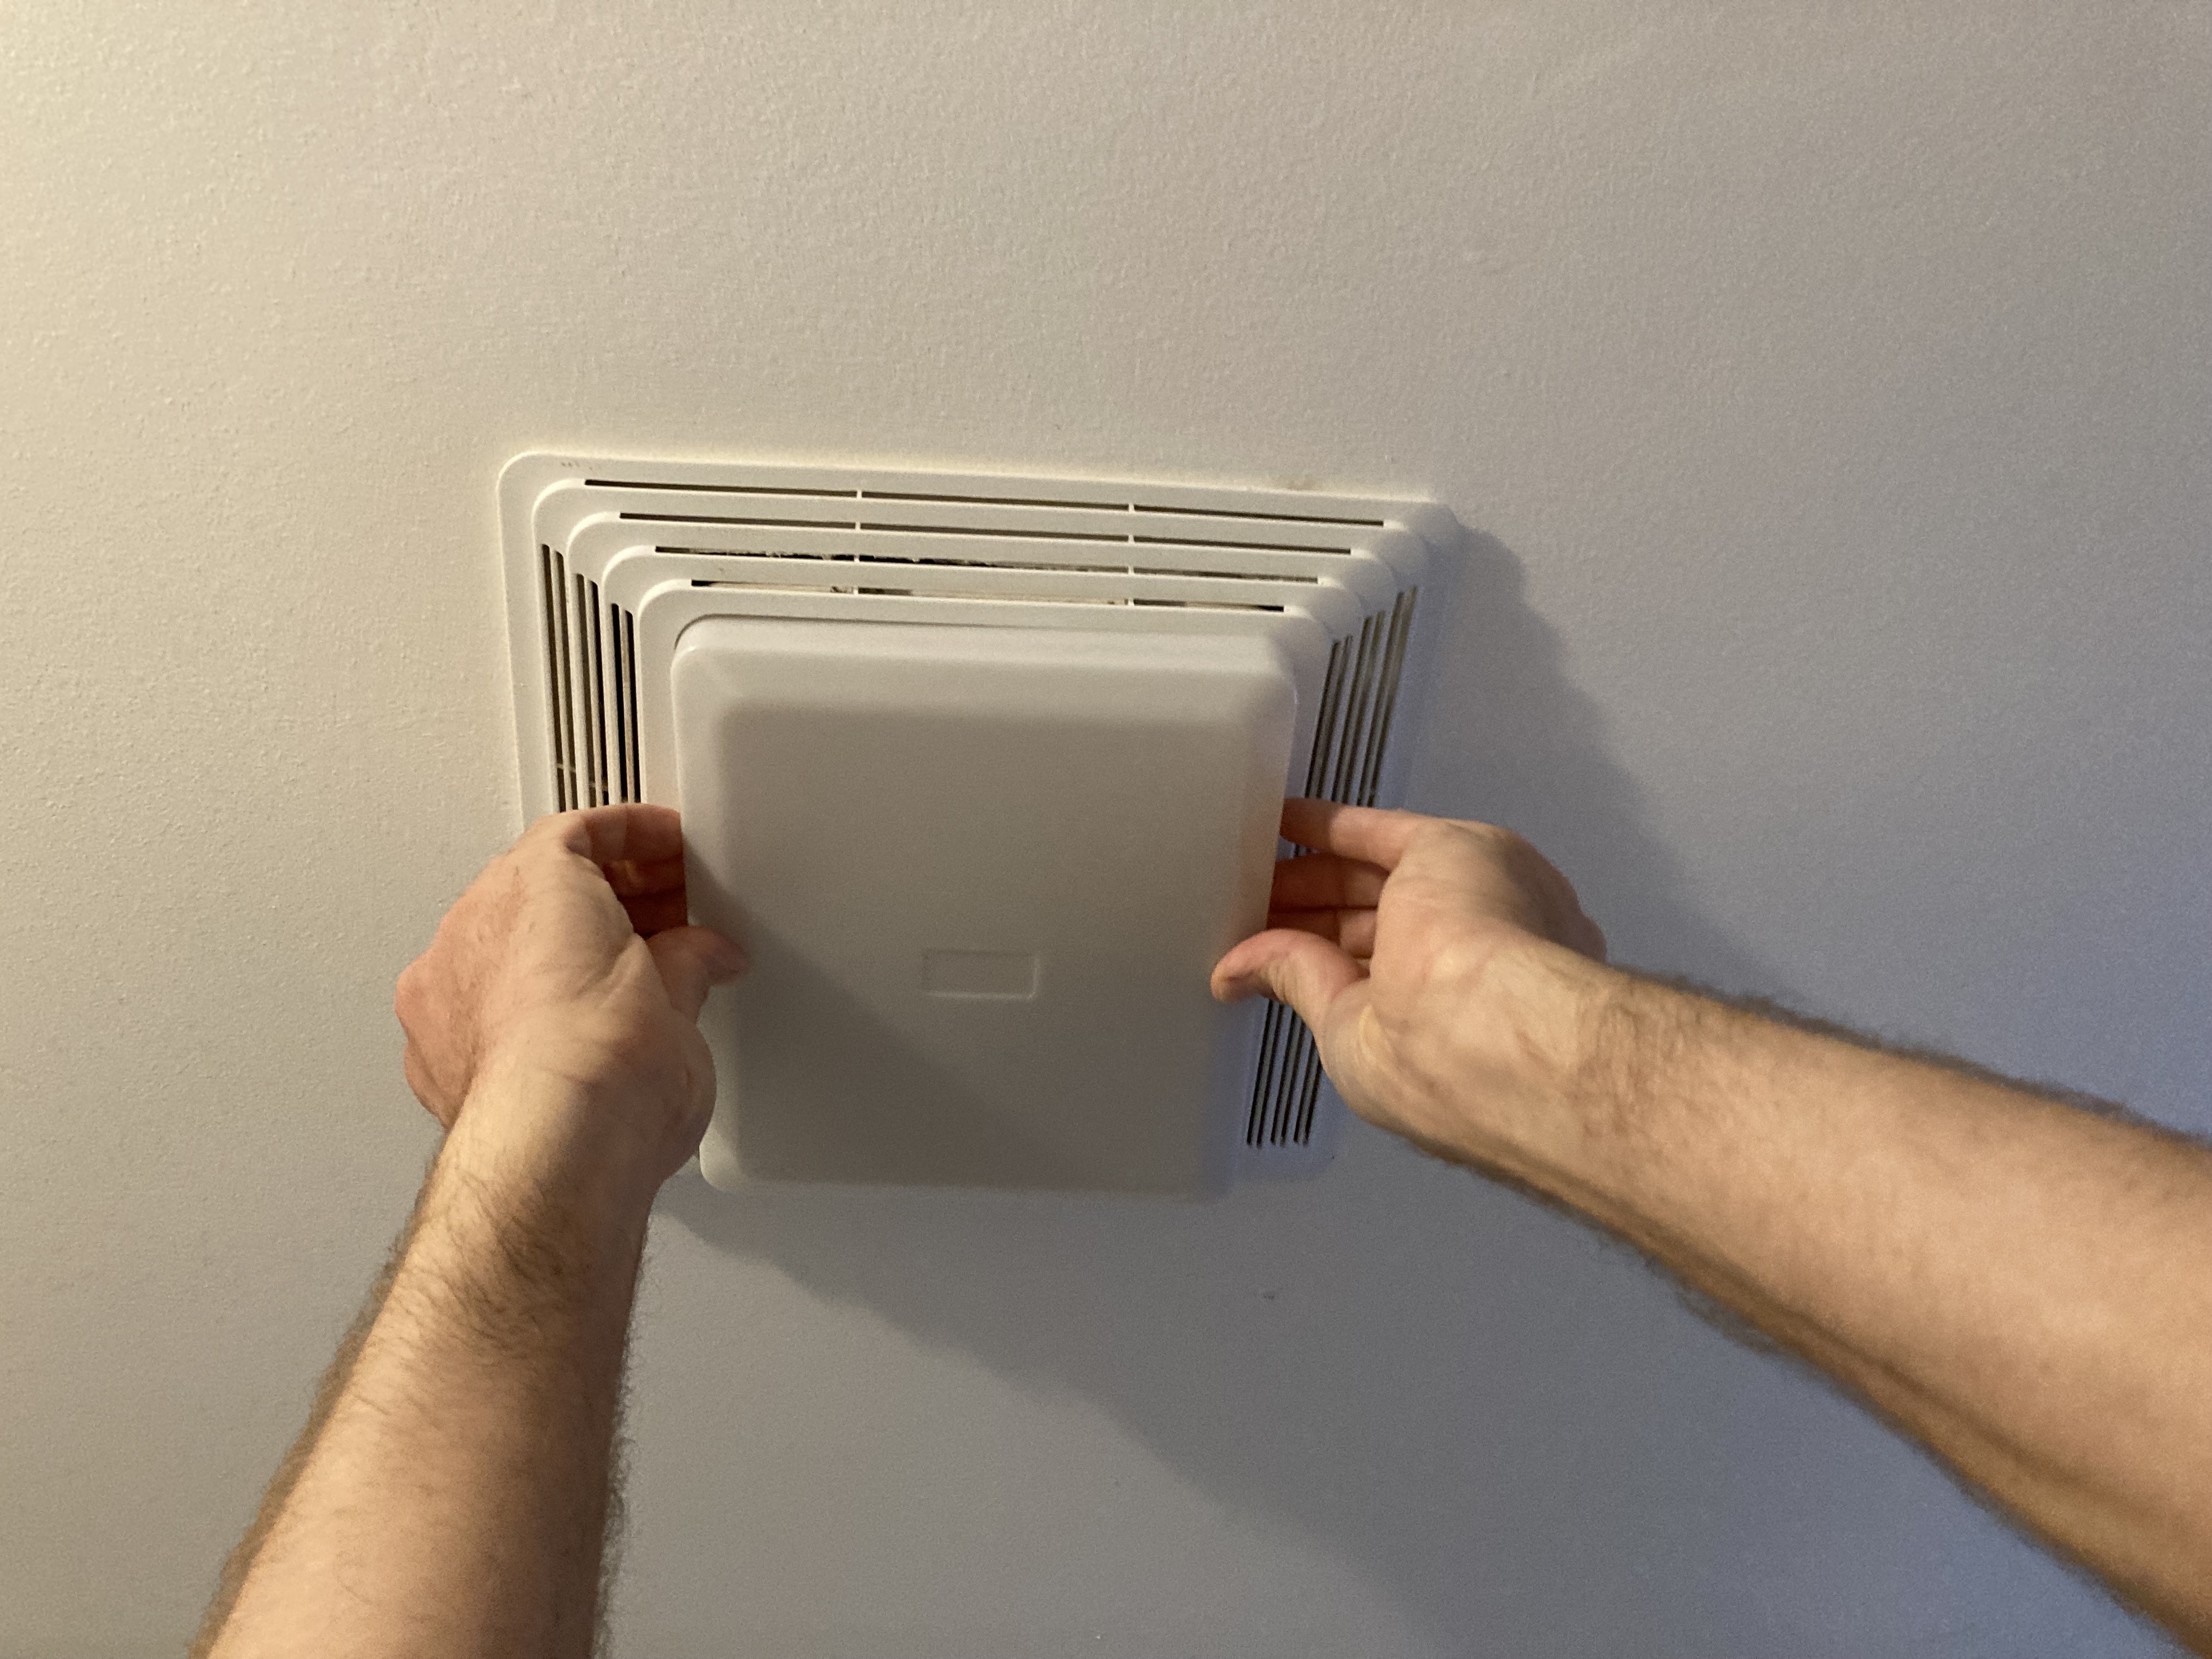
- If the fan has a light, remove the cover over the light; usually this is done by pushing in plastic tabs on the sides of the cover (Figure 9). Wipe off the cover with a damp cloth and let it airdry.
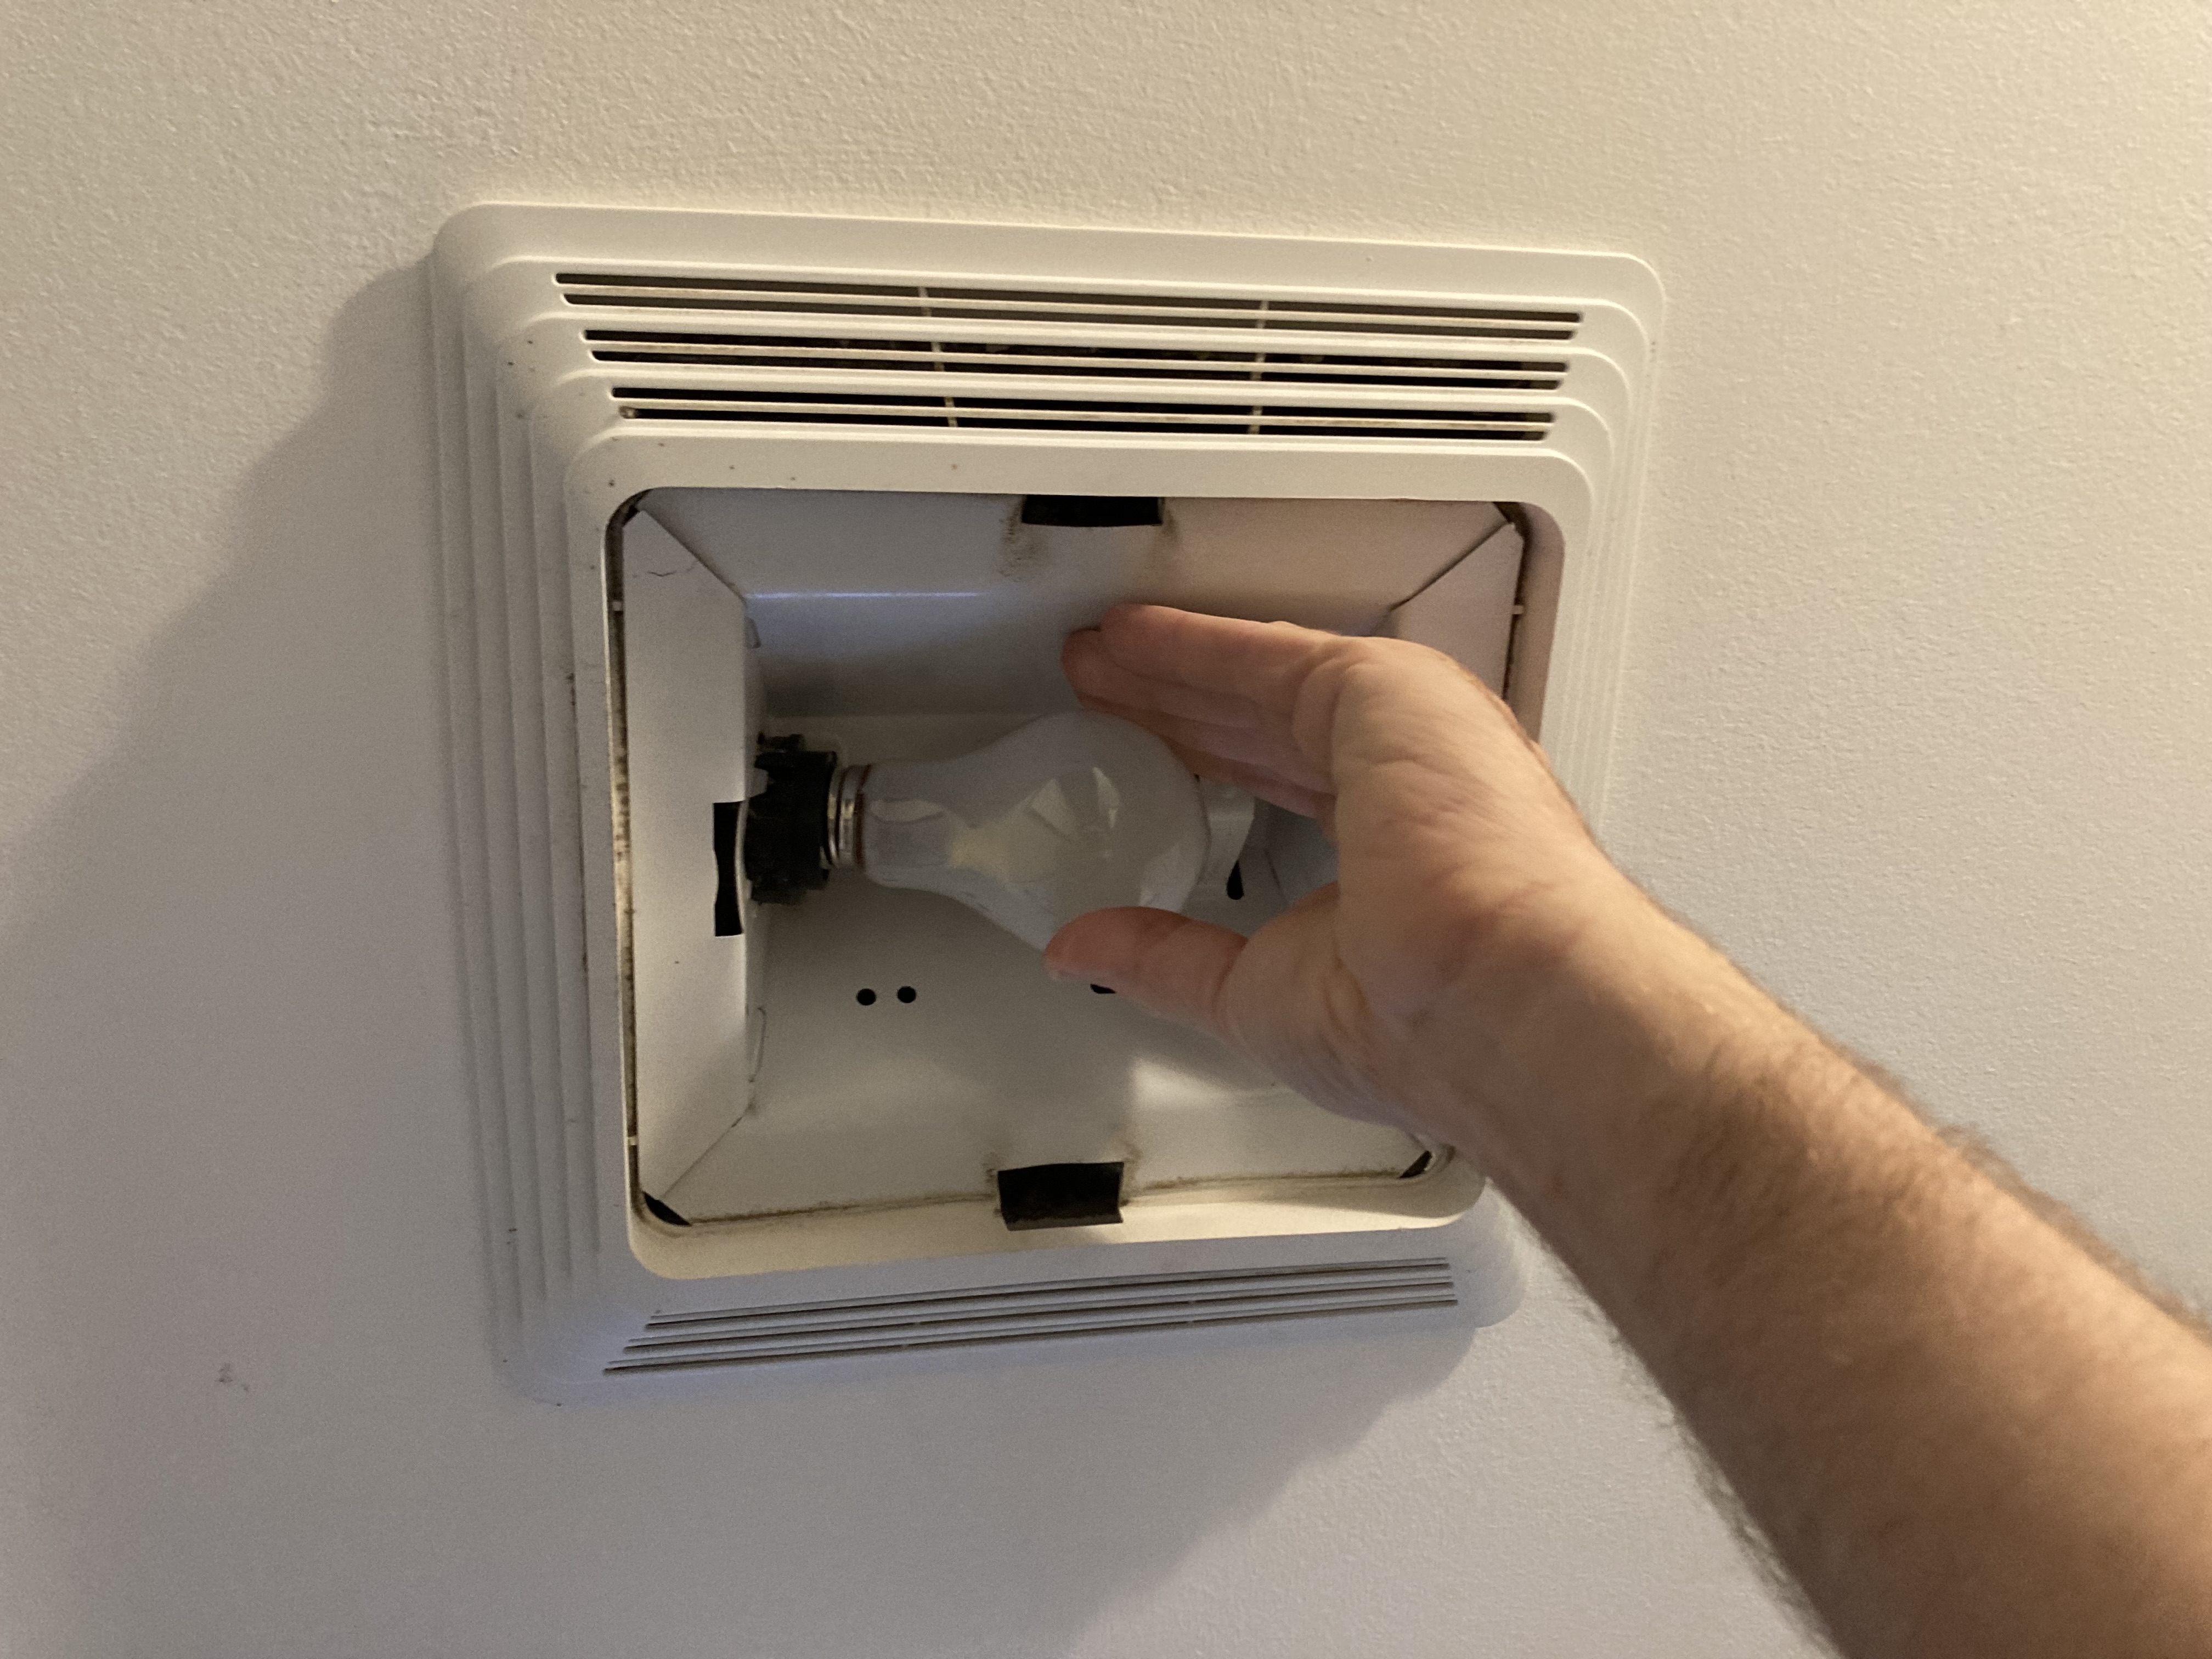
- Unscrew the light bulb (Figure 10), then clean the light housing with a vacuum attachment or a soft dry cloth.
Source
Source
7. Access the Fan.
If the exhaust fan has a light, the light housing must be removed to access the fan itself.
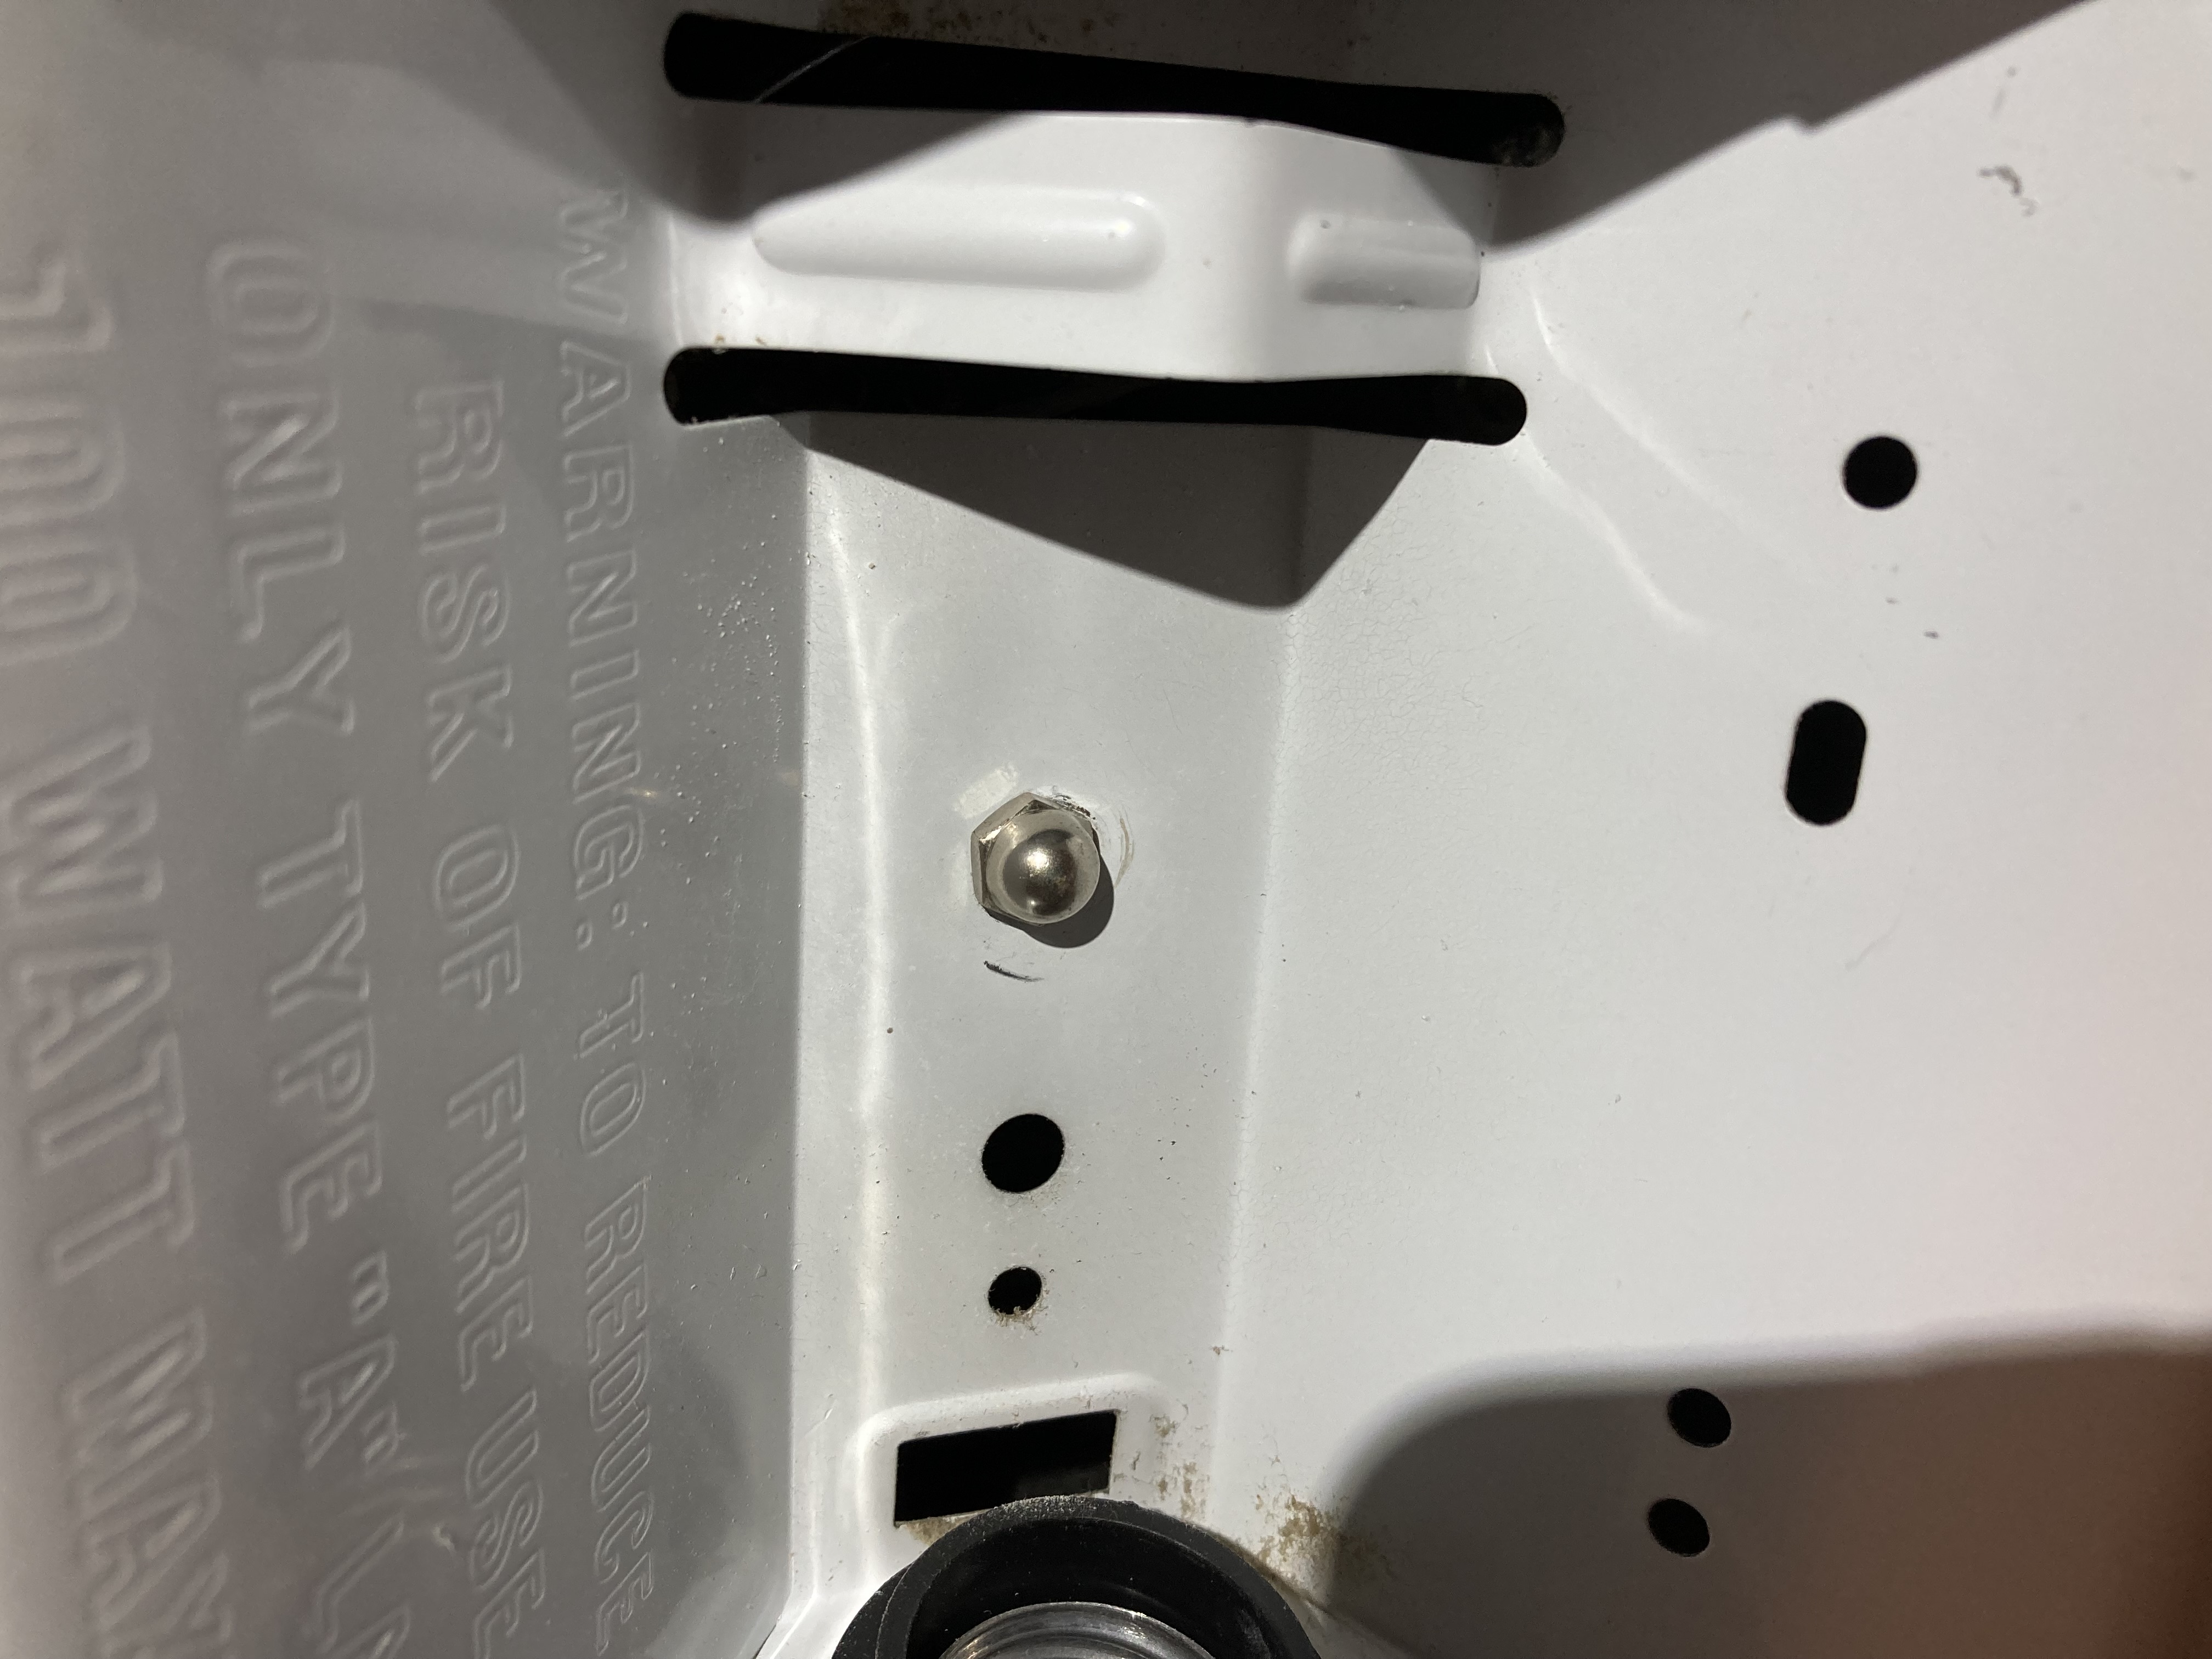
- Unscrew or unclip the light fixture housing to remove it (Figures 11 and 12).
Source

Source
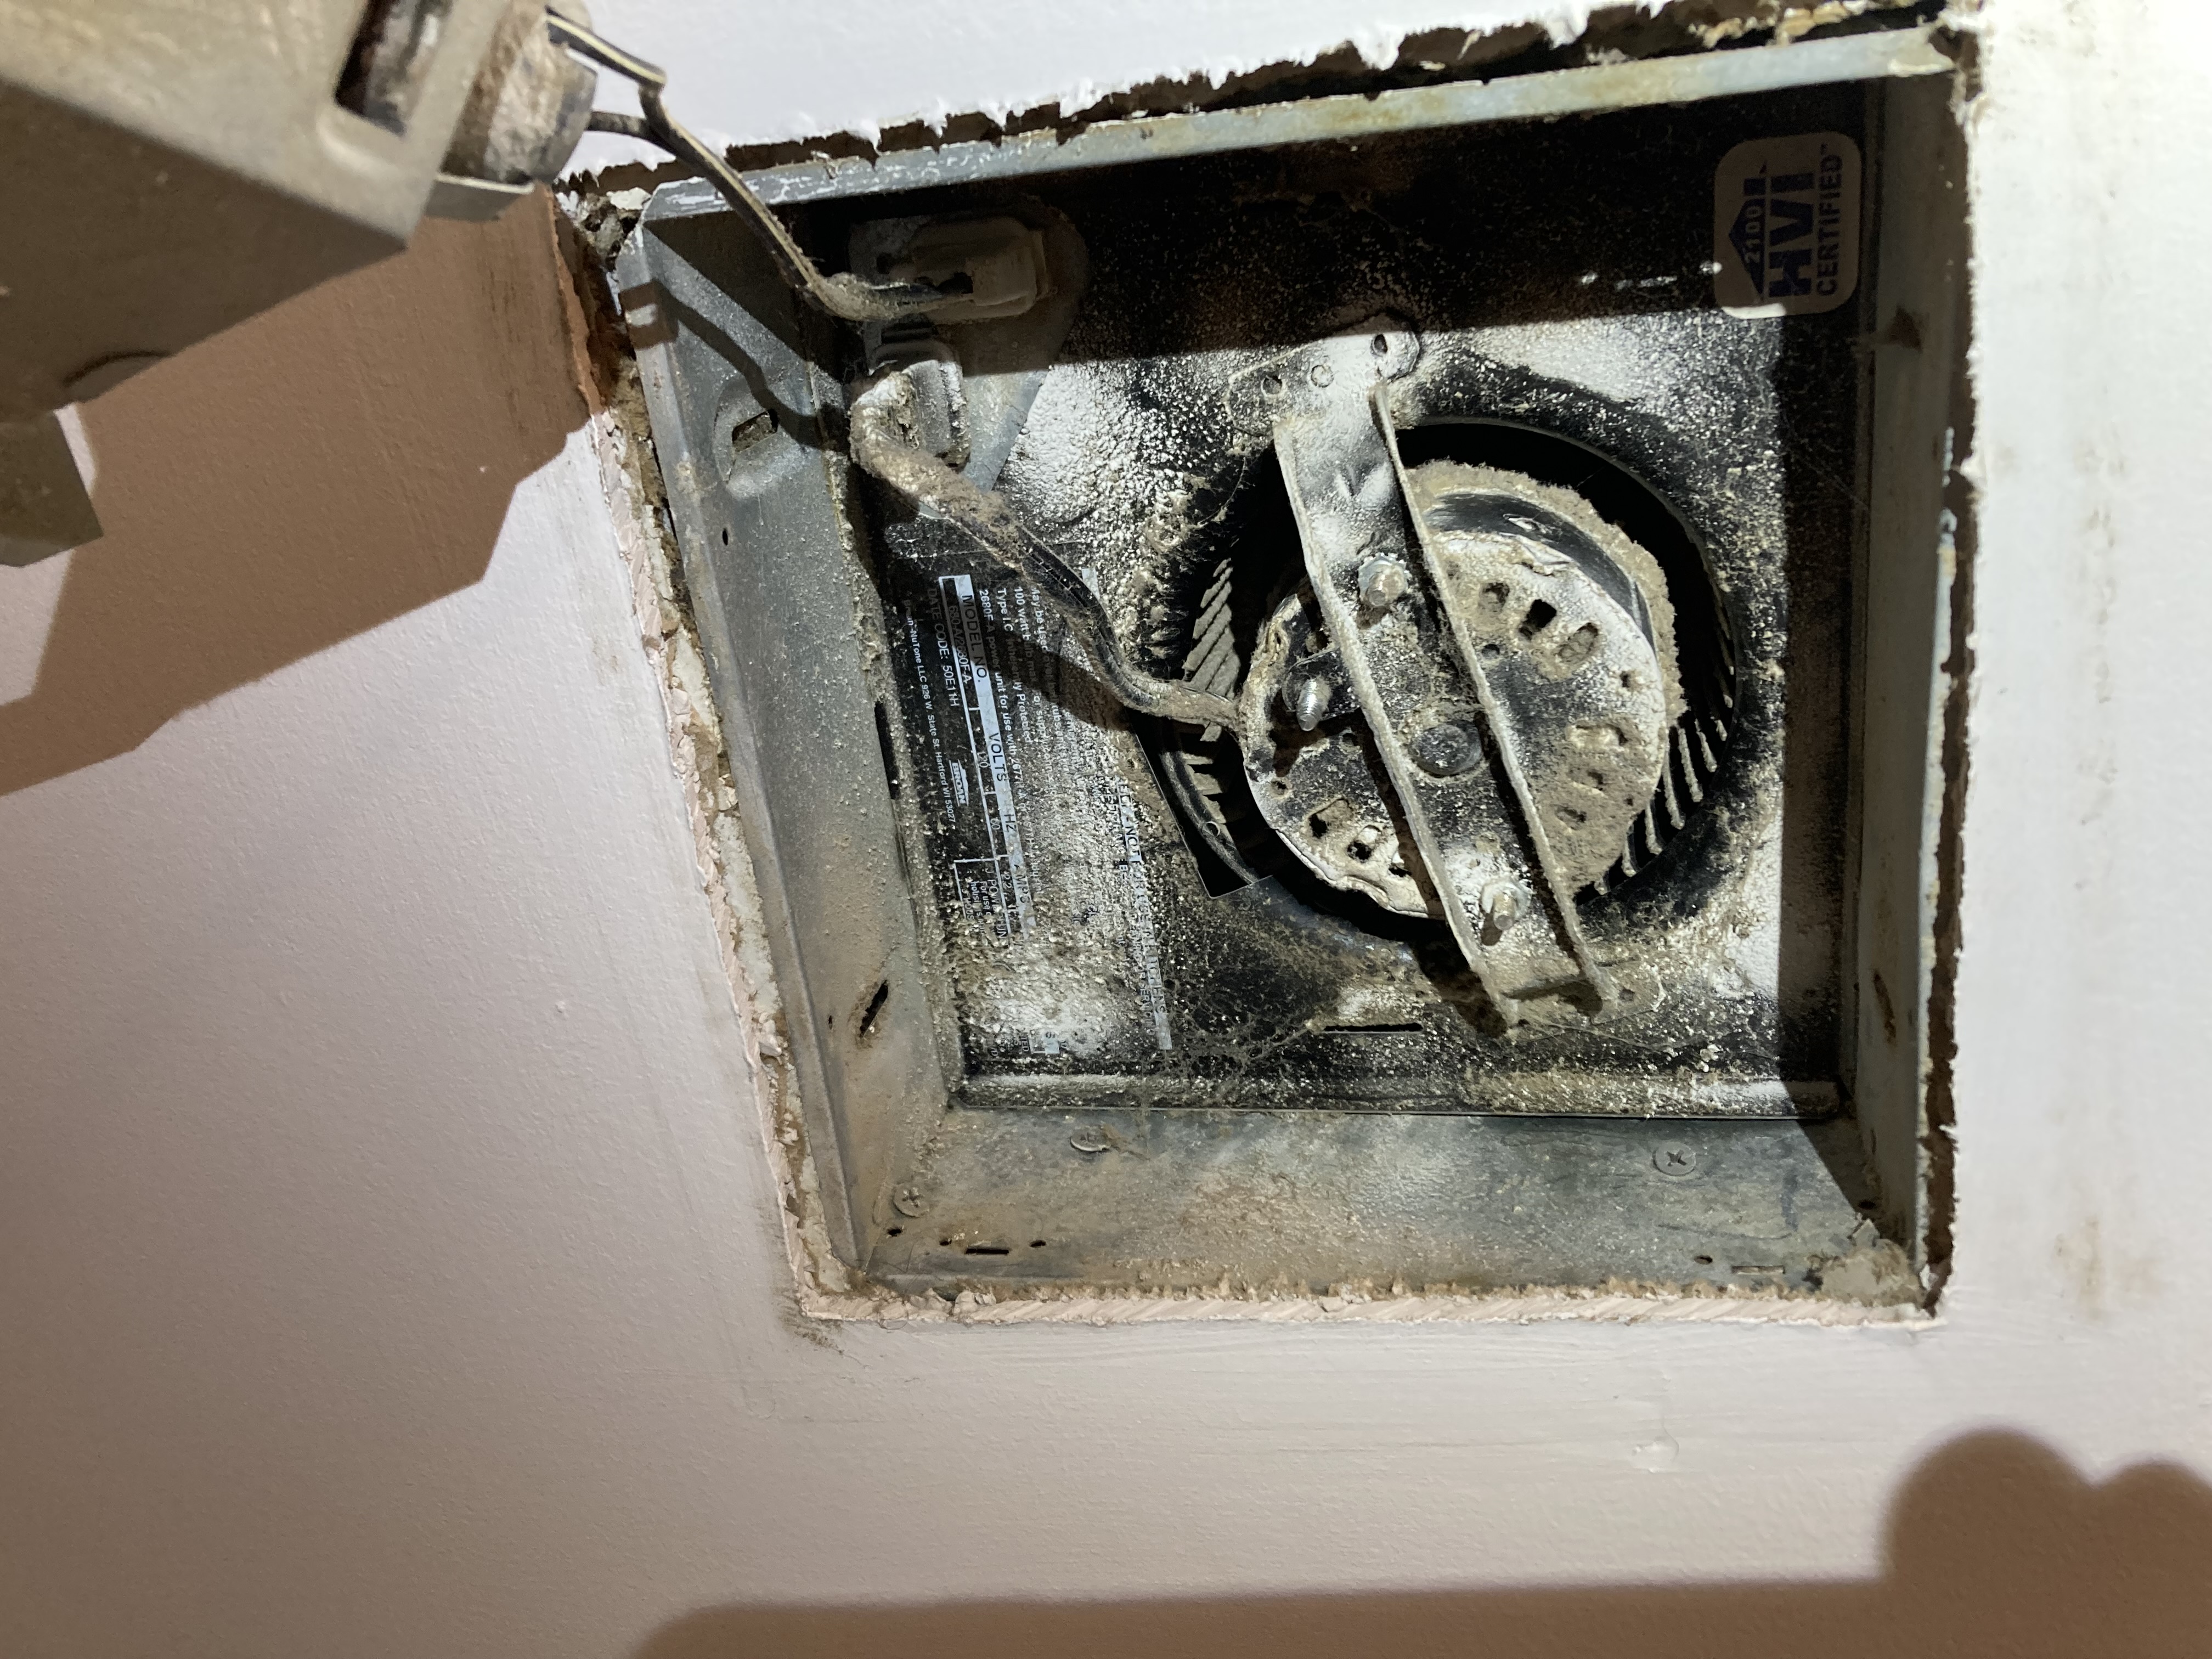
- Move or remove the light fixture housing. It is not necessary to disconnect the light fixture, but it makes cleaning the fan easier. In some models, the electric wire from the light to the fan housing is plugged in and can simply be unplugged (Figures 13 and 14). If the light is hardwired, the fixture can be moved out of the way and held by masking tape. Note the gaps between the fan box and the drywall; these can be sealed with caulk after the fan is cleaned and before replacing the cover (Figure 145).

Source

Source
Source
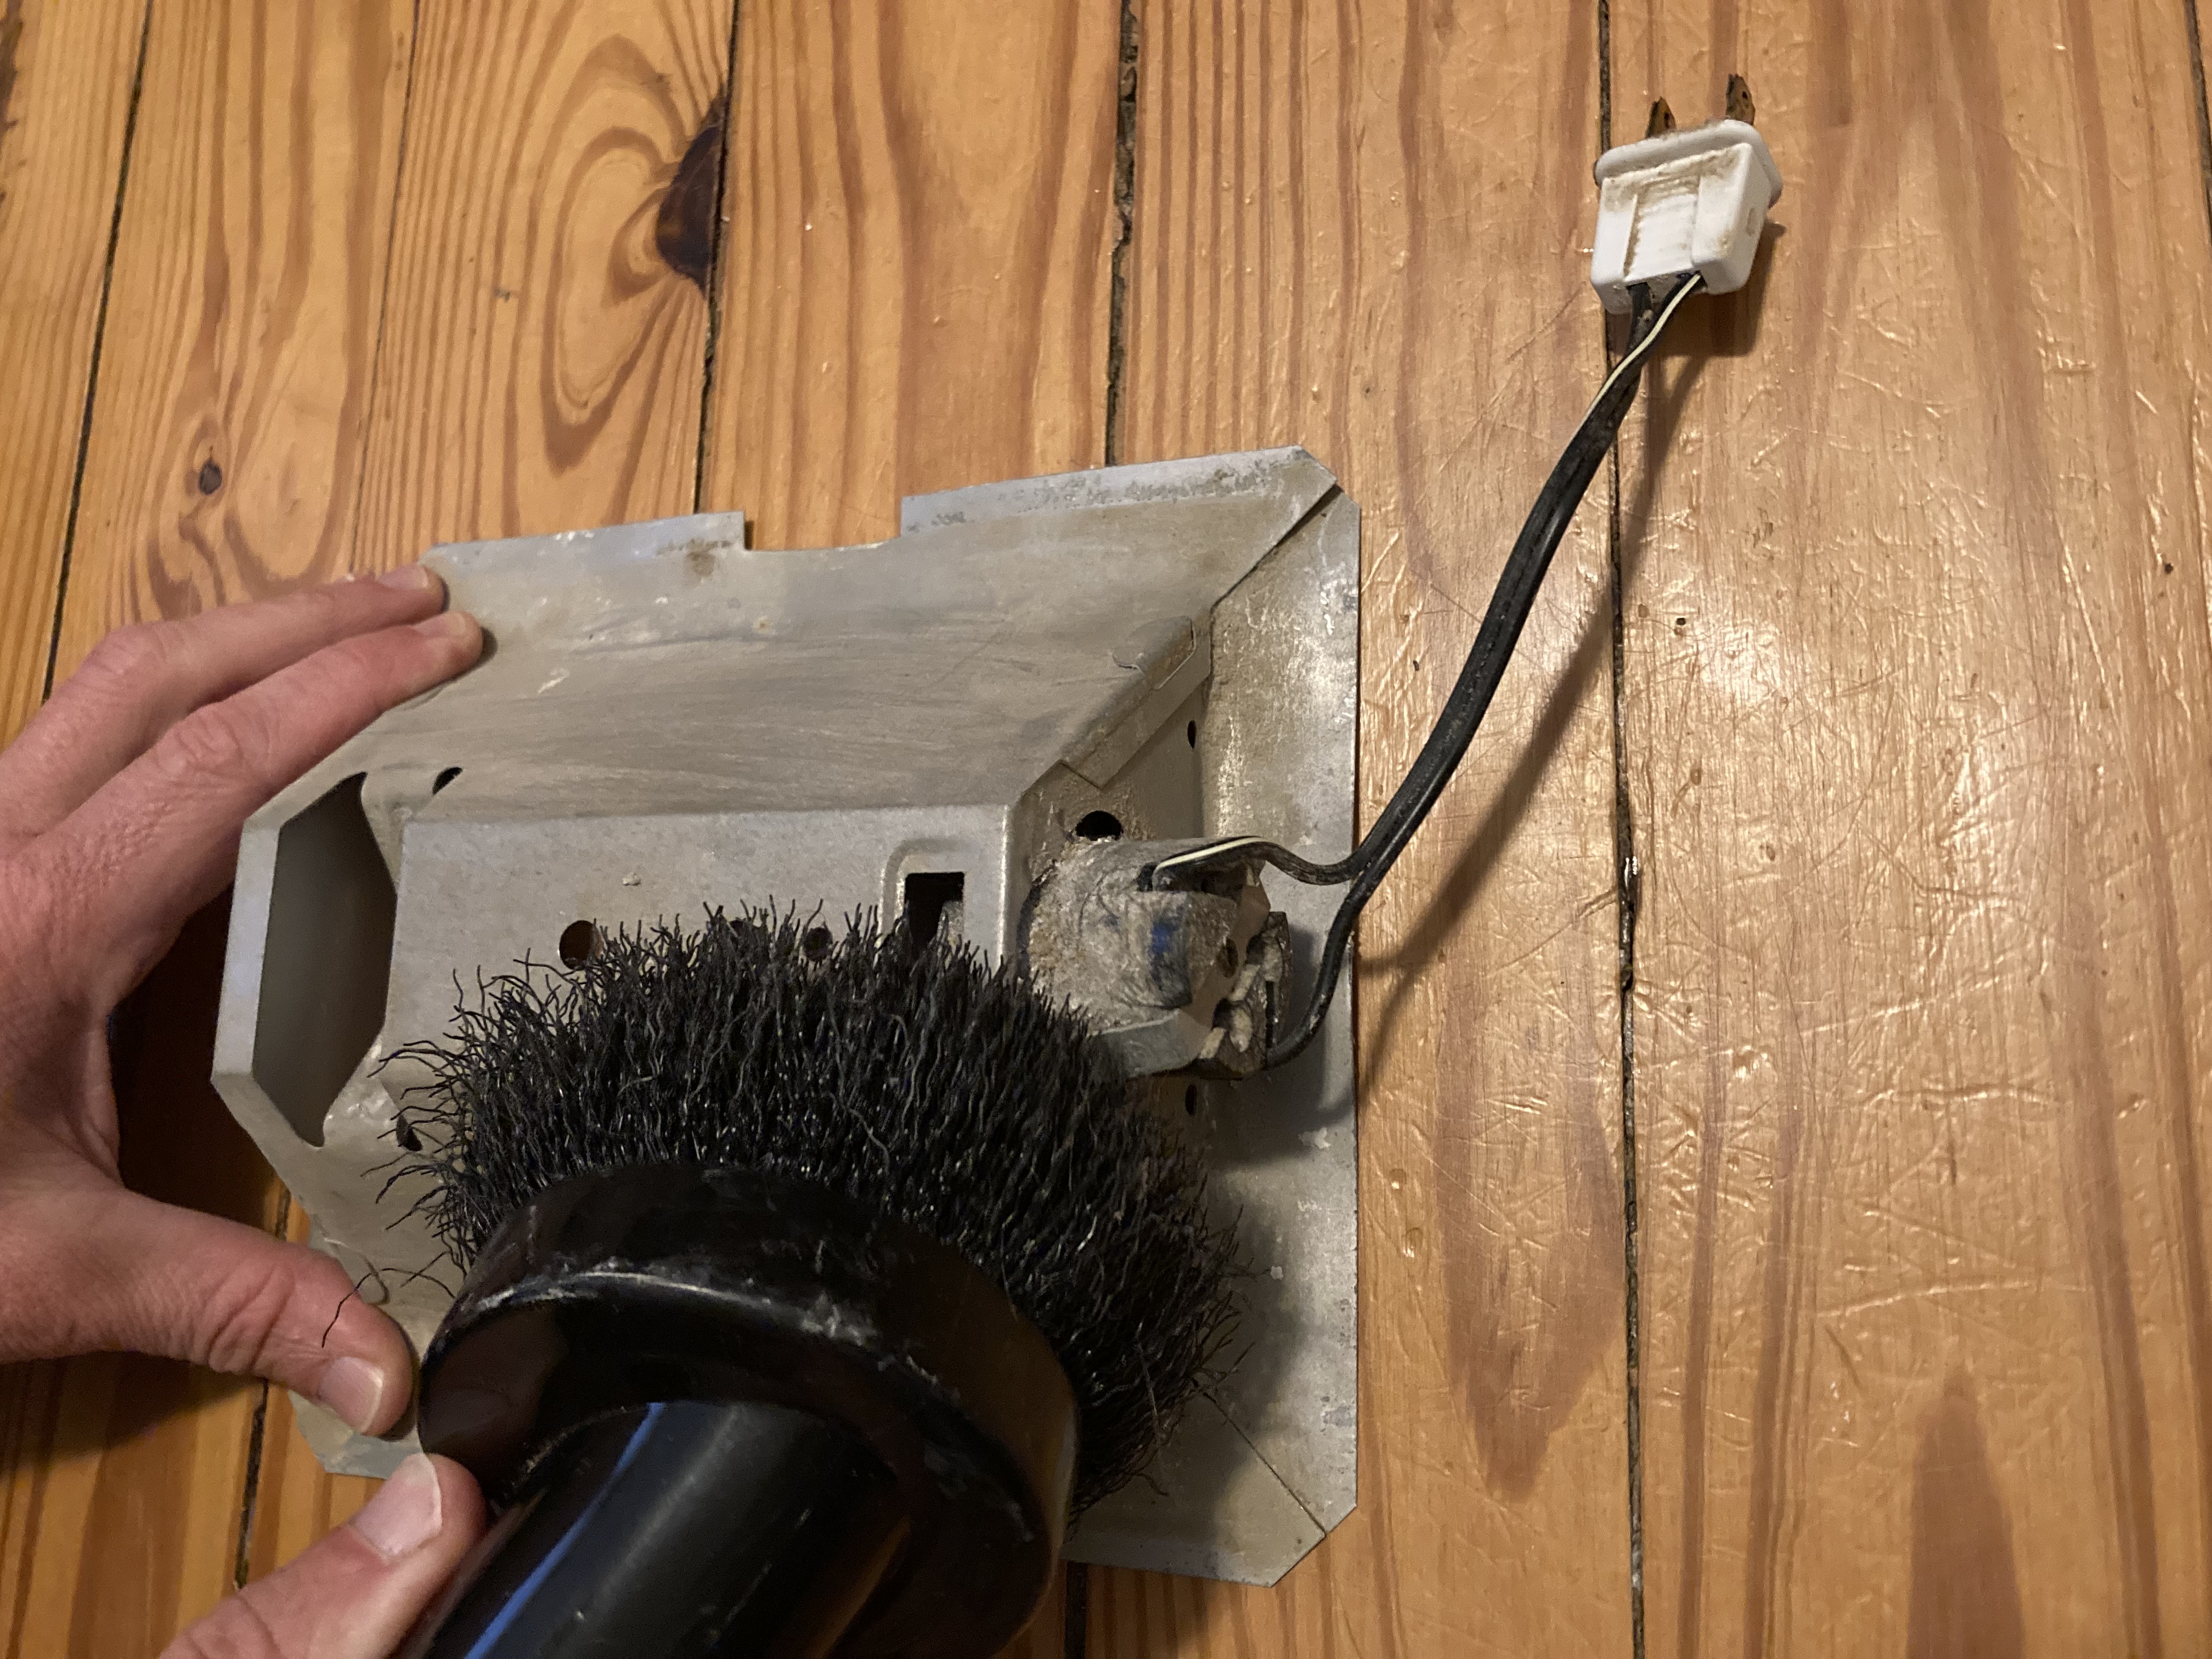
- Use the brush attachment on a vacuum or a soft dry cloth to clean the light fixture (Figure 16).
Source
8. Clean the Fan Motor and Blades.
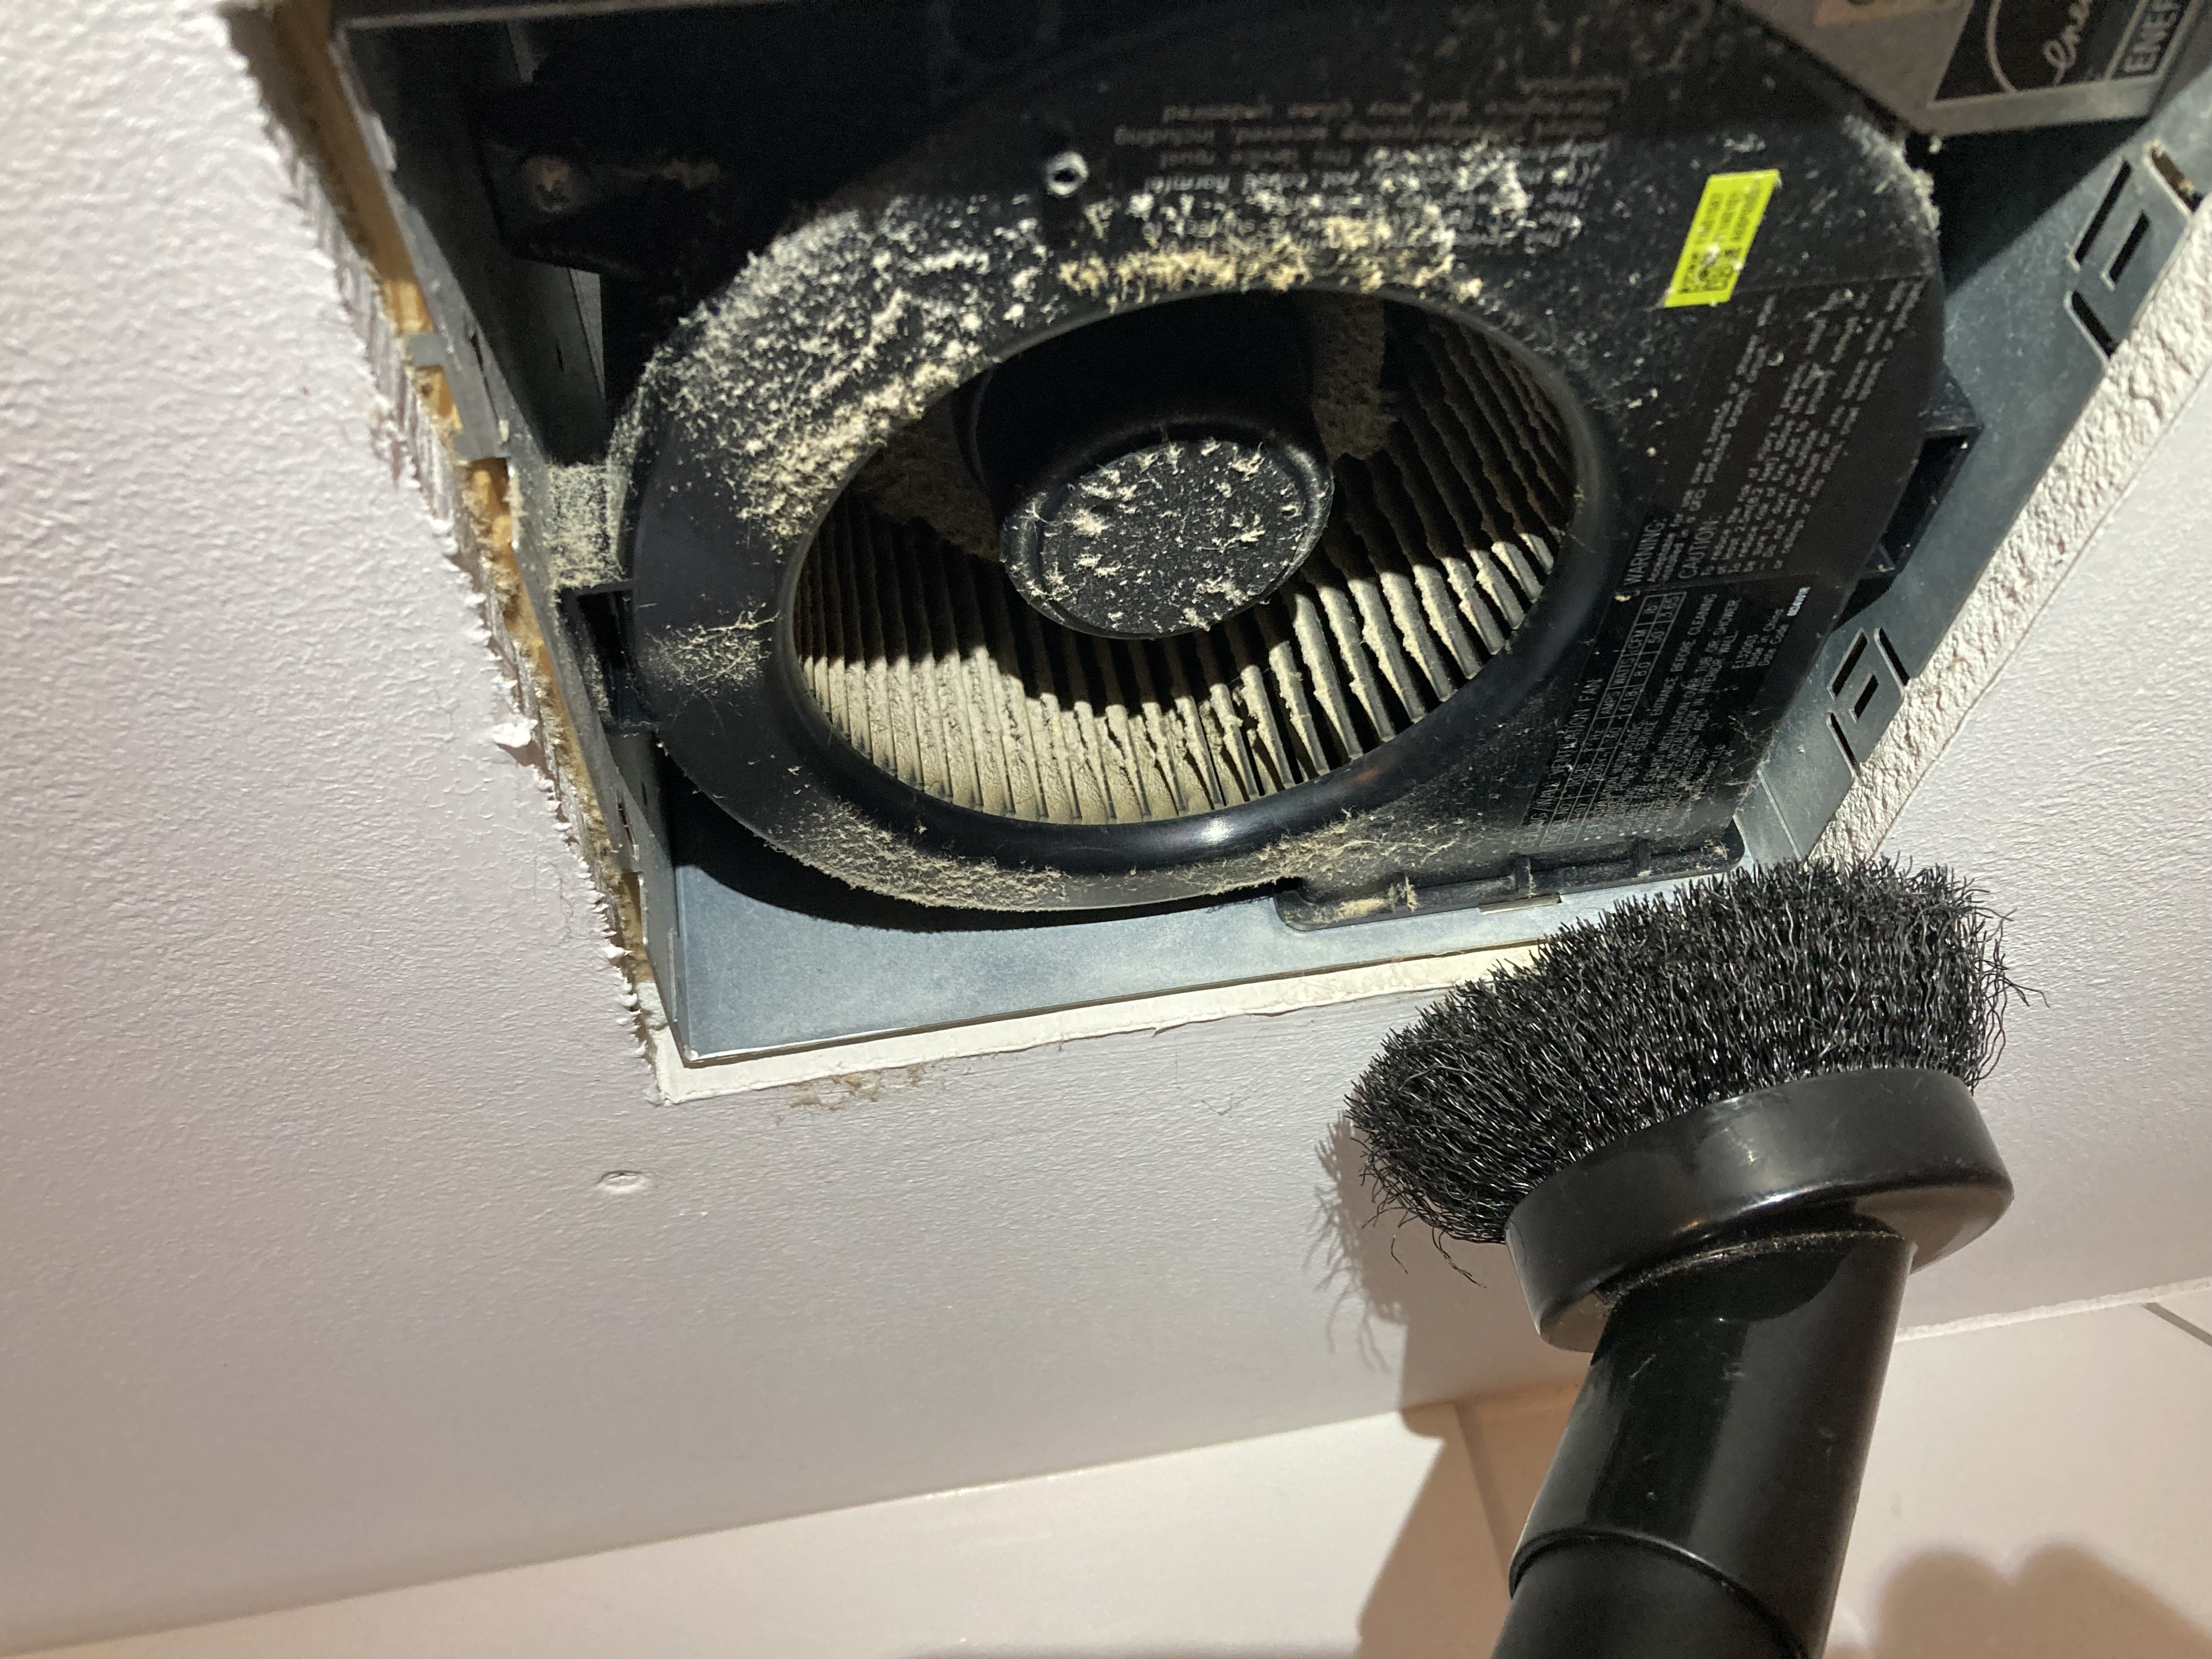
- Use the vacuum to clean the inside of the fan housing as well as any parts of the fan you can easily reach. Be careful not to damage the fan.
Source
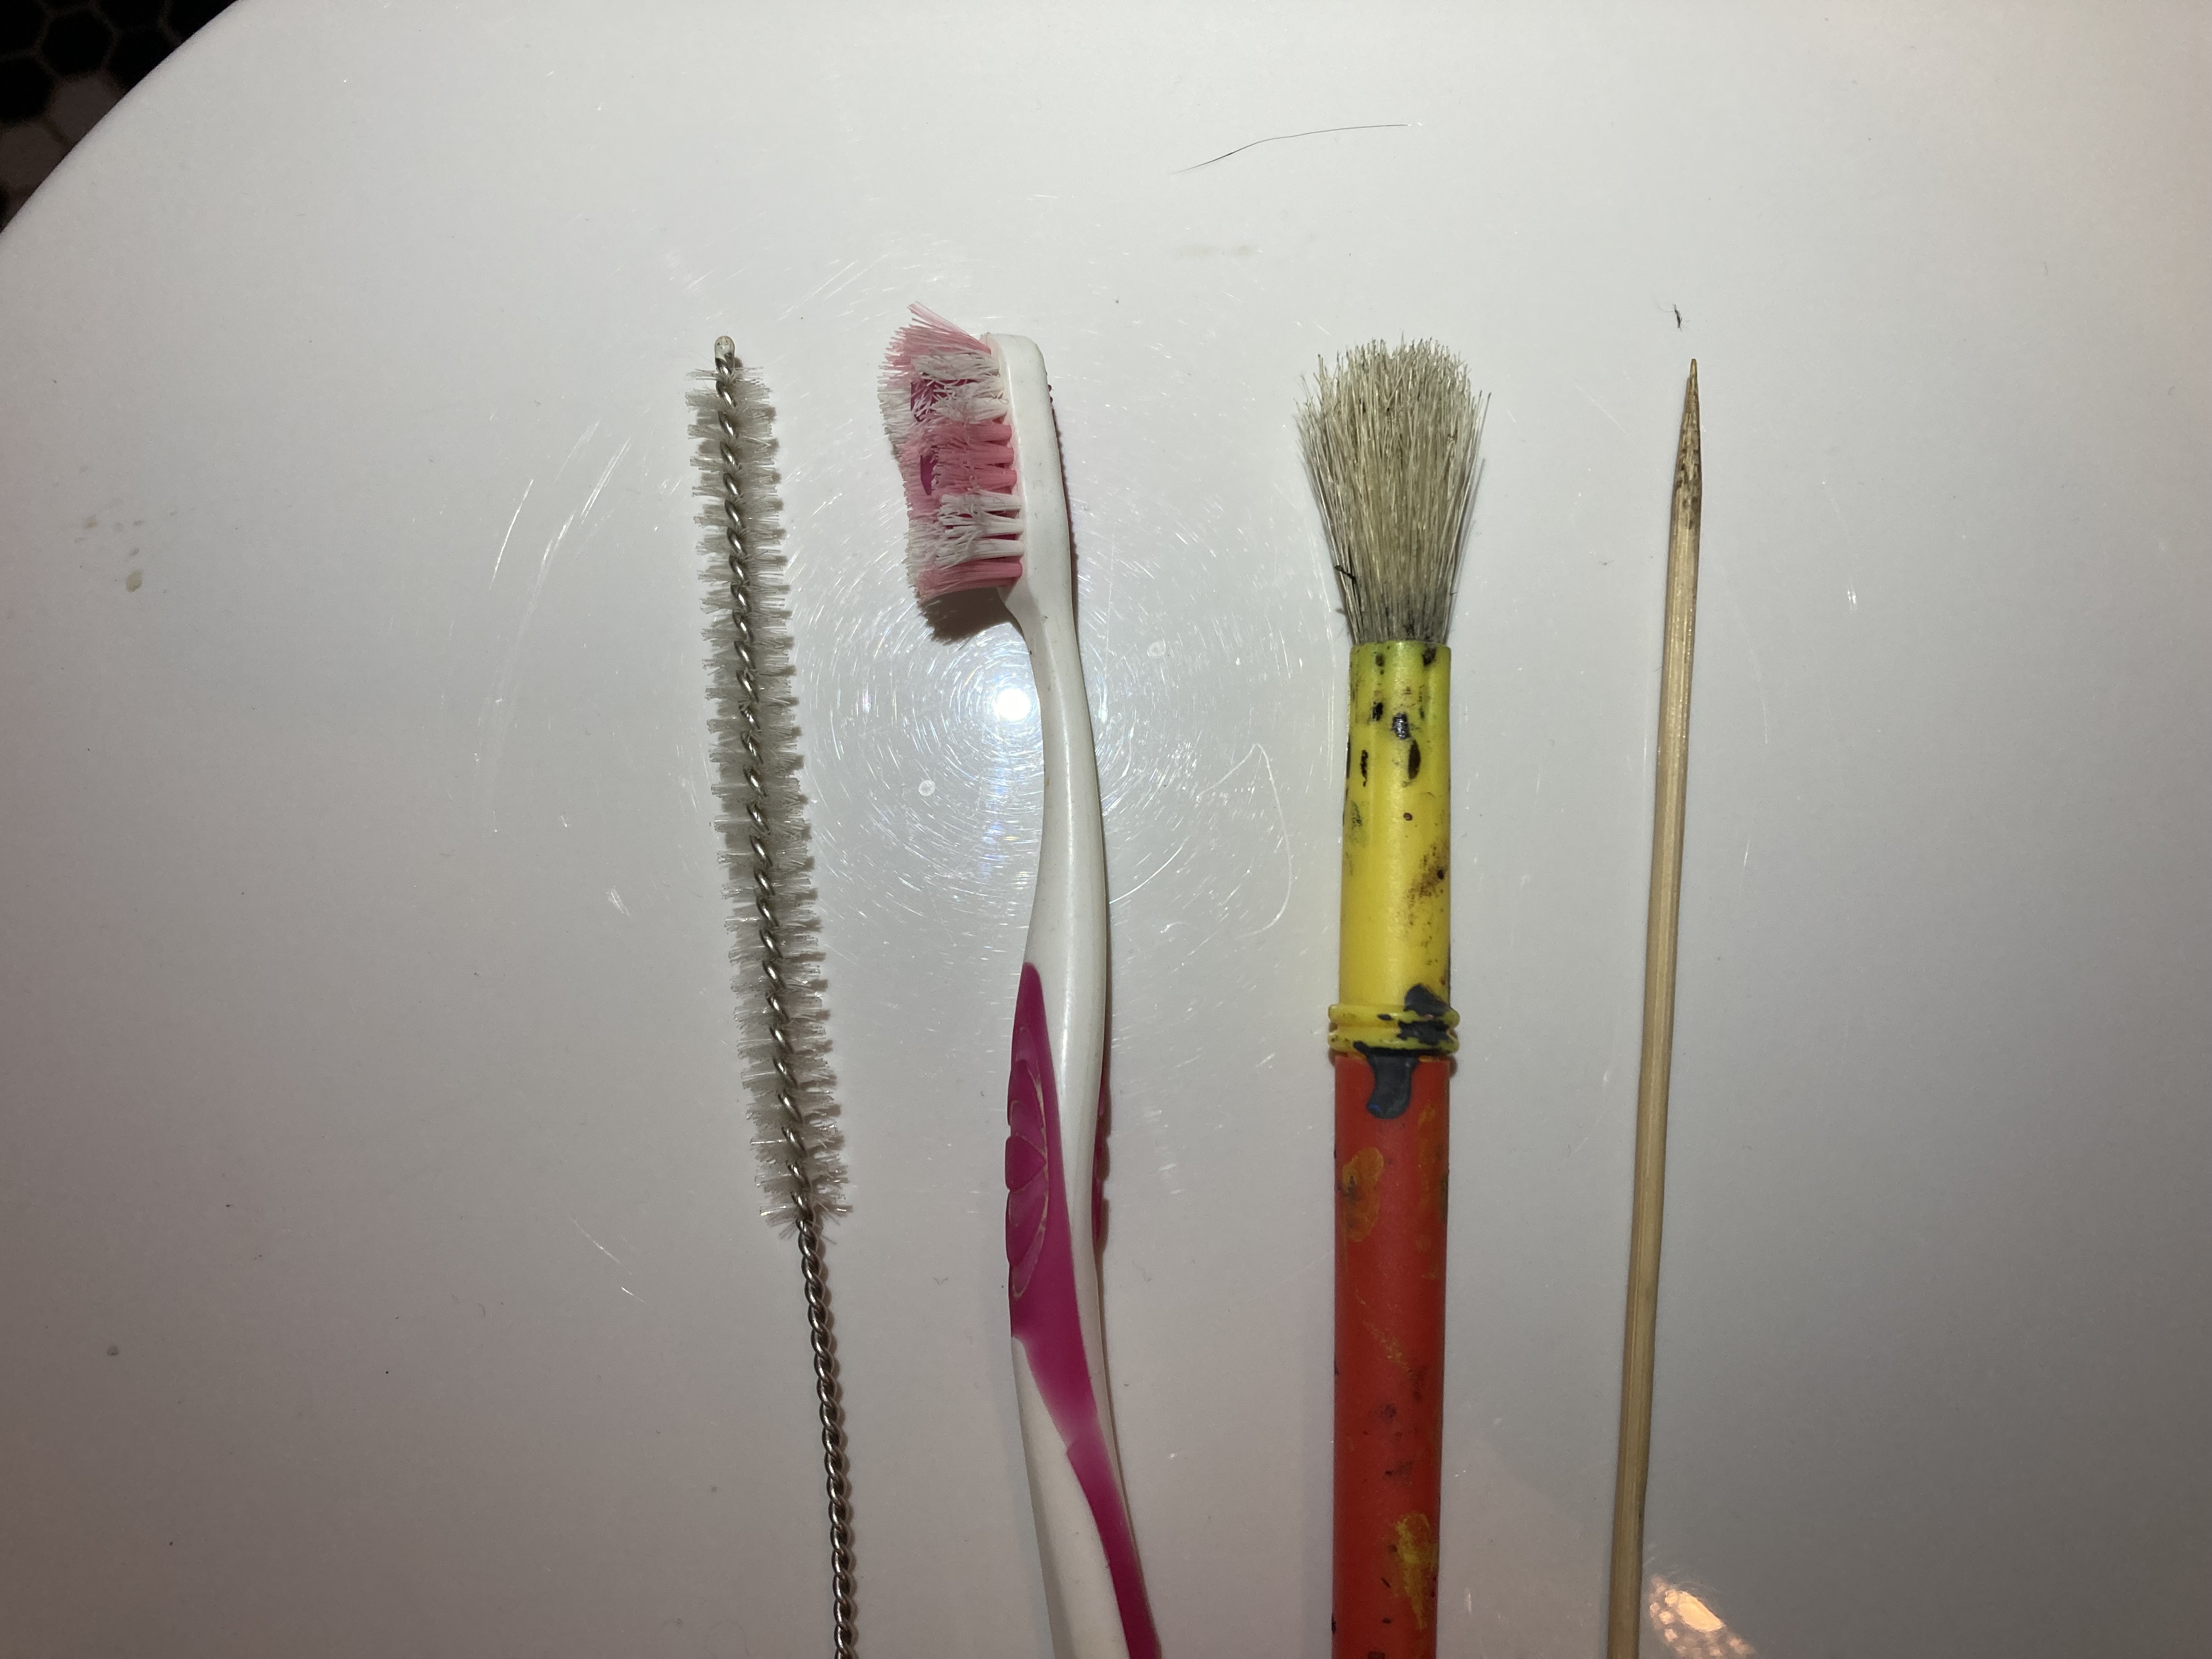
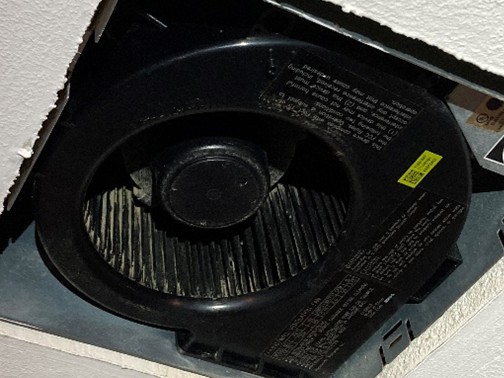
- It’s important to remove the caked-on debris adhered to the sides of the fan blades. You can do this with the fan in place in the ceiling; or, you can remove the fan motor from its housing to clean it. First unplug the power cord, then unscrew the motor from its housing (a magnetic tip screwdriver is helpful). You can use cleaning implements such as an old tooth brush, a narrow bottle brush, and stiff pipe cleaners to remove the debris (Figures 18, 19, 20). This process can take time. Be careful not to damage the fan. After cleaning the blades, wipe down the housing and motor cover with damp cloth. Then re-install the clean fan (Figure 21). If you clean the fan in place, if possible, have a friend hold the vacuum attachment up near the fan as you are cleaning it. This will greatly reduce the amount of dust in the air and on the floor, countertops, and other surfaces.
Source

Source

Source
Source
9. Replace the vent cover and turn on the fan.
- After cleaning the fan, replace the cover and reinstall the light fixture if there is one.
- Turn on the electricity to the circuit at the breaker box.
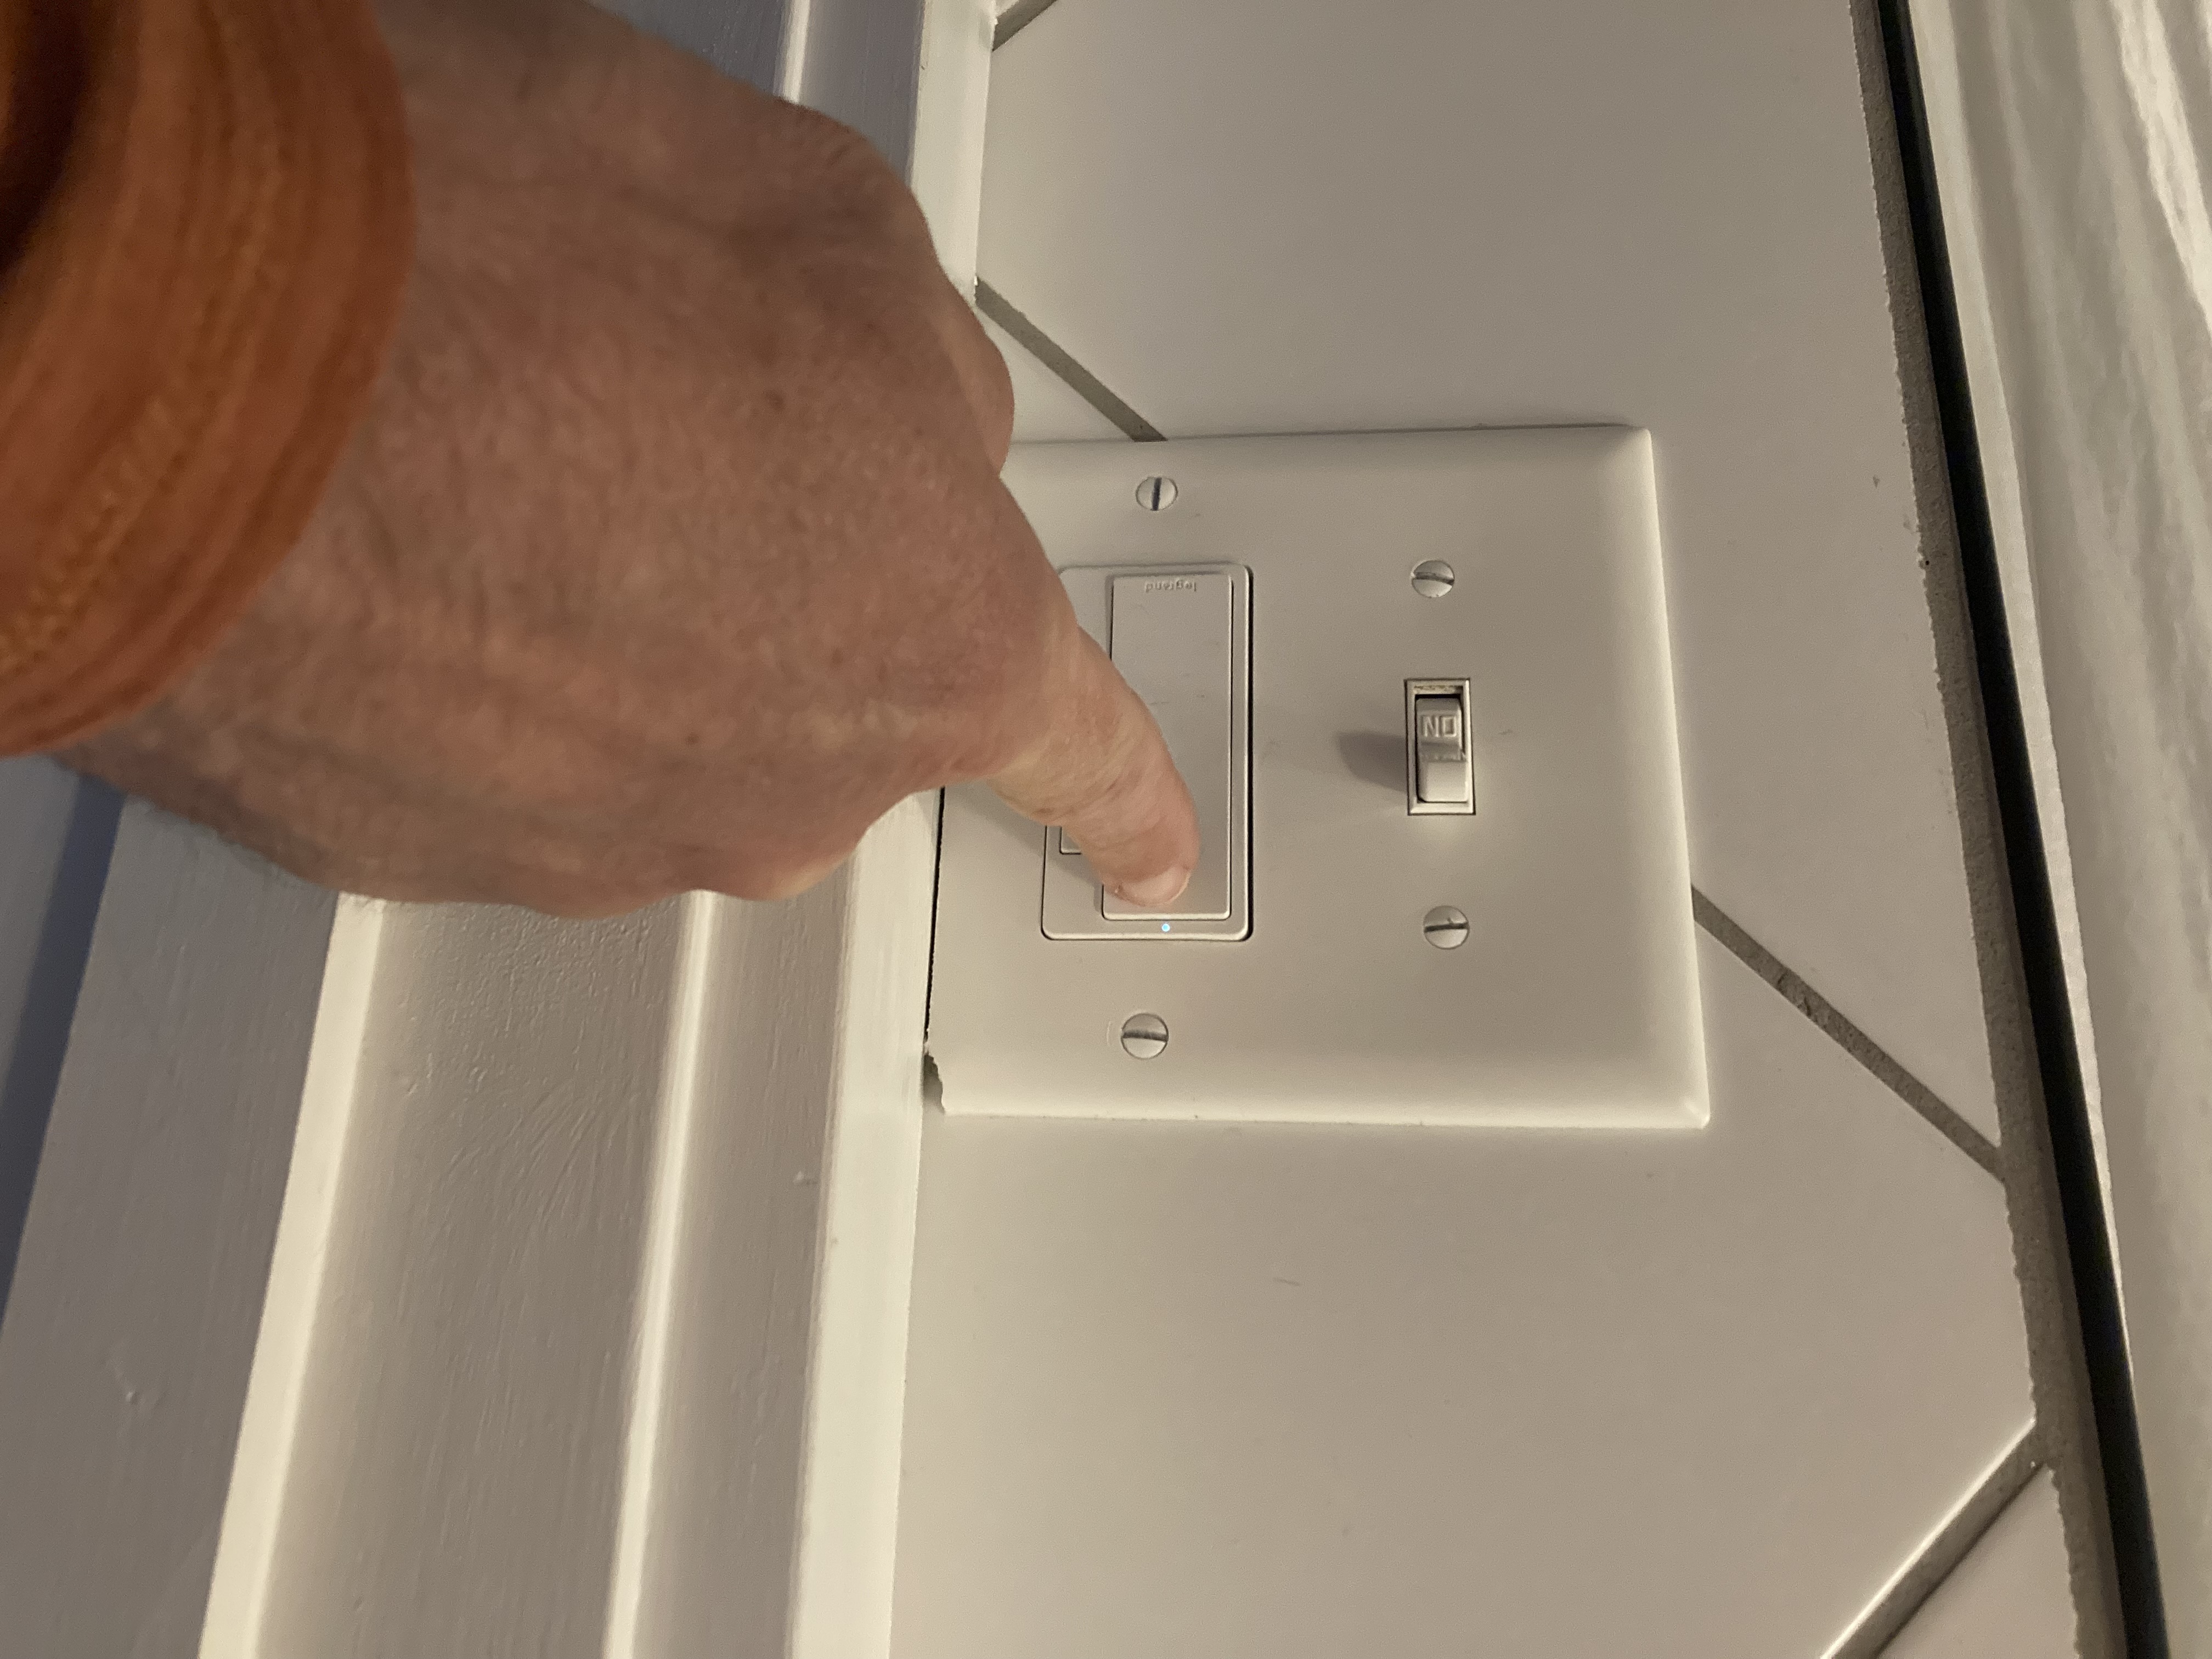
- Switch on the fan at the wall switch (Figure 22).
10. Check airflow at the vent.
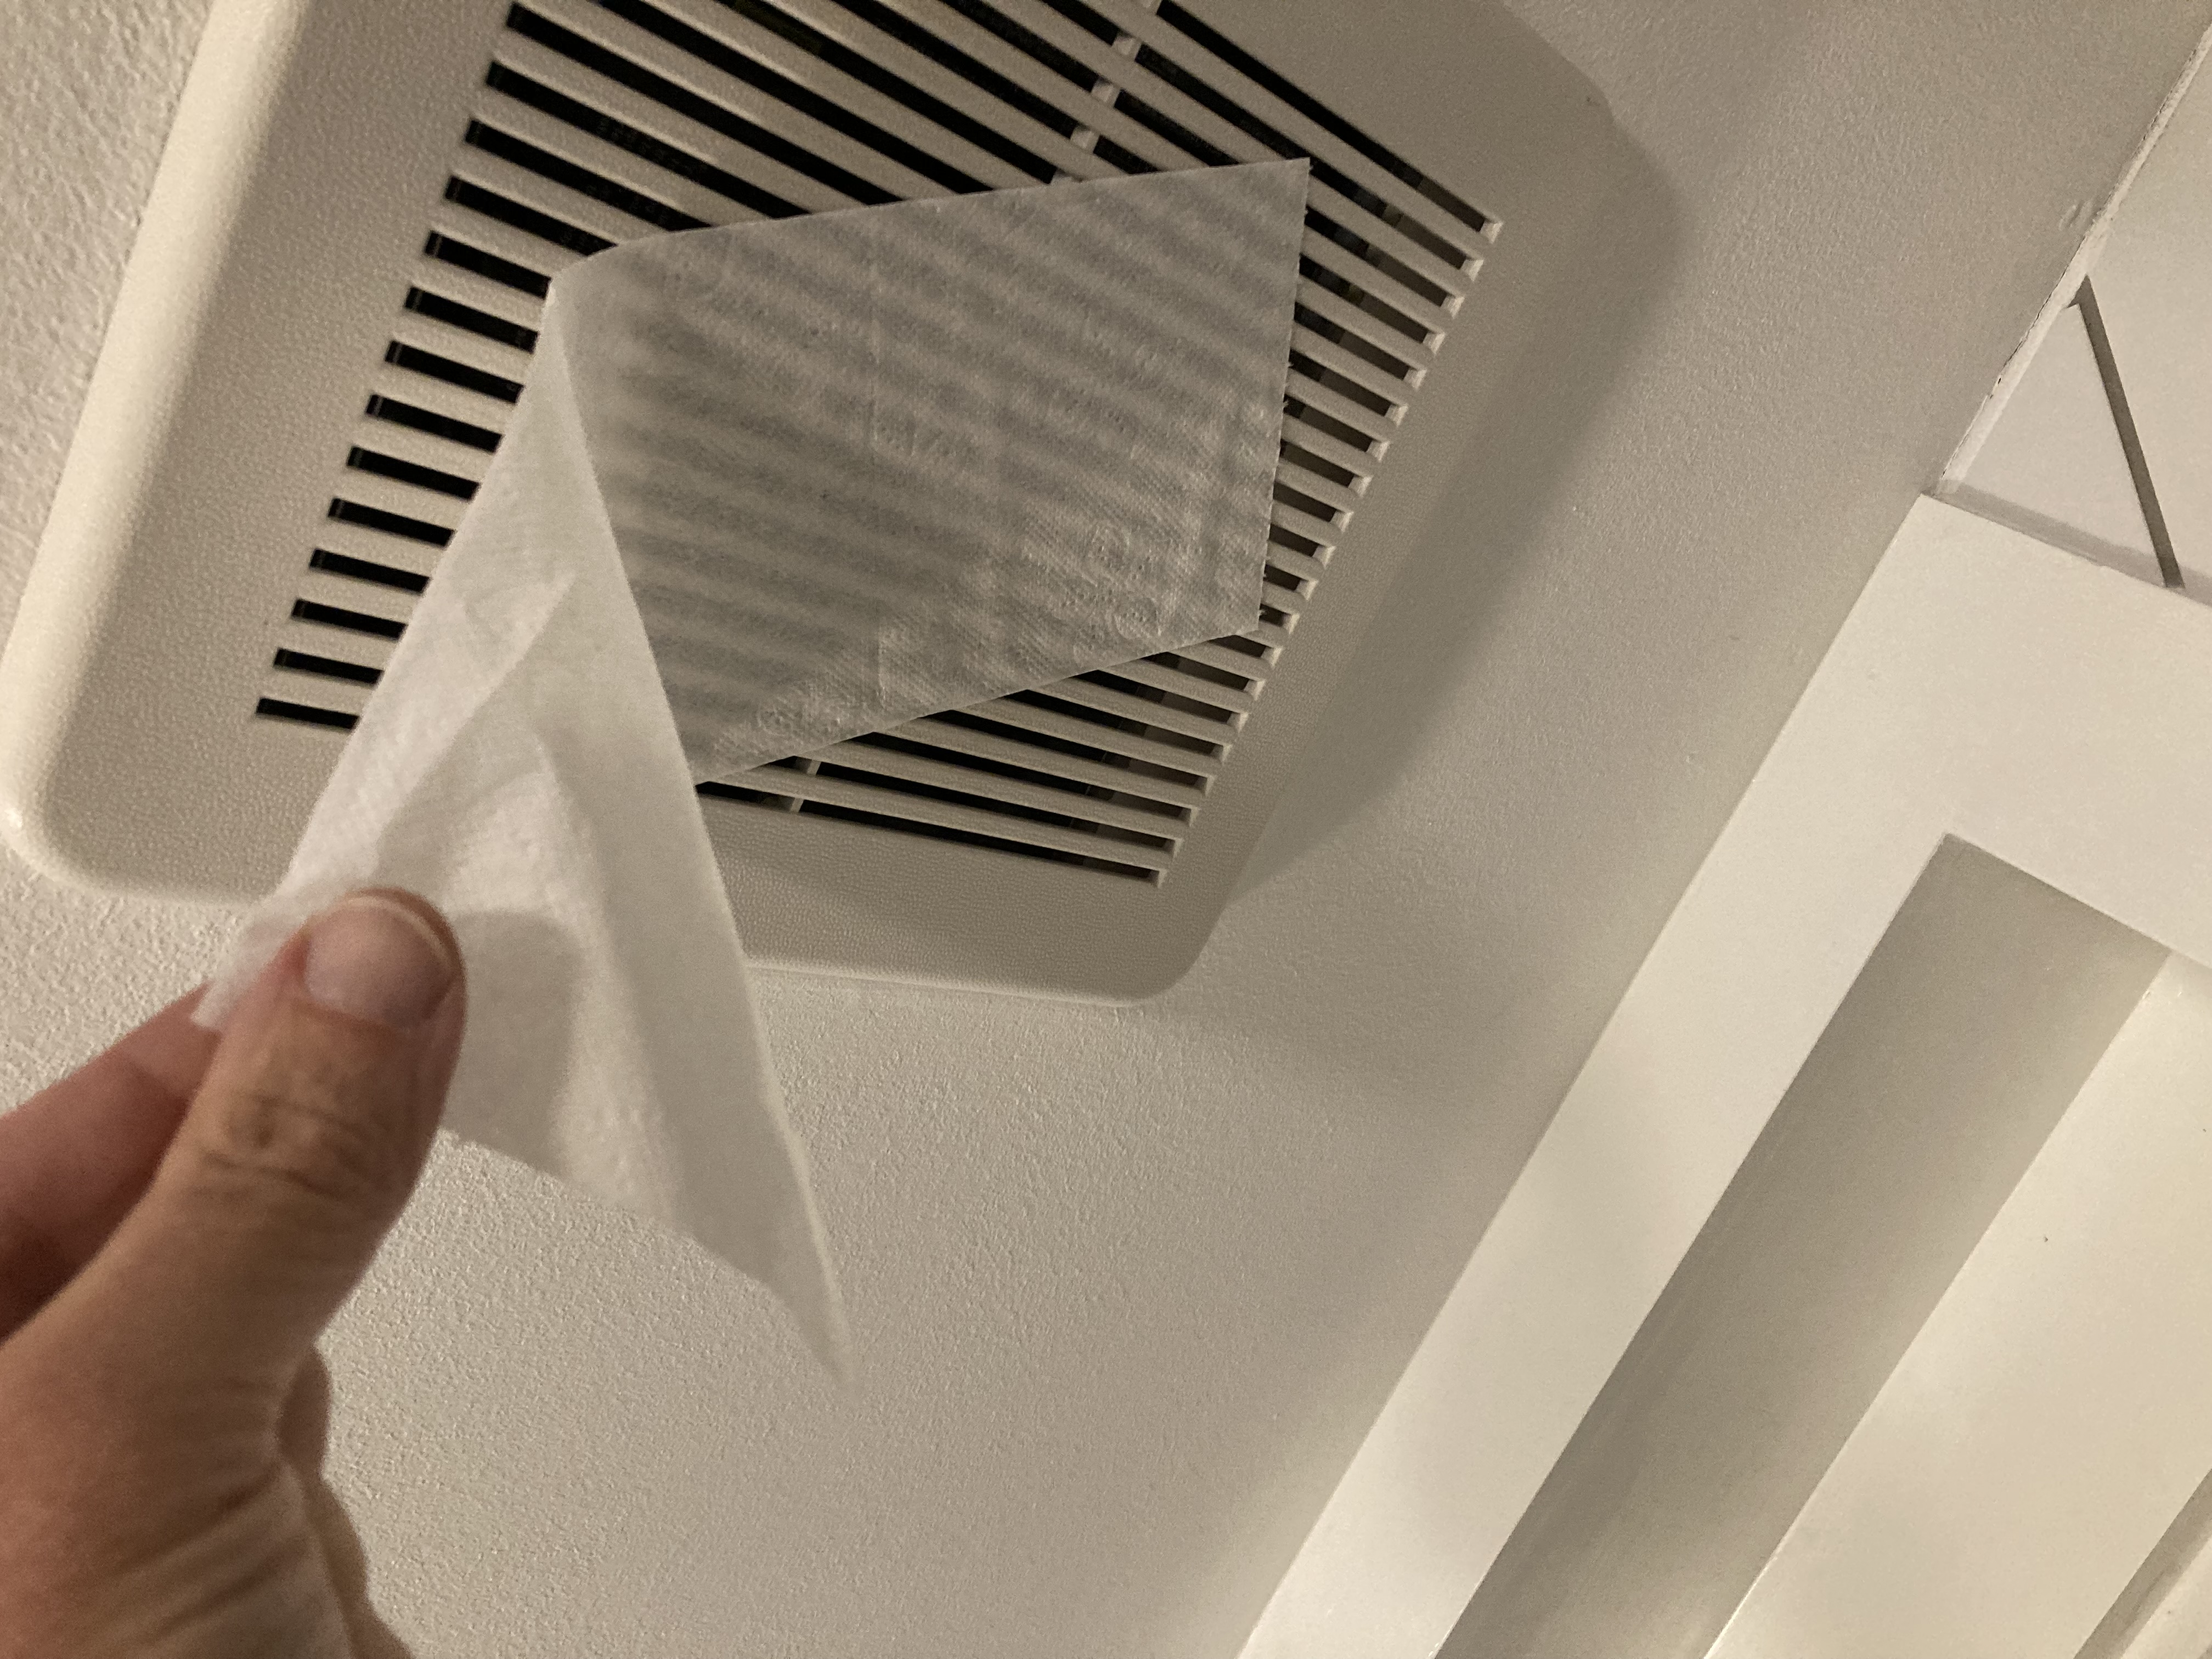
- To check for air flow, hold a tissue or piece of toilet paper up to exhaust fan while it is running. If the fan pulls the tissue up and holds it to the vent (Figure 23), you likely have sufficient airflow. If the fan will not hold the tissue to the fan, check for blockage of the exhaust fan duct or outlet vent.
Source
11. Check exterior vent.
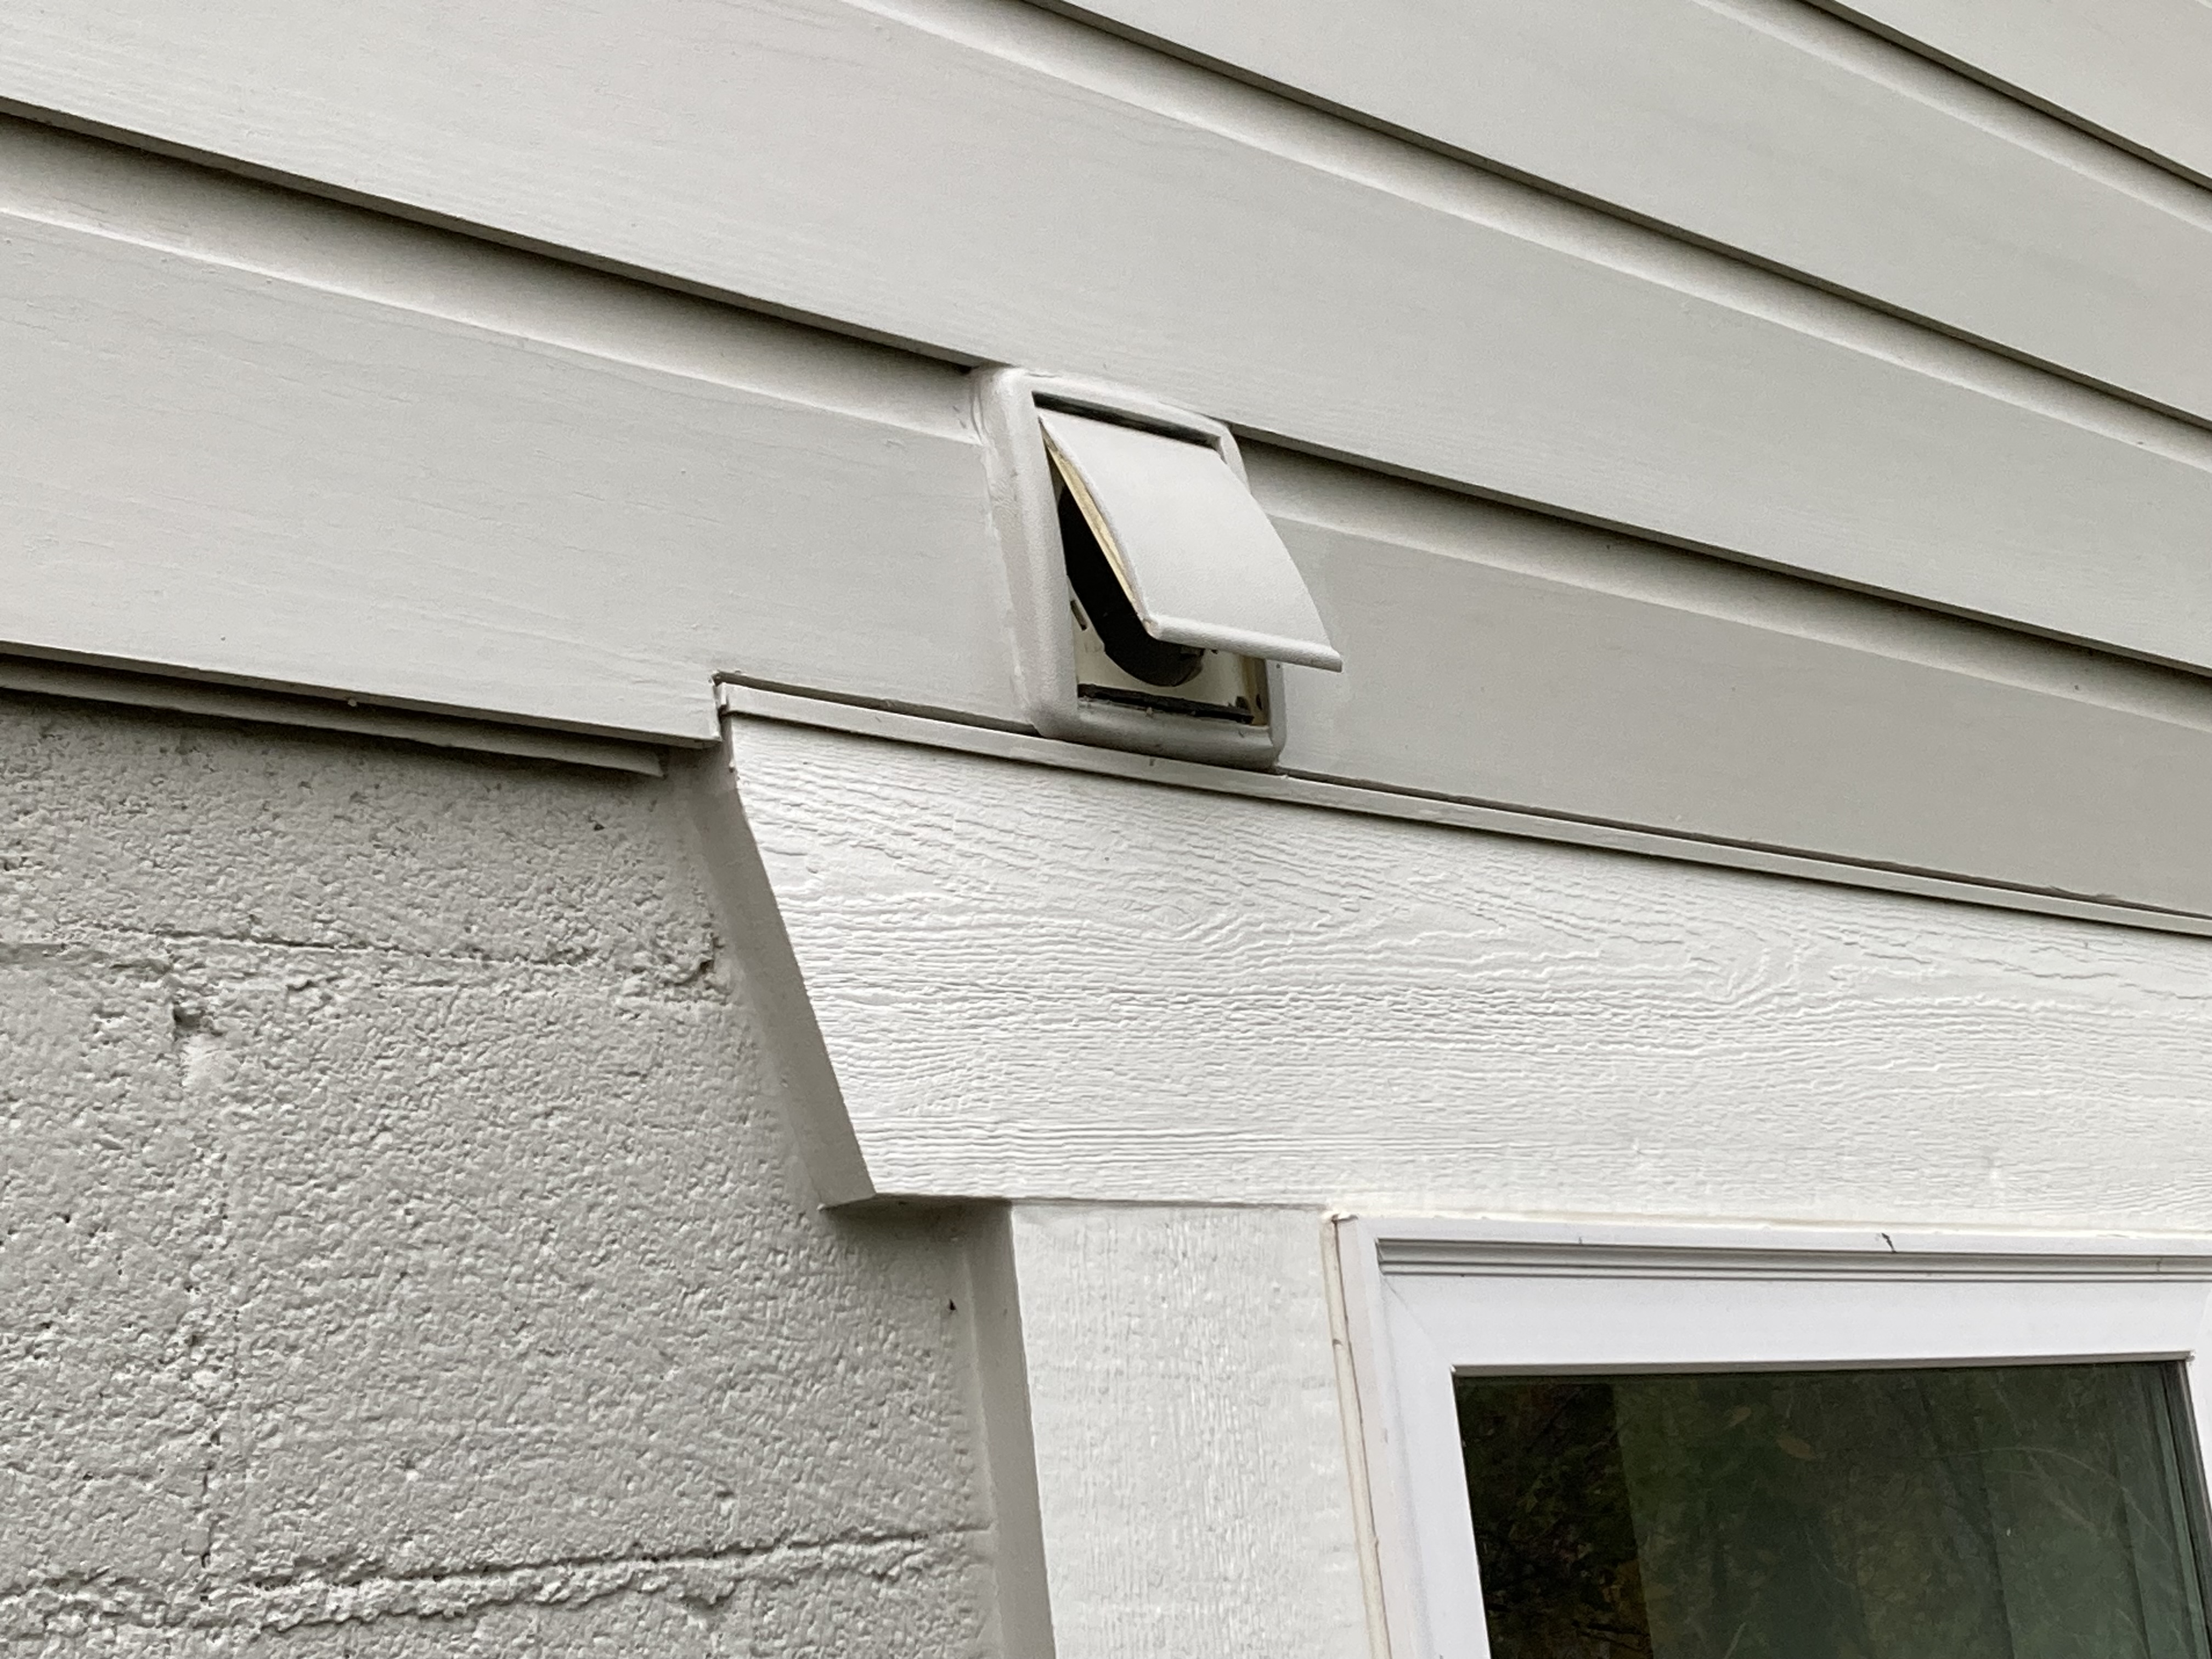
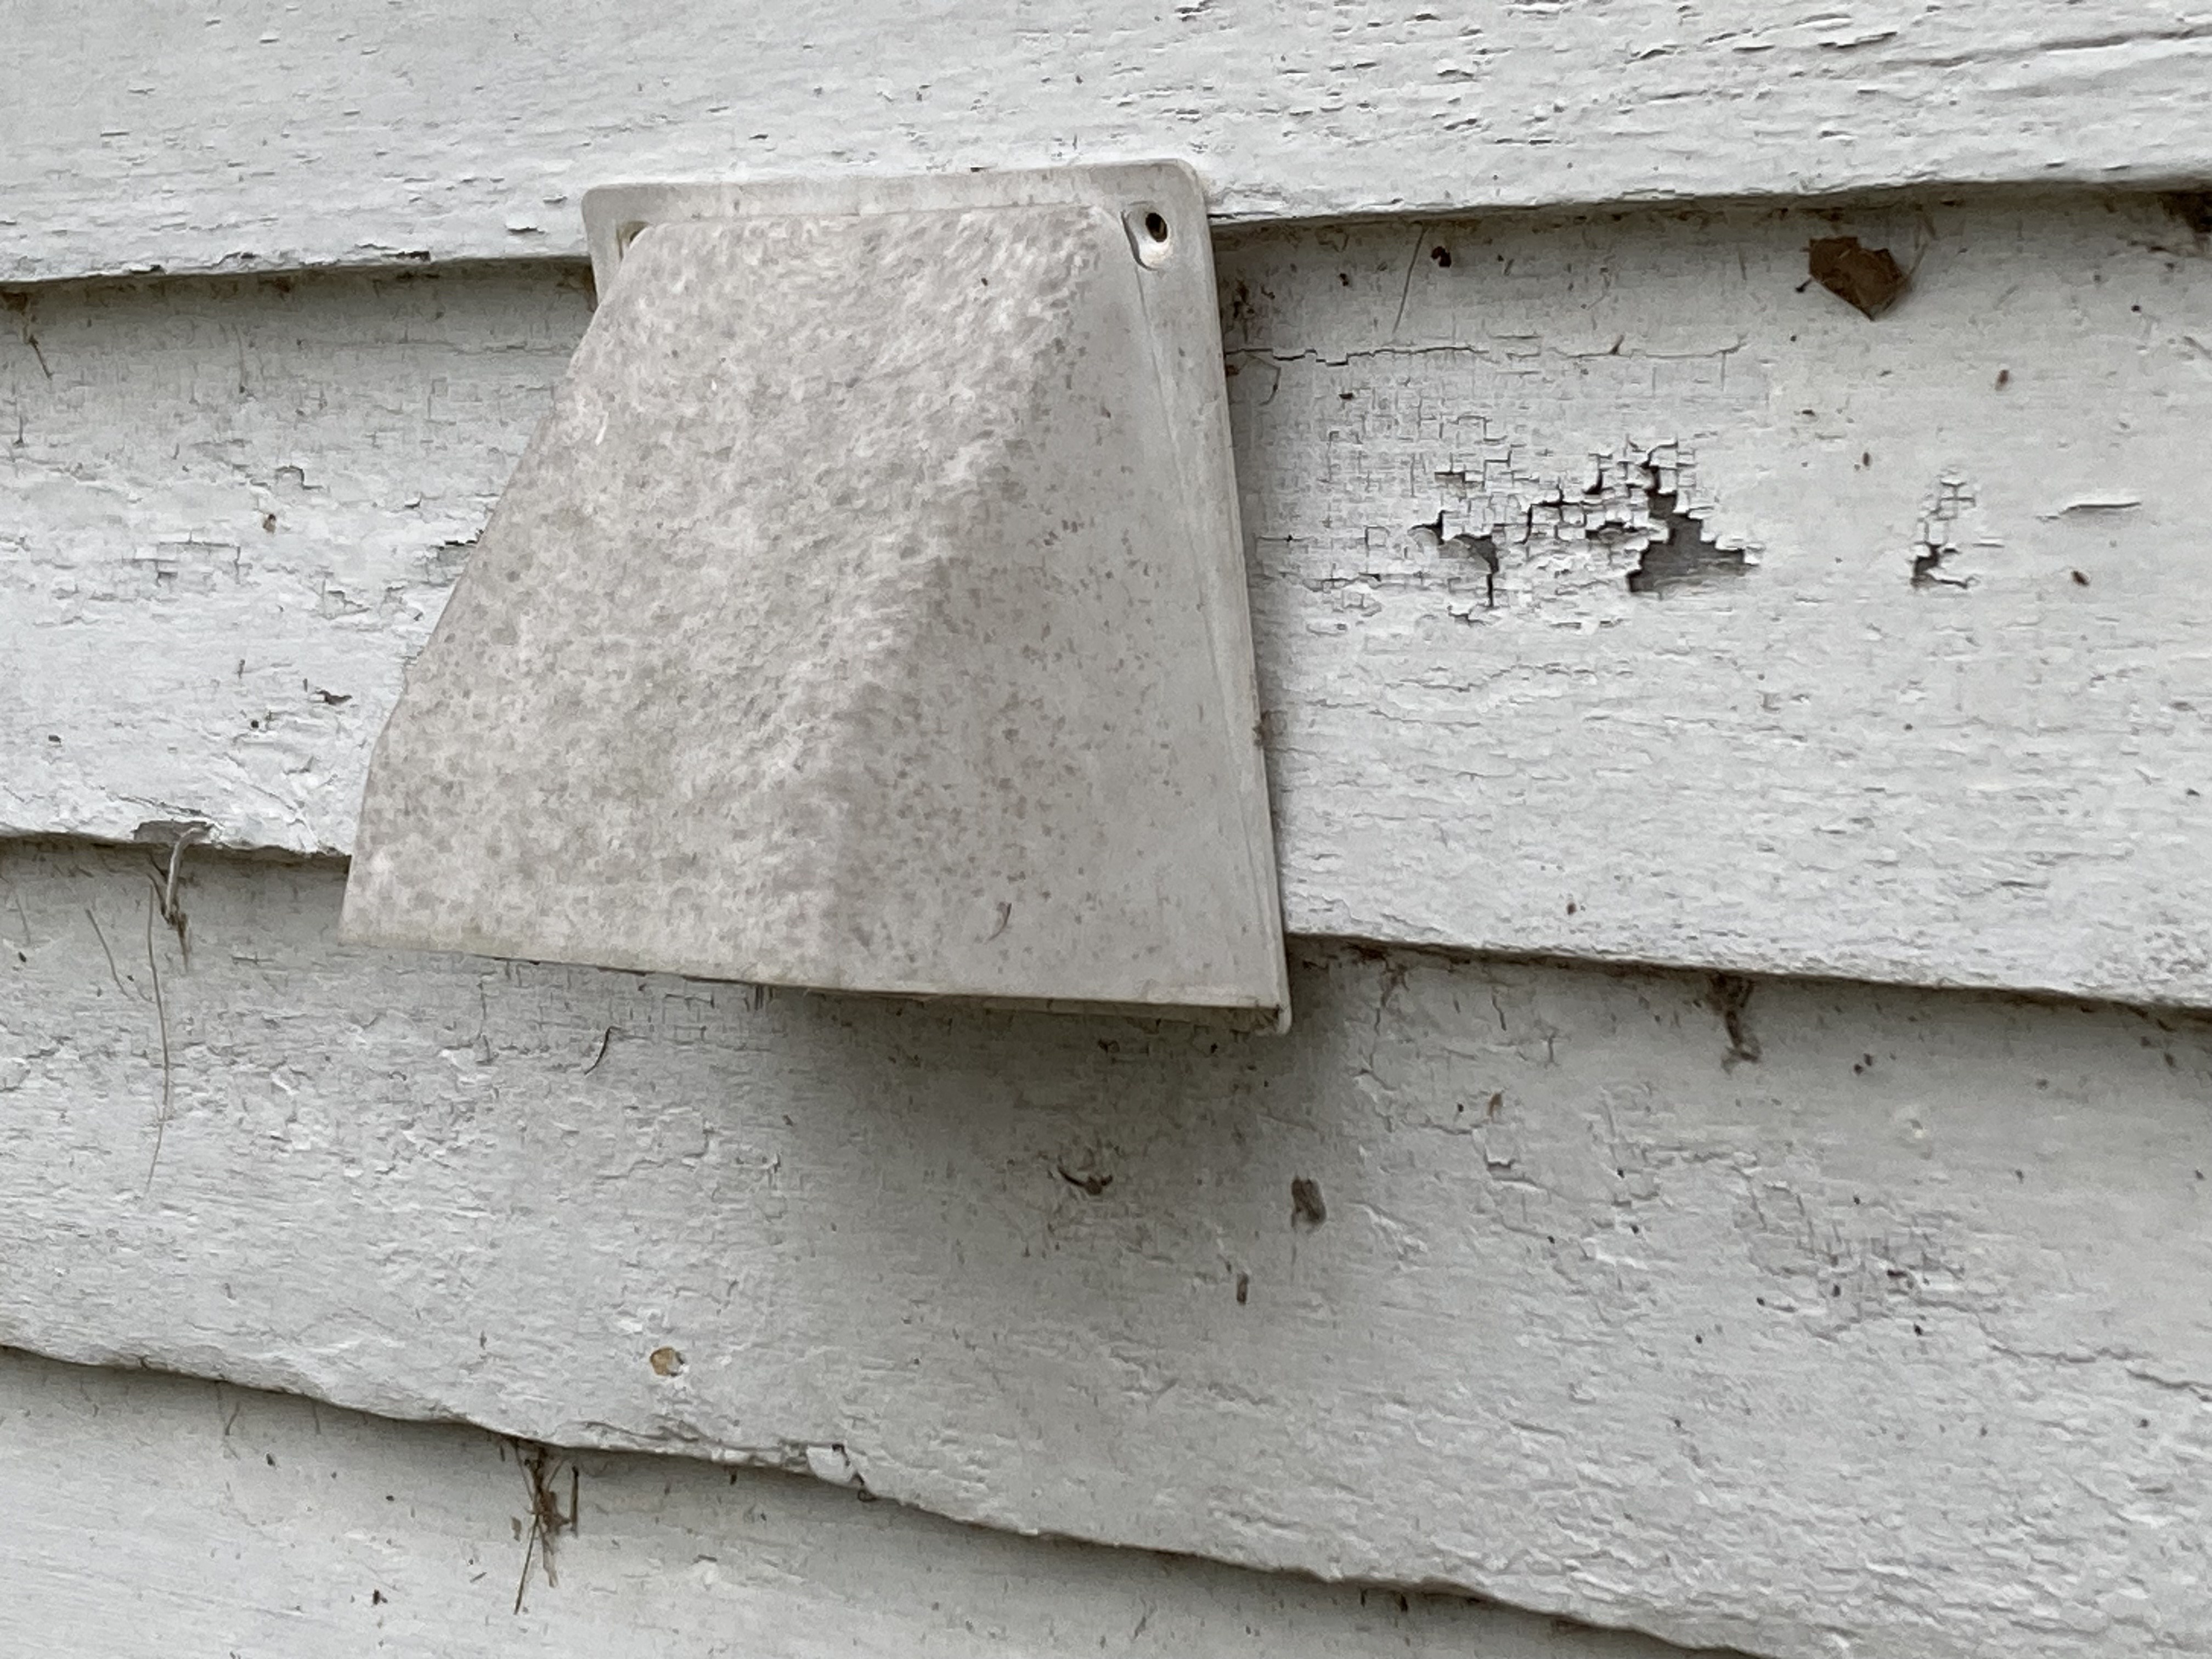
- Go outside to see where the exhaust air is coming out. The air typically comes out of a small exhaust vent, similar to a dryer vent. A bath fan exhaust vent will typically be on a wall or under a roof overhang. The exterior vent cover is usually square, about 5 inches by 5 inches. The cover may have a single flap (Figure 24) or a set of flaps or louvers (Figure 25) that opens when the fan is on and closes when the fan is off. The vent may also have a sloped hood to protect it from the elements (Figure 26).
- With the exhaust fan operating, check to see that the flap or louvers are open as shown in Figures 24 and 25. If the flap or louvers do not open, check the exhaust fan duct in the attic to see if it is disconnected or damaged. If so, replace it or hire a contractor to replace it.
Source

Source
Source
- Turn the fan off and go outside to see if the flap or louvers close completely (Figure 27). If the flap or louvers are stuck open, investigate and remove any debris that may be preventing them from closing. Oil the hinges or replace the vent cover if necessary.

Source
- If you cannot locate the exterior exhaust vent, it is possible that it is either on the roof or inside the attic. If it is on the roof, the vents will likely be visible from the ground outside the home. It is not necessary to climb up on the roof to check. If you do not see vents on the roof, check inside the attic.
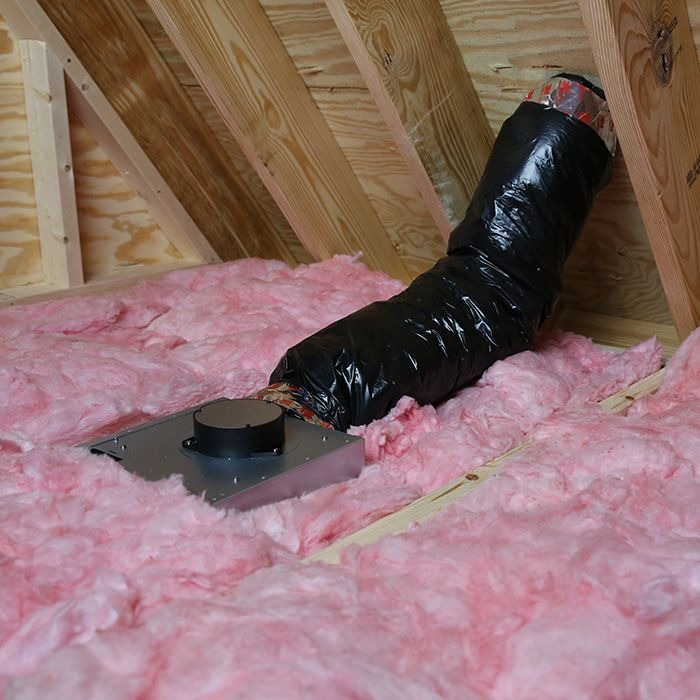
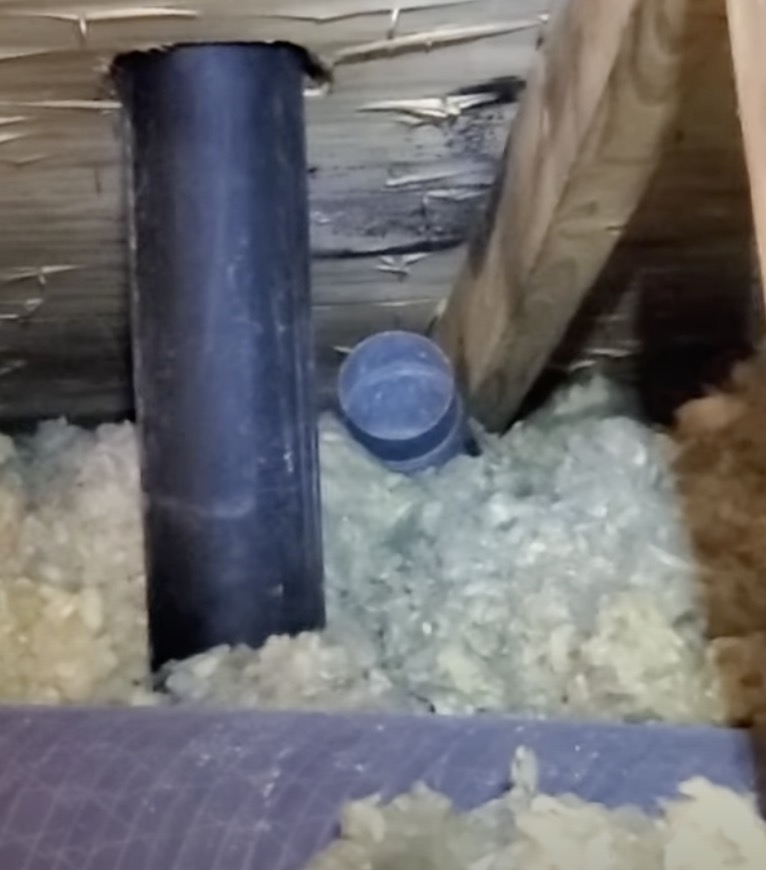
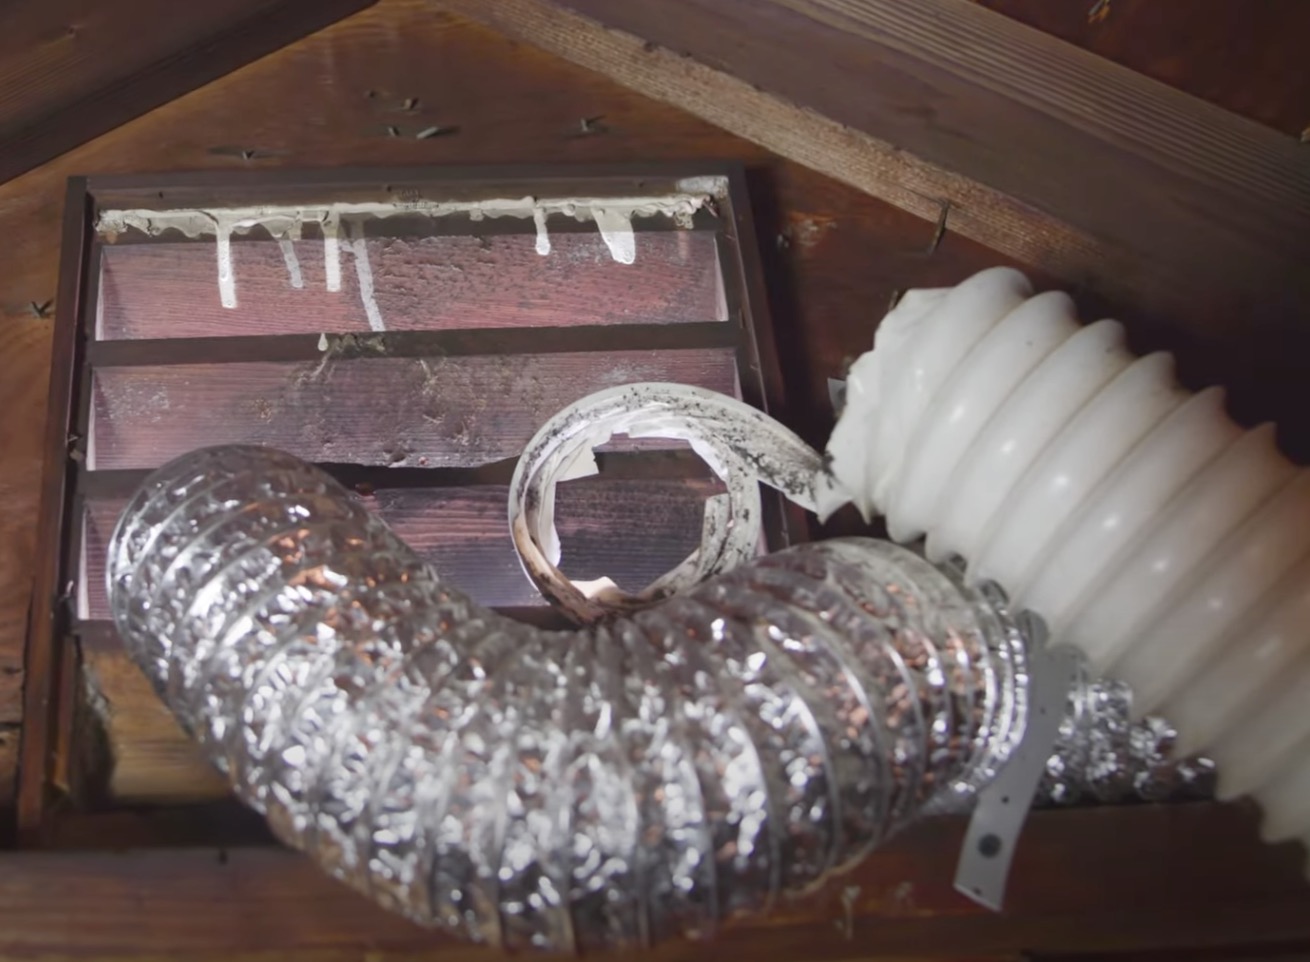
- From inside the attic, locate the bath fan in the ceiling and follow the duct. It should exit through the soffit or through the roof like the duct shown in Figure 28. It should not open into the attic like the open exhaust duct shown in Figure 29. Bath fans that exhaust into an attic can cause significant moisture issues. For example, mold is visible on the roof sheathing above the open exhaust duct in Figure 29. Also rigid metal ducting should be used for the exhaust duct, not flex duct like the flexible corrugated exhaust ducts shown in Figure 30, which improperly end near a gable vent but are not attached to the roof or soffit to completely vent to the outside.
Source
Source
Source
- If your exhaust duct exits into the attic and not through the roof or soffit, and/or if your exhaust fan duct is made of flex ducting not rigid metal duct, replace it or hire someone to replace it. Use a rigid or semi-rigid metal duct pipe of the proper diameter to fit your exhaust fan outlet. Lay out the duct in the straightest, most direct route possible to the soffit or roof. Cut a hole through the soffit or roof and install the exterior vent. Attach the duct to the fan box and the exterior vent with clamps and/or screws and seal the seams with mastic or metal tape. If installed on the roof, properly flash and seal around the vent. Insulate the duct.


