

Scope
- Insulate all hot and insulate cold water supply pipes where condensation may be an issue.
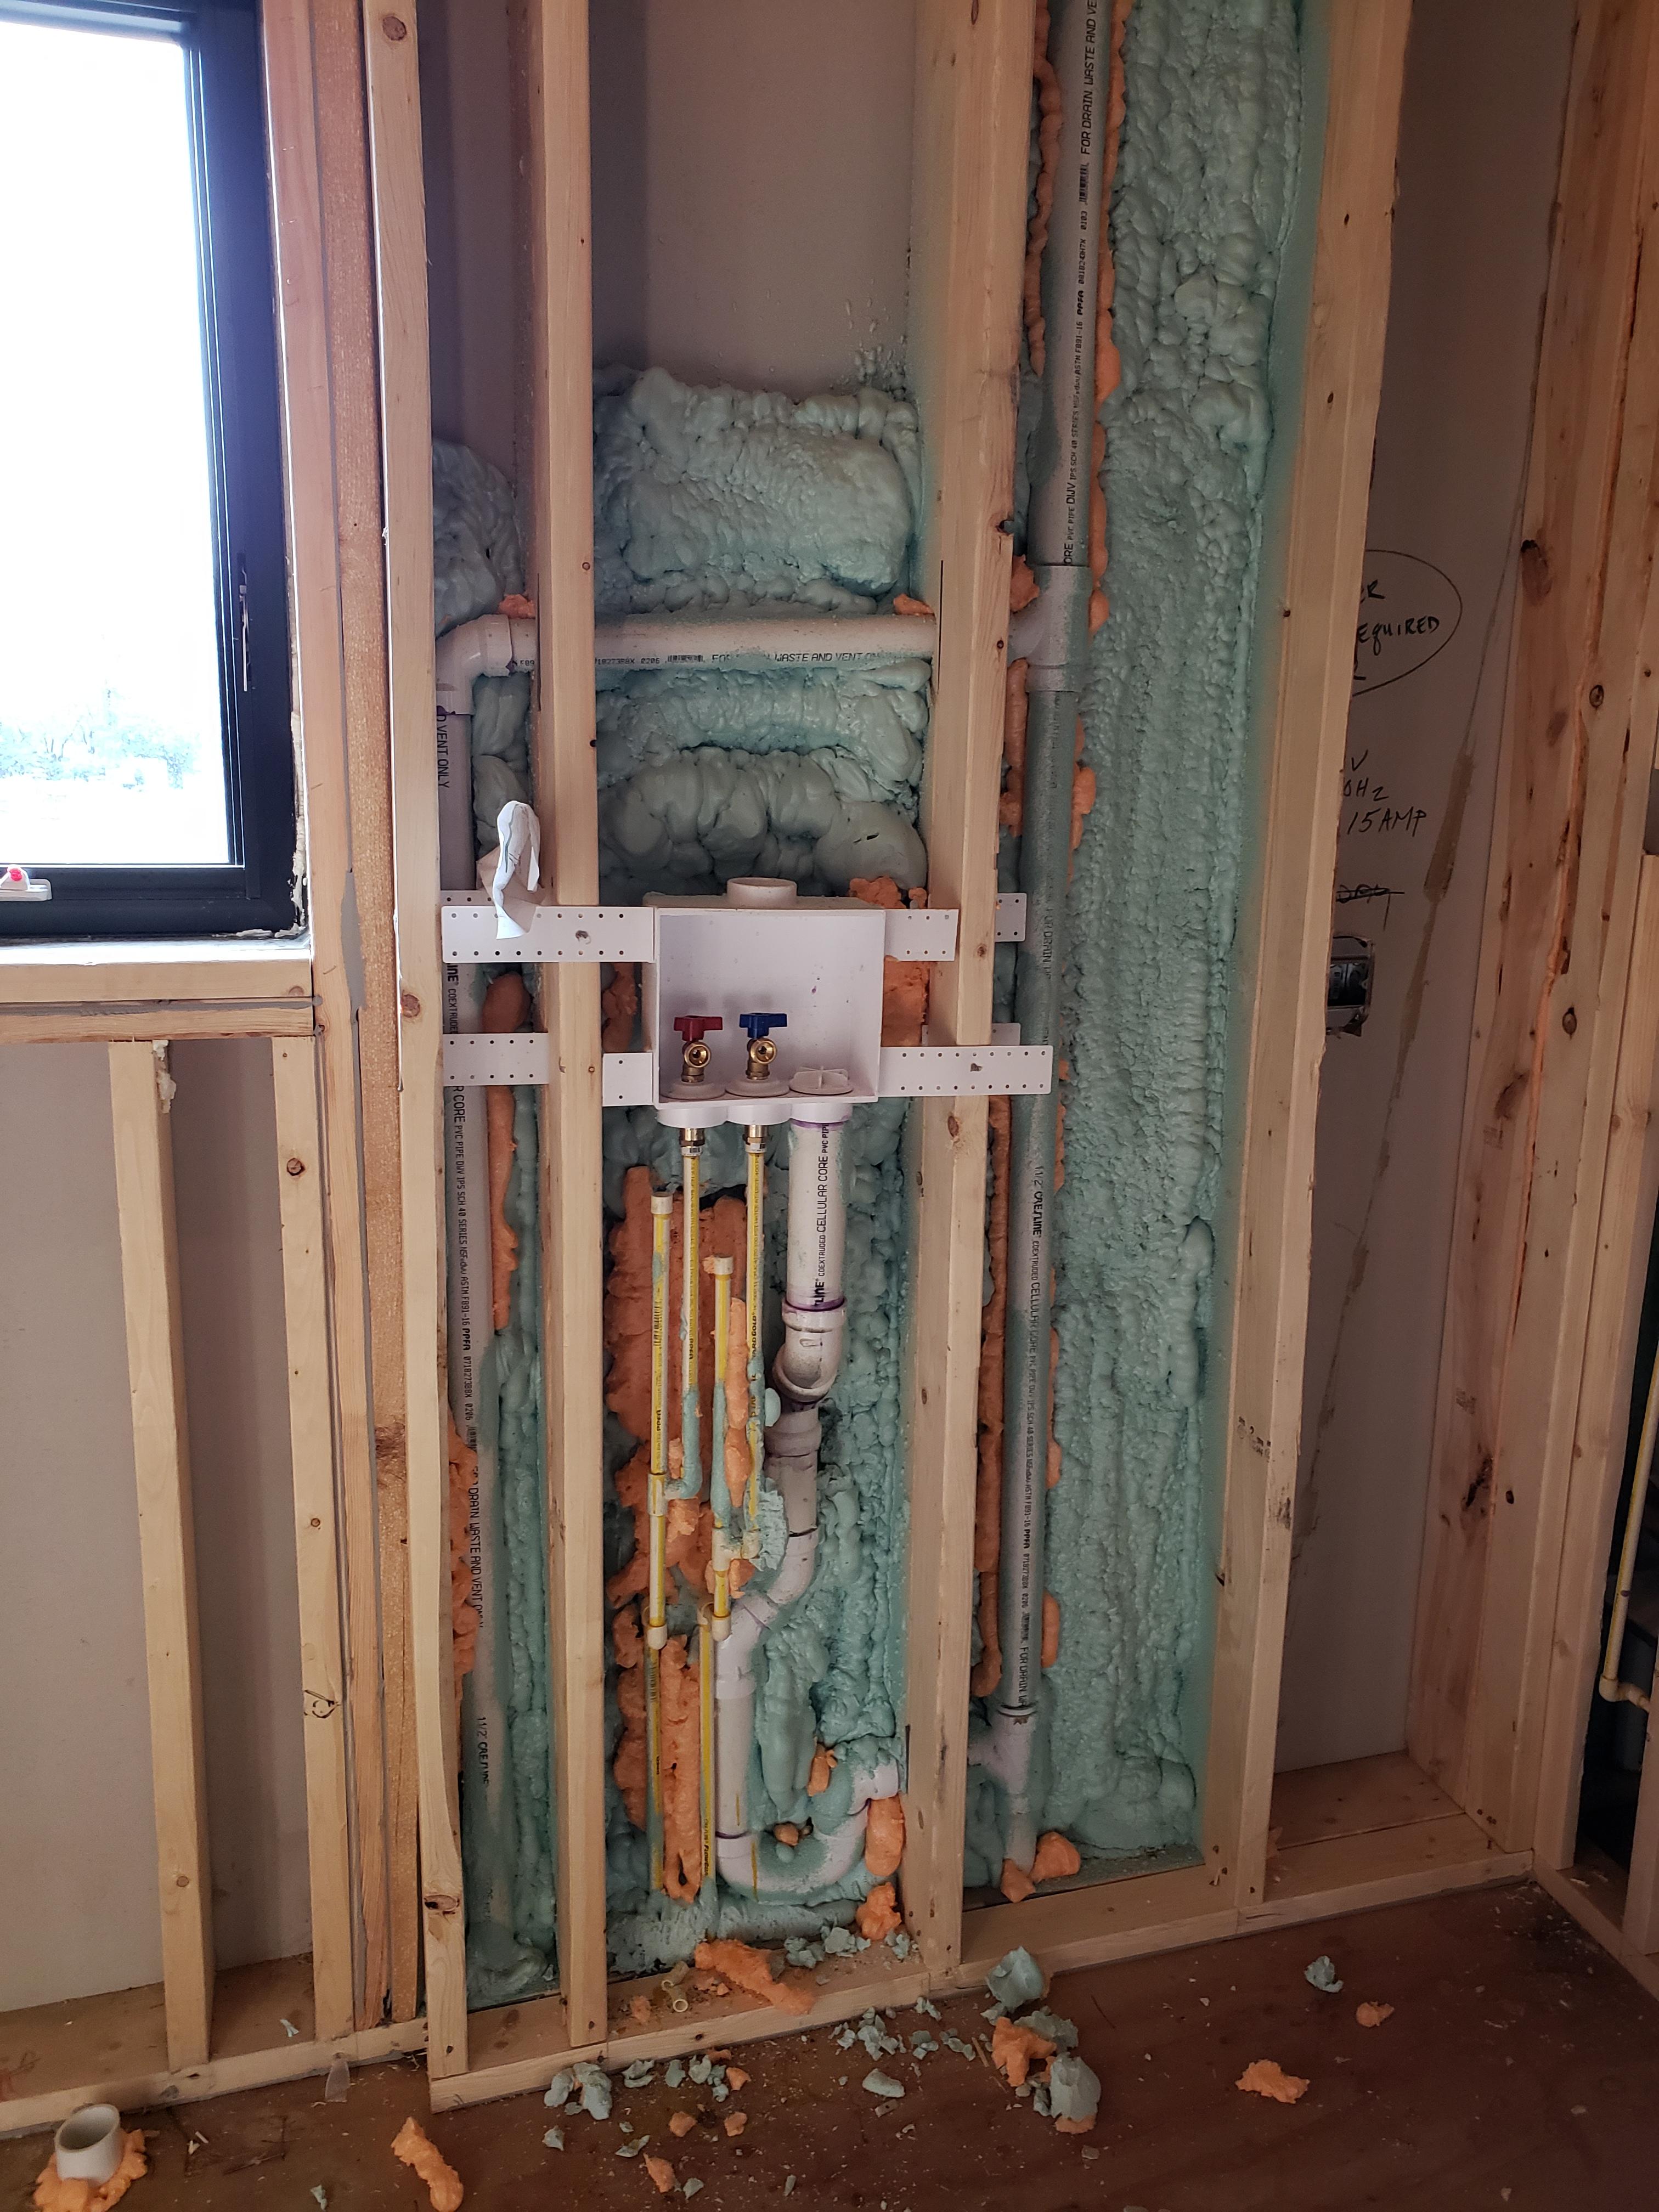
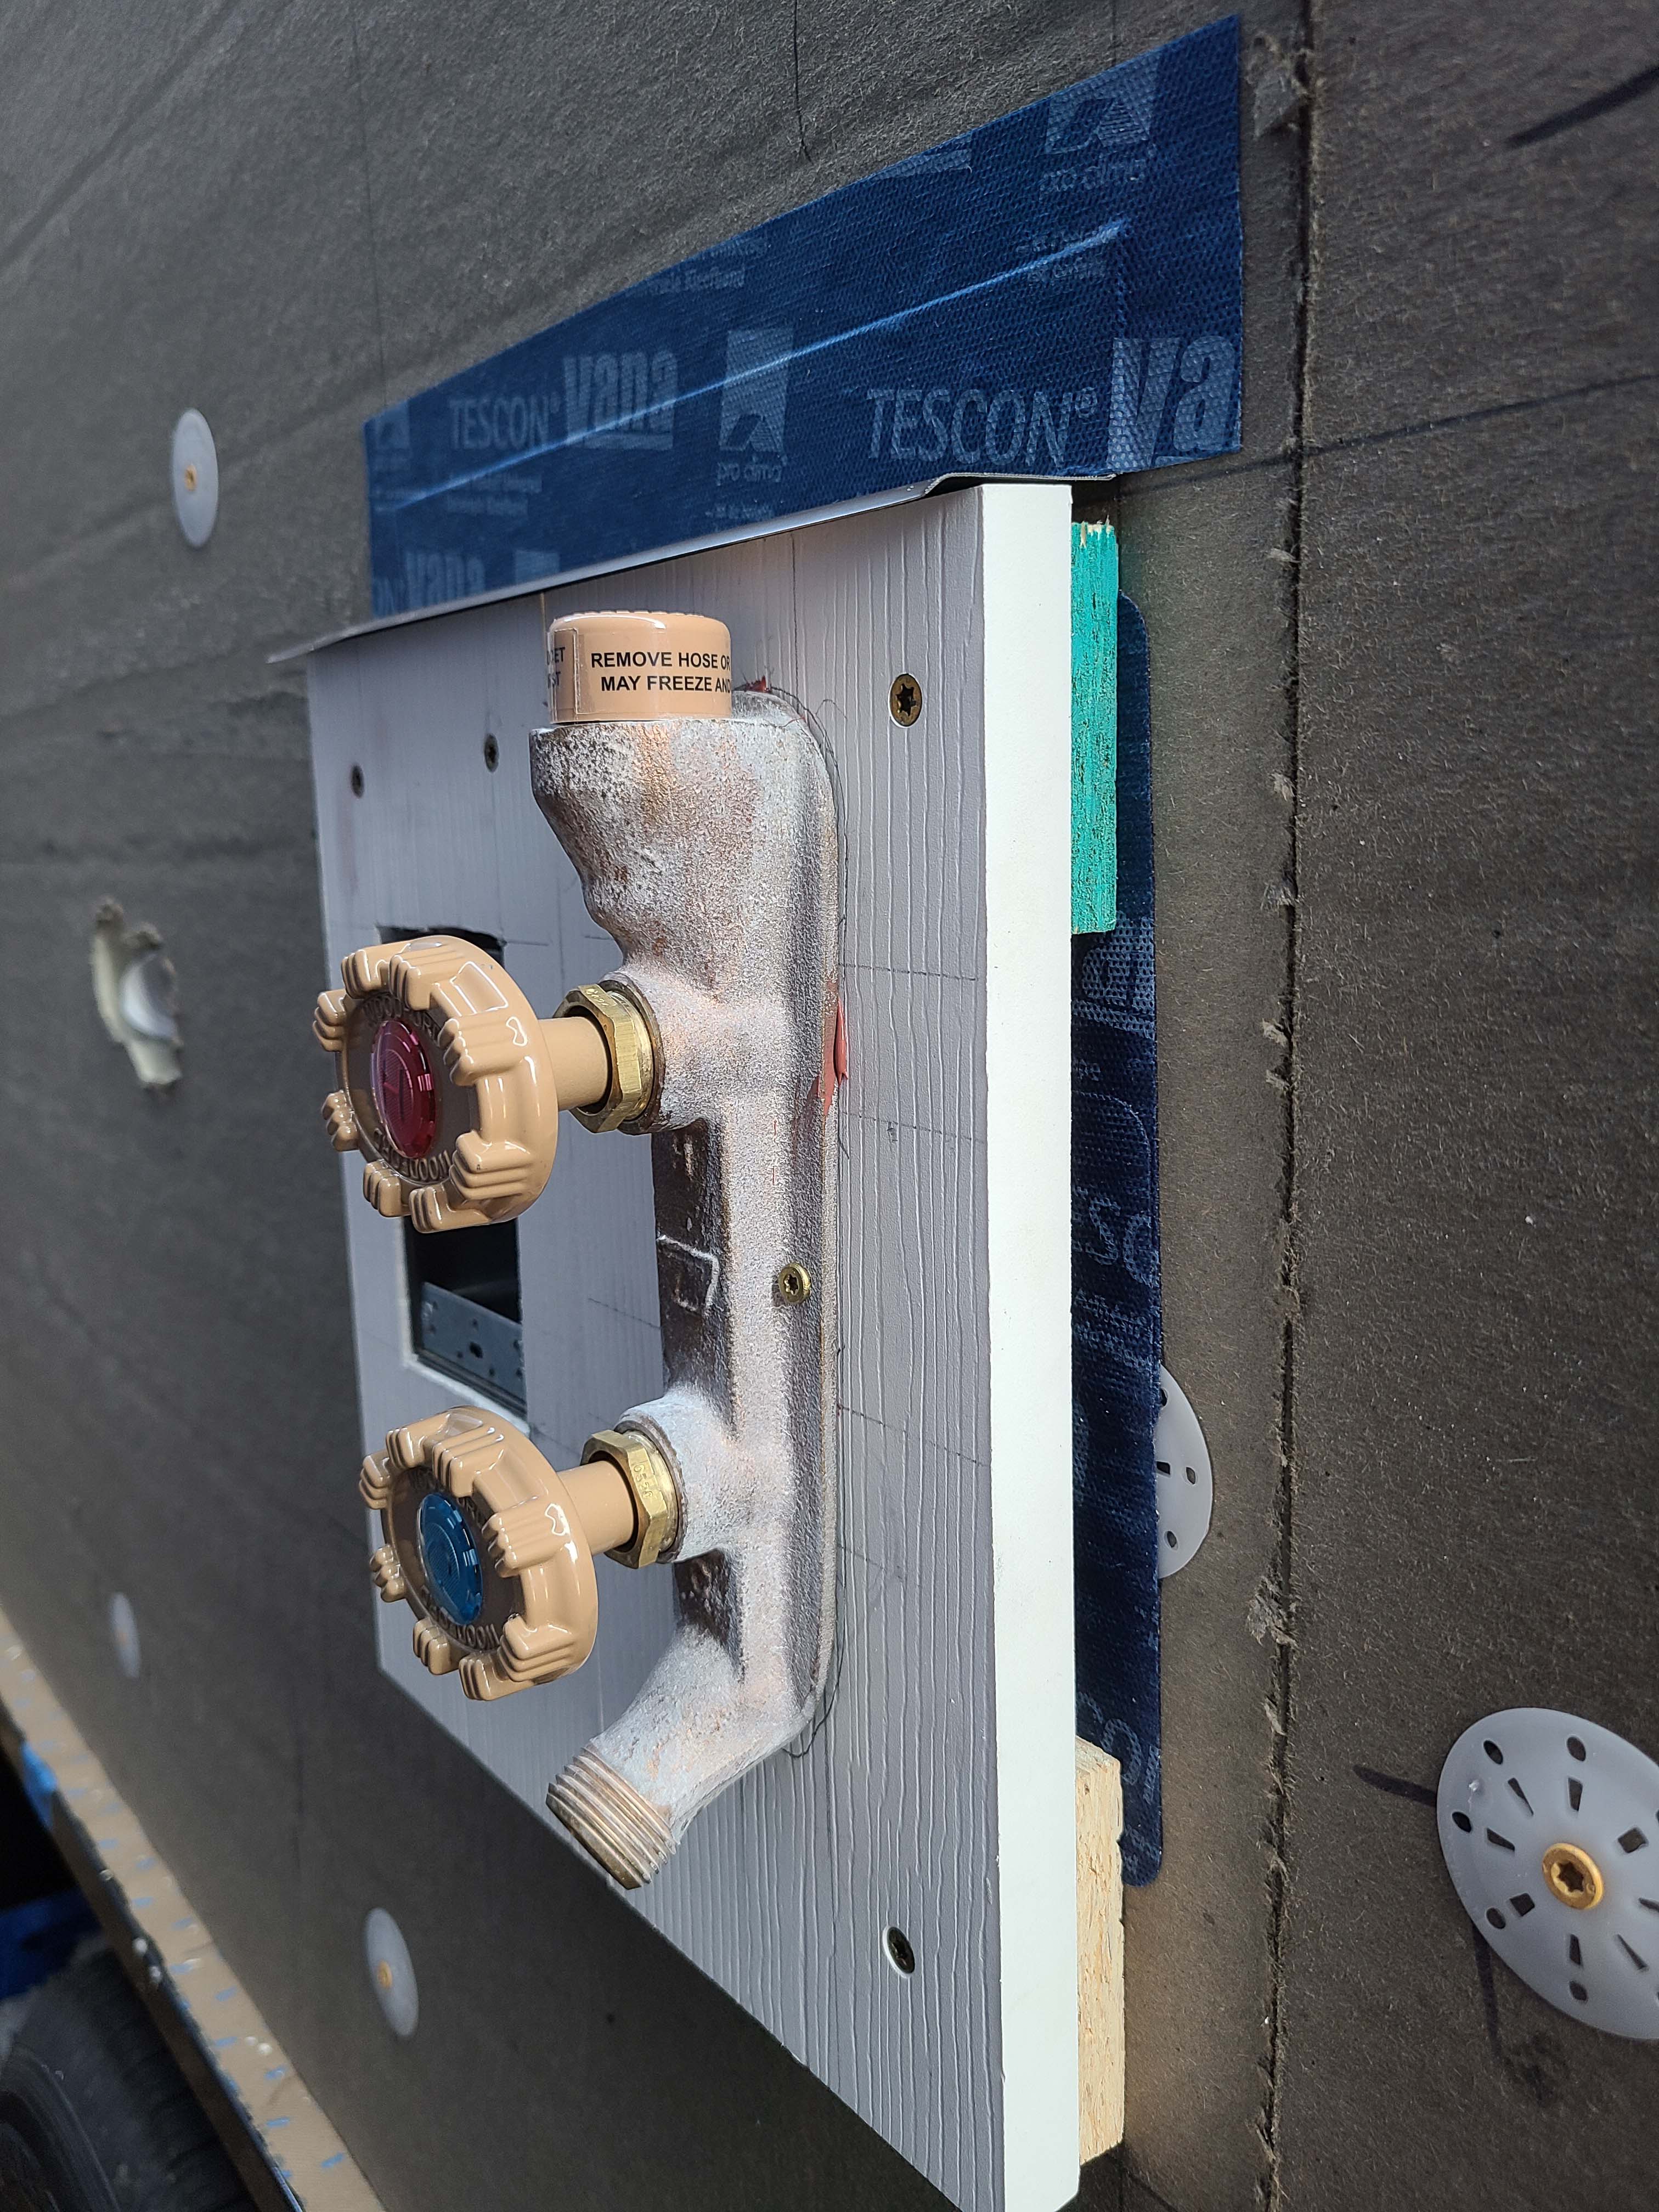
- Avoid locating water pipes in exterior walls. If pipes must be located in exterior walls, in addition to insulating the pipe, ensure that as much cavity insulation as possible is installed between the pipe and the outer surface of the wall.
- In freezing climates, consider installing temperature sensor-controlled electric heat tape on any piping located in uninsulated or unconditioned basements, crawlspaces, attics, or exterior walls.
See the Compliance Tab for links to related codes and standards and voluntary federal energy-efficiency program requirements.
Description
Insulating water pipes can save energy by minimizing heat loss through the piping. Insulating pipes will reduce the risk of condensation forming on the pipes, which can lead to mold and moisture damage. Pipe insulation can protect the pipes from freezing and cracking in the winter, which can cause considerable damage in the walls of the home and result in significant home repair bills for the homeowner. Studies by DOE’s Building America program have shown that distribution heat loss in uninsulated hot water pipes can range from 16% to 23% depending on the climate. Adding 3/4 inch pipe insulation can cut overall water heating energy use by 4% to 5% annually (Backman and Hoeschele 2013).
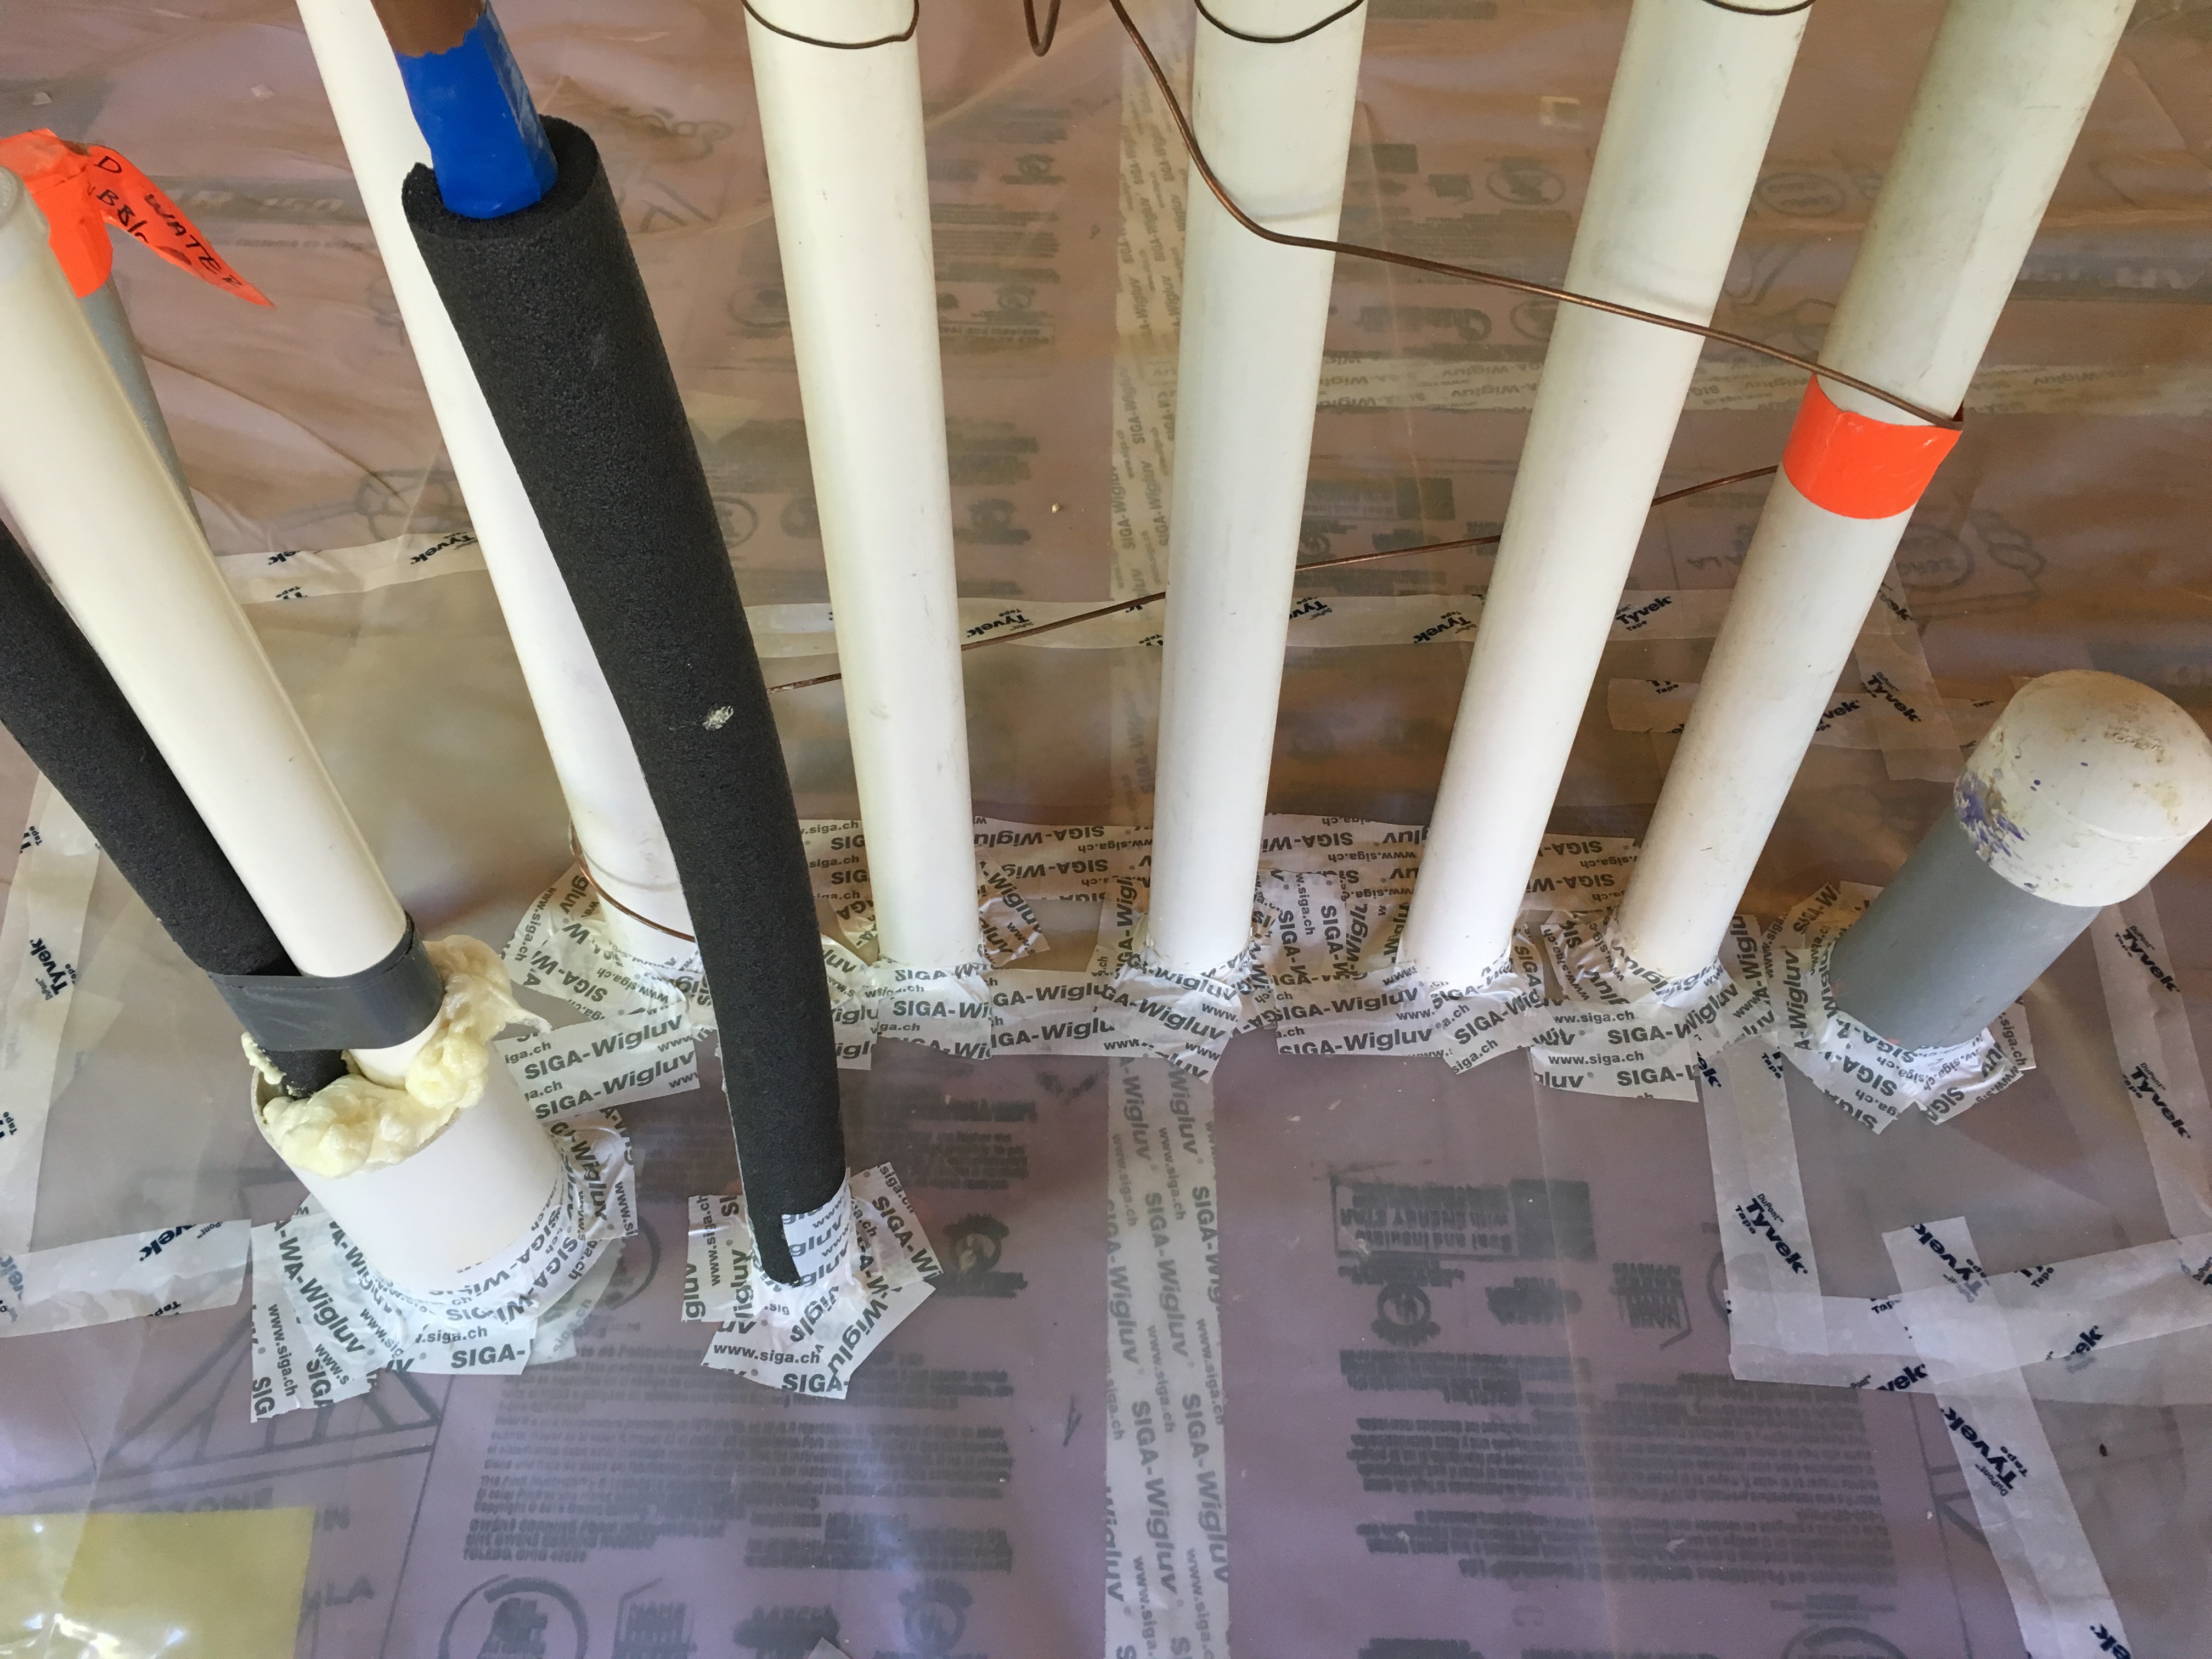
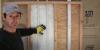
The best practice for builders and designers is to avoid running water pipes in exterior walls or through unheated attics. It is preferable to design the home so that plumbing fixtures align with interior walls. If pipes must be run in exterior walls, the pipes should be insulated. To further protect the pipes from heat loss, the wall cavity containing the pipes should be air sealed by caulking or foaming all seams between the back wall of the cavity and the framing and by sealing any holes through the framing for the piping. In addition, cavity insulation should be installed behind the pipes, between the pipes and the exterior wall.
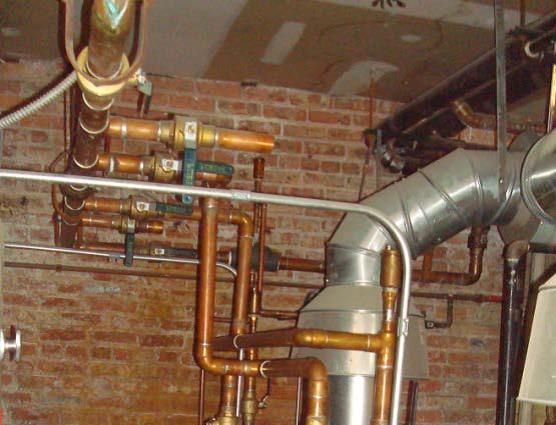
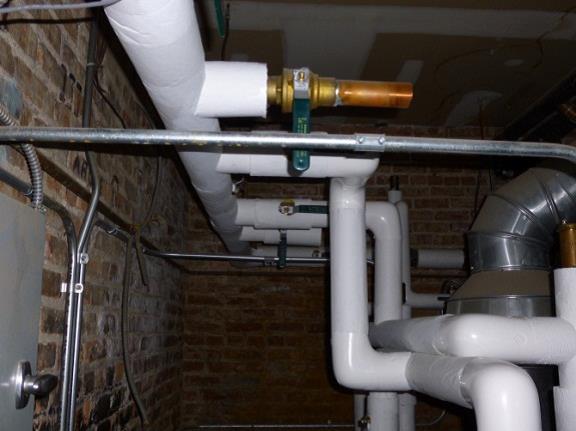
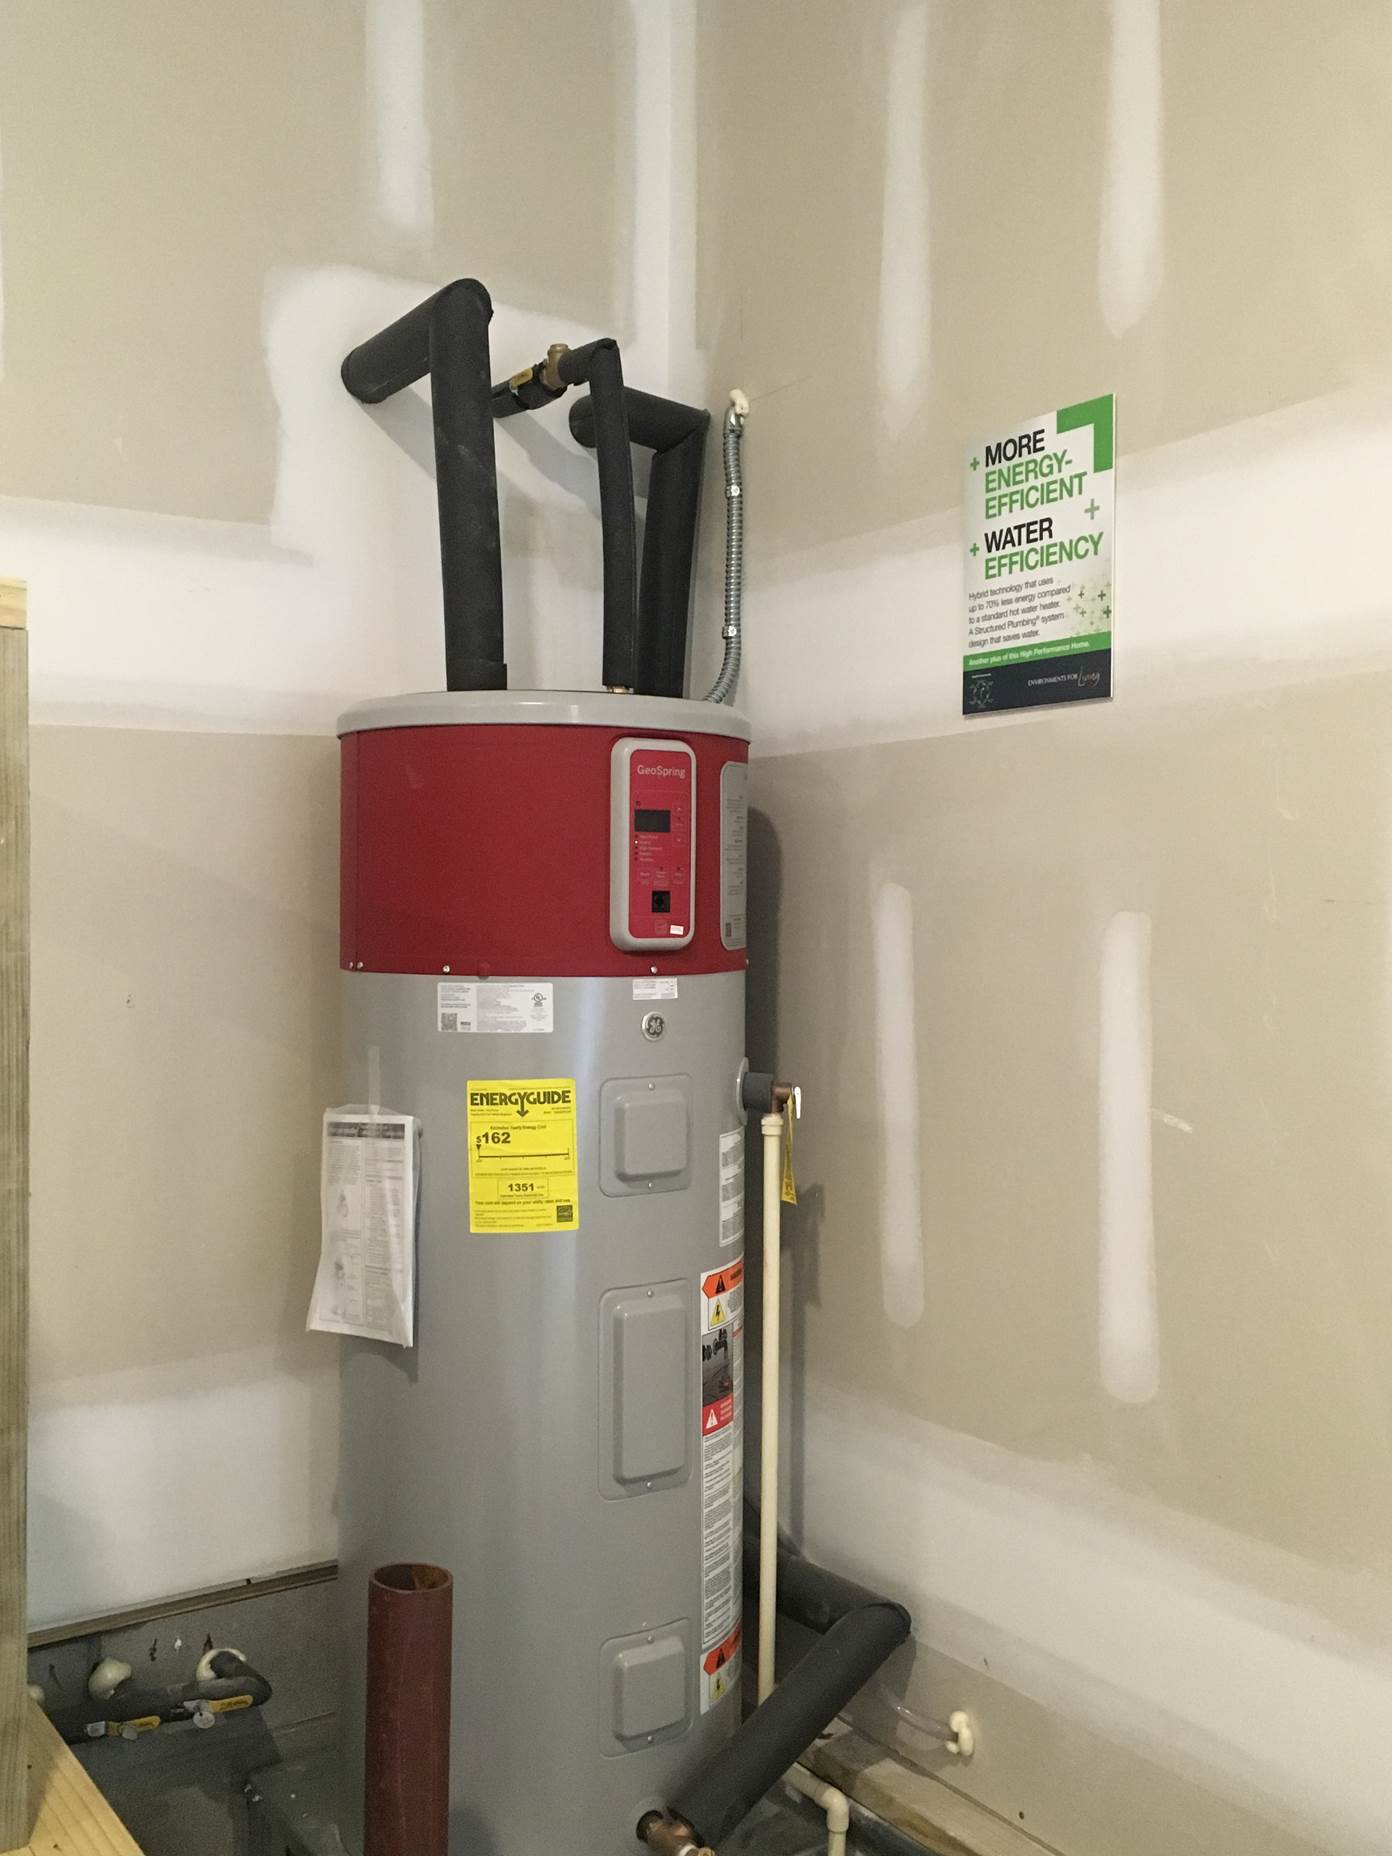
If a house has a hydronic (steam or hot water) heating system, heat loss can be reduced by as much as 90% by insulating the steam distribution and return pipes (DOE 2006). In a retrofit of a 19-unit multifamily housing building in Chicago with a central boiler, all of the accessible hot water heating pipes were insulated. (See Figure 1 and Figure 2.) Insulating the pipes with 1 inch of jacketed fiberglass cost $4,720 but the building owners estimated energy cost savings of nearly $2,300 per year, for a 2.1-year payback (Farley and Ruch 2013).
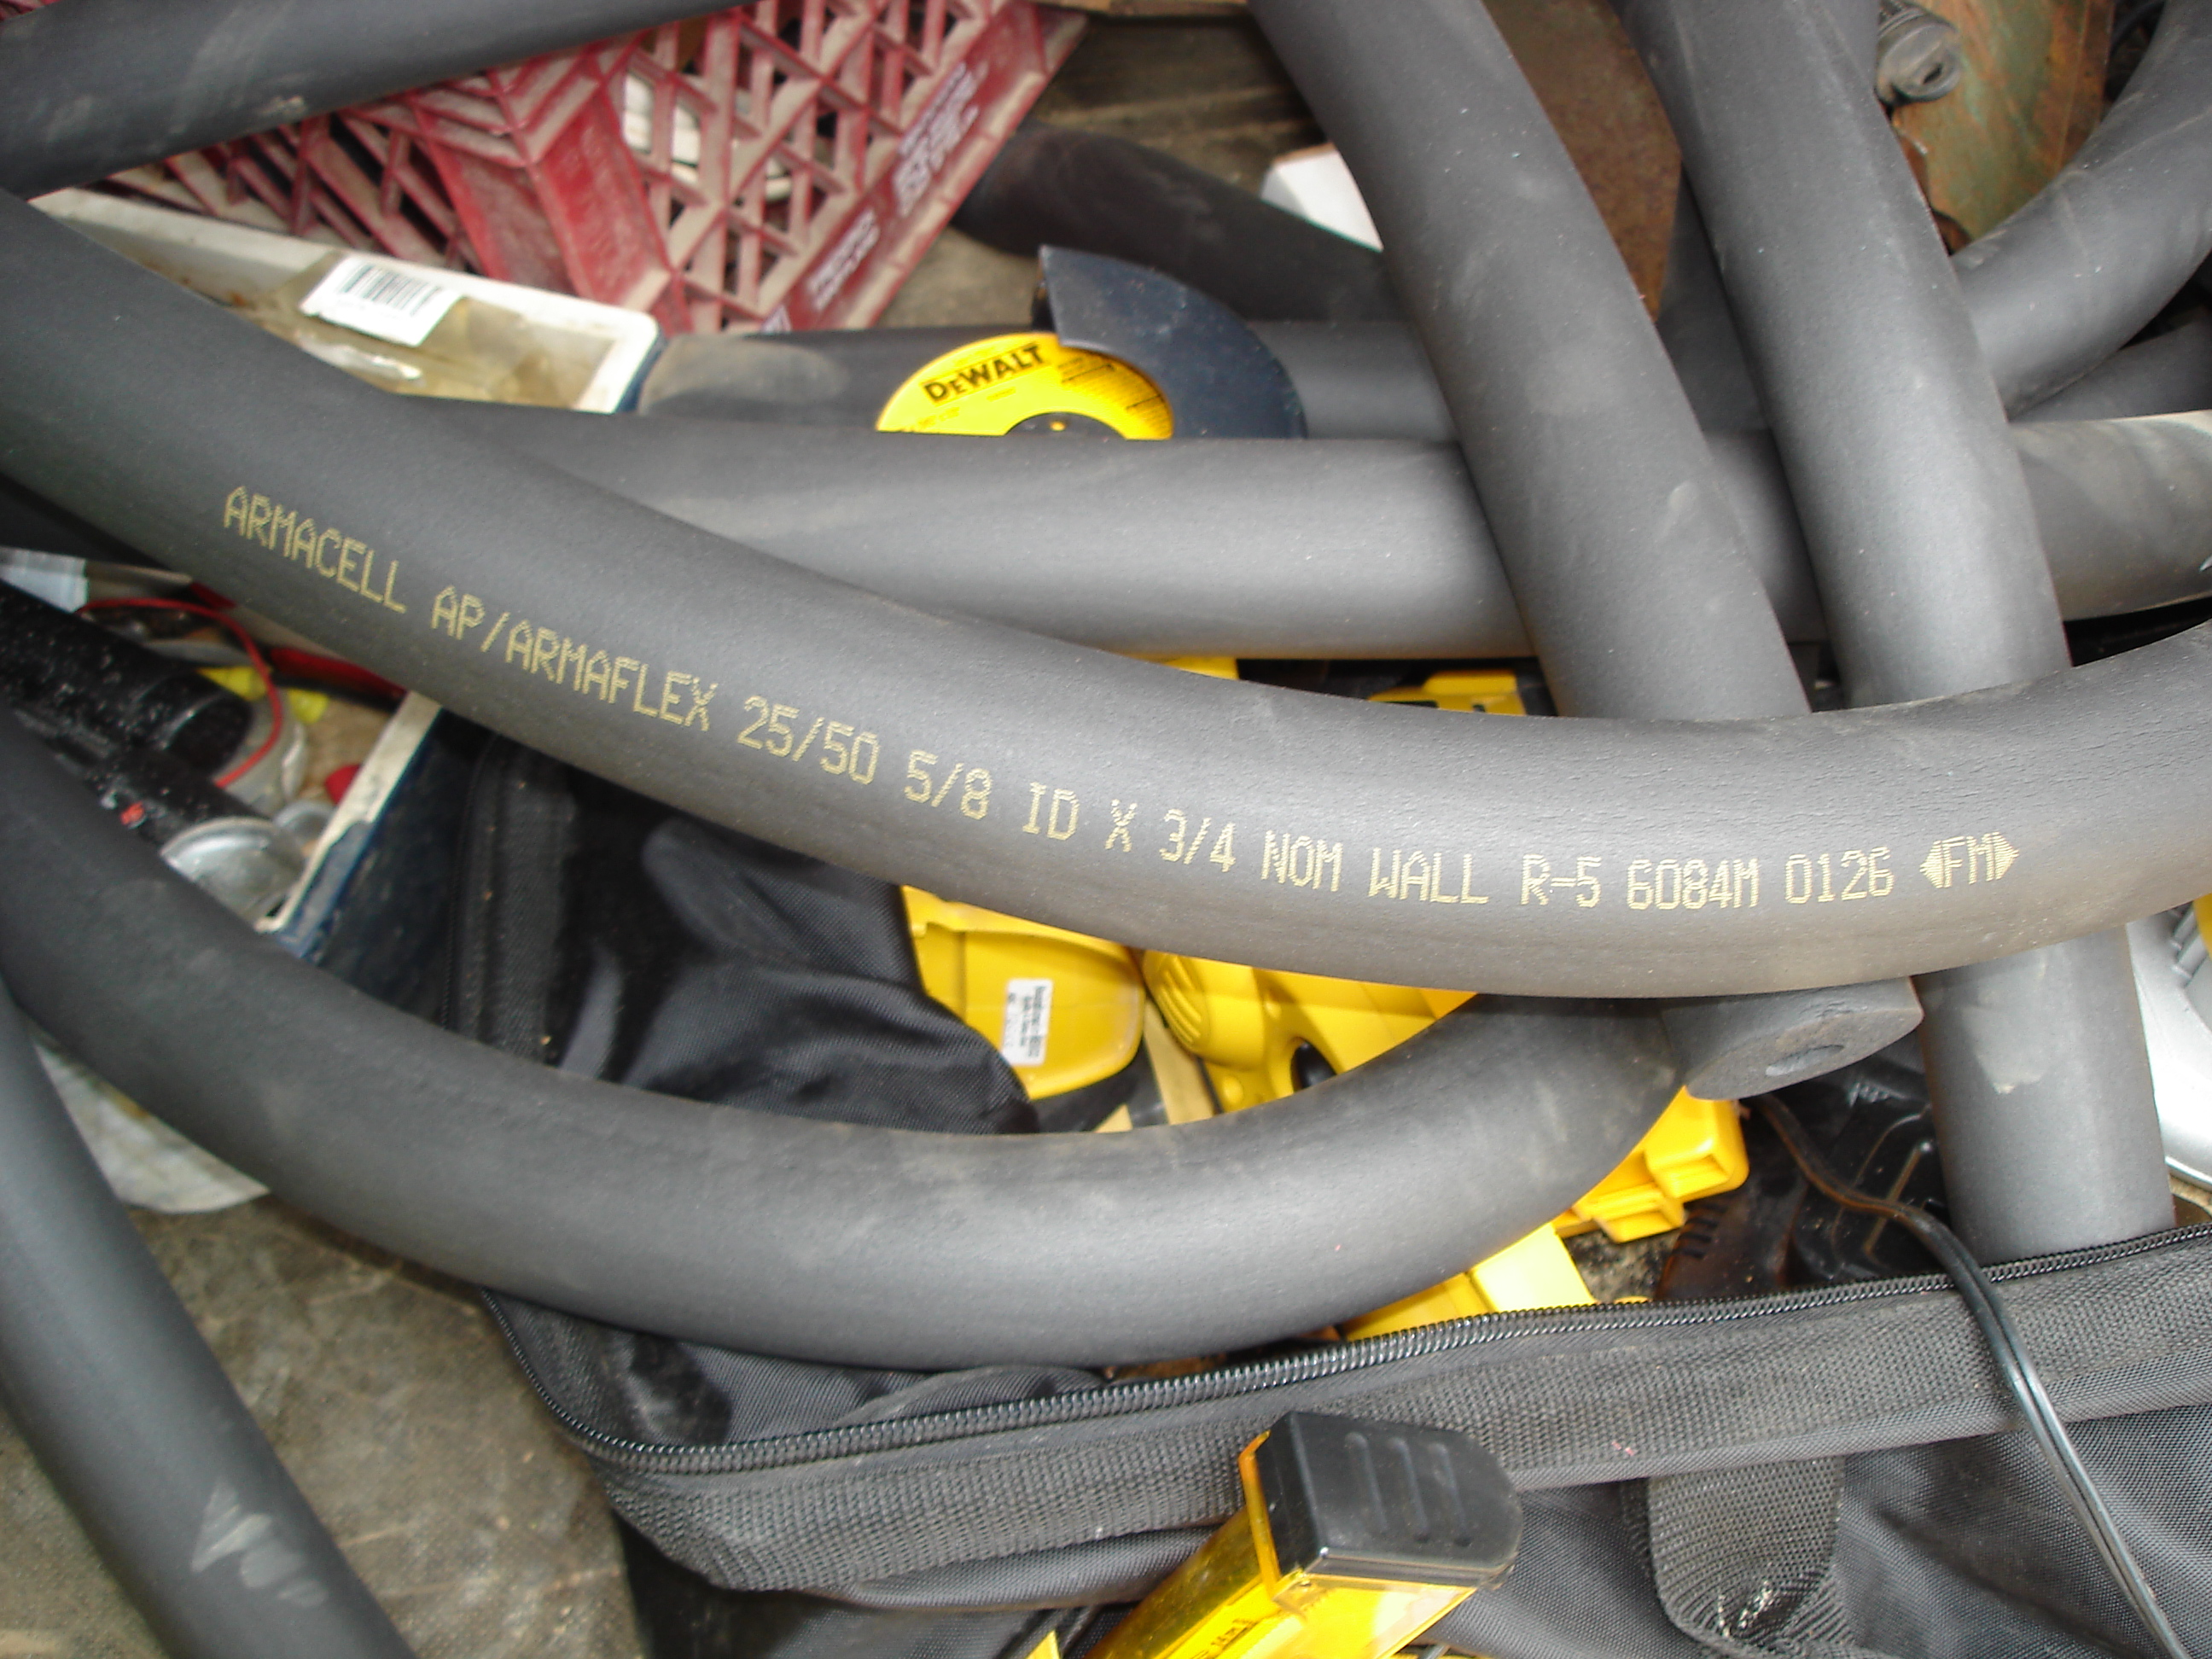
Pipe insulation is available in several forms: tubular pipe sleeves, spiral insulation wrap, and fiberglass batts that can be taped around the pipes. If properly installed, all three can be effective.
Tubular pipe sleeves are made from flexible closed-cell polyethylene or neoprene foam and come pre-cut with a lengthwise seam for easy installation. Some pipe coverings come with adhesive strips already adhered to both sides of the slit. Just peel off the plastic coverings and press together. There are different diameters of sleeves available to accommodate the varying sizes of pipes, so measure pipes before purchasing and match the pipe’s outside diameter to the pipe sleeve’s inside diameter to ensure a snug fit.
Spiral insulation wrap can be made of fiberglass, foil, or polyethylene foam. Simply unroll the material and wrap it around the hot and cold water pipes. Pipes can also be wrapped with fiberglass insulation. The fiberglass may come with a vapor barrier facing on one side or the plastic can be purchased and wrapped around the pipes after the fiberglass insulation is installed. Be sure to wear gloves, goggles, and a dust mask when installing fiberglass.
How to Insulate Pipes Using Tubular Foam Sleeves
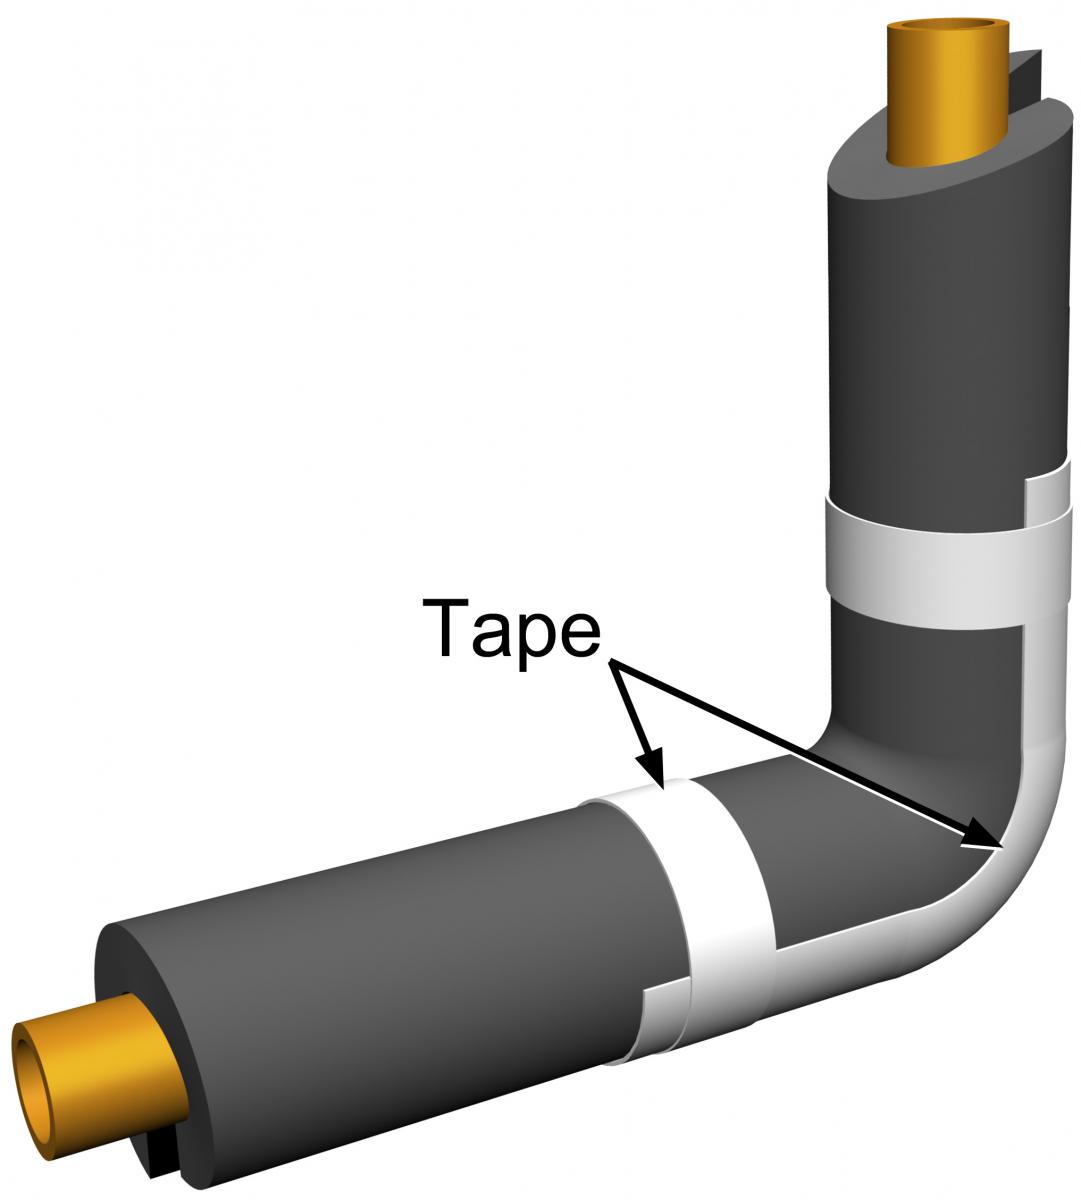
- Cut the pipe sleeve to length and wrap it around the pipe, with the slit facing down, making sure there are no gaps between sleeves. To cover bends in the pipe, make a joint at the elbow and angle the ends of the foam to form a mitered corner that fits the angle of the pipe.
- Remove the paper strips covering the self-sealing, pre-glued seam and press the edges together.
- Tape over the seams and joints with acrylic or aluminum foil tape to increase durability.
- Use wire, tape, a plastic tie, or metal clamp to secure the insulation (and plastic covering) to the pipe every 1 to 2 feet.
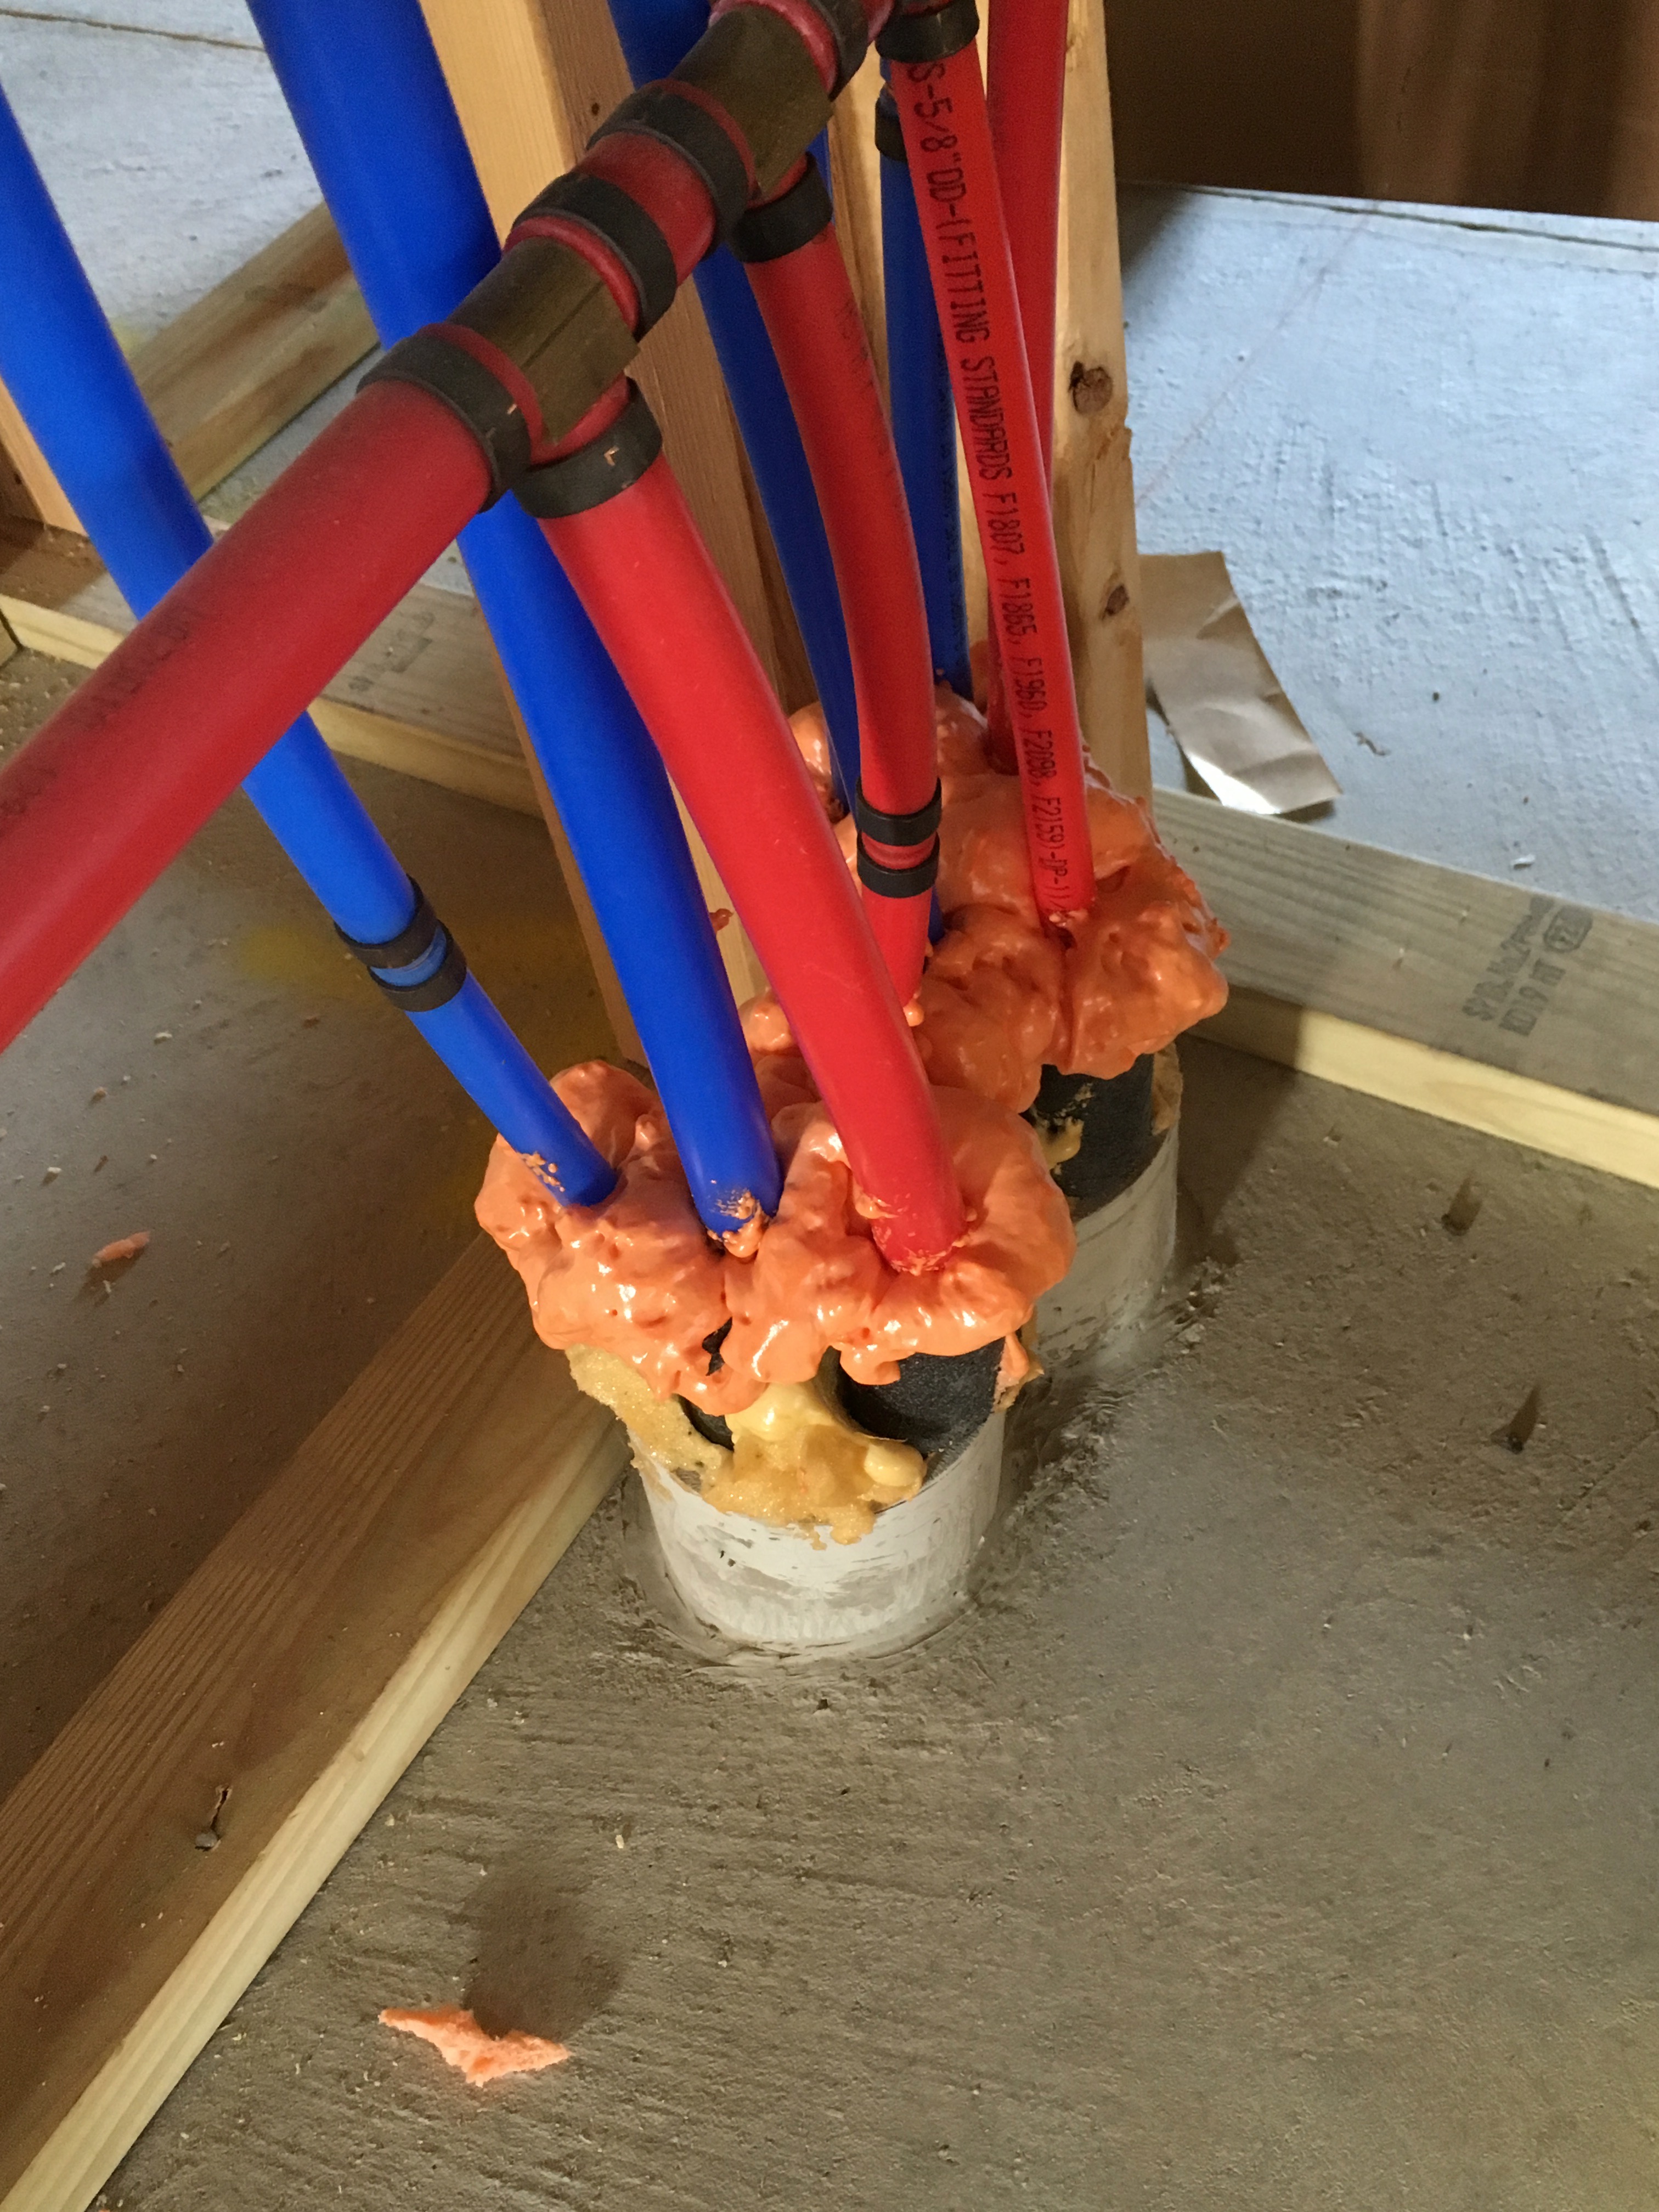
- Use caulk or foam to seal any holes where the pipes penetrate walls, floors, ceilings, or framing.
- If pipes run through exterior wall cavities, insulate the wall cavity just as you would the other cavities if using blown cellulose, fiberglass, or spray foam, which will easily fill in the space behind the pipes. If using fiberglass or mineral wool batts, split the batt lengthwise. Slide half the batt behind the pipes and fit into the cavity. Fit the remainder of the batt in front of the pipes to fill the cavity. Alternatively, cut a piece of rigid foam to fit the wall cavity dimensions. Run a bead of foam adhesive around the back of the foam, slide it behind the pipe and press it into place to seal it to the back wall of the cavity. Use caulk or canned foam to air seal the edges to the framing of the cavity. Lay a split batt over the front of the pipes.
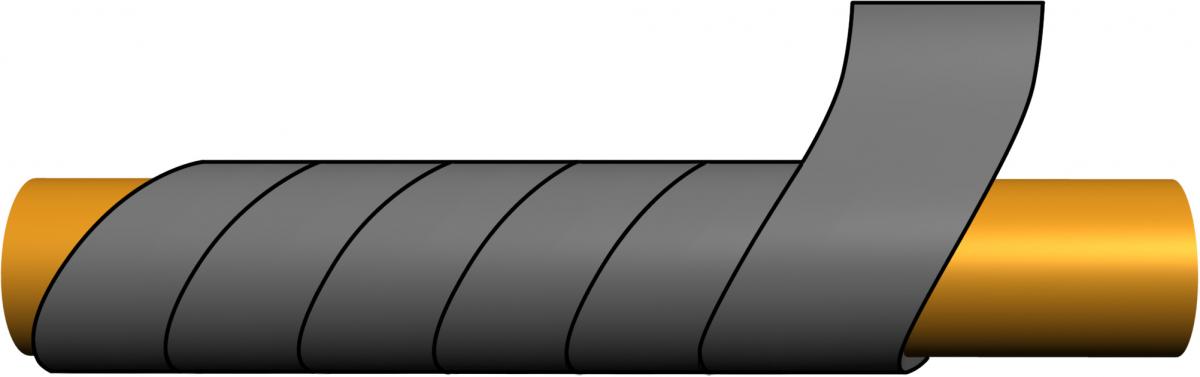
How to Insulate Pipes Using Spiral Wrap or Fiberglass Batts
- Secure the end of the spiral wrap or fiberglass batt on the pipe with tape.
- Wrap the insulation around the pipe in a spiral fashion, overlapping each successive layer by a ½-inch for tape or half the width of the batt insulation. Wrap batts as loosely as possible, because compressing them will reduce their R-value.
- If using fiberglass insulation without a moisture barrier, wrap plastic around the insulated pipe and seal with tape to keep the insulation from getting wet.
- Use wire, tape, a plastic tie, or metal clamp to secure the insulation (and plastic covering) to the pipe every 1 to 2 feet to keep the insulation from sliding.
- Use caulk or foam to seal any holes where the pipes penetrate walls, floors, ceilings, or framing.
- If pipes run through exterior wall cavities, insulate the wall cavity just as you would the other cavities if using blown cellulose, fiberglass, or spray foam, which will easily fill in the space behind the pipes. If using fiberglass or mineral wool batts, split the batt lengthwise. Slide half the batt behind the pipes and fit into the cavity. Fit the remainder of the batt in front of the pipes to fill the cavity. Alternatively, cut a piece of rigid foam to fit the wall cavity dimensions. Run a bead of foam adhesive around the back of the foam, slide it behind the pipe and press it into place to seal it to the back wall of the cavity. Use caulk or canned foam to air seal the edges to the framing of the cavity. Lay a split batt over the front of the pipes.
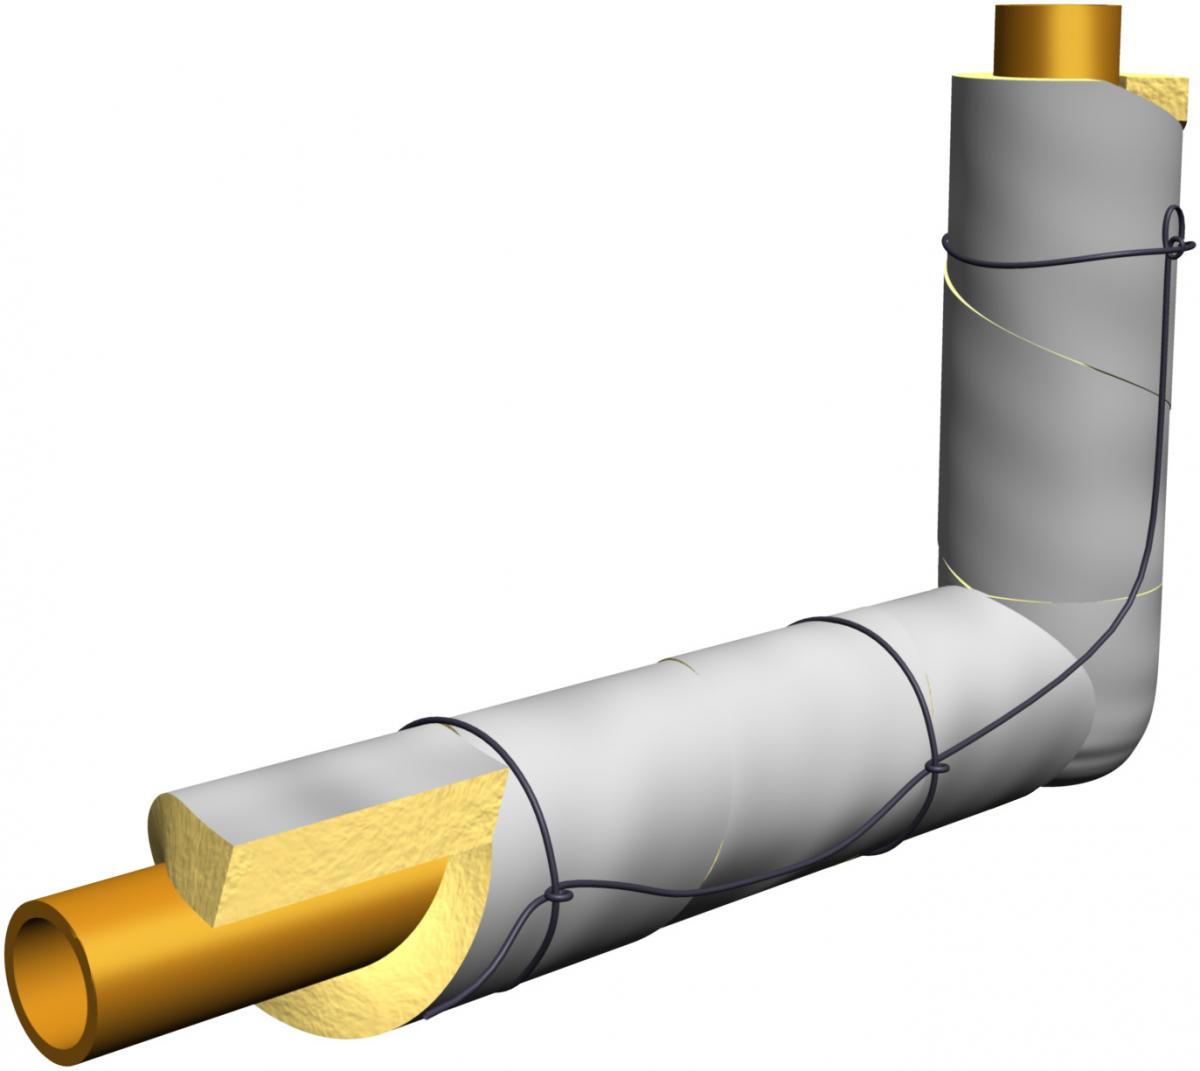
How to Insulate Steam Pipes
- Measure the length of the pipe you are insulating and cut the fiberglass sleeve to match. Any surface over 120°F should be insulated, including boiler surfaces, steam and condensate return piping, and fittings. Use 1-inch-thick, heavy-density, resin-bonded fiberglass sleeves approved for steam or hot water heating systems, since other forms of insulation can melt.
- Open the pre-cut fiberglass sleeve by pulling on the release strip.
- Fit the sleeve around the pipe and align the self-sealing lap over the sleeve.
- Seal by rubbing firmly on the adhesive strip to seal the lap to the sleeve.
- Wrap high-temperature tape around the pipe where two sleeves meet.
- Install removable insulation jackets on elbows, tees, and other pipe fittings.
- Use caulk or foam to seal any holes where the pipes penetrate walls, floors, ceilings, or framing.
If pipes run through exterior wall cavities, insulate the wall cavity just as you would the other cavities if using blown cellulose, fiberglass, or spray foam, which will easily fill in the space behind the pipes. If using fiberglass or mineral wool batts, split the batt lengthwise. Slide half the batt behind the pipes and fit into the cavity. Fit the remainder of the batt in front of the pipes to fill the cavity. Alternatively, cut a piece of rigid foam to fit the wall cavity dimensions. Run a bead of foam adhesive around the back of the foam, slide it behind the pipe and press it into place to seal it to the back wall of the cavity. Use caulk or canned foam to air seal the edges to the framing of the cavity. Lay a split batt over the front of the pipes.
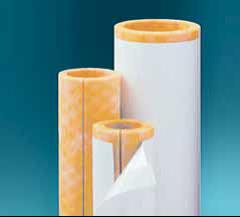
Figure 6. High-density fiberglass pipe insulation comes with a vapor barrier cover and self-adhesive seam. (Source: NMIC.)
Ensuring Success
Avoid installing pipes in exterior walls. If they must be placed in exterior walls, ensure that the pipes are insulated and that adequate cavity insulation is installed behind the pipes. Air seal the wall cavity to prevent cold air from flowing around the pipes.
Region
In cold climates, avoid putting pipes in unconditioned attics. Avoid putting pipes in exterior walls.
In freezing climates, temperature sensor-controlled electric heat tape may be considered for any piping located in uninsulated or unconditioned basements, crawlspaces, attics, or exterior walls.
The following checklist outlines design and retrofit measures that may save a home from expensive damage:
- Ensure shutoff valves to outdoor faucets and the main shutoff valve for the home or the power shutoff for the pump are installed to be accessible from indoors.
- Install bleeder caps on shutoff valves.
- Install frost-free sill cocks, with the pipe to the sill cock sloped at a slight downward pitch.
- Apply insulating hose bib covers during the winter.
- Where possible, do not place drains back to the main on exterior walls.
- Provide the ability to drain the water lines for homeowners who will be leaving the home for extended periods during the winter.
- Use cross-linked polyethylene (PEX) piping, which has proven to be more robust to freeze-thaw cycling than traditional copper piping.
In homes where the plumbing runs are in a crawlspace, the following additional protection measures should be considered:
- Seal all penetrations through rim joists and walls with expandable, closed-cell foam.
- Insulate piping runs.
- Apply heat trace to piping runs (see next section).
In incidences of unusually high snowfall, the snow depth on the roof may exceed the height of the plumbing vents. Additionally, extended periods of cold weather can cause plumbing vents through the roof to ice up and freeze. In both of these incidences, sewage gases may be unable to vent, which can cause odors and air quality problems within the home. These problems are more likely to occur with well-insulated roofs in very cold climates, where there may not be enough heat leaking through the thermal envelope to keep the vent from freezing up. Heat trace can be installed on plumbing vent-to-roof connections and switched to a pilot light switch in the bathroom, so that the occupant can turn on the heat trace to melt the ice when sewer gases are detected in the home as a result of a frozen or snow-covered vent. It is also possible to increase the vent diameter above the uninsulated roof cavity to allow space for gas to escape exit the vent pipe without causing icing. Check local code before using this strategy.
Heat trace or tape is electric resistance cable that can be applied to plumbing lines, drain lines, and vent stacks in cold climates to prevent freezing. Heat trace should be on its own circuit as a best practice and, in order to save energy when it is not needed, it should be switched to a glowing pilot switch in a mechanical room that is labeled for occupants. Heat trace can also incorporate its own thermostat to self-regulate its operation. In regions where cold events are rare, aftermarket heat tape that can be plugged in with an extension cord may be sufficient. Plug-in heat tape should only be plugged in to a GFCI receptacle. In climate zones 6-8, dedicated heat tape hardwired to the electrical panel by a licensed electrician is more robust, safer, and less likely to be influenced by human error. All heat trace should be installed so it is accessible and replaceable. In applying heat trace to plumbing or to any external infrastructure lines, it is important to adhere to both the relevant electrical code and the fire code for the building. Improperly installed heat trace can reduce energy efficiency and even cause a fire hazard, so including inspection of heat trace installation during construction is important.
Training
Right and Wrong Images

Source

Source
Source

Source

Source
Source
Source

Source
Report exploring feasibility of designing prescriptive retrofit measure packages for typical Chicago region multifamily buildings in order to achieve 25% source energy savings.
Source
Source
Source
Videos
Compliance
More Info
References and Resources
*For non-dated media, such as websites, the date listed is the date accessed.
Contributors to this Guide
The following authors and organizations contributed to the content in this Guide.
Questions? Comments? Contact our webmaster.