Showing results 3301 - 3350 of 4973
Image
Image

Image
Sources of heat gain in a house include solar gains, infiltration, conduction through walls and roof, occupants, and internal equipment
Image
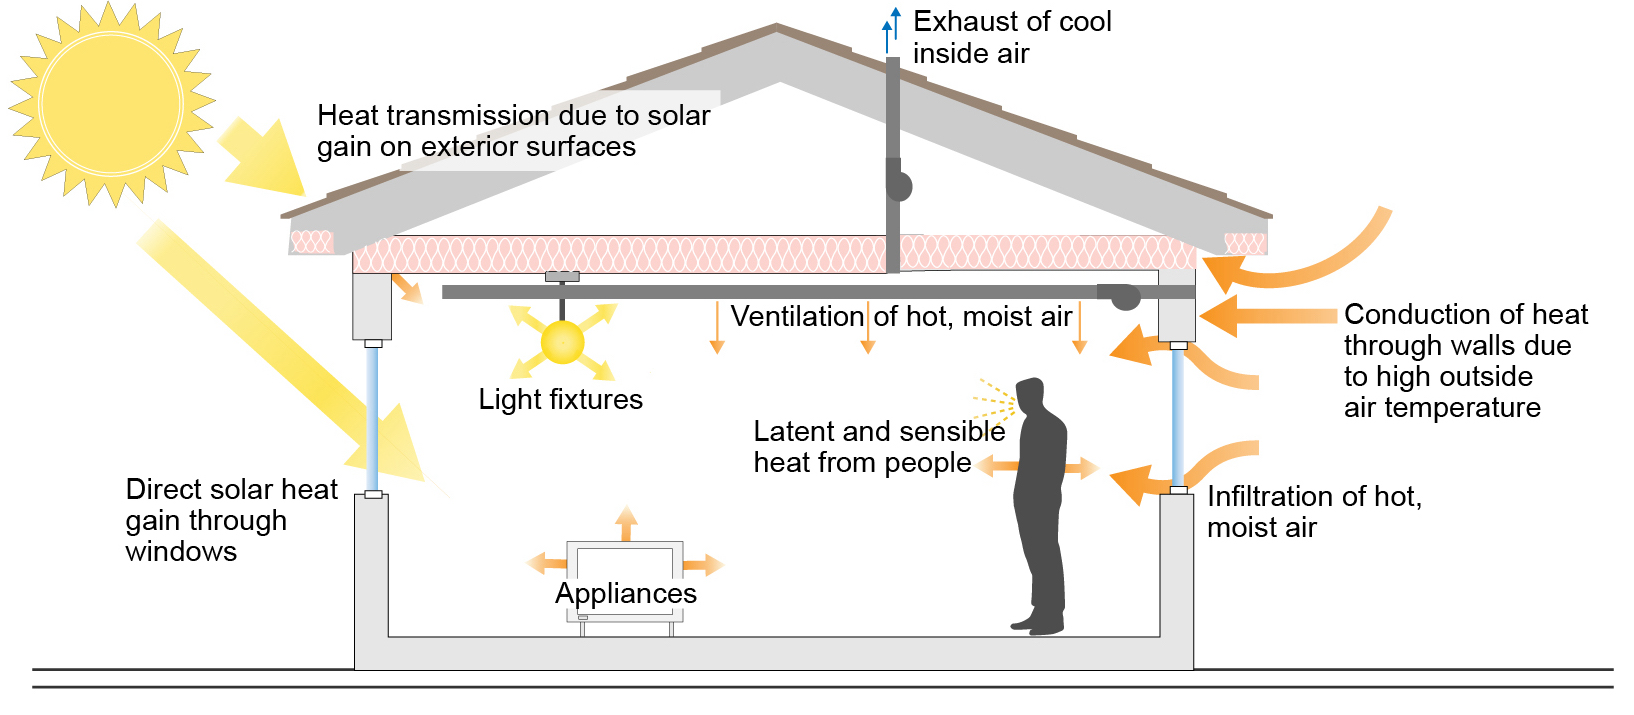
Sources of heat gain in a house include solar gains, infiltration, conduction through walls and roof, occupants, and internal equipment
Image
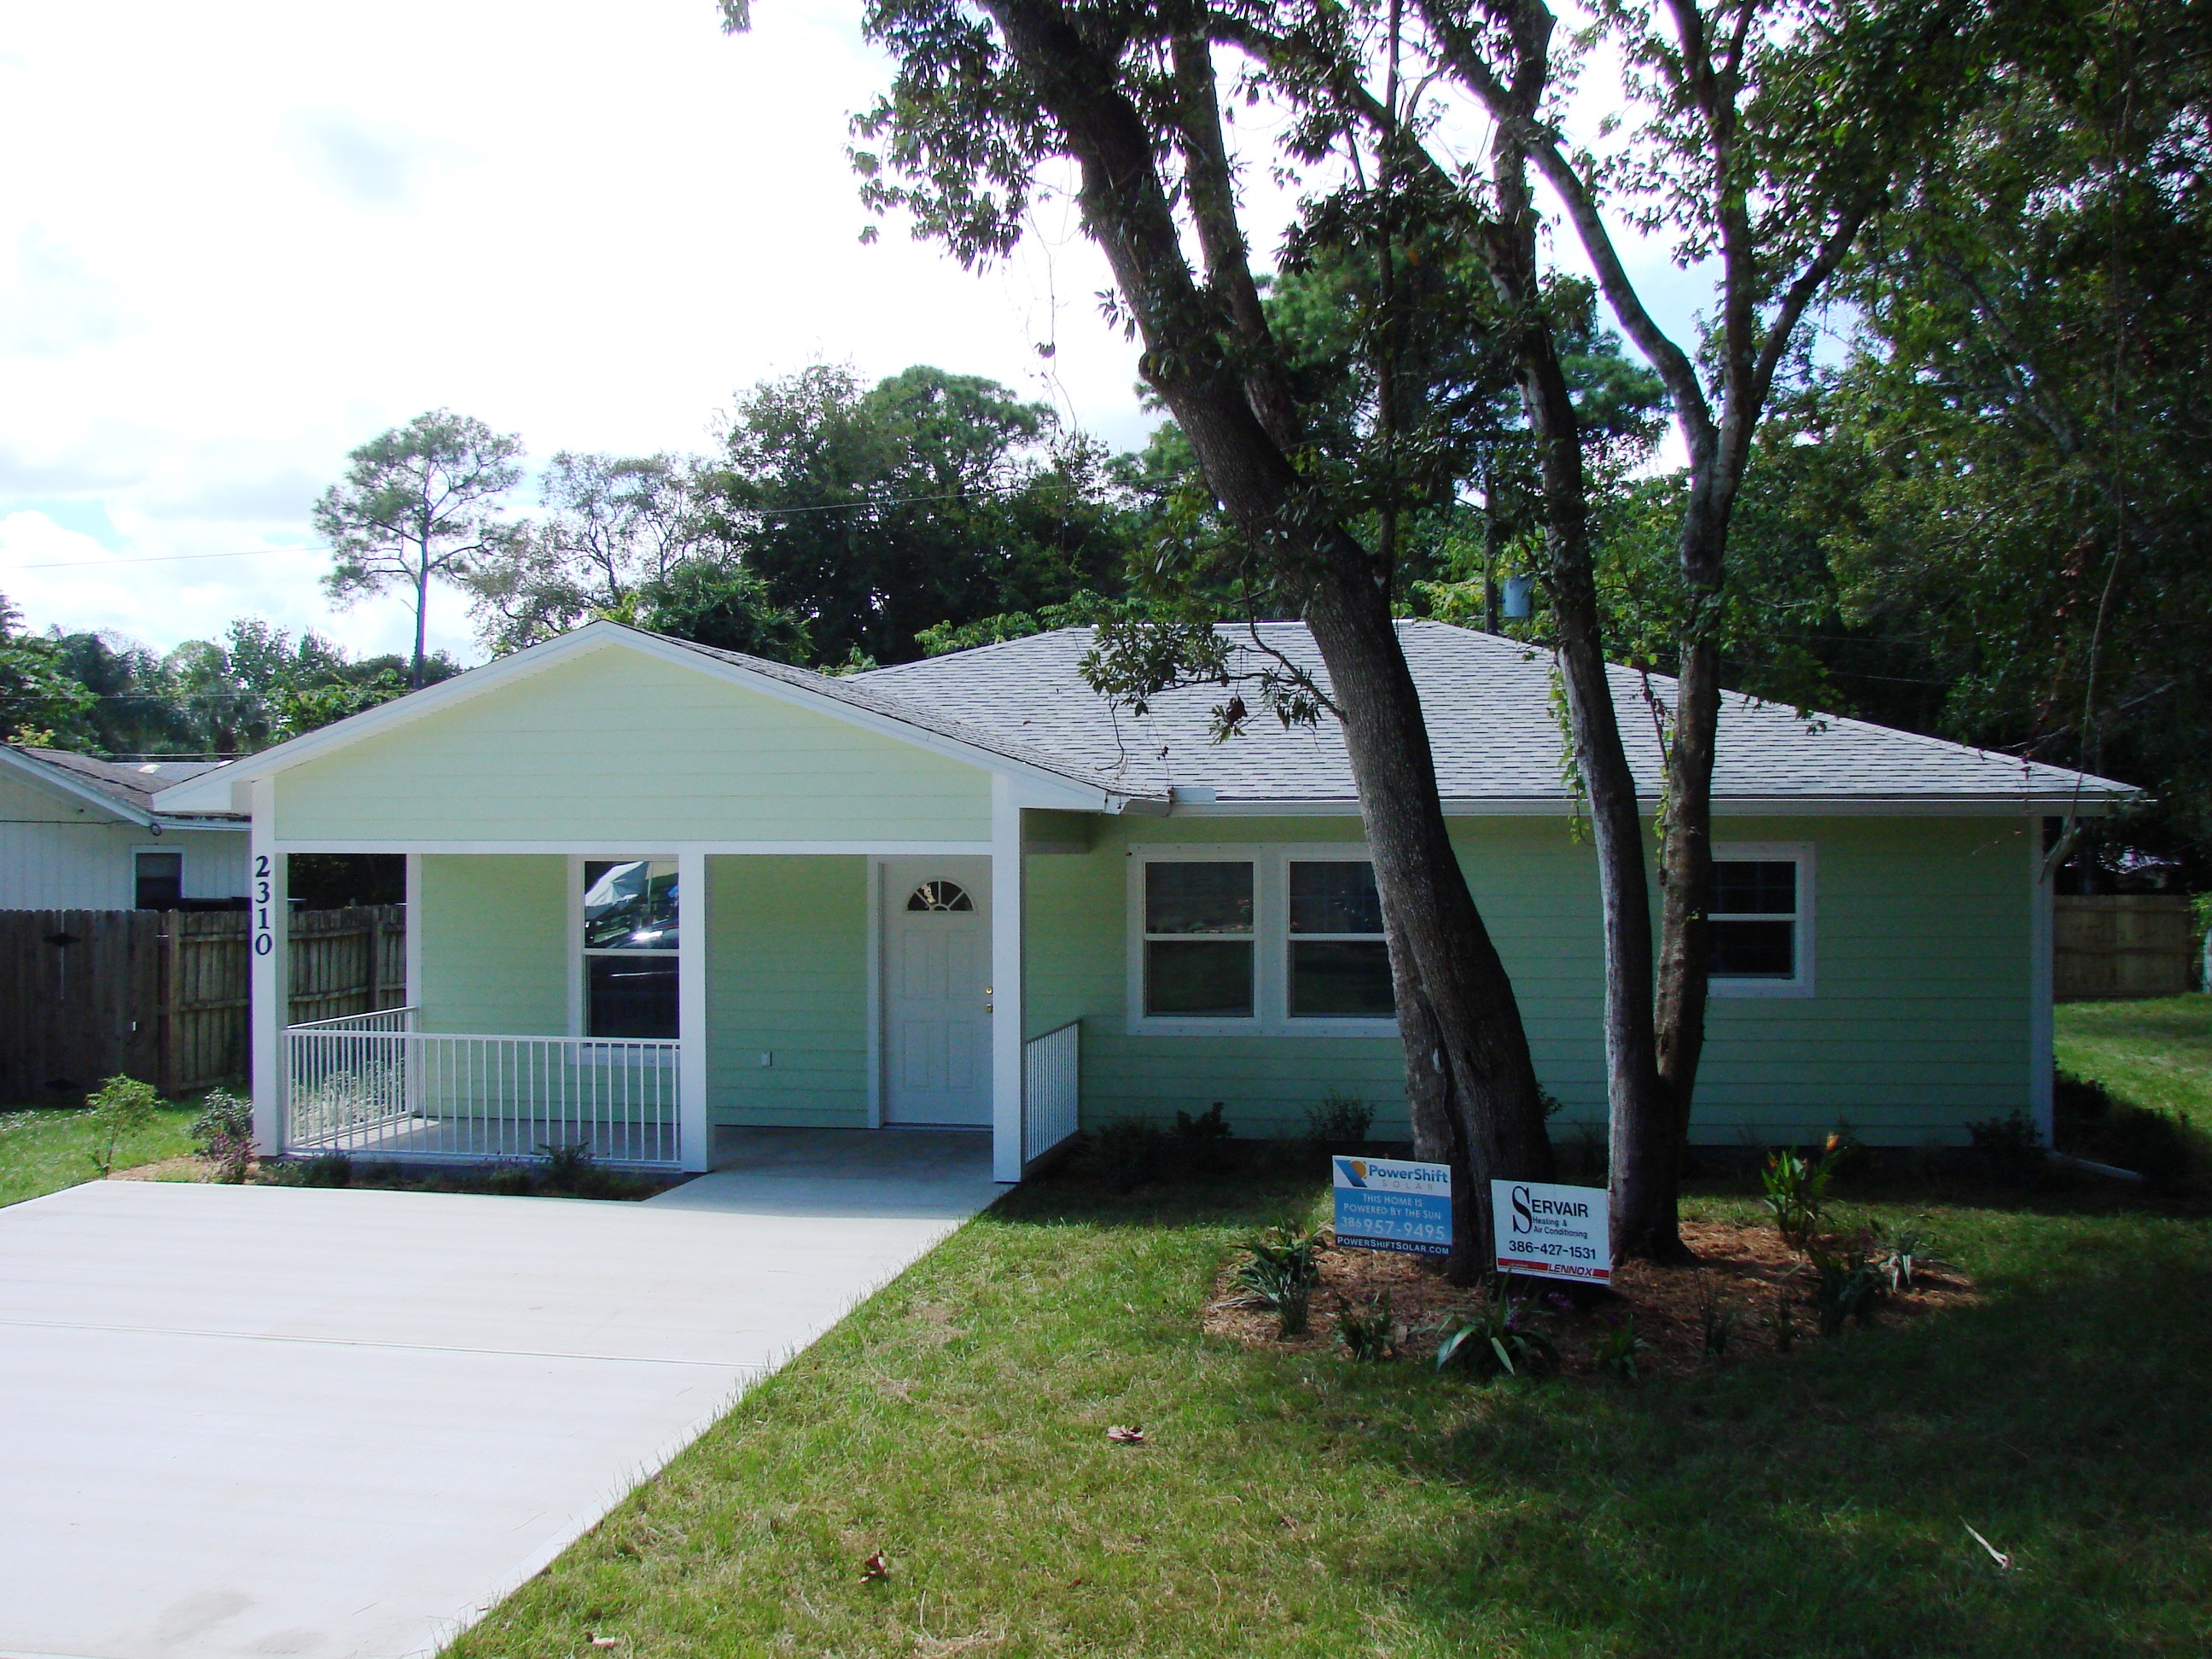
Southeast Volusia Habitat for Humanity built this affordable home in the hot-humid climate in Edgewater, FL, and certified it to DOE Zero Energy Ready Home specifications in 2014.
Image
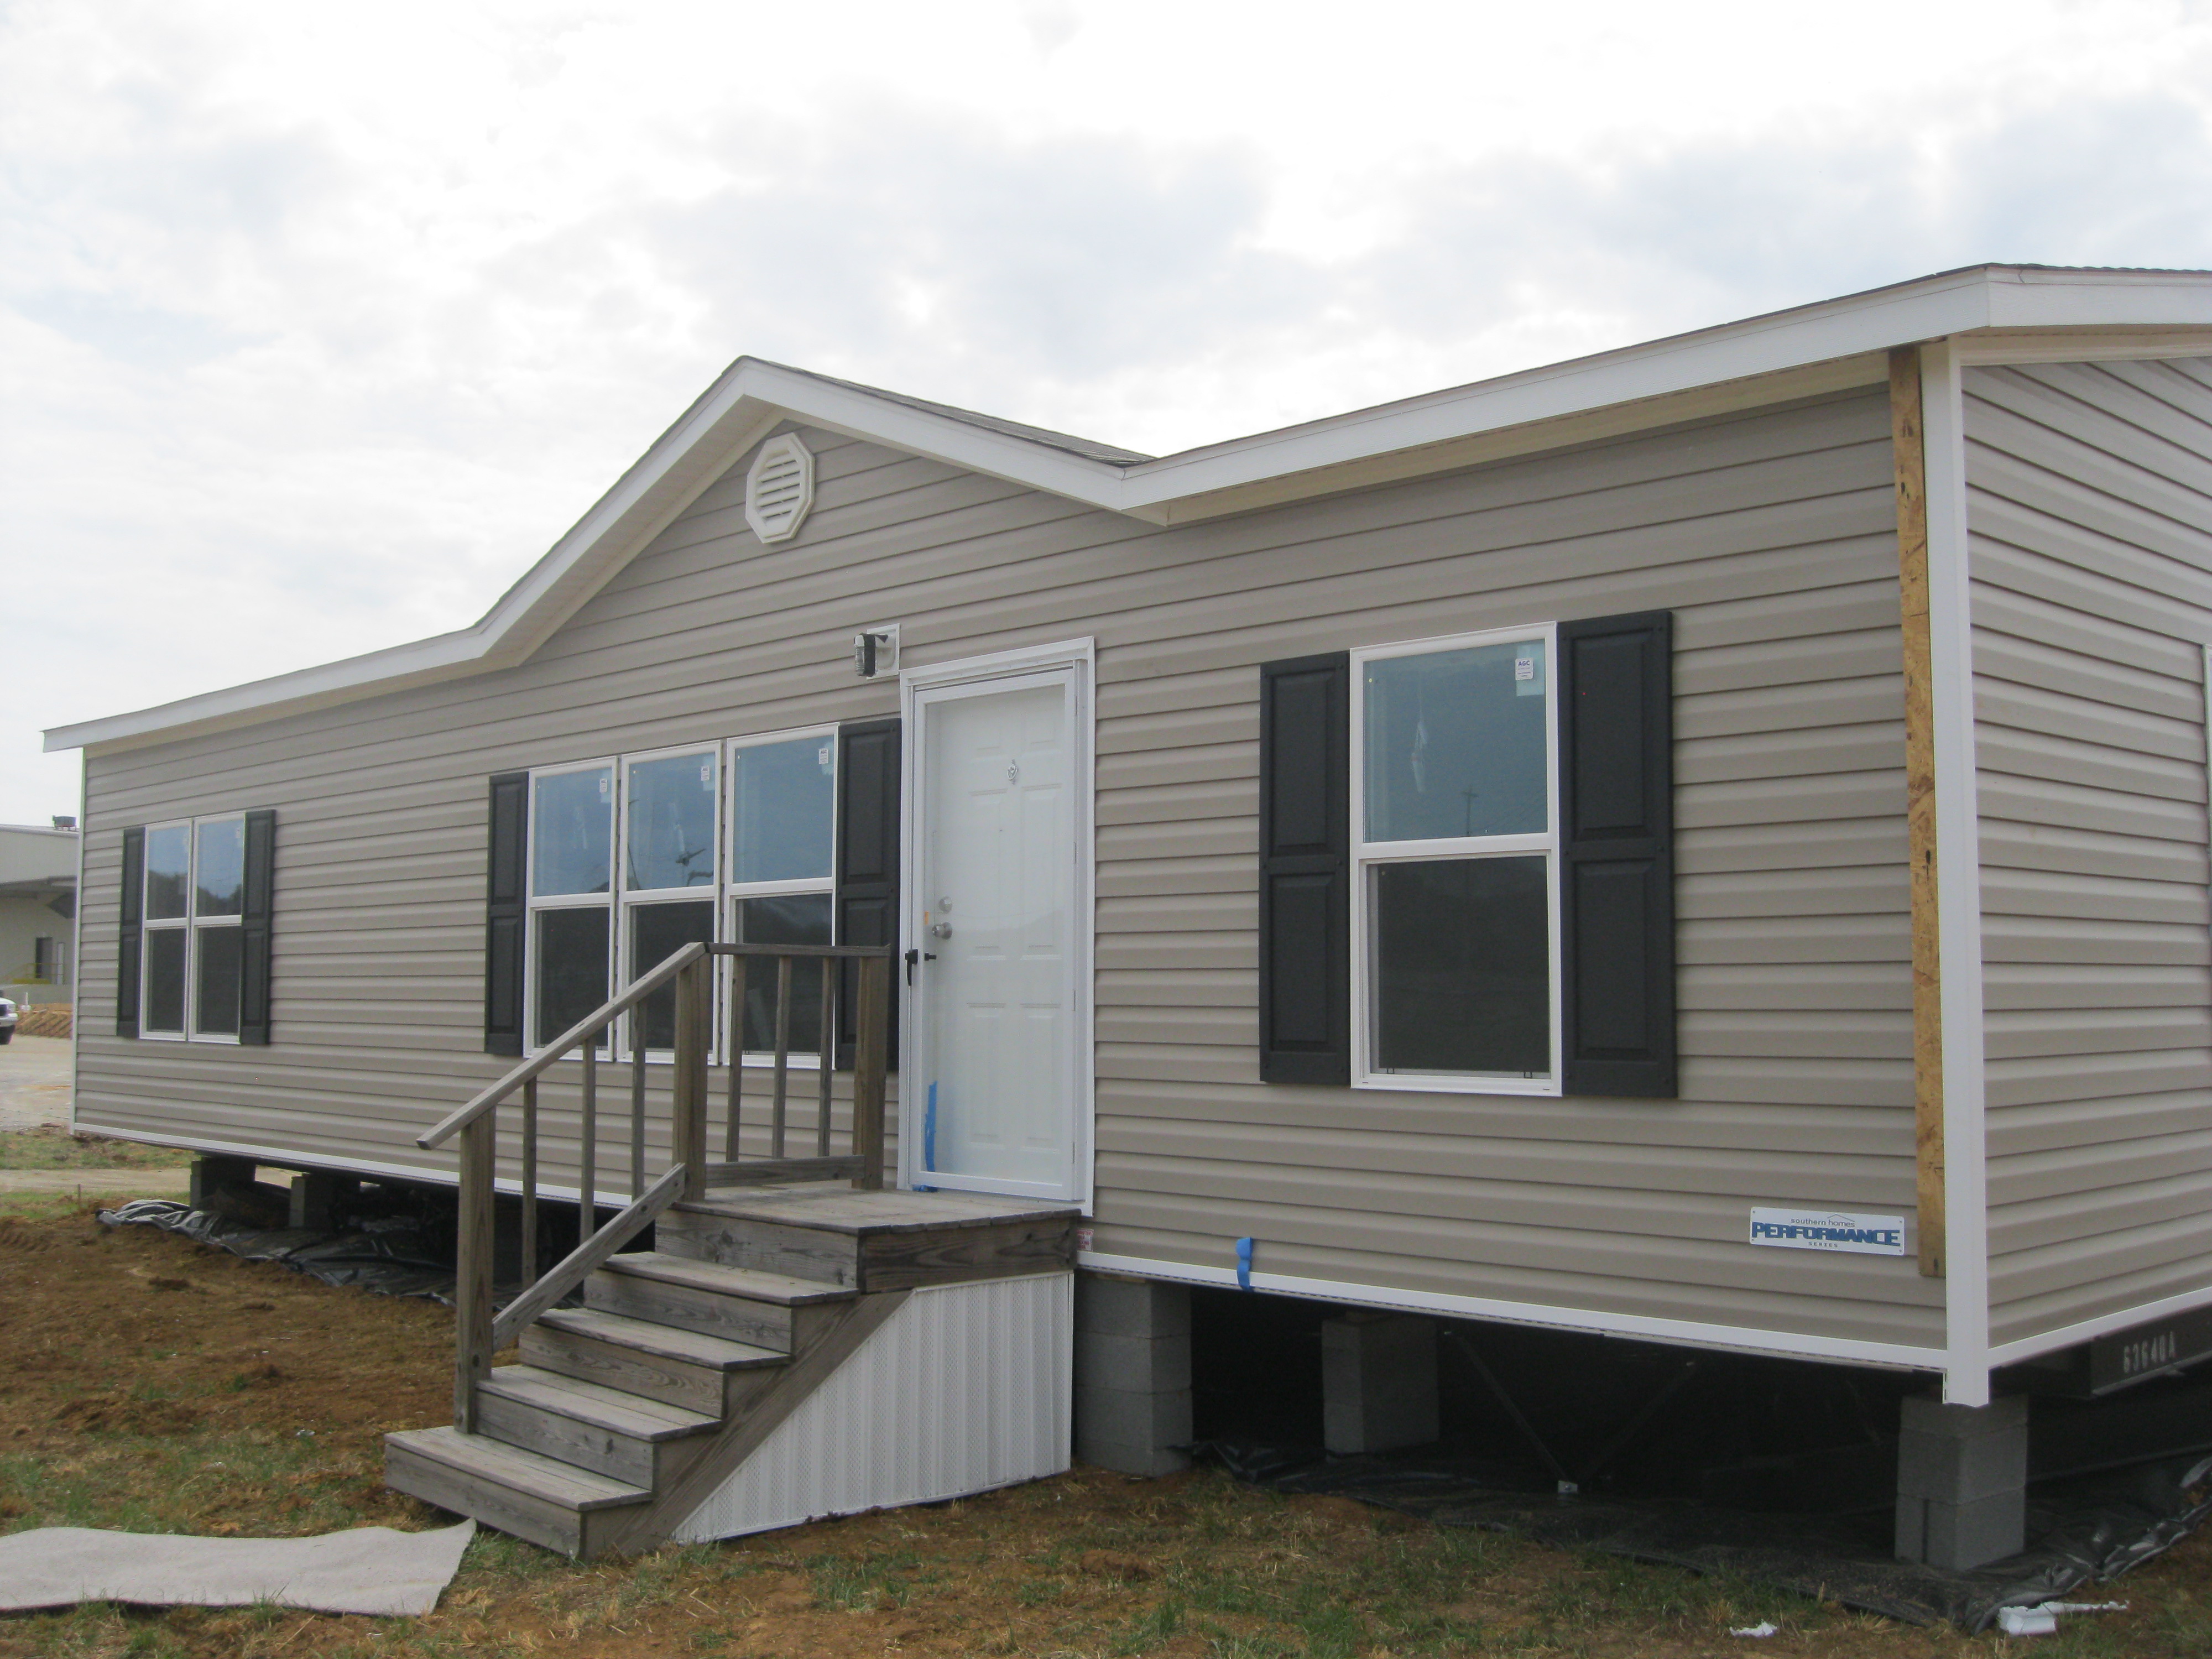
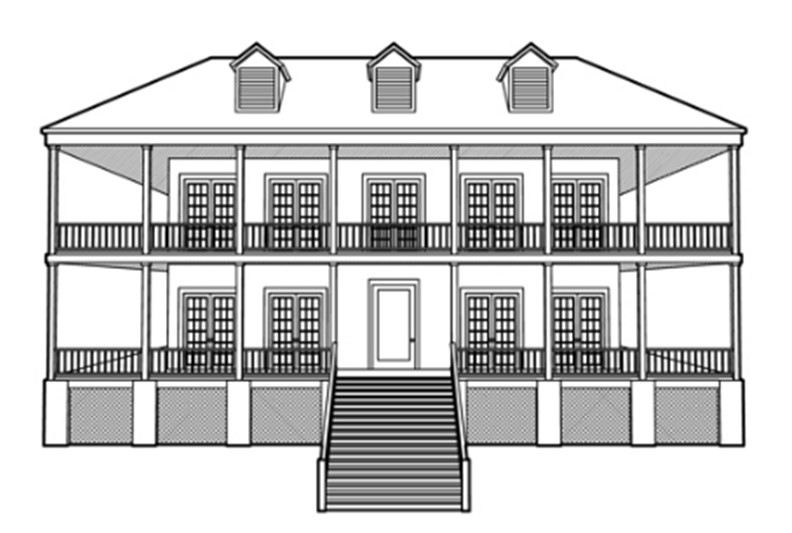
Southern Energy Homes built this affordable home in the mixed-humid climate in Russellville, AL, and certified it to DOE Zero Energy Ready Home specifications in 2014.
Image
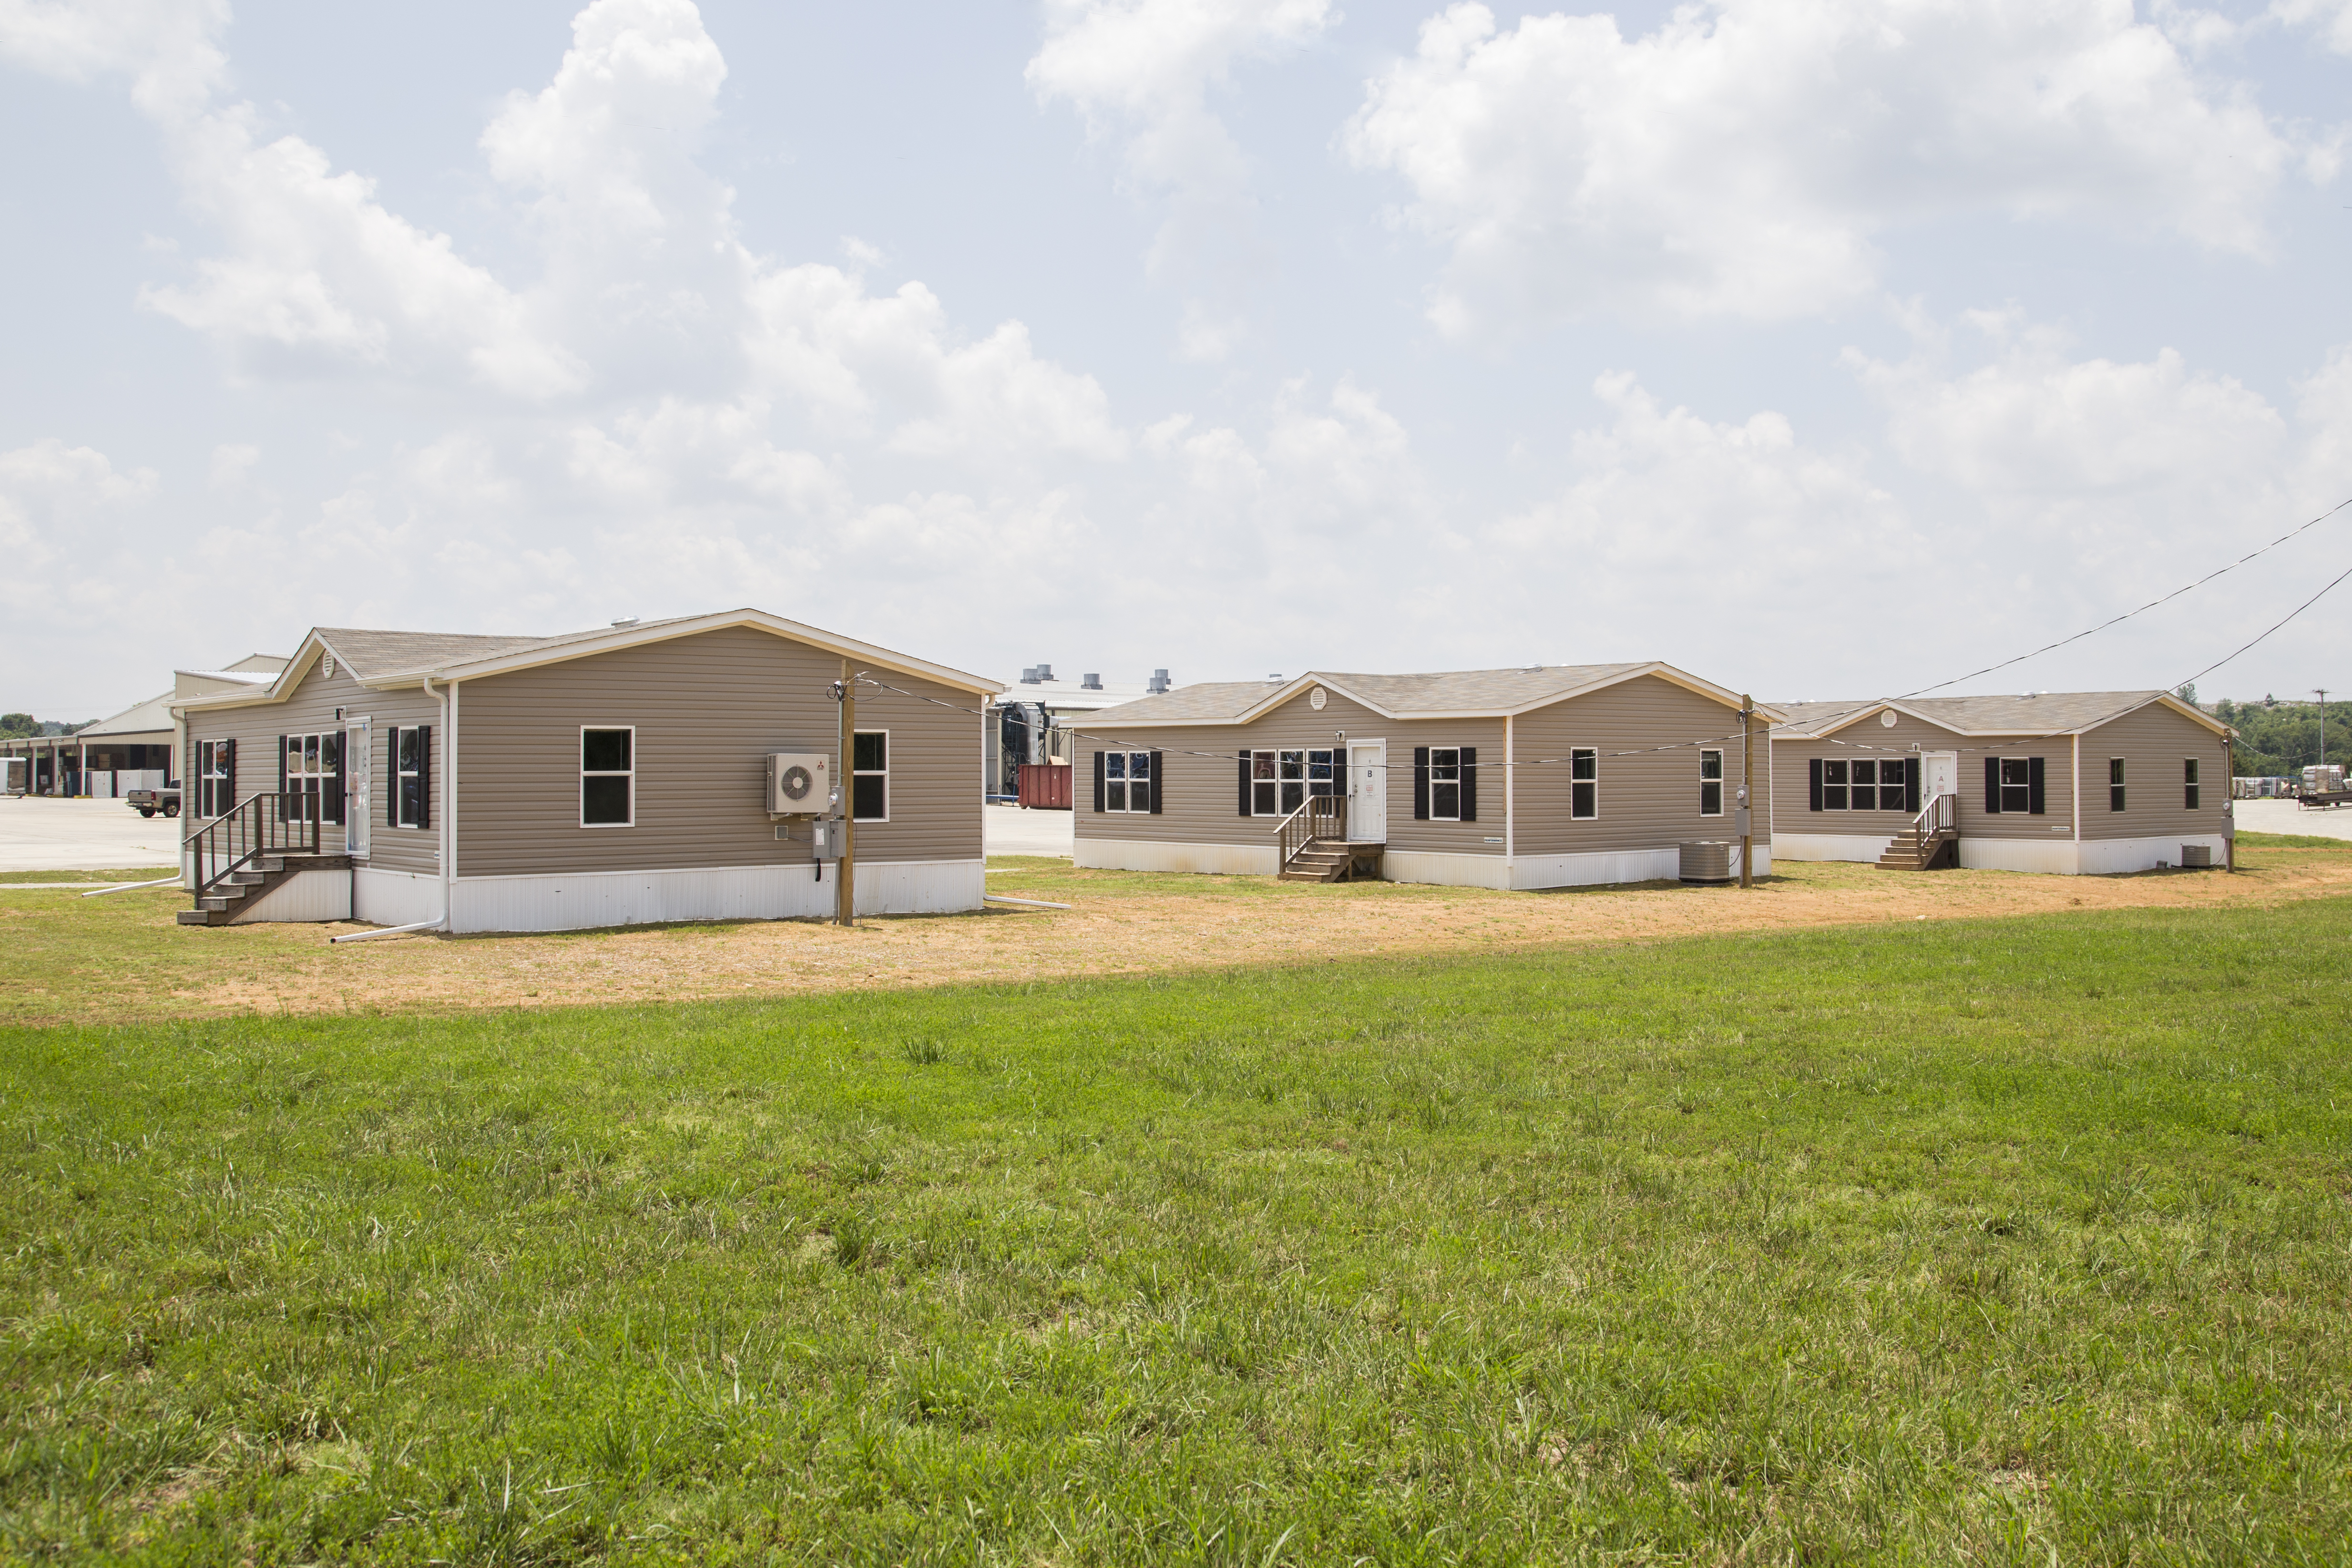
Southern Energy Homes constructed the first DOE Zero Energy Ready certified manufactured home and the DOE collected 15 months of performance data on it, a HUD code home, and an ENERGY STAR home.
Image

Southern Energy Homes worked with DOE researchers to develop an efficient way to dense-pack blown fiberglass into the low attics of manufactured homes.
Image
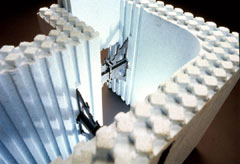
Special molded corners provide continuous insulation layer at the corners to improve structural strength and minimize thermal bridging
Image
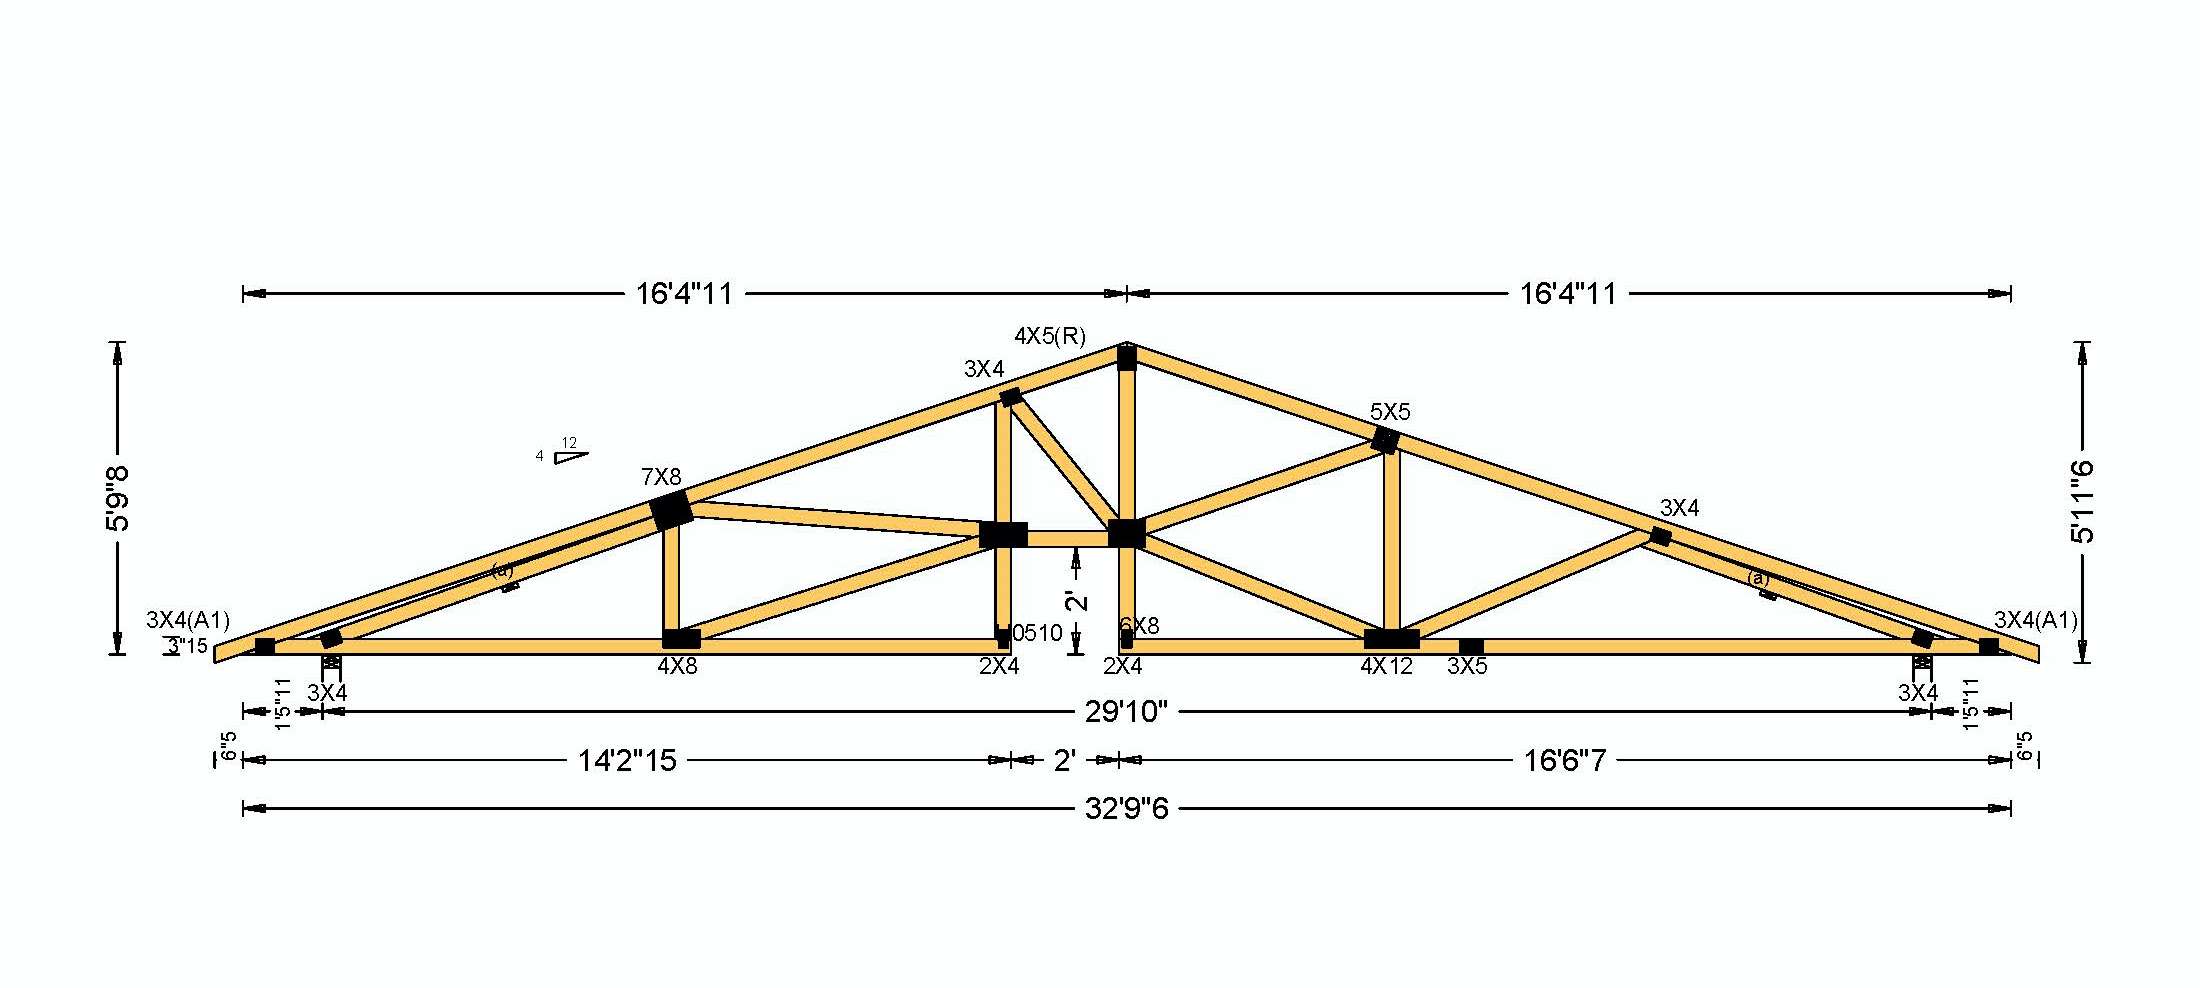
Specially designed roof trusses come with a two-foot by two-foot notch cut next to the center post providing space to install an insulated duct chase inside the home’s conditioned space but above the normal ceiling height.
Image
Image
Image

Spray foam adhesive provides an extra water resistant layer to the joints and seams on the inside of attics.
Image

Image
Image
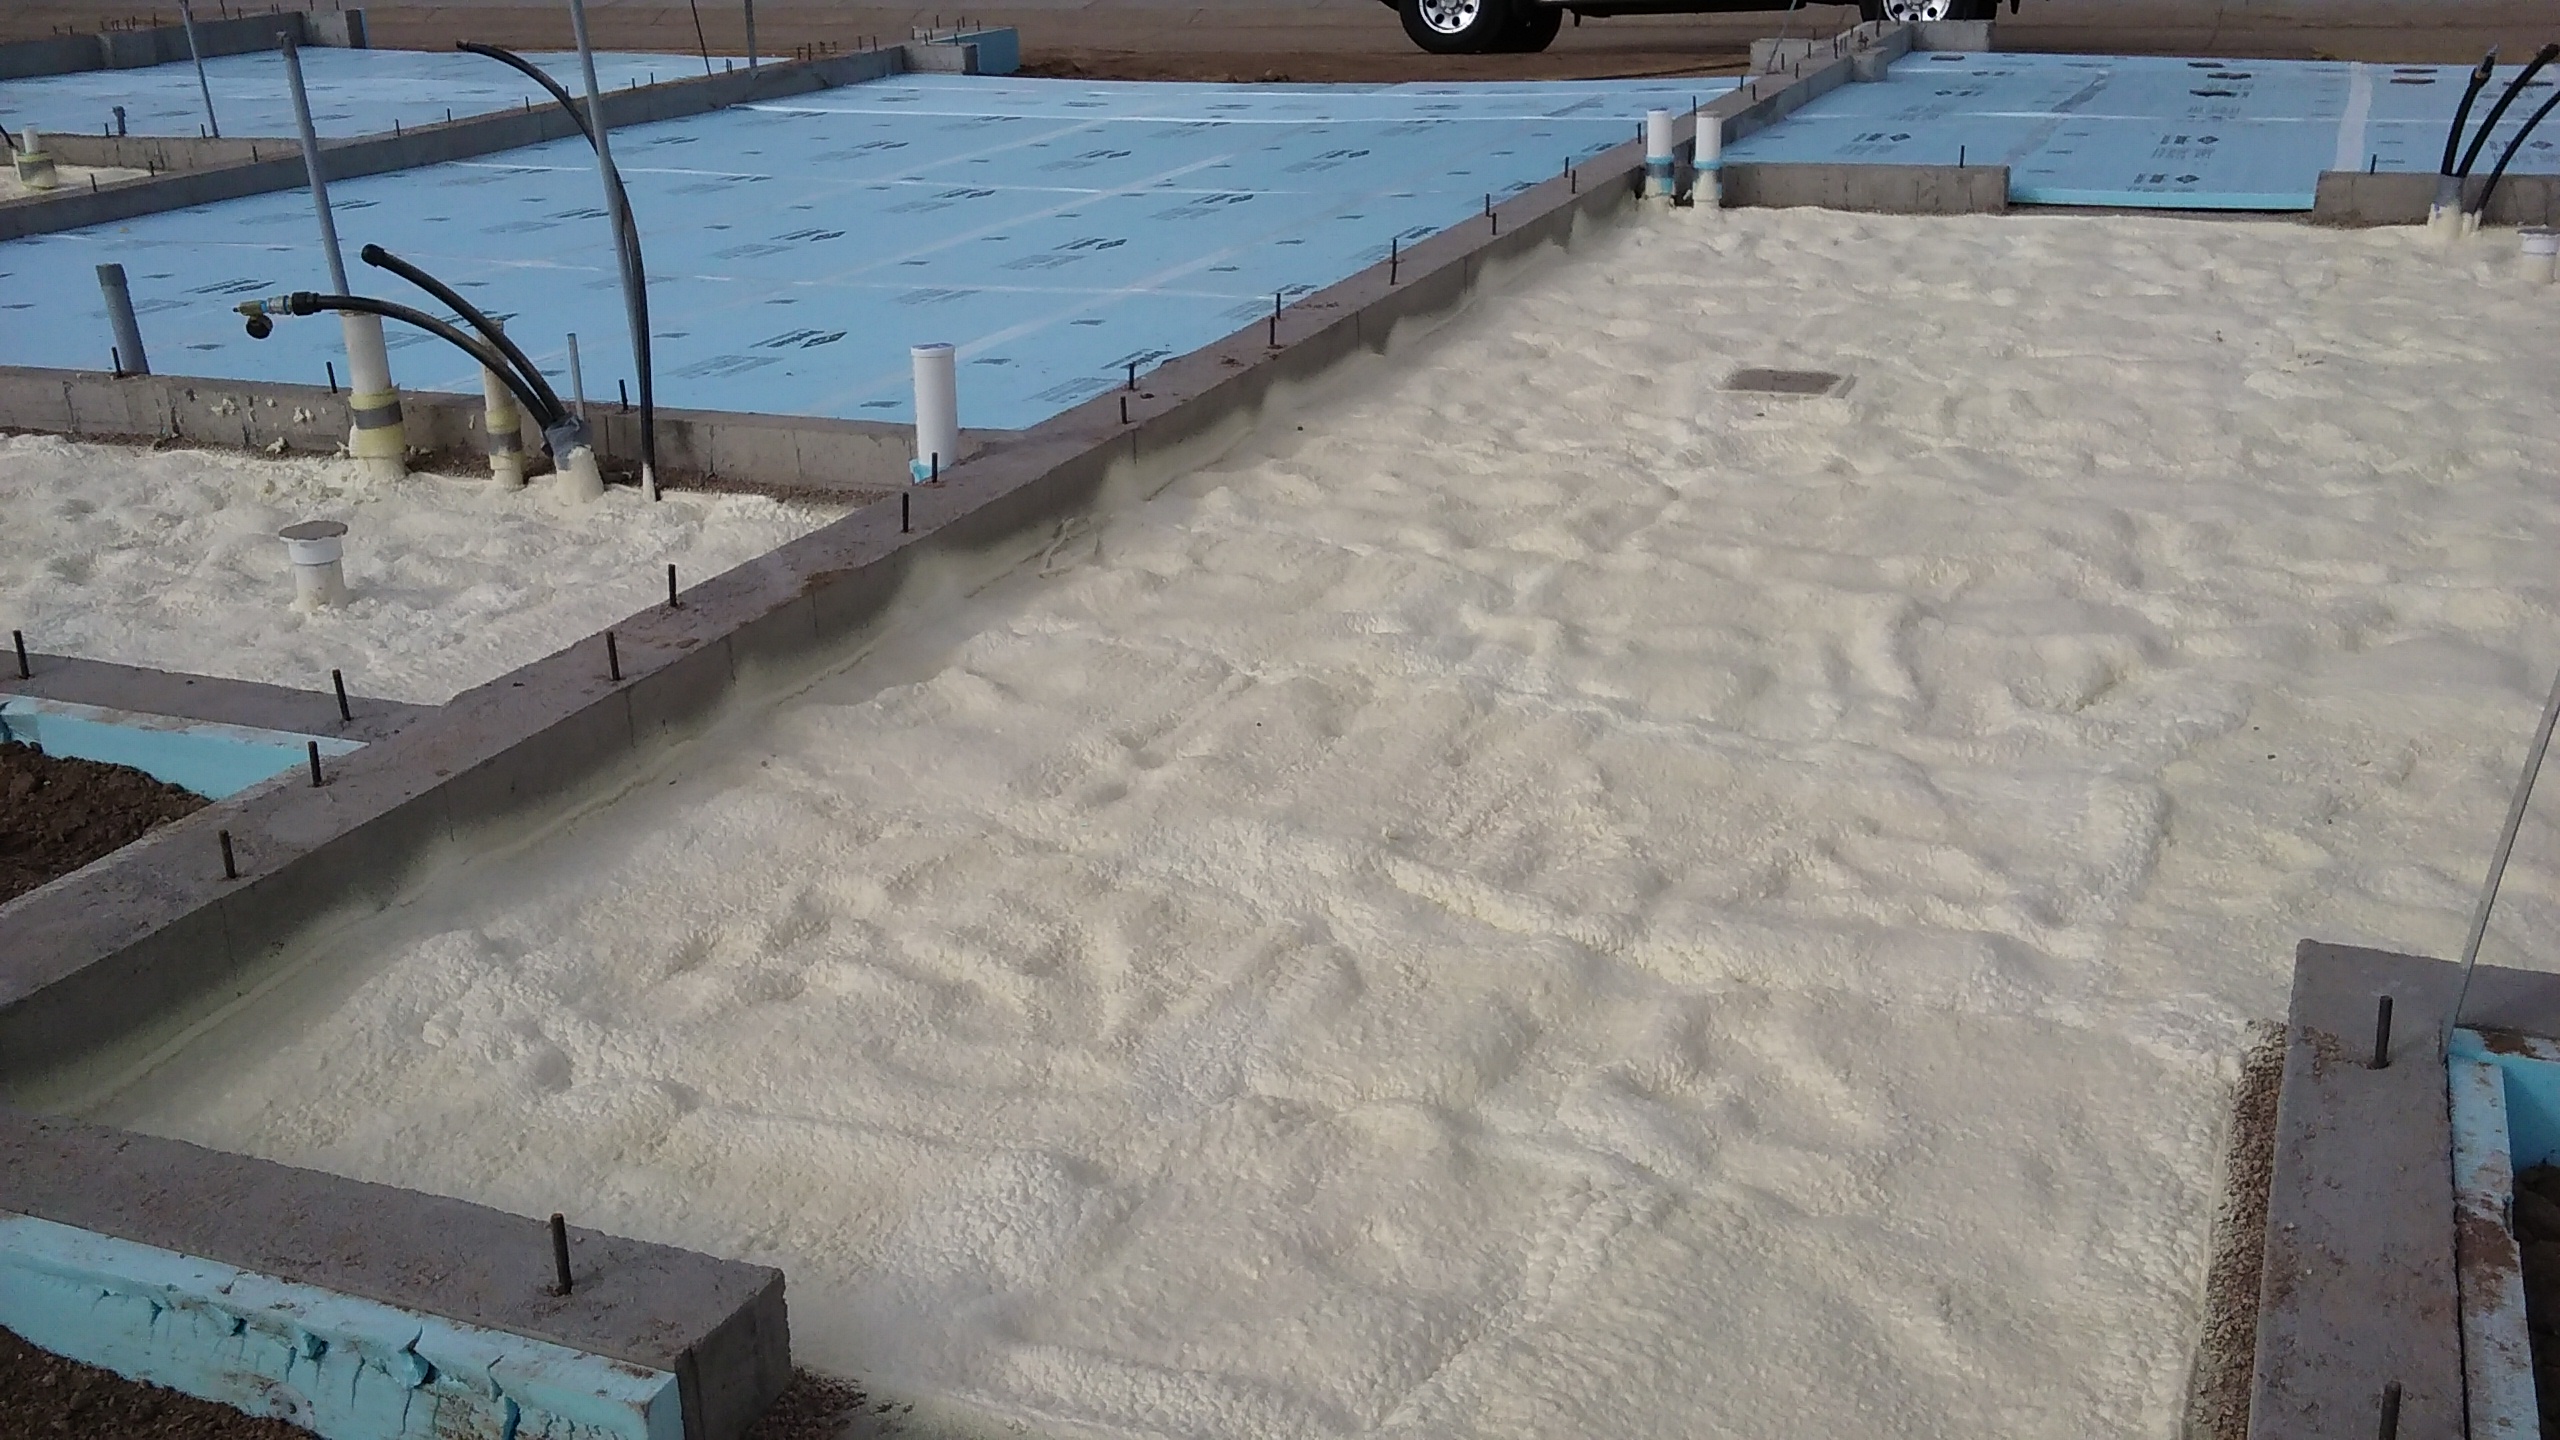
Spray foam and rigid foam were used under the slab while rigid foam wraps the exterior of the foundation walls.
Image
Image
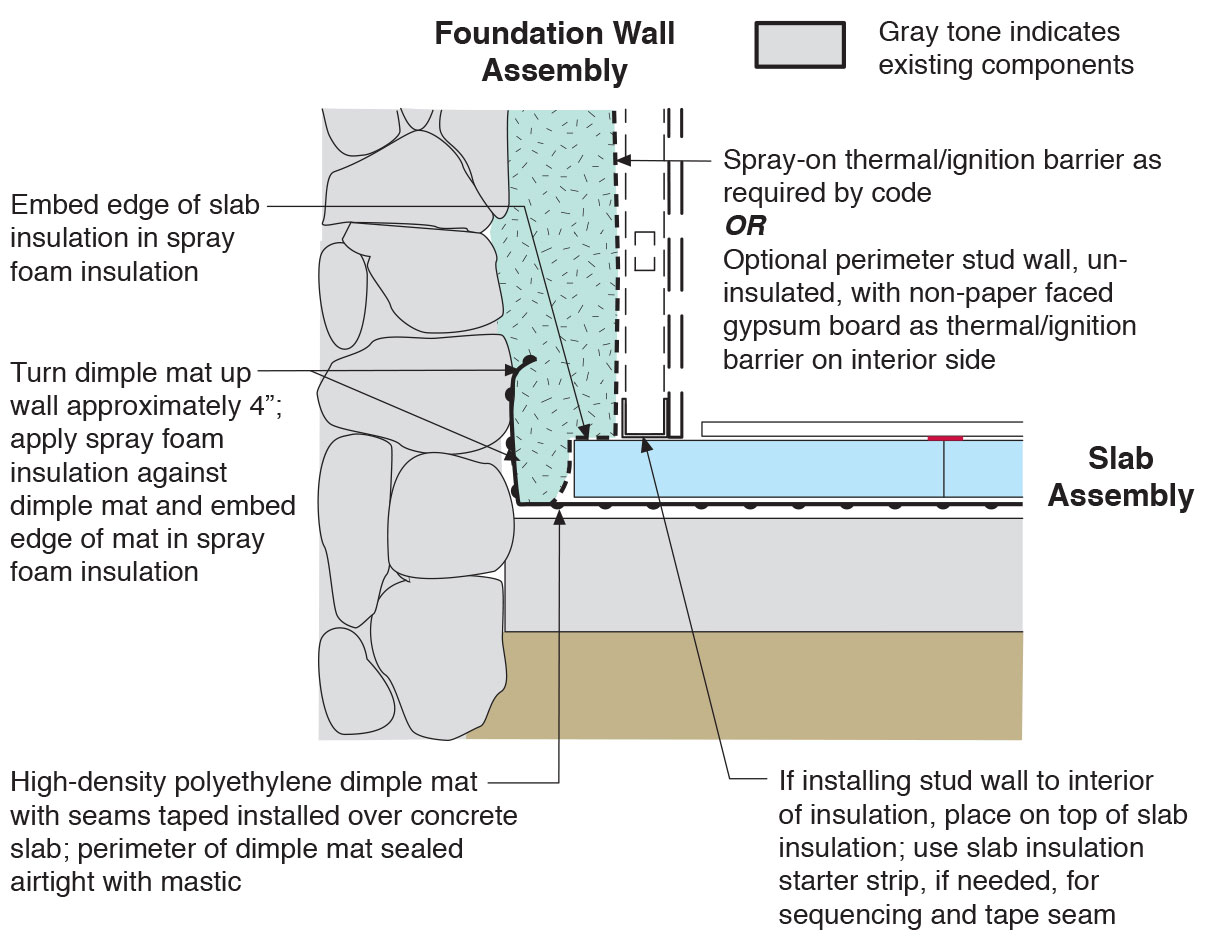
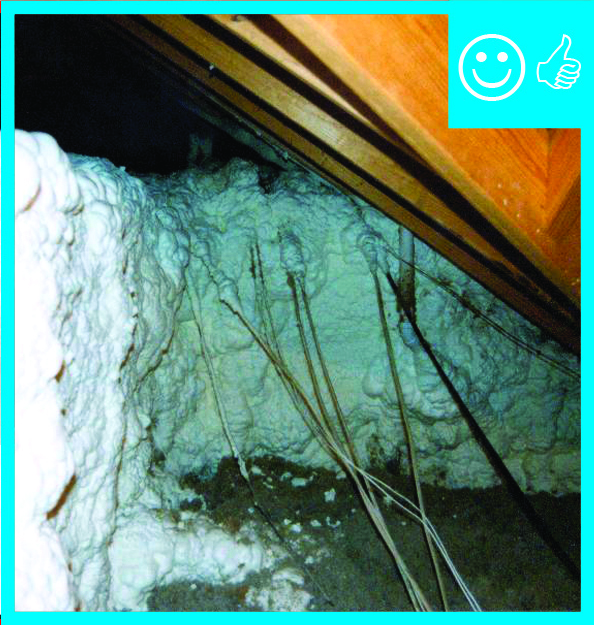
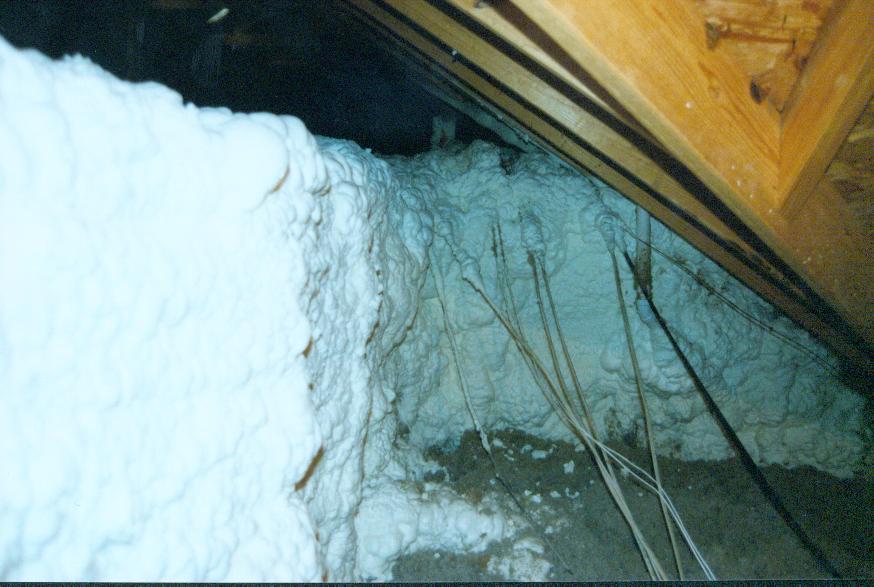
Spray foam extends down the foundation wall to the slab, which has been retrofitted by adding dimple plastic drainage mat and rigid foam insulation.
Image
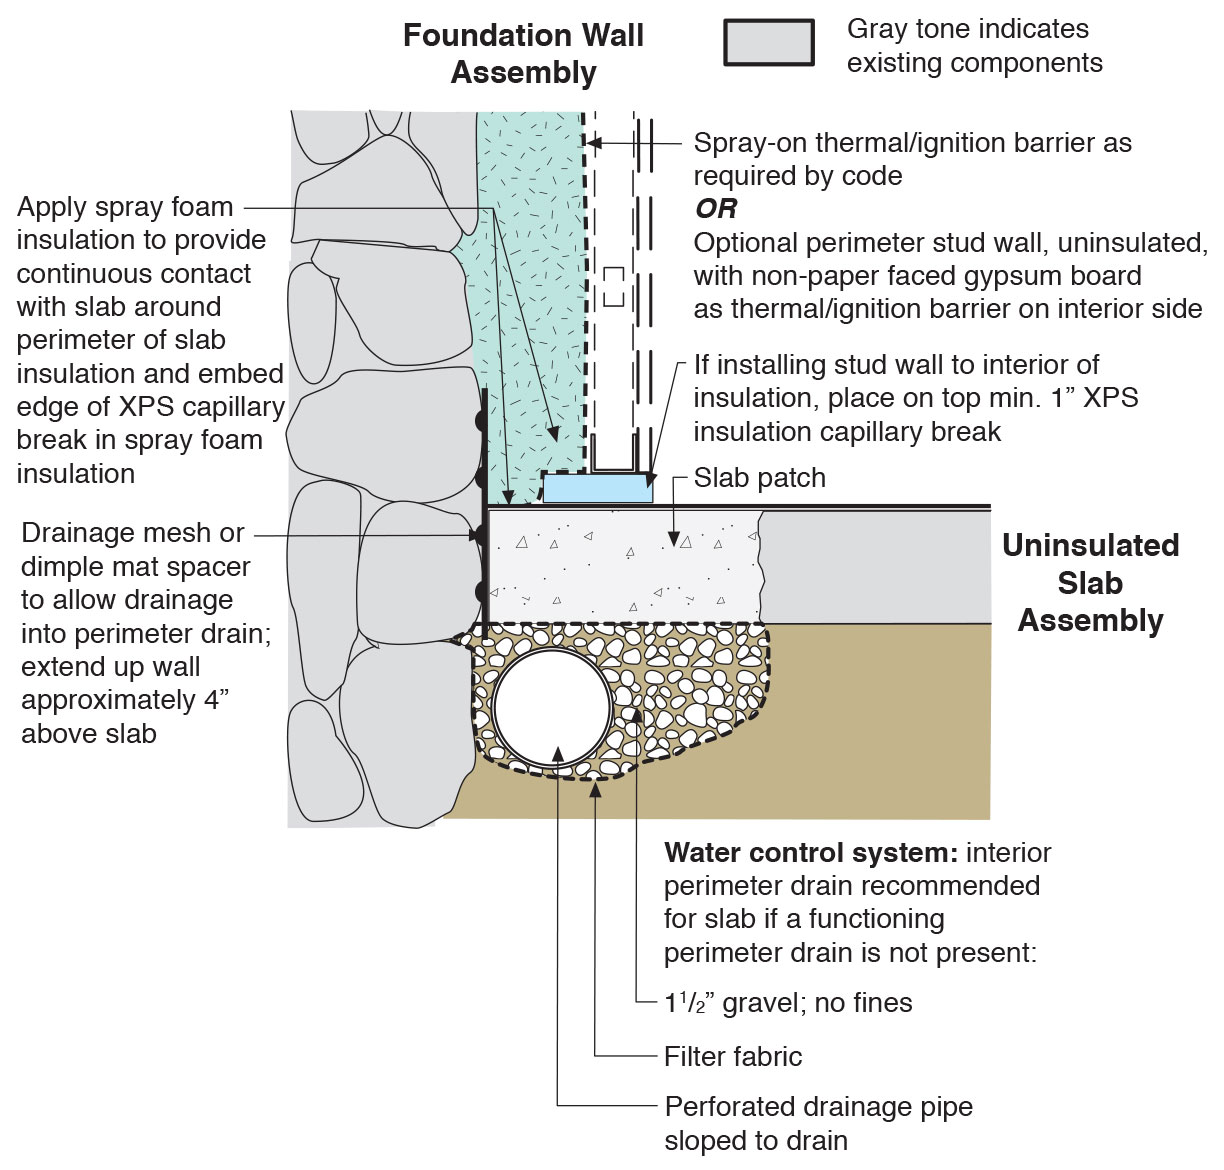
Spray foam extends down the inside of the foundation wall to the uninsulated slab; because the wall lacked exterior perimeter drainage, the slab was cut and an interior footing drain was installed.
Image
Image
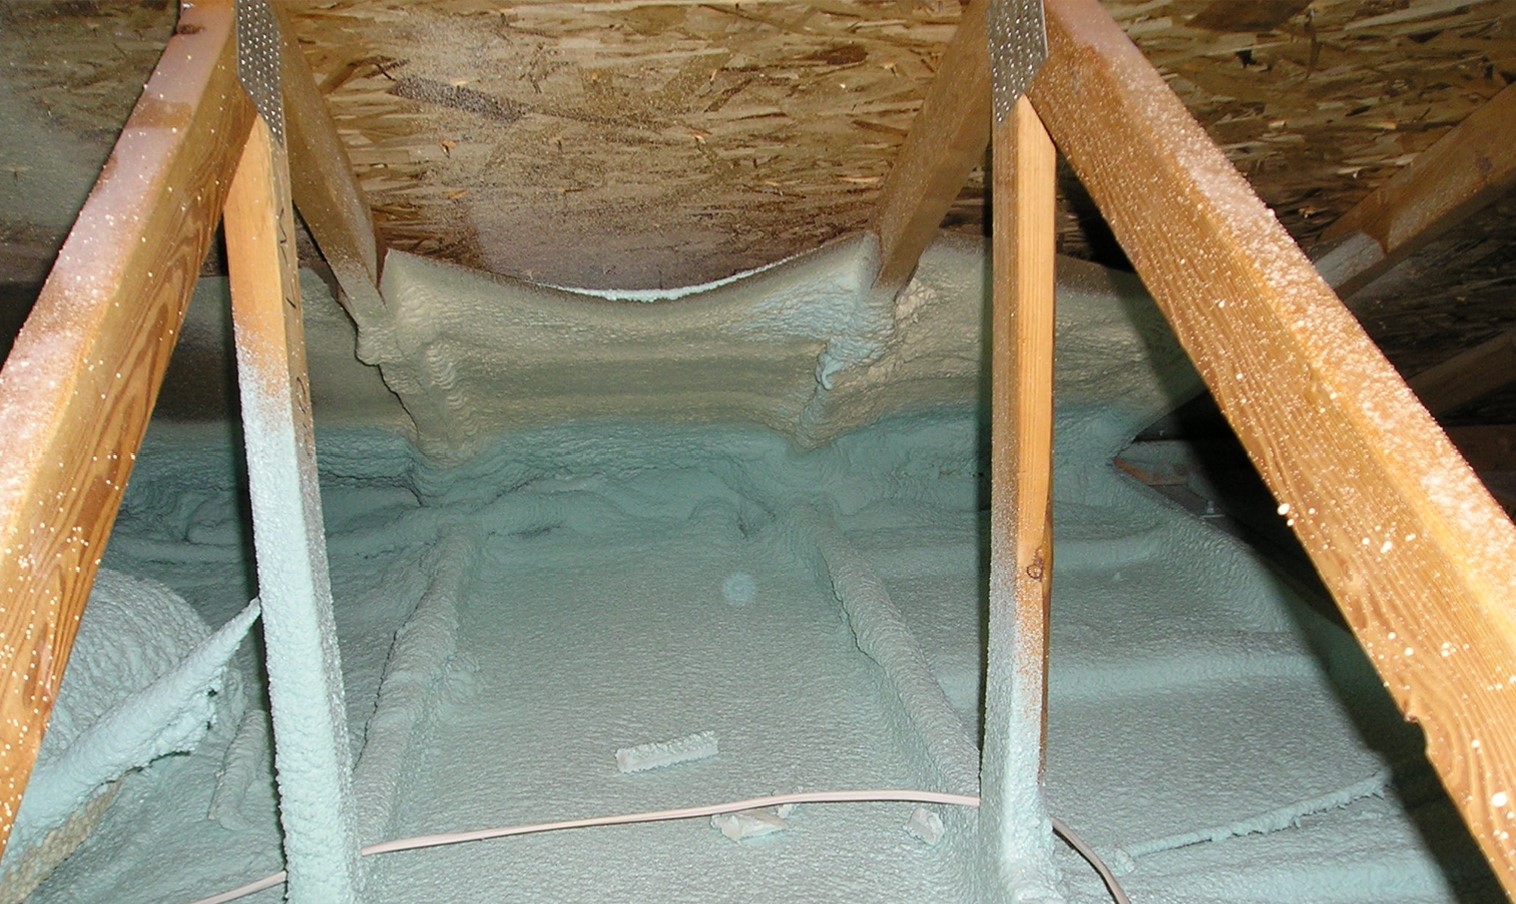
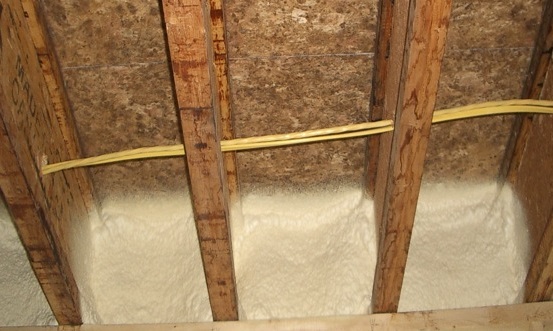
Spray foam insulates and air-seals the ceiling deck and top plates of this vented attic.
Image
Spray foam insulates the rim joist and air seals the subfloor-rim joist and rim joist-top plate connections
Image
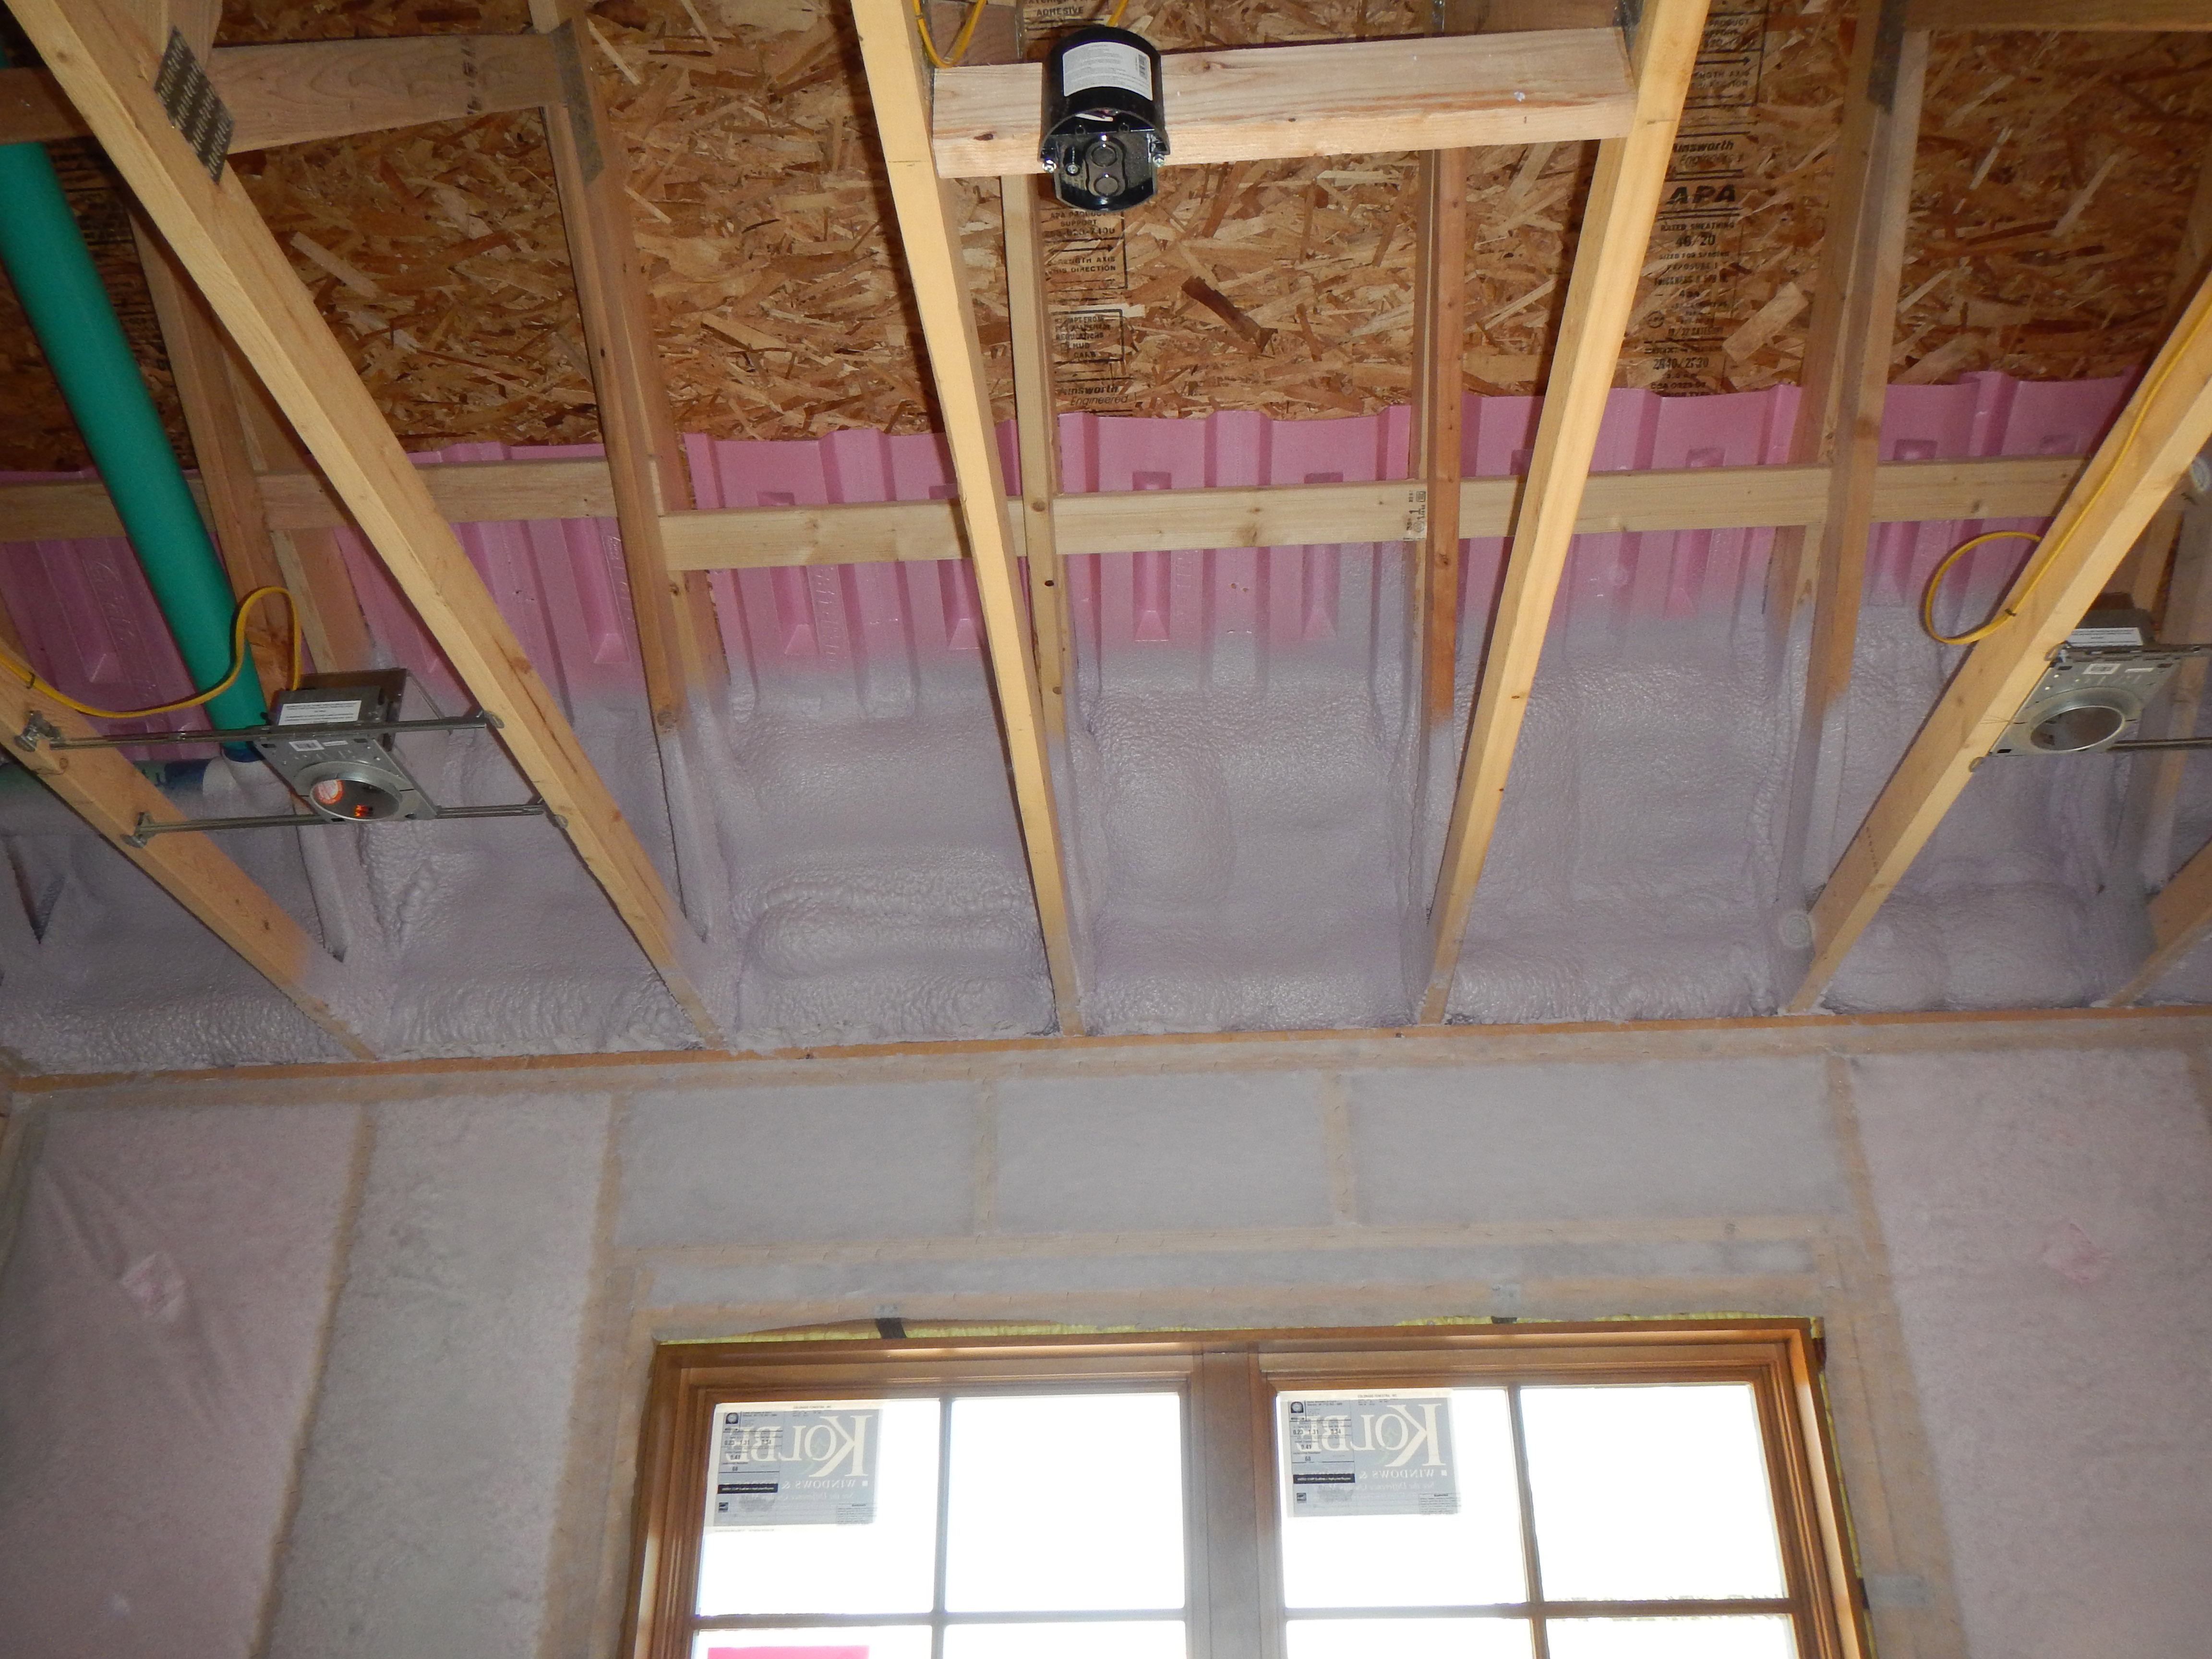
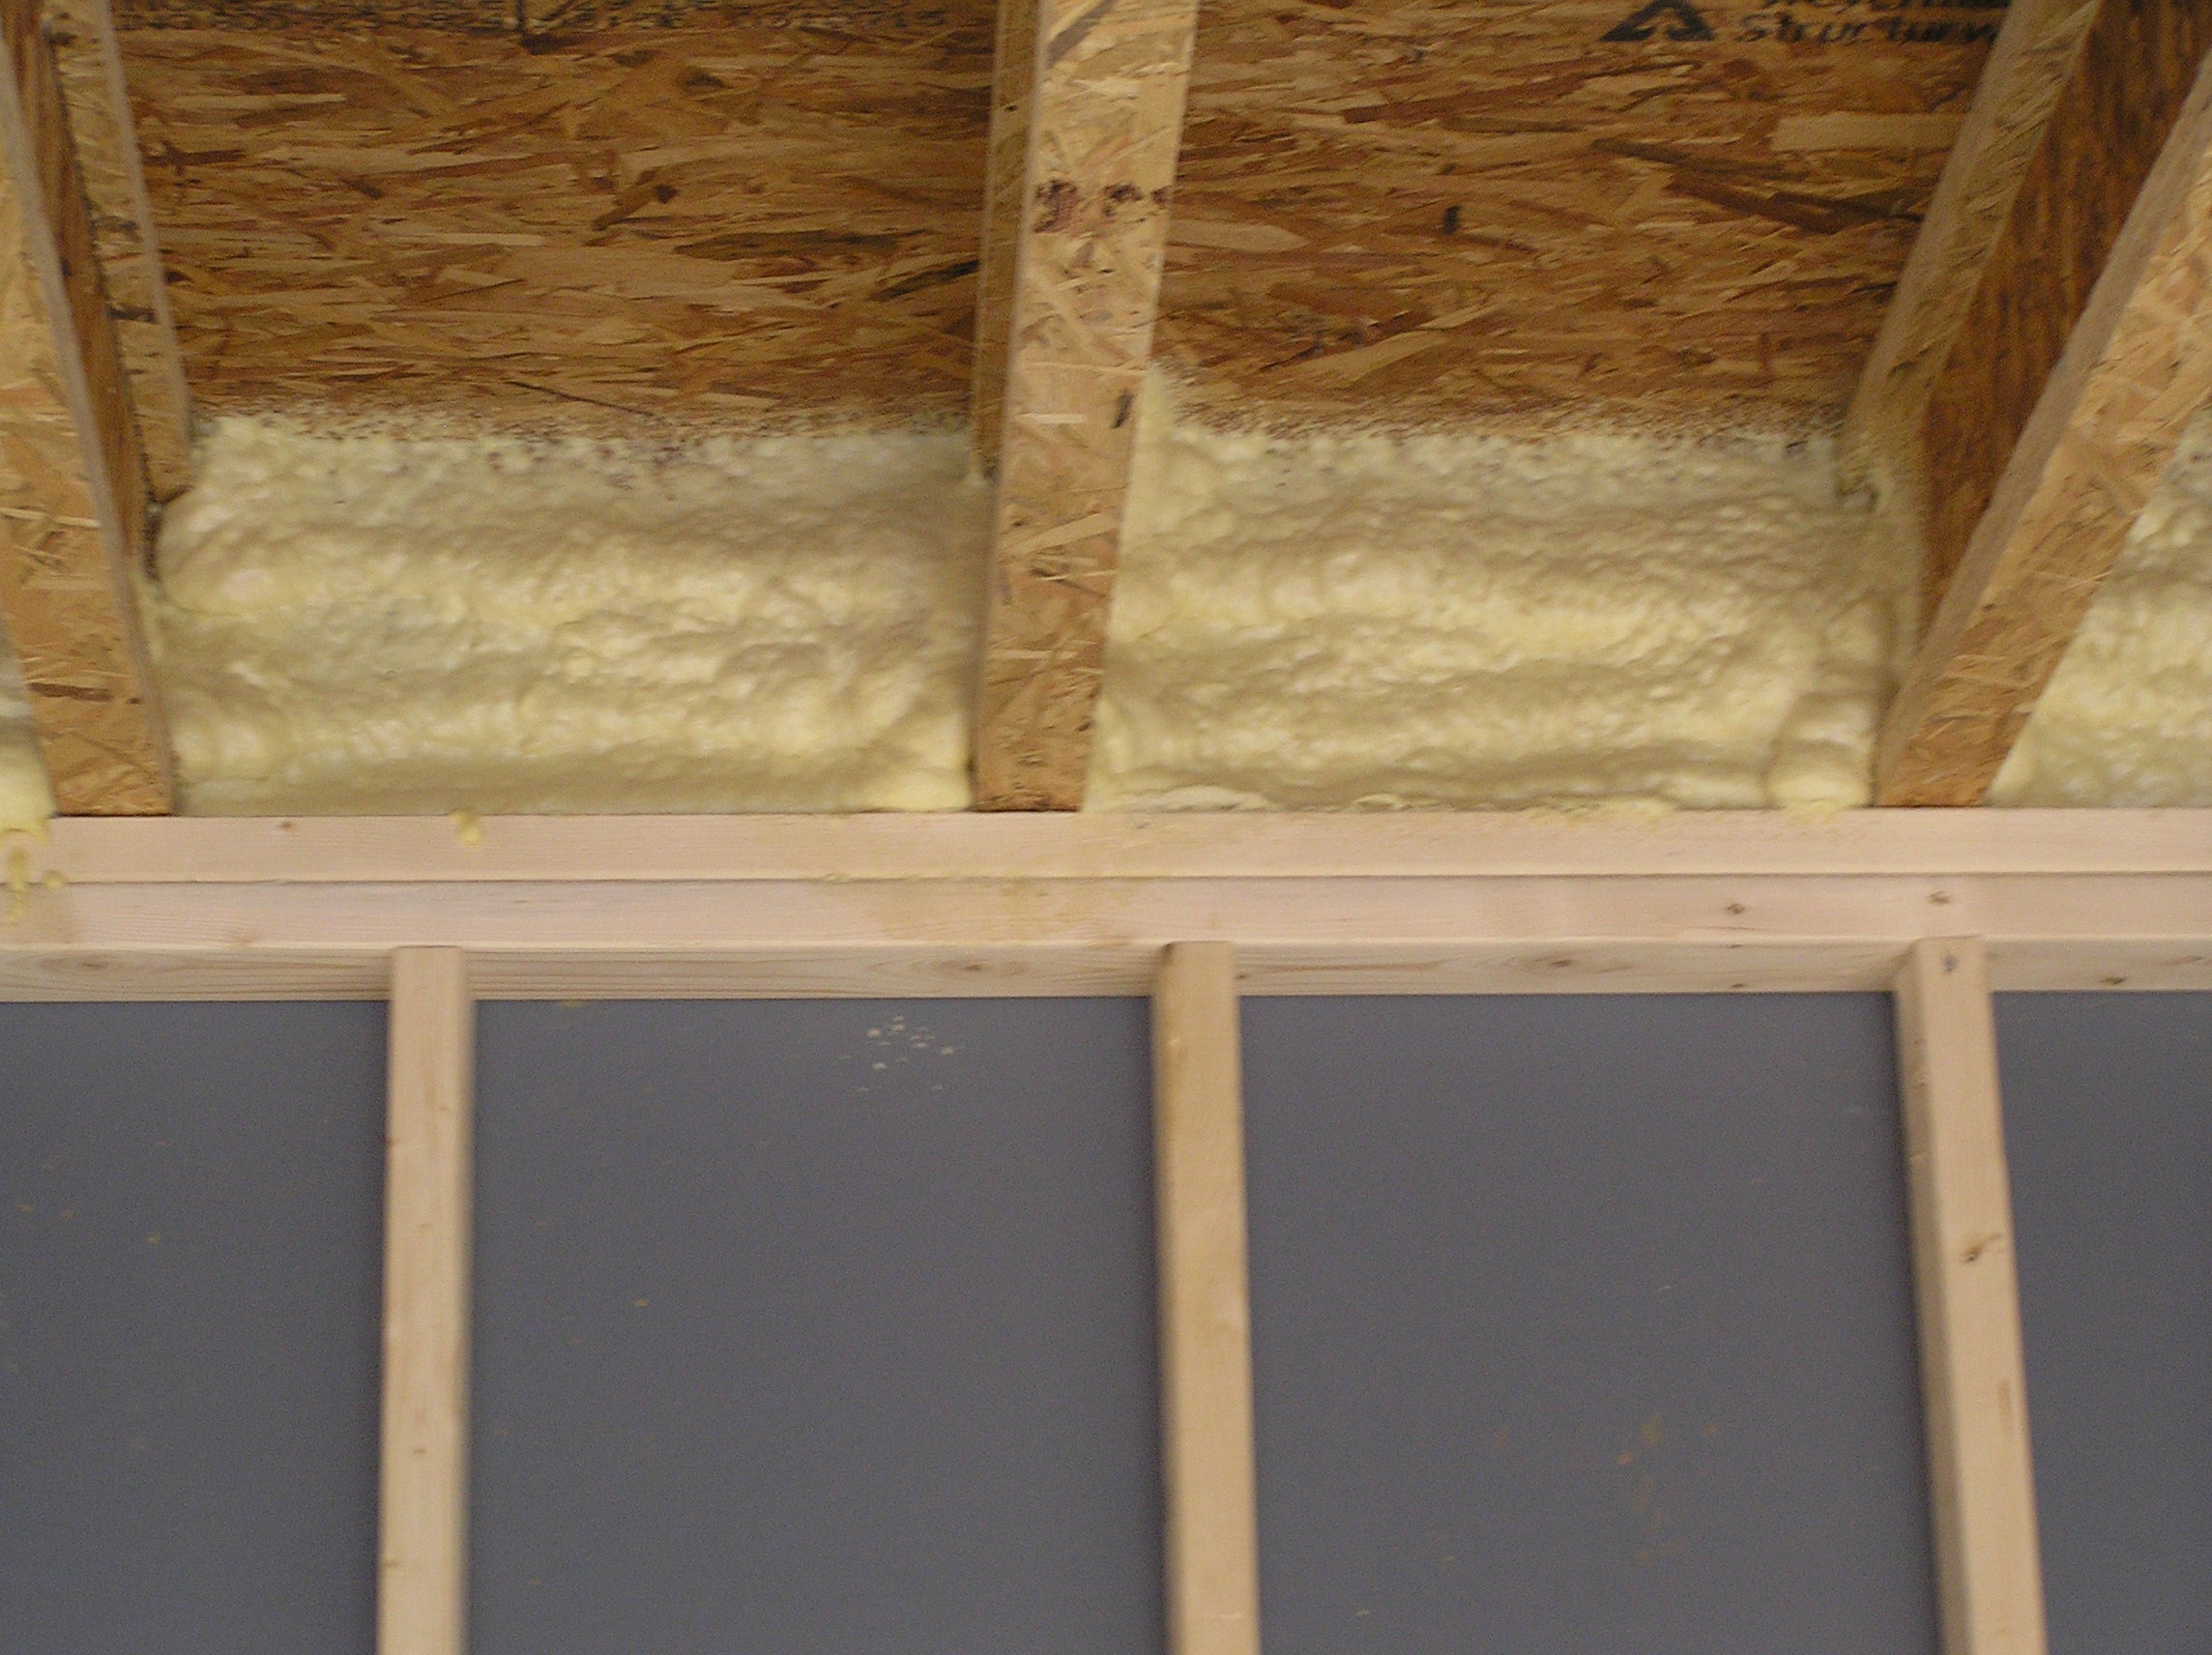
Spray foam insulates the top plates and air seals them to the ventilation baffles before ceiling drywall is installed.
Image

Spray foam insulation air-seals and insulates the floor above the garage; the joist will be filled with fibrous insulation in this flash-and-batt approach.
Image

Spray foam insulation extends down the foundation wall to the slab, which has been retrofitted by cutting the slab to install drainage mat against the wall and a new perimeter footing drain, along with rigid foam plastic above the slab.
Image

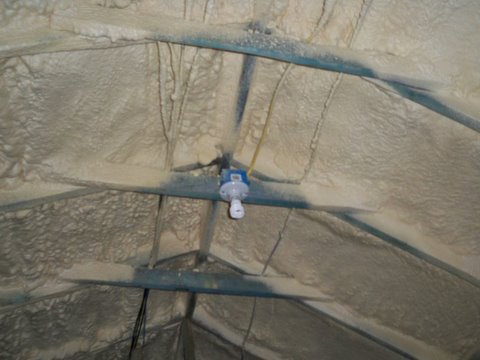
Spray foam insulation insulates and air seals around plumbing pipes and top plates in the attic.
Image
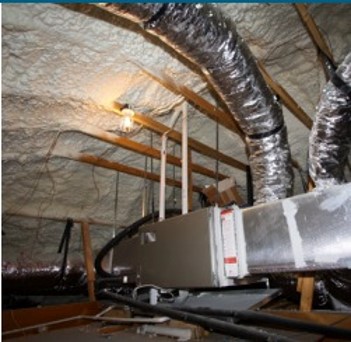
Spray foam insulation is applied along the underside of the roof deck to provide a conditioned and non-vented attic space for ducts and air handlers.
Image

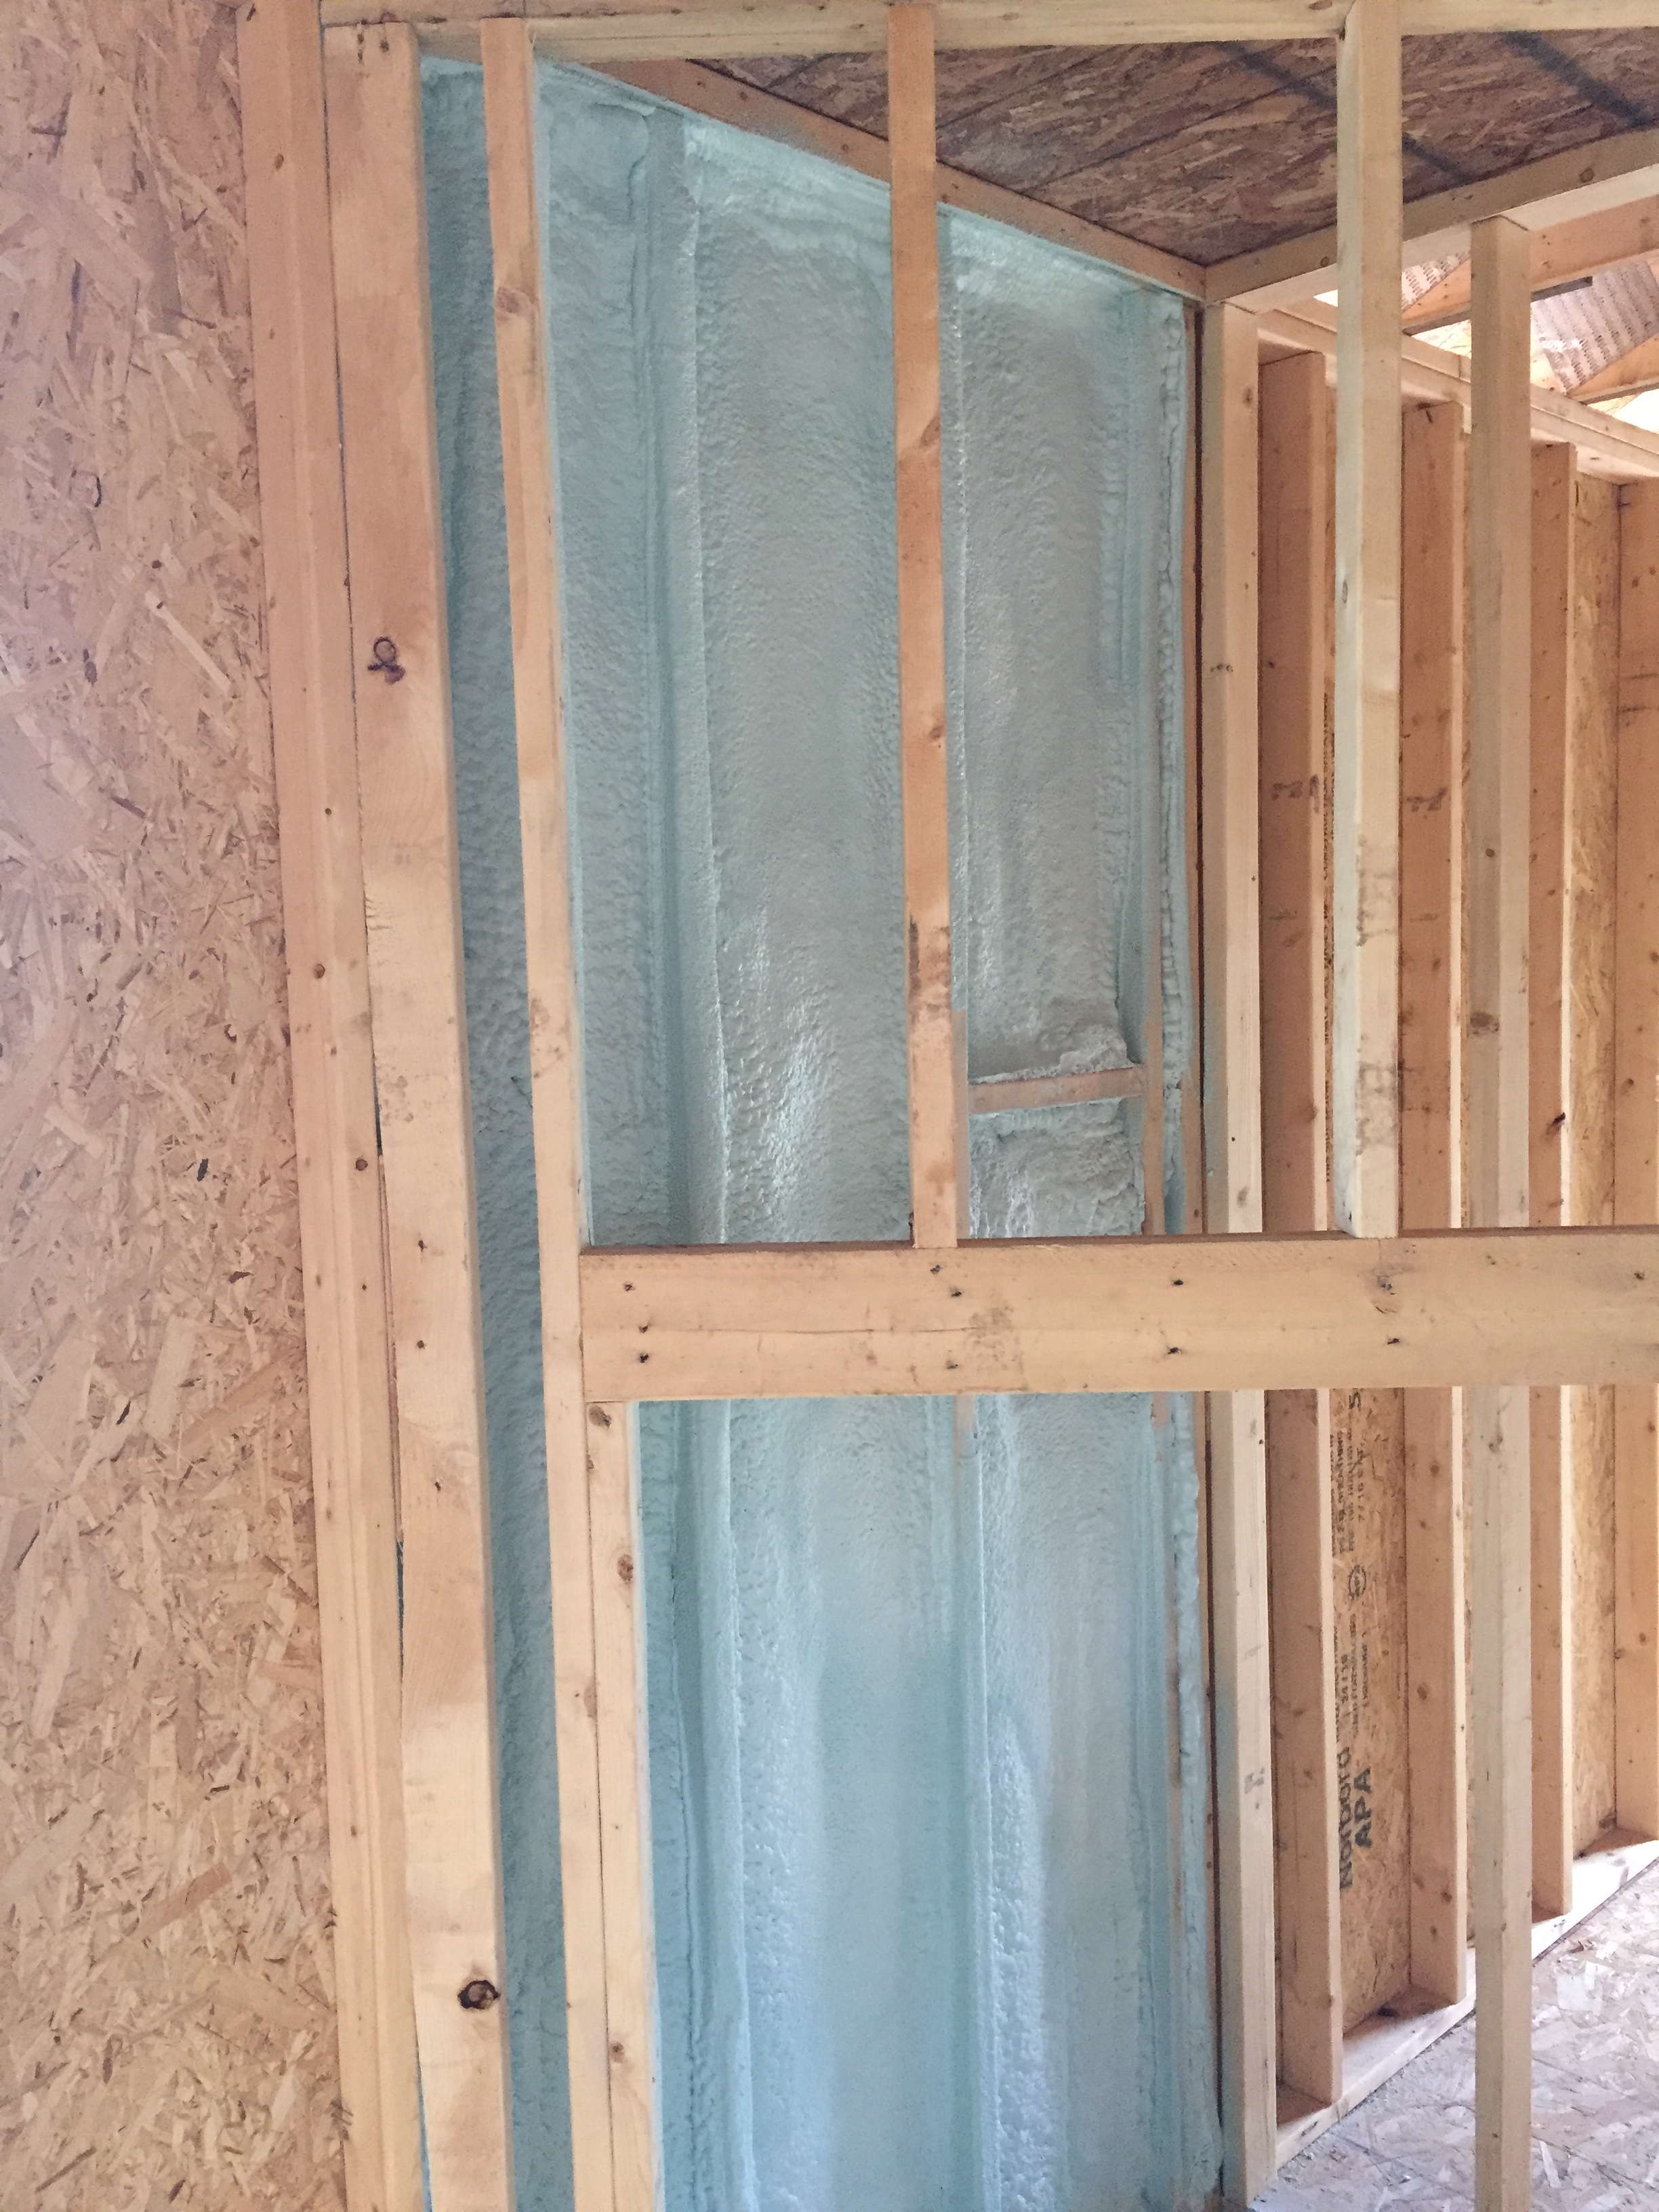
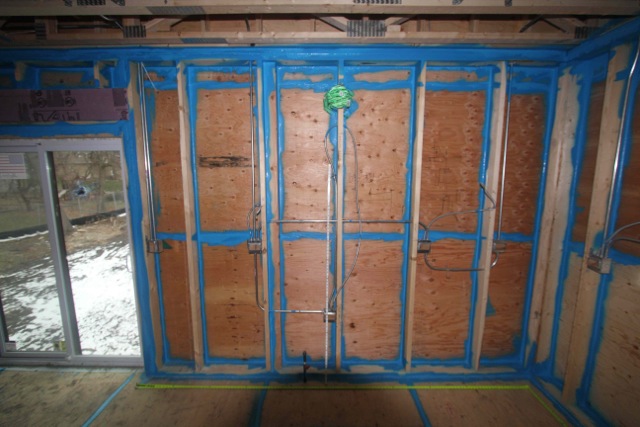
Spray foam insulation is installed in open wall cavities to air seal and insulate
Image
Spray foam insulation used for raised ceiling duct chase
Image
Spray foam insulation used for raised ceiling duct chase.
Image
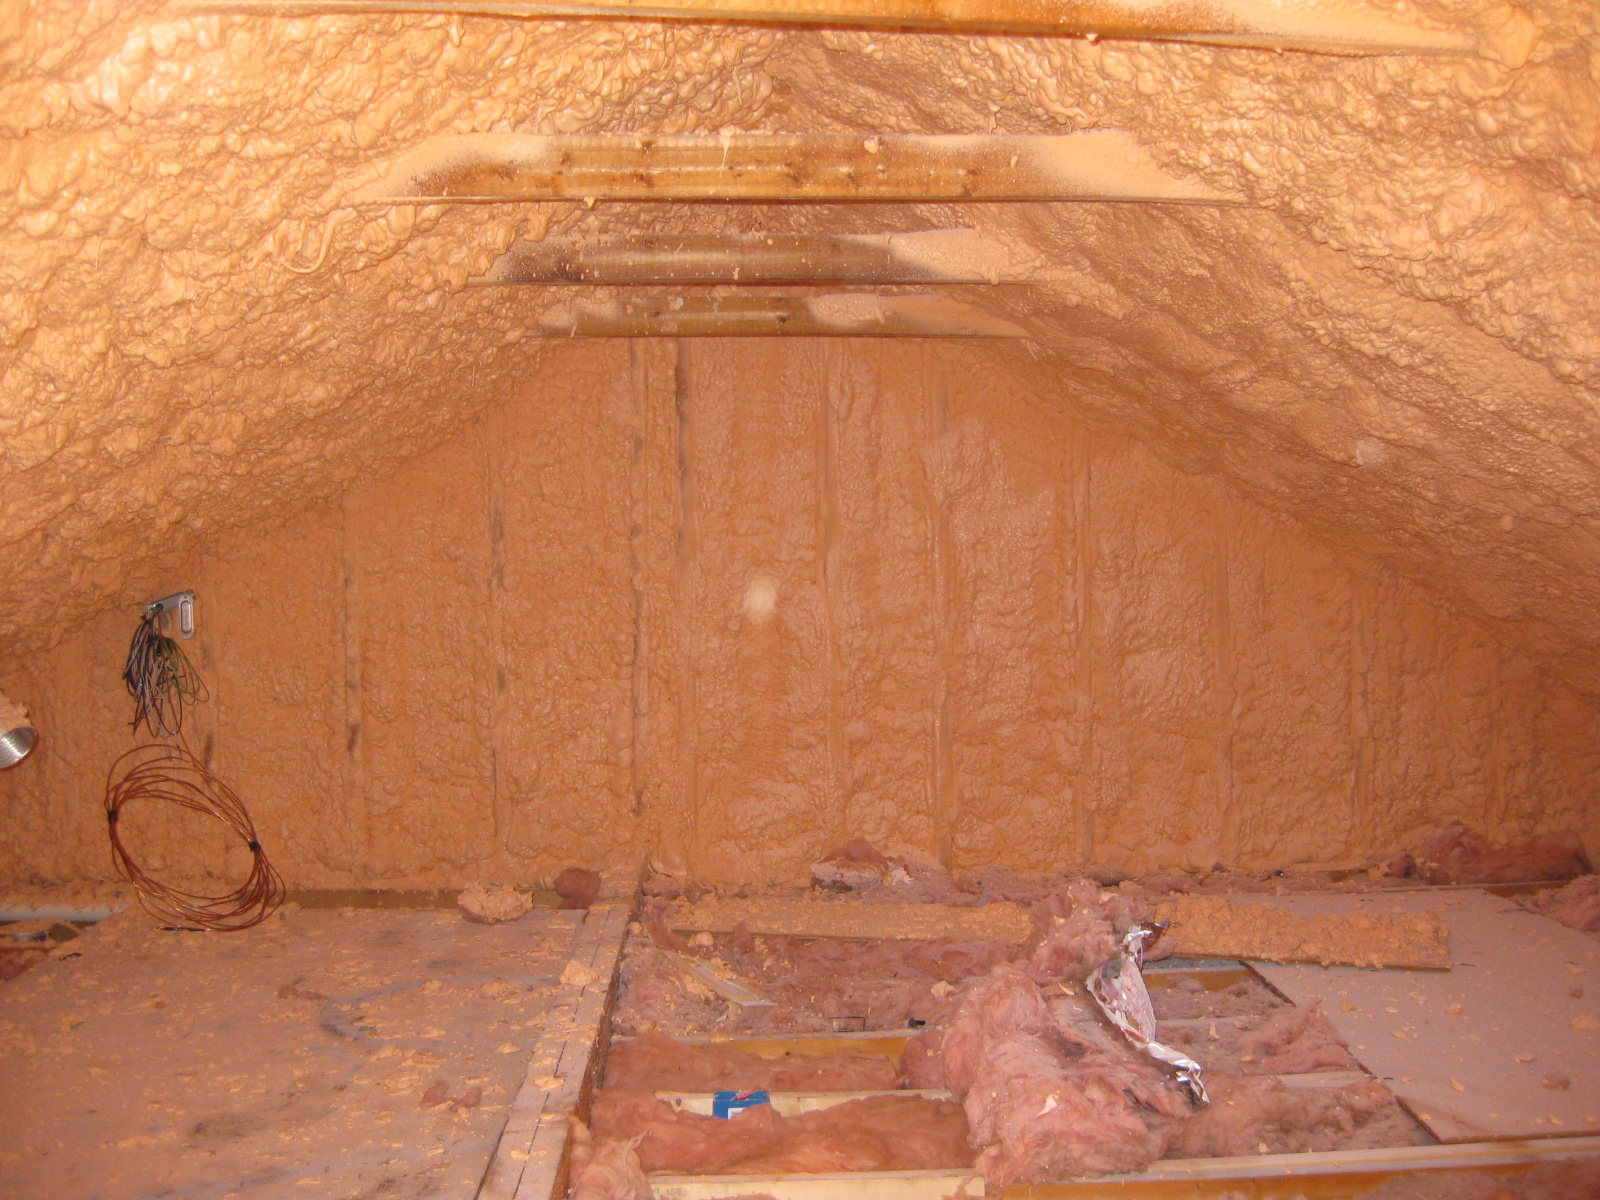
Spray foam insulation was installed on the underside of the roof deck and on gable end attic walls to create an unvented attic
Image
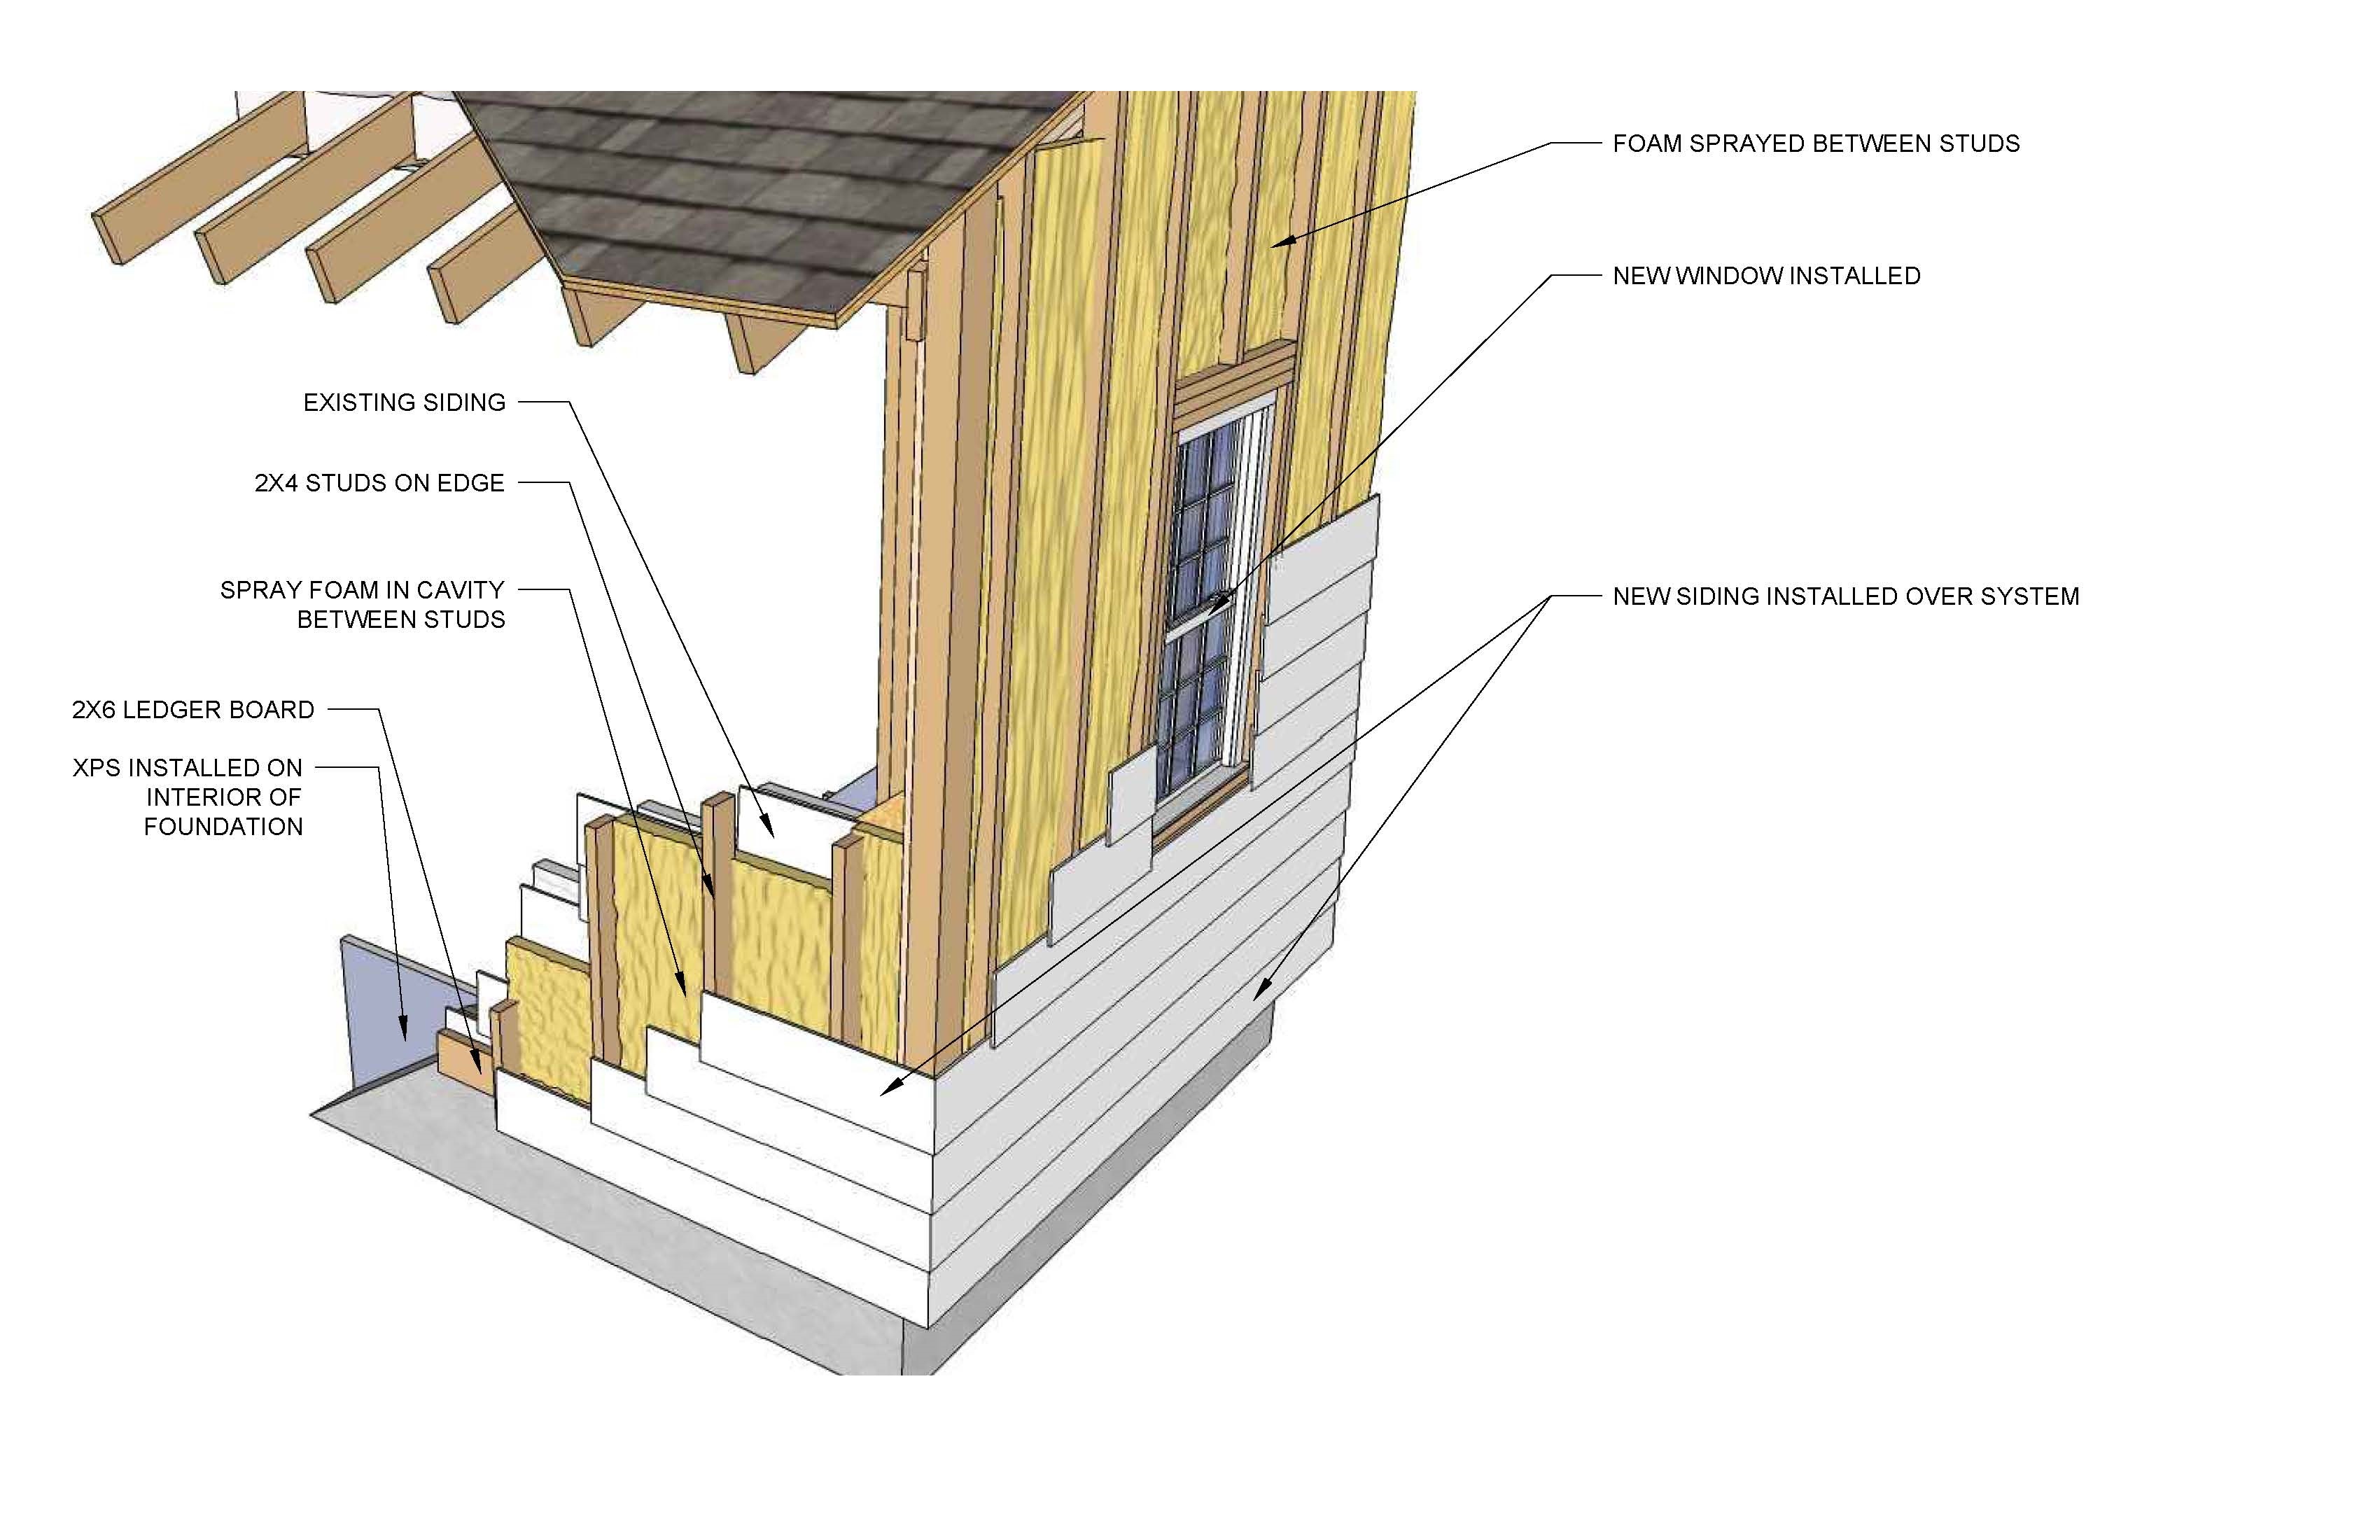
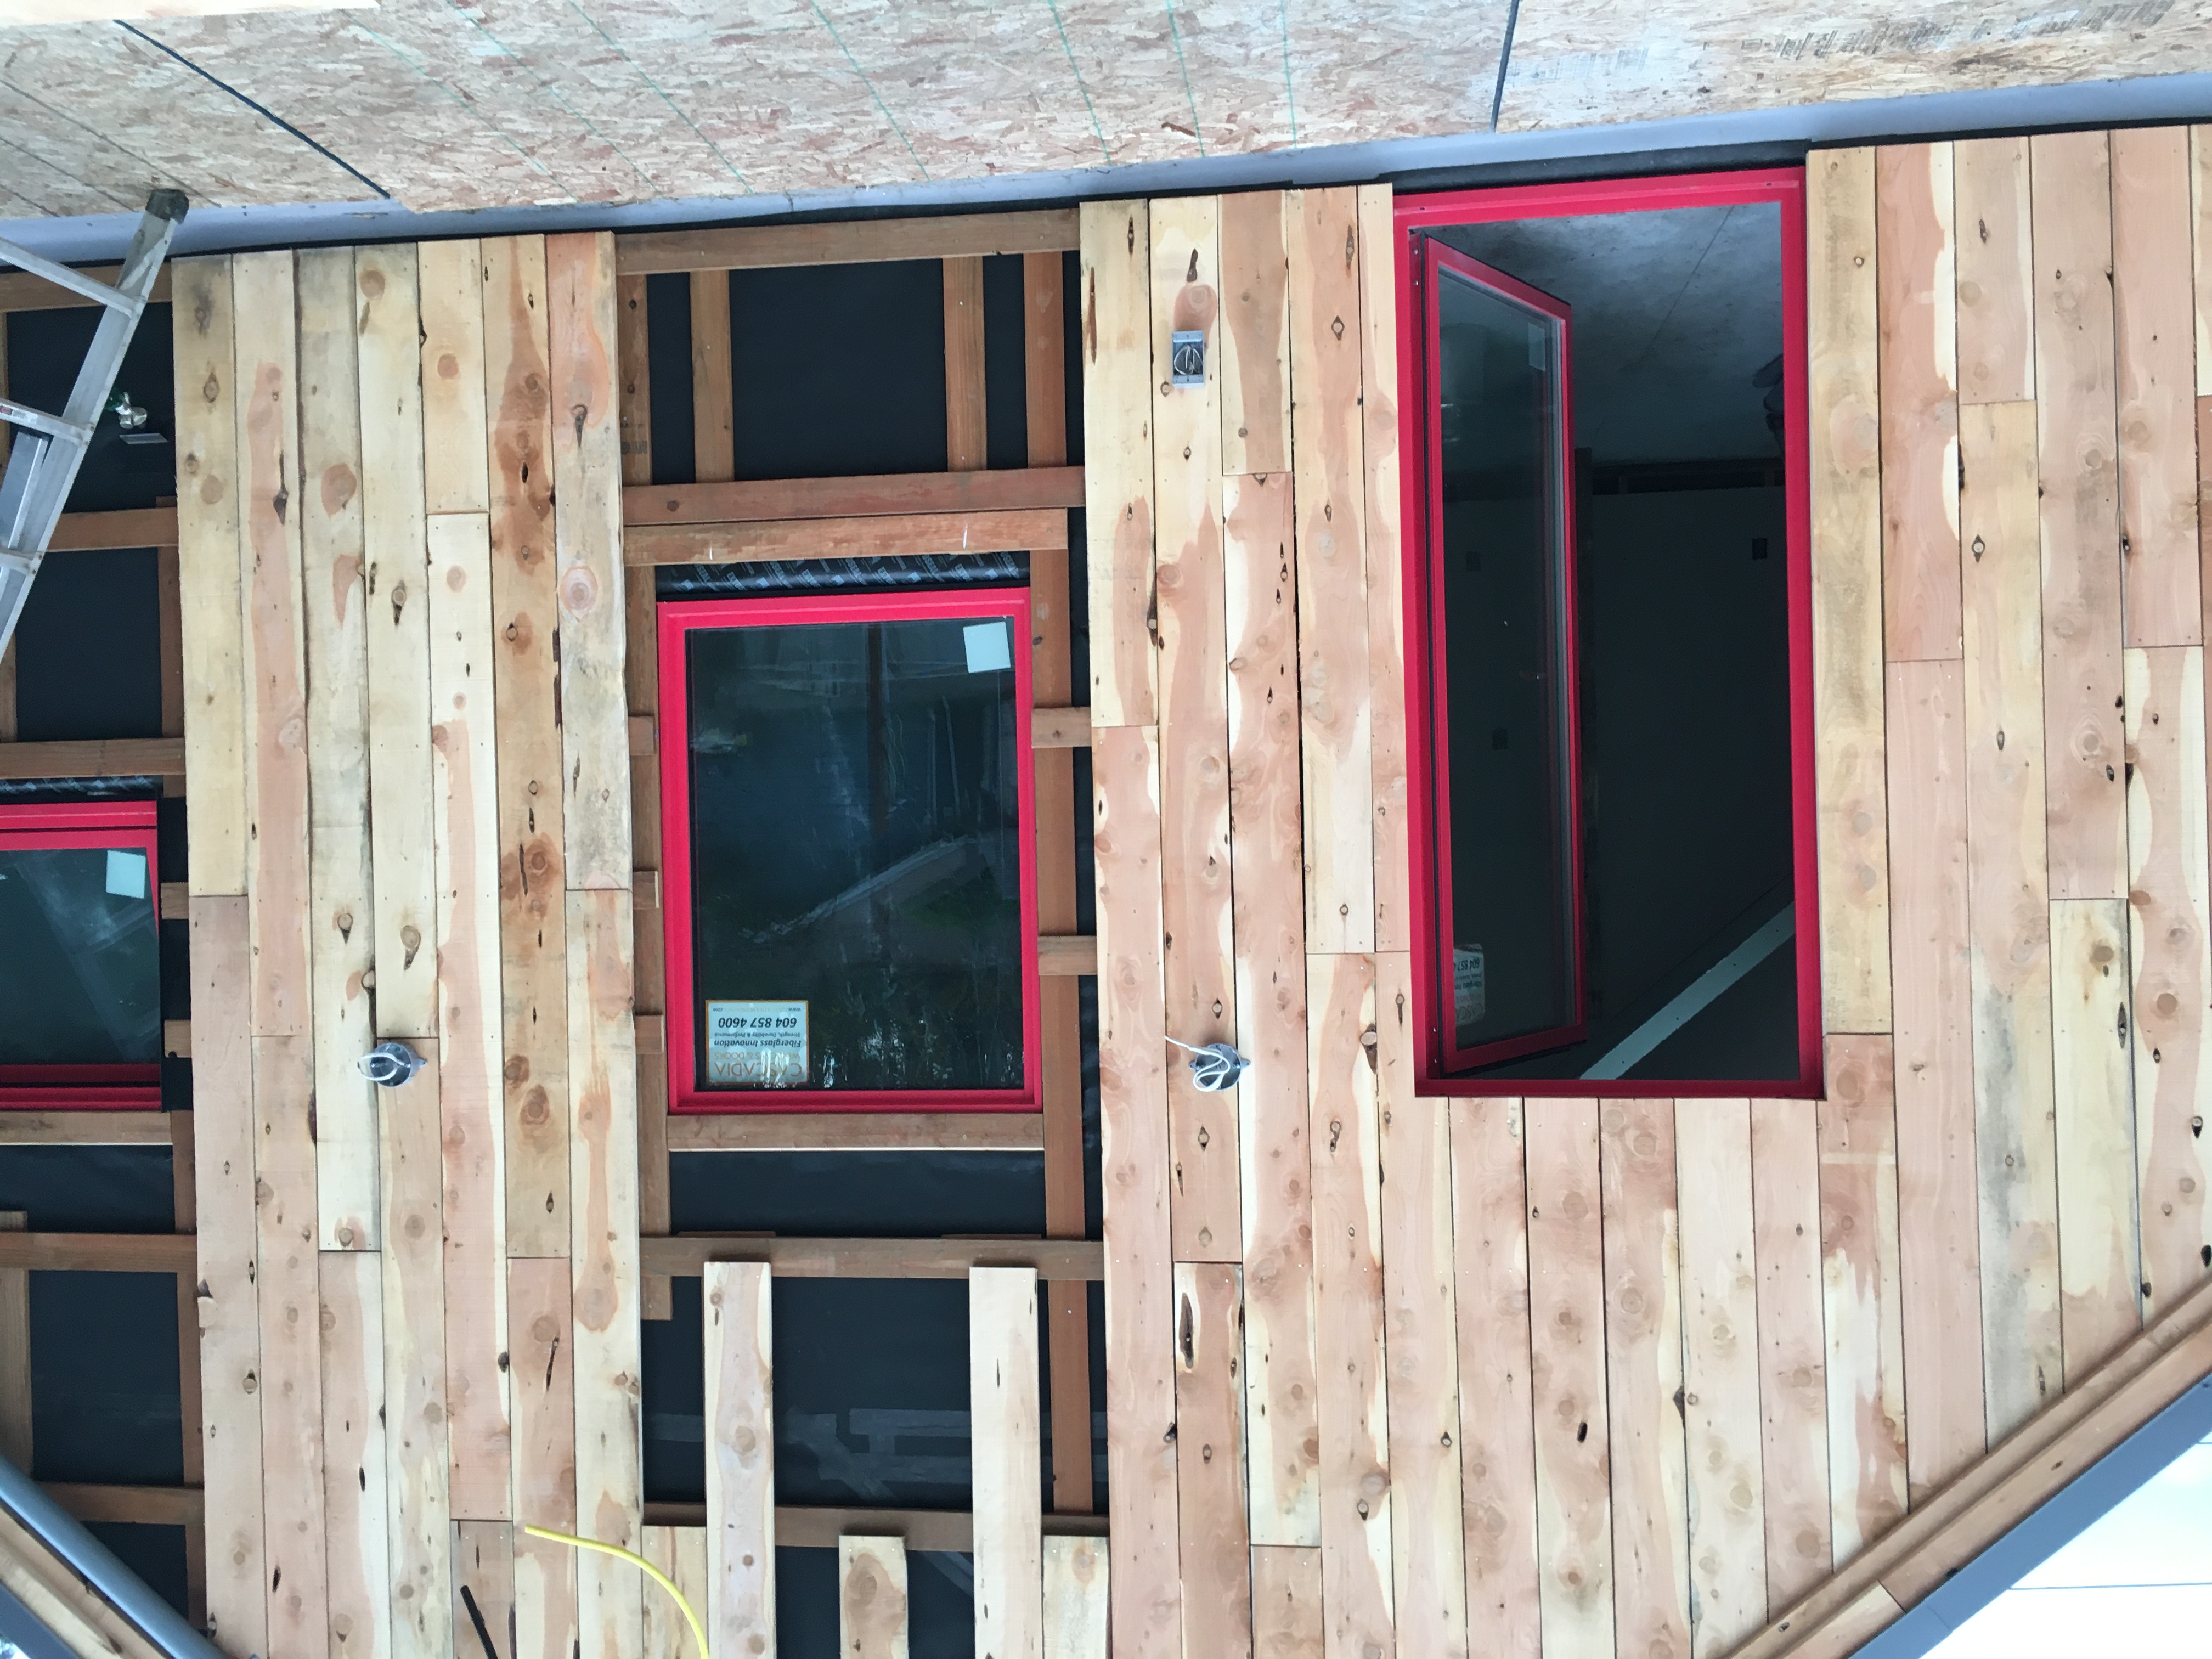
Spray foam is installed between new studs over the existing siding in this deep energy retrofit
Image
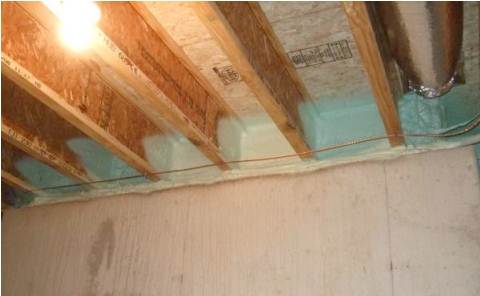
Spray foam provides a critical seal between the subfloor, rim joist, and sill plate
Image
Sprayer-applied sealant seals every seam in the sheathing and framing of this double-walled home.
Image
Staggering sheathing seams makes it harder for moisture to infiltrate the wall to the air gap, where furring strips will allow permeating moisture to drain if needed.
Image

Image

Image
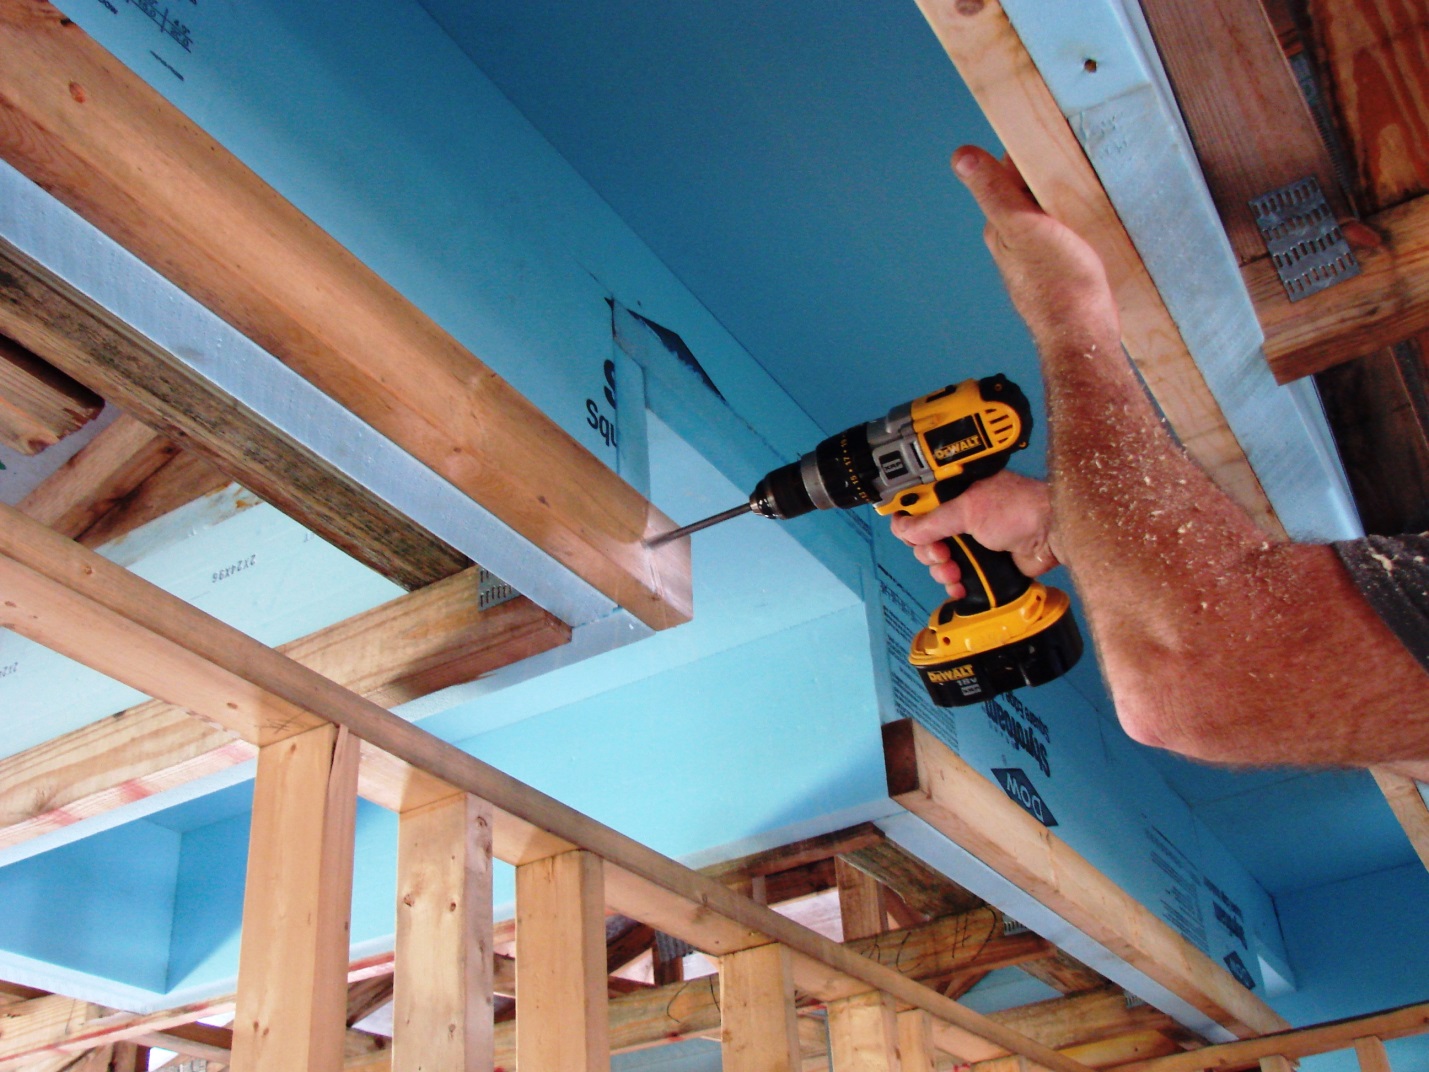
Standard 2 in. by 4 in. stud secures duct chase - made of rigid insulation in this example
Image
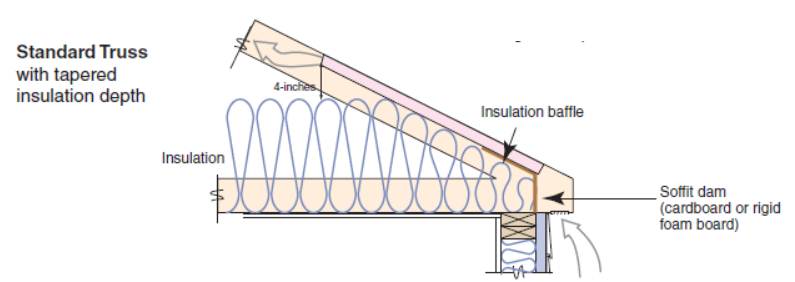
Standard roof trusses are narrow at the eaves, preventing full insulation coverage over the top plate of the exterior walls
Image
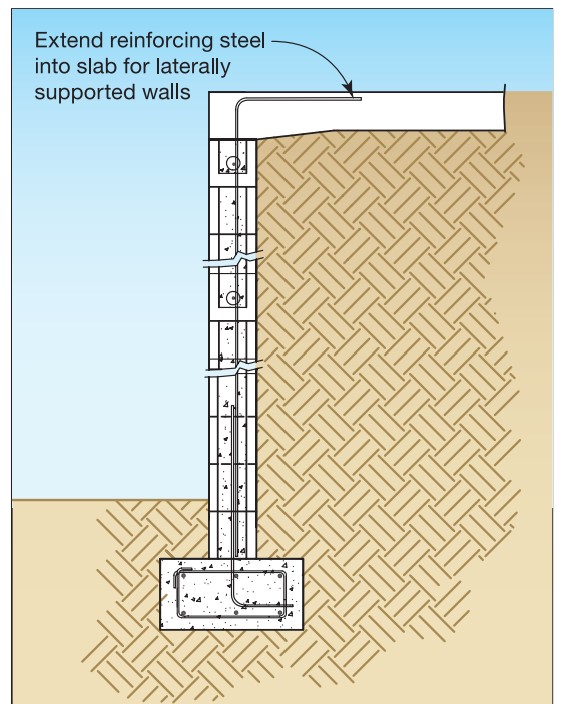
Stem wall foundation design, including additional reinforcement to resist moving floodwaters and short (1.5-ft) breaking waves (Source: Adapted from FEMA P-550, Case F).
Image
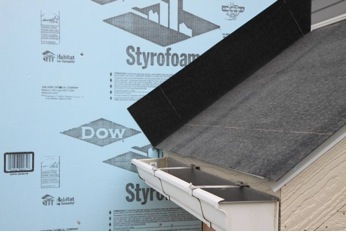
Step 1. Apply roof underlayment over roof deck and up the sidewall over the rigid foam insulation
Image
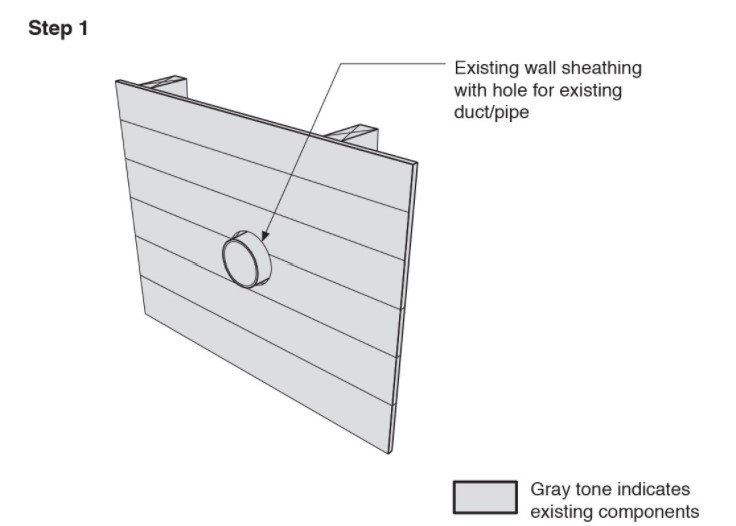
Step 1. Remove the existing wall cladding to prepare to retrofit an exterior wall.
Image
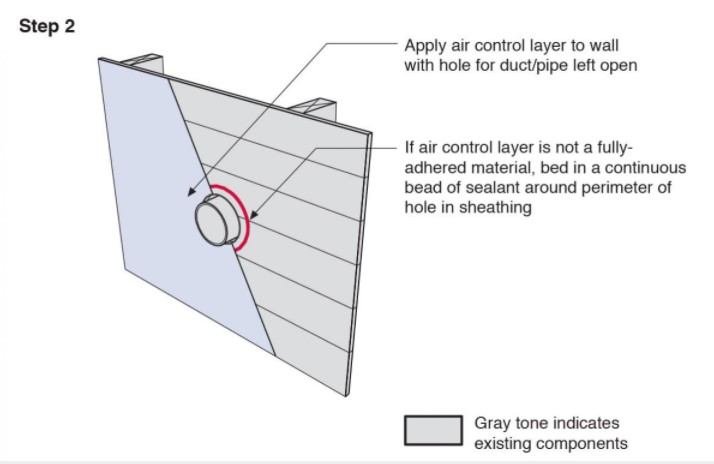
Step 2. Install a continuous air and water control layer over the existing wall sheathing.
Image
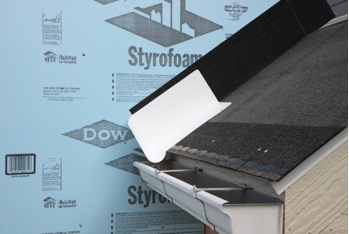
Step 2. Install shingle starter strip then kick-out diverter as first piece of step flashing.
Image
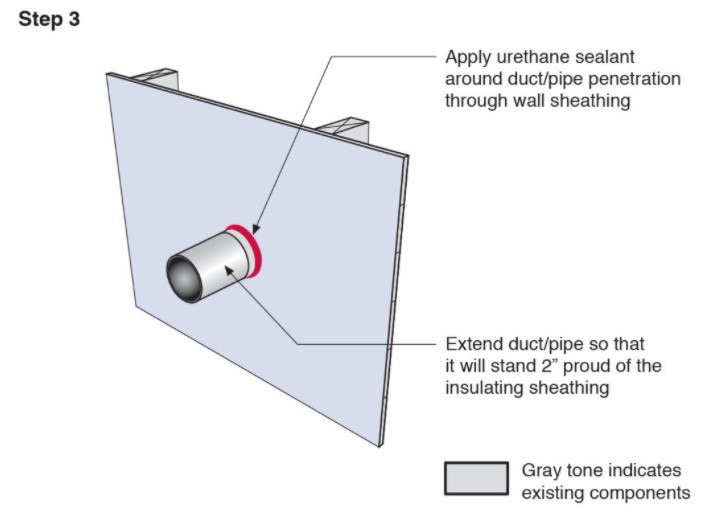
Step 3. Apply urethane sealant around the duct or pipe in the retrofitted exterior wall.
Image
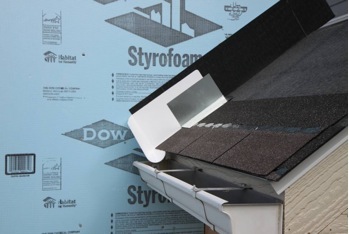
Step 3. Place the first shingle and the next section of sidewall flashing over upper edge of diverter
Image
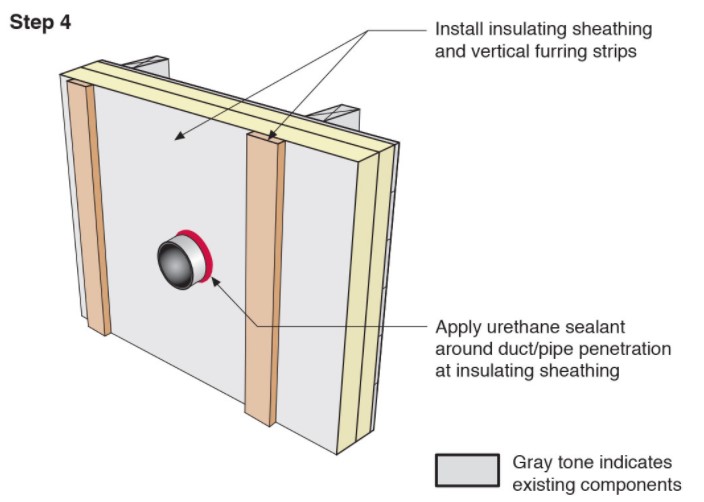
Step 4. Install insulating sheathing and vertical furring strips on the retrofitted exterior wall; seal around pipe or duct with urethane sealant.
Image

Step 4. Install remaining sidewall flashing, appropriate counter flashing, and shingles
Image
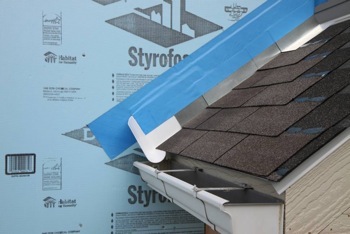
Step 5. Apply self-adhesive flashing over top edge of the wall flashing, diverter, and rigid foam insulation
Image
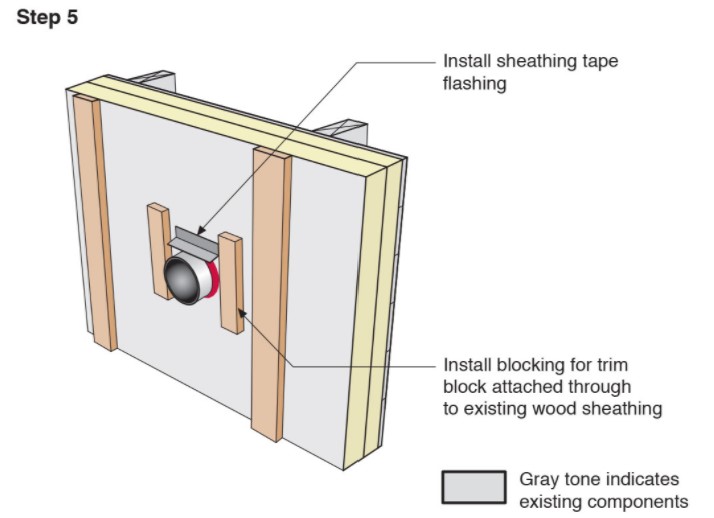
Step 5. Install sheathing tape flashing over the duct or pipe and wood blocking on either side for later attachment of trim.