Showing results 651 - 700 of 1073
Image
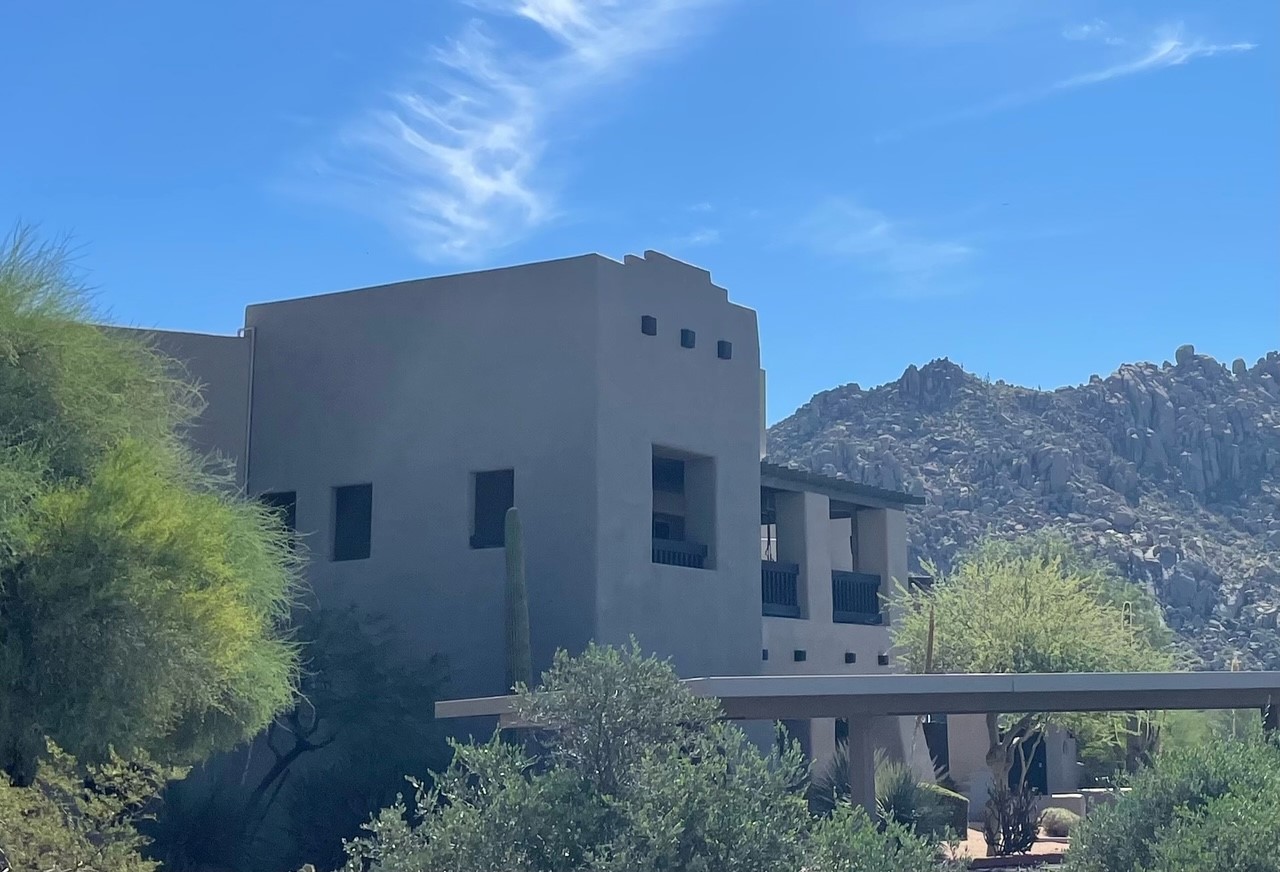
Right – thermal mass walls, small windows, and recessed porch and trees on the south side of this southwest home help to minimize solar heat gain.
Image

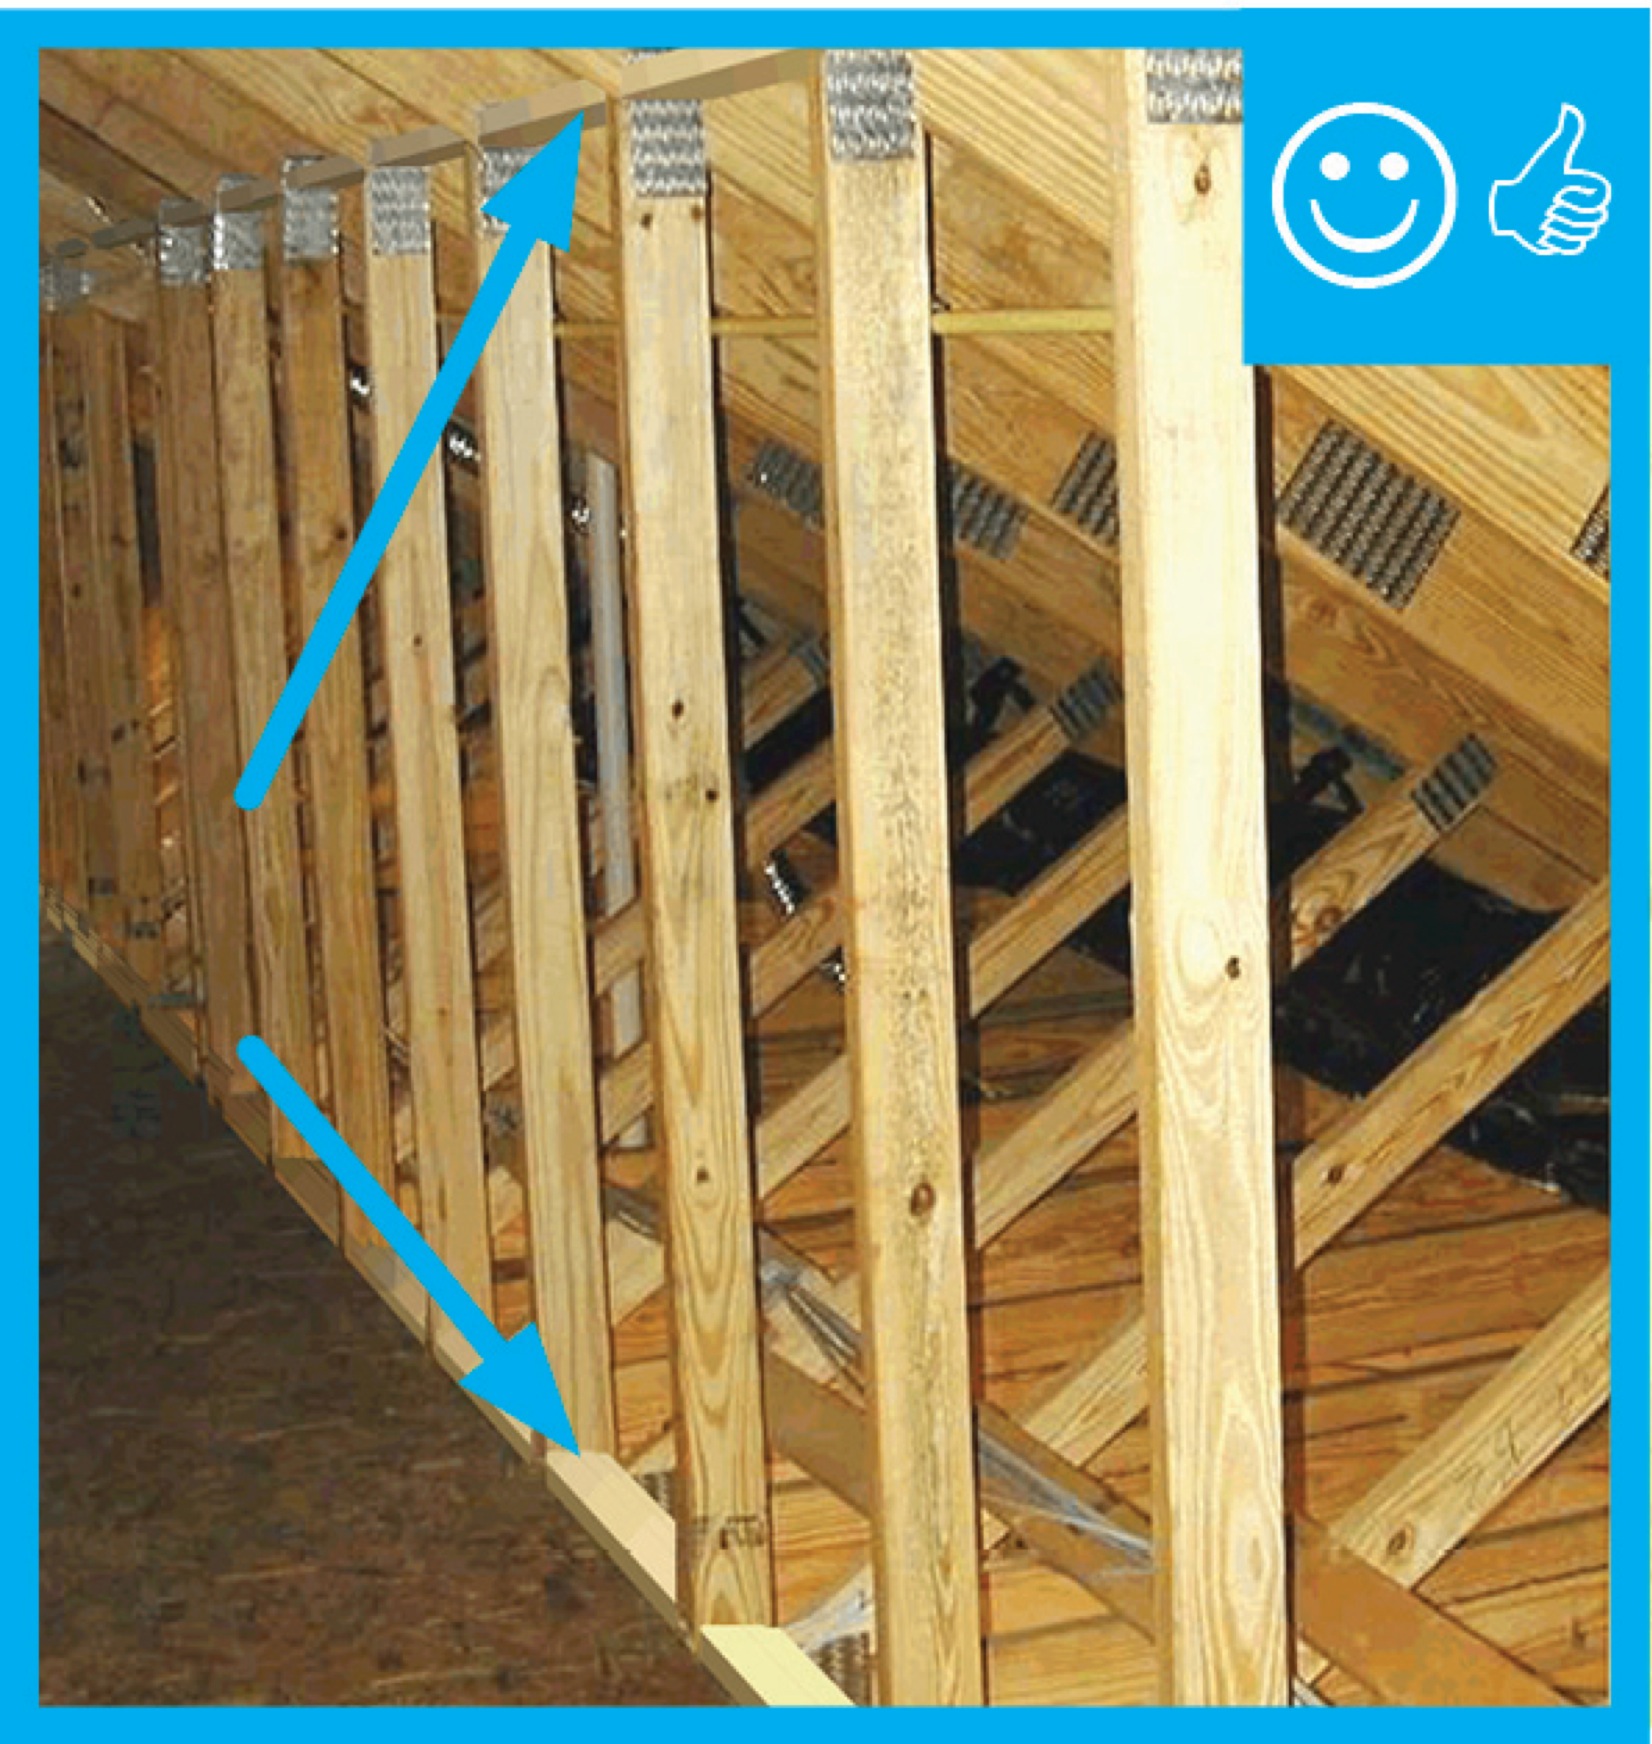
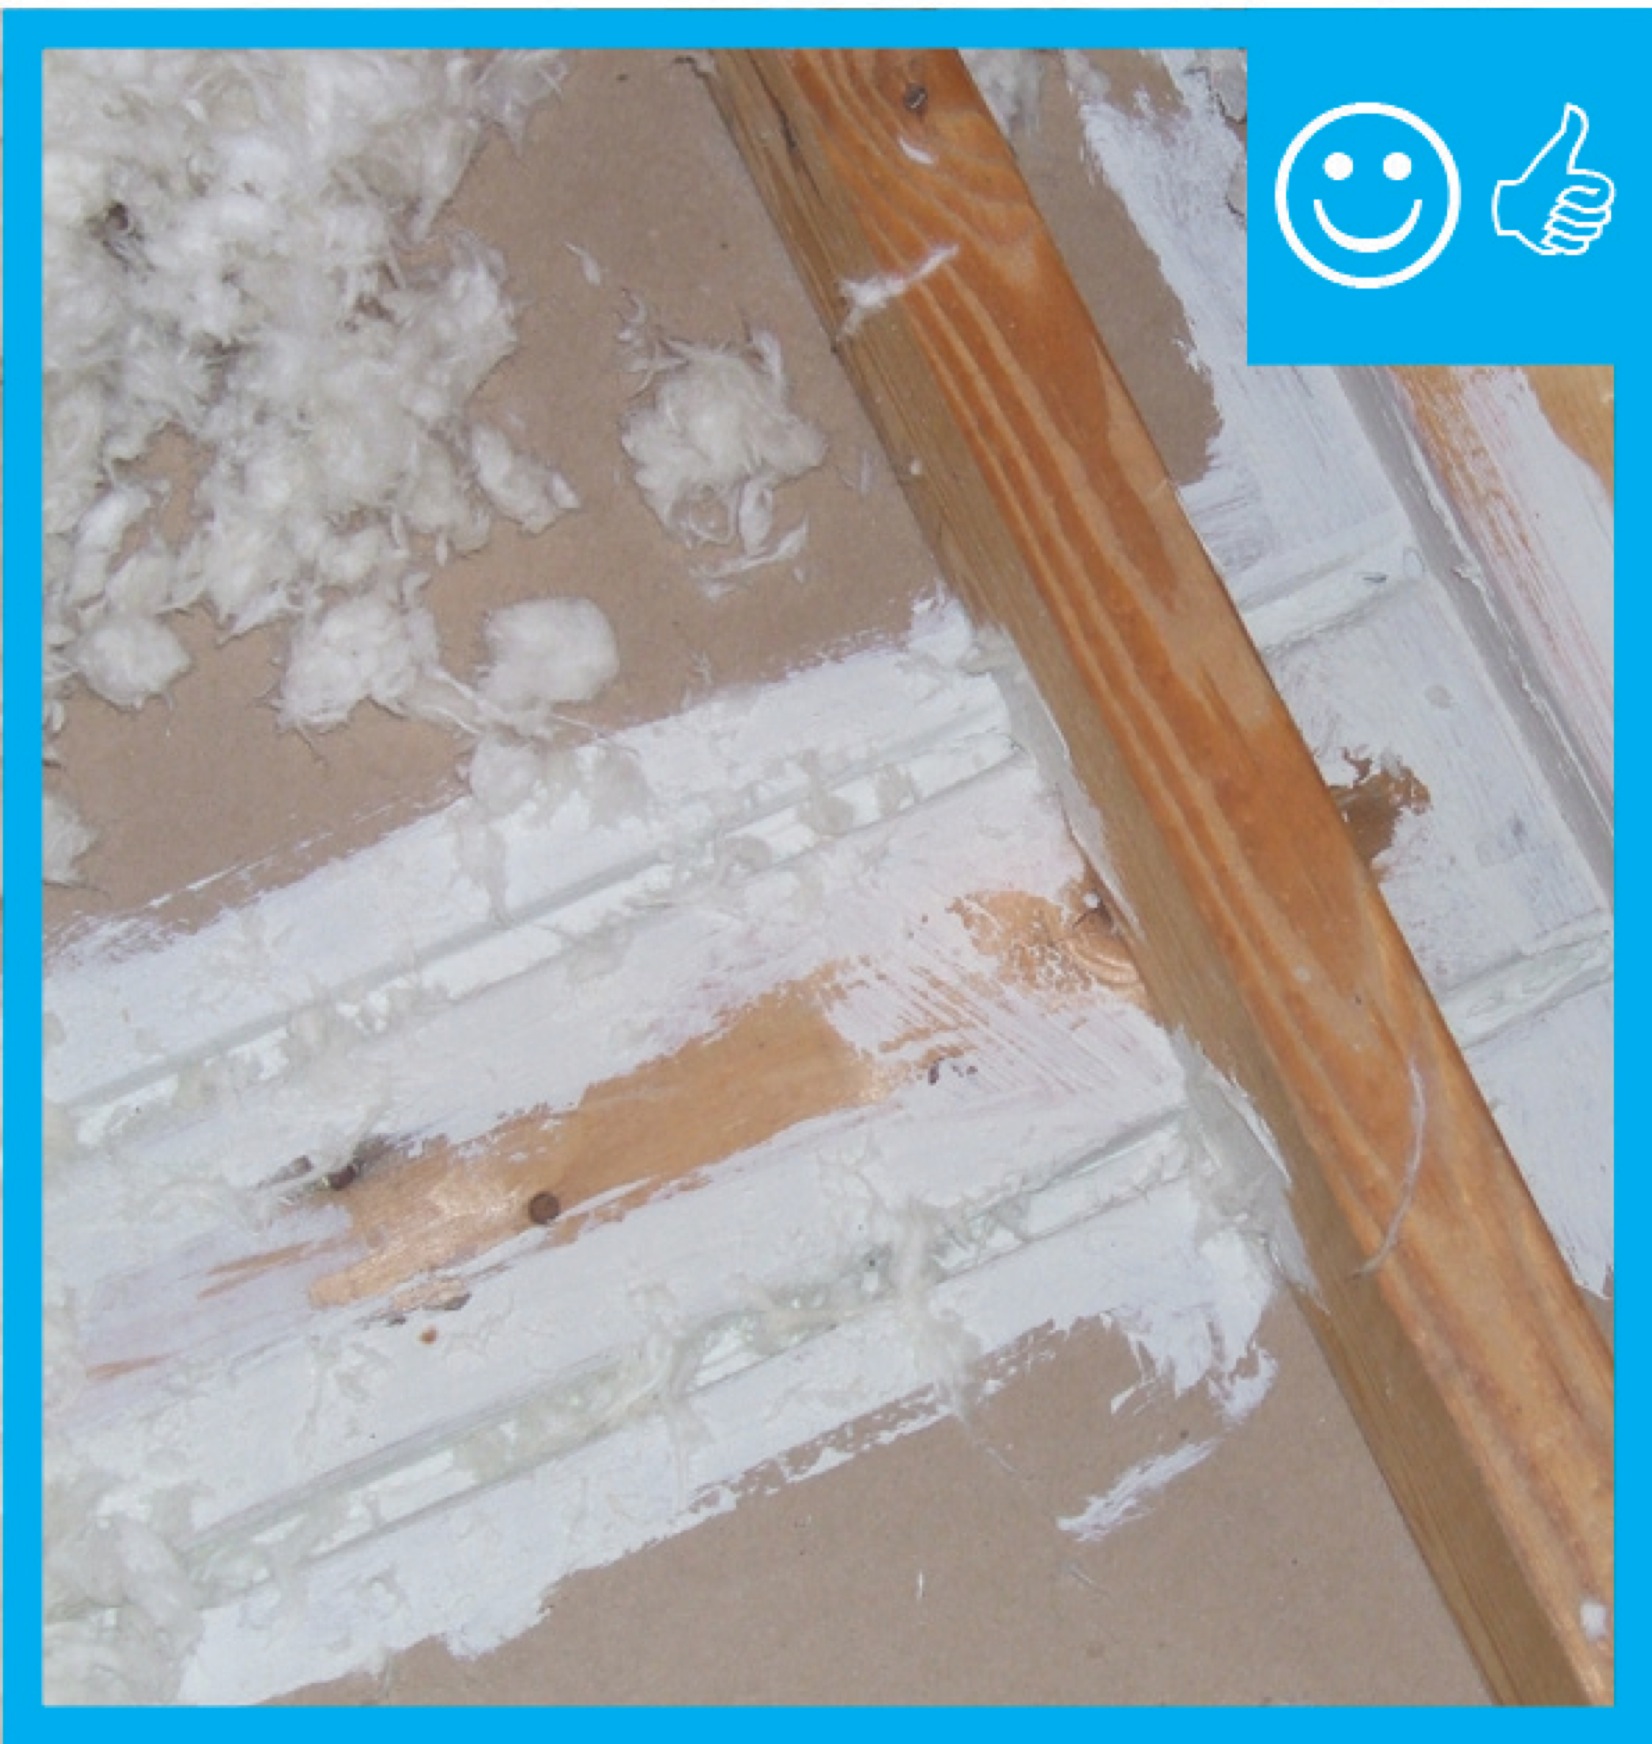
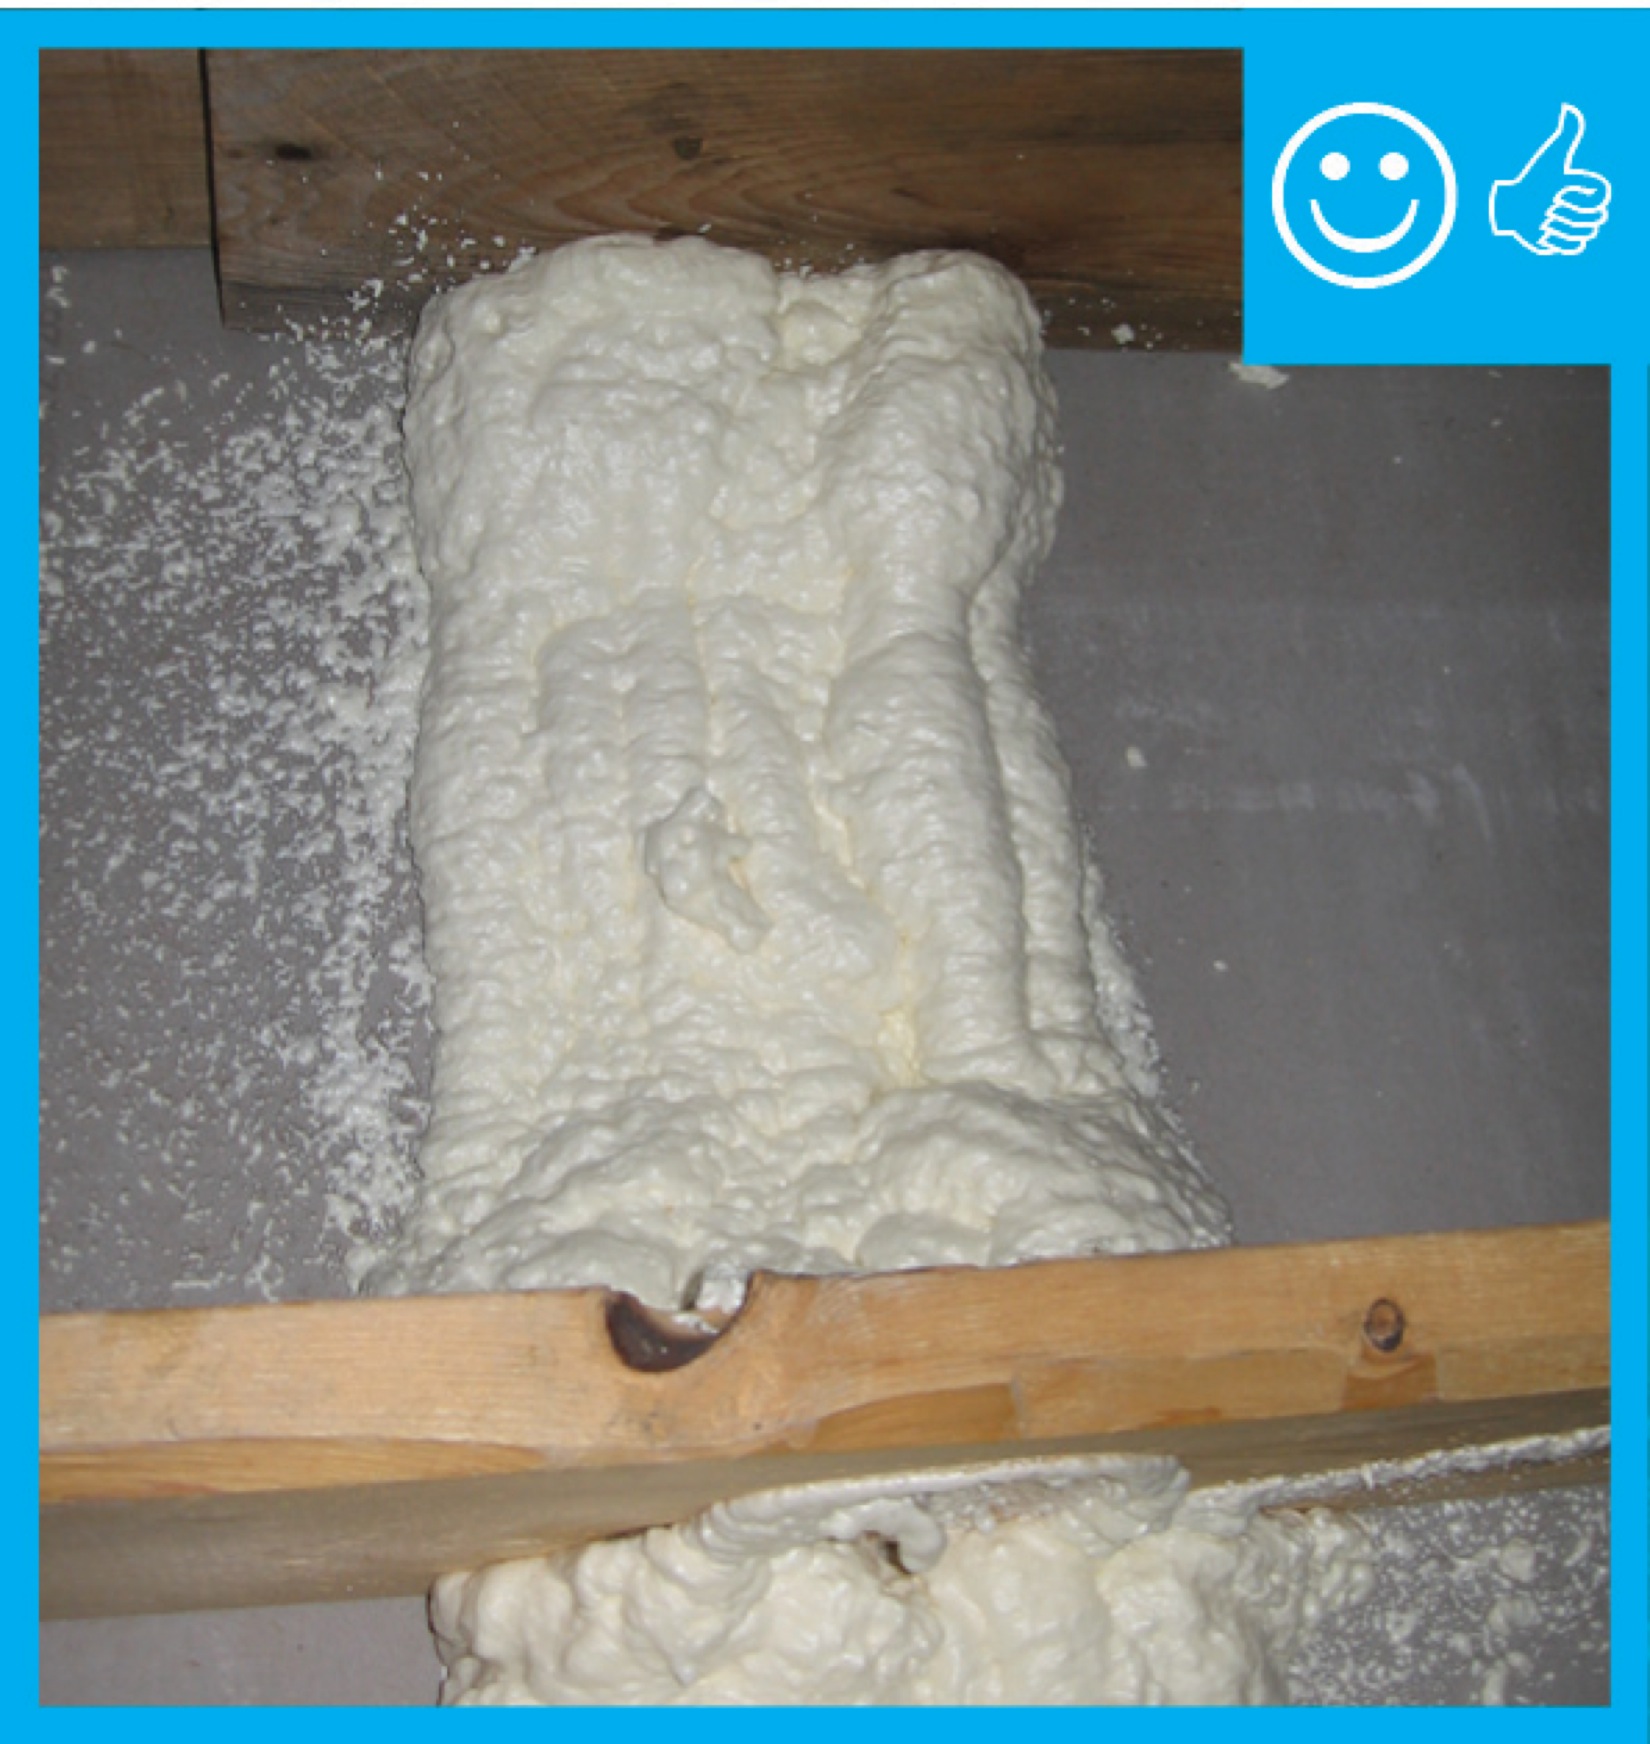
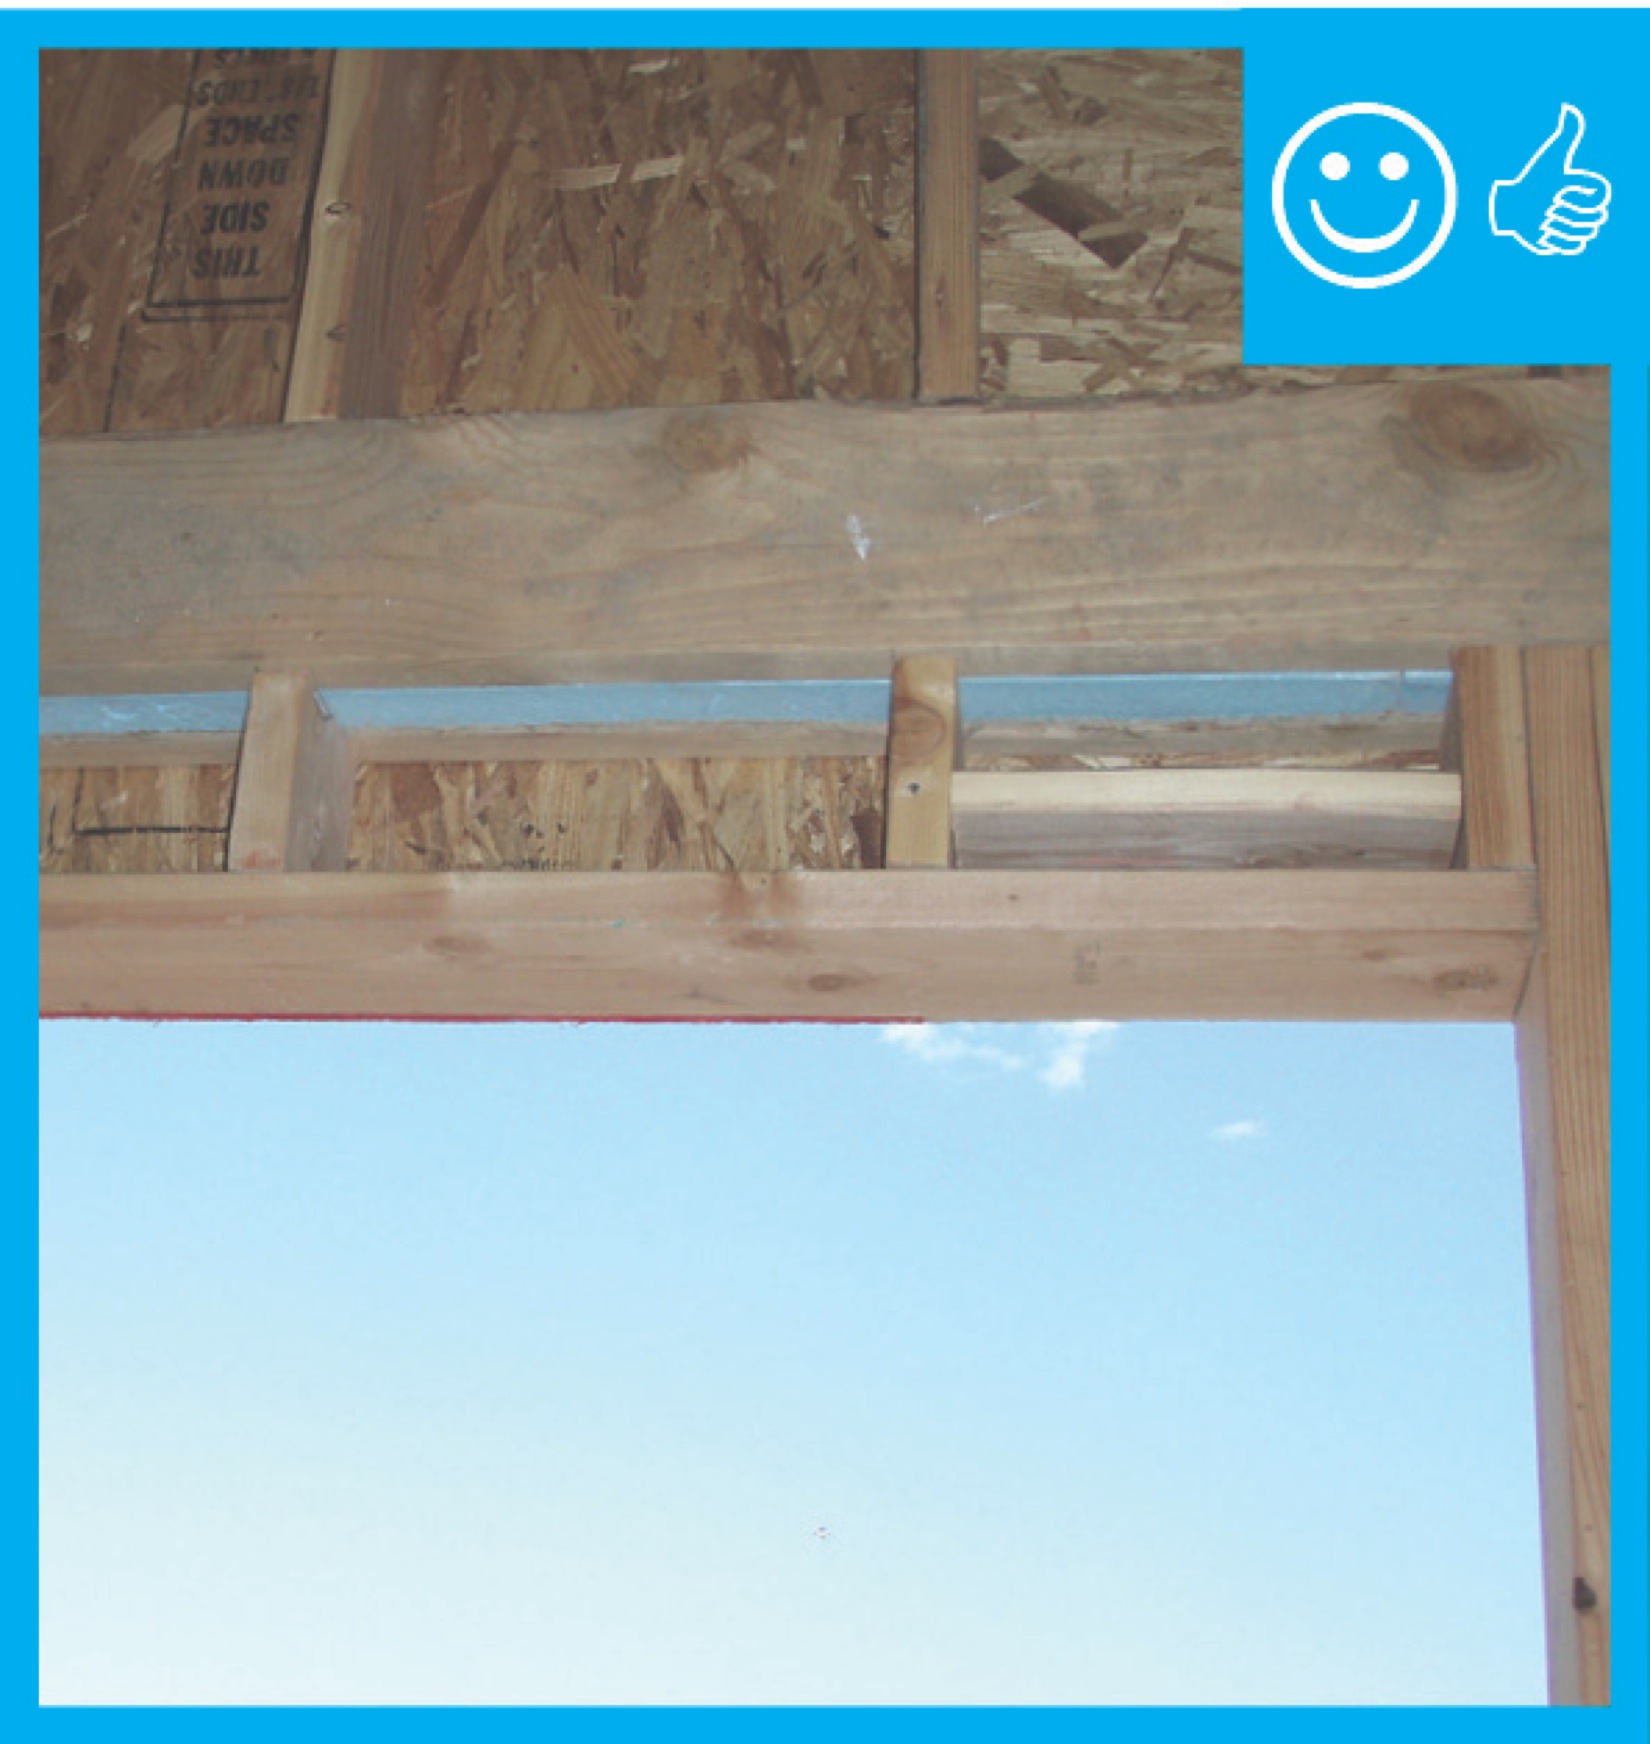
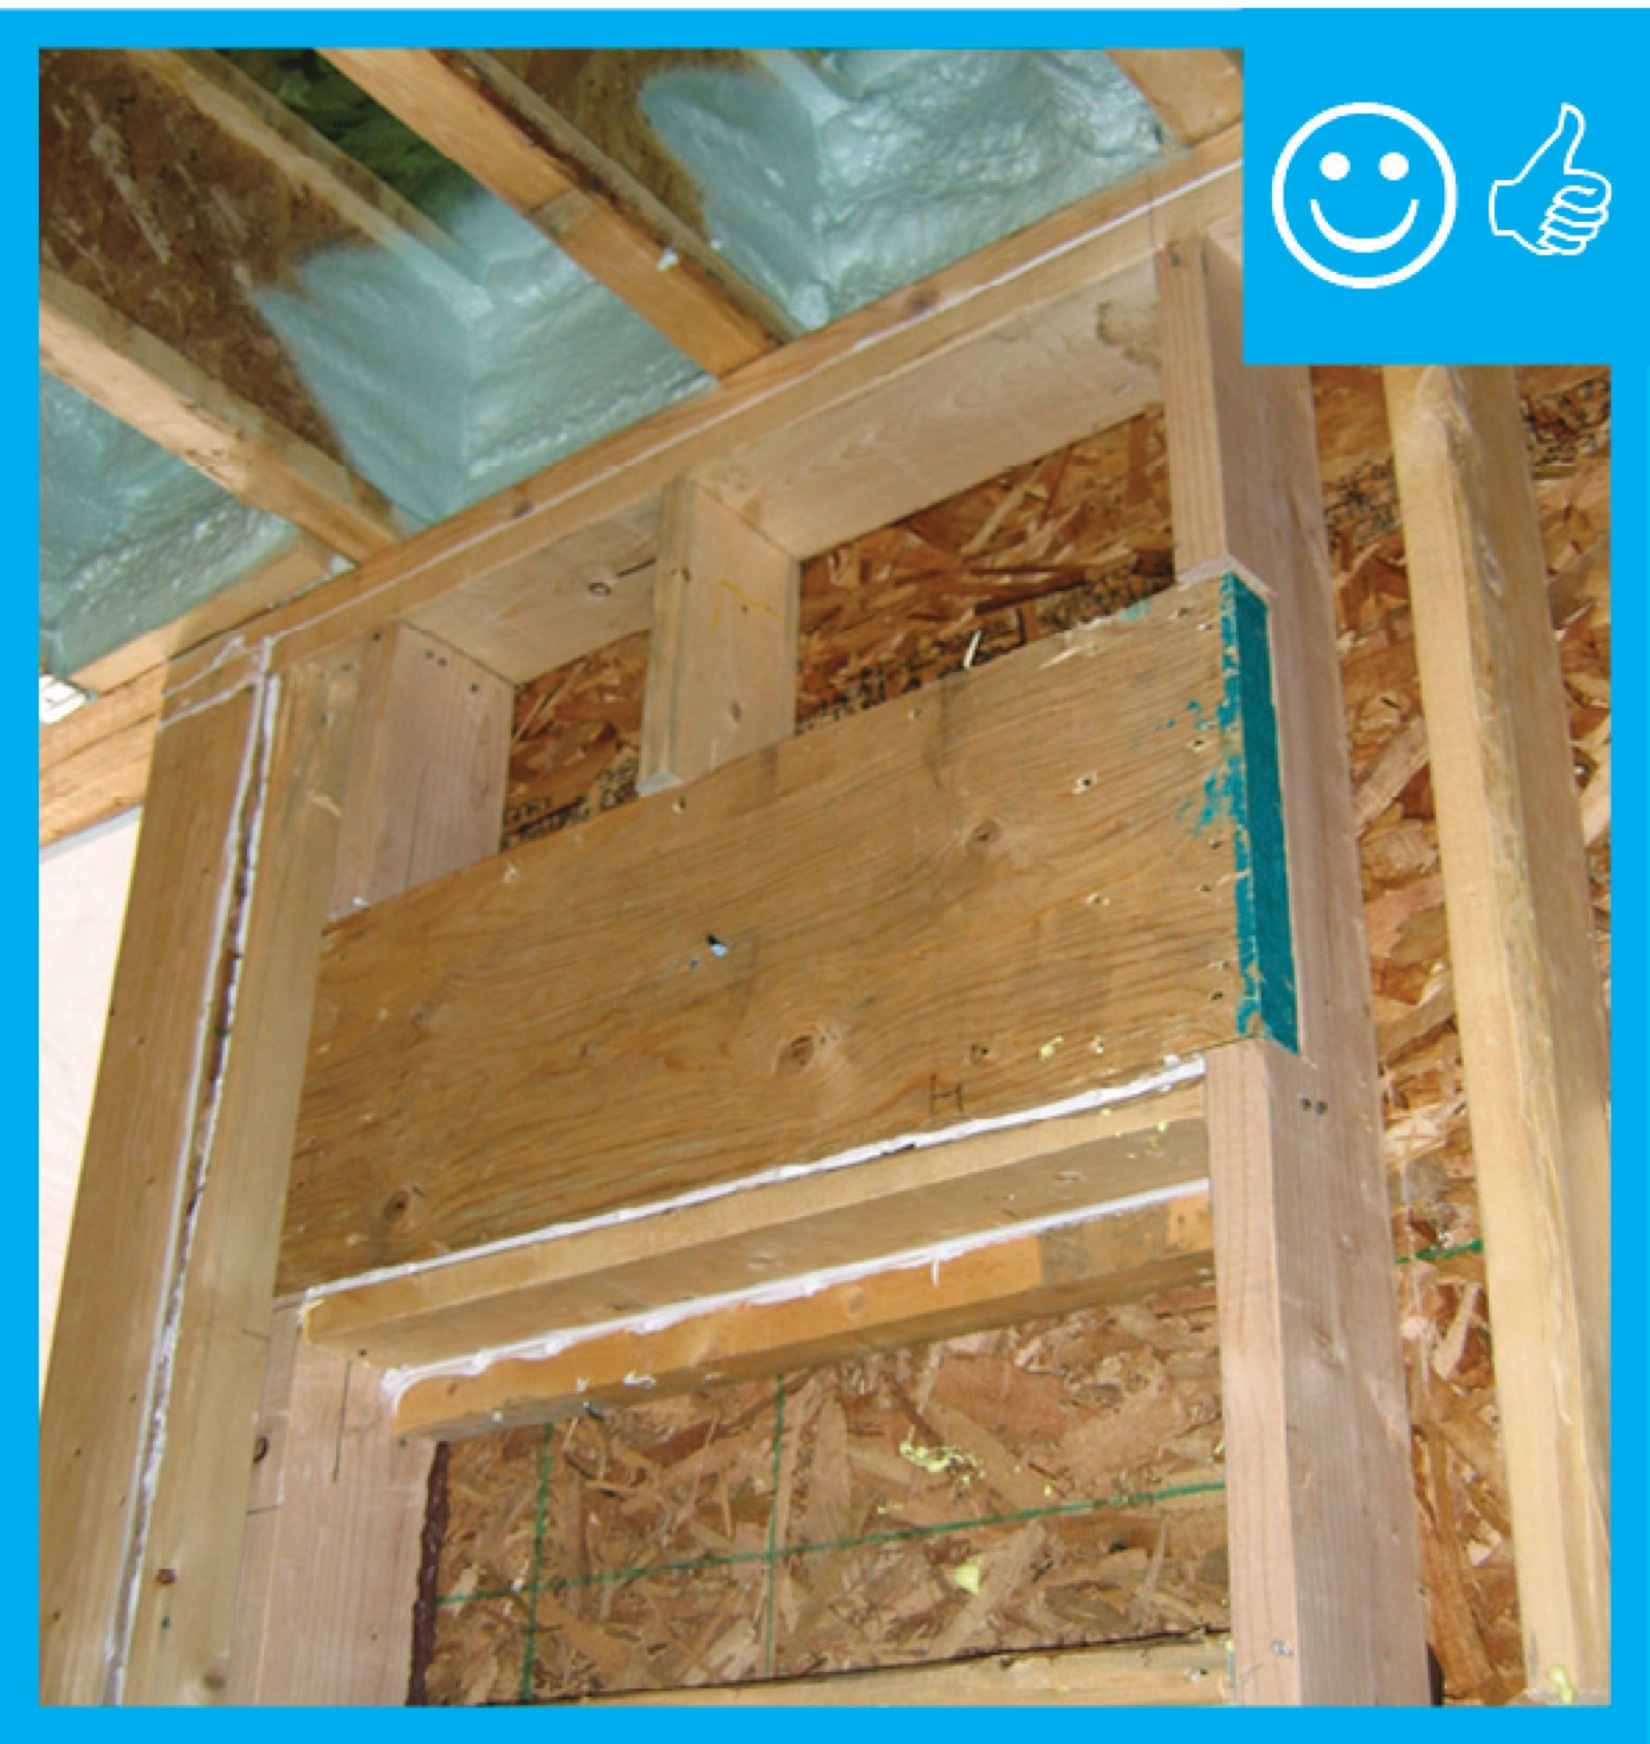
Right – This attic knee wall and the floor joist cavity openings beneath it are being sealed and insulated with spray foam.
Image
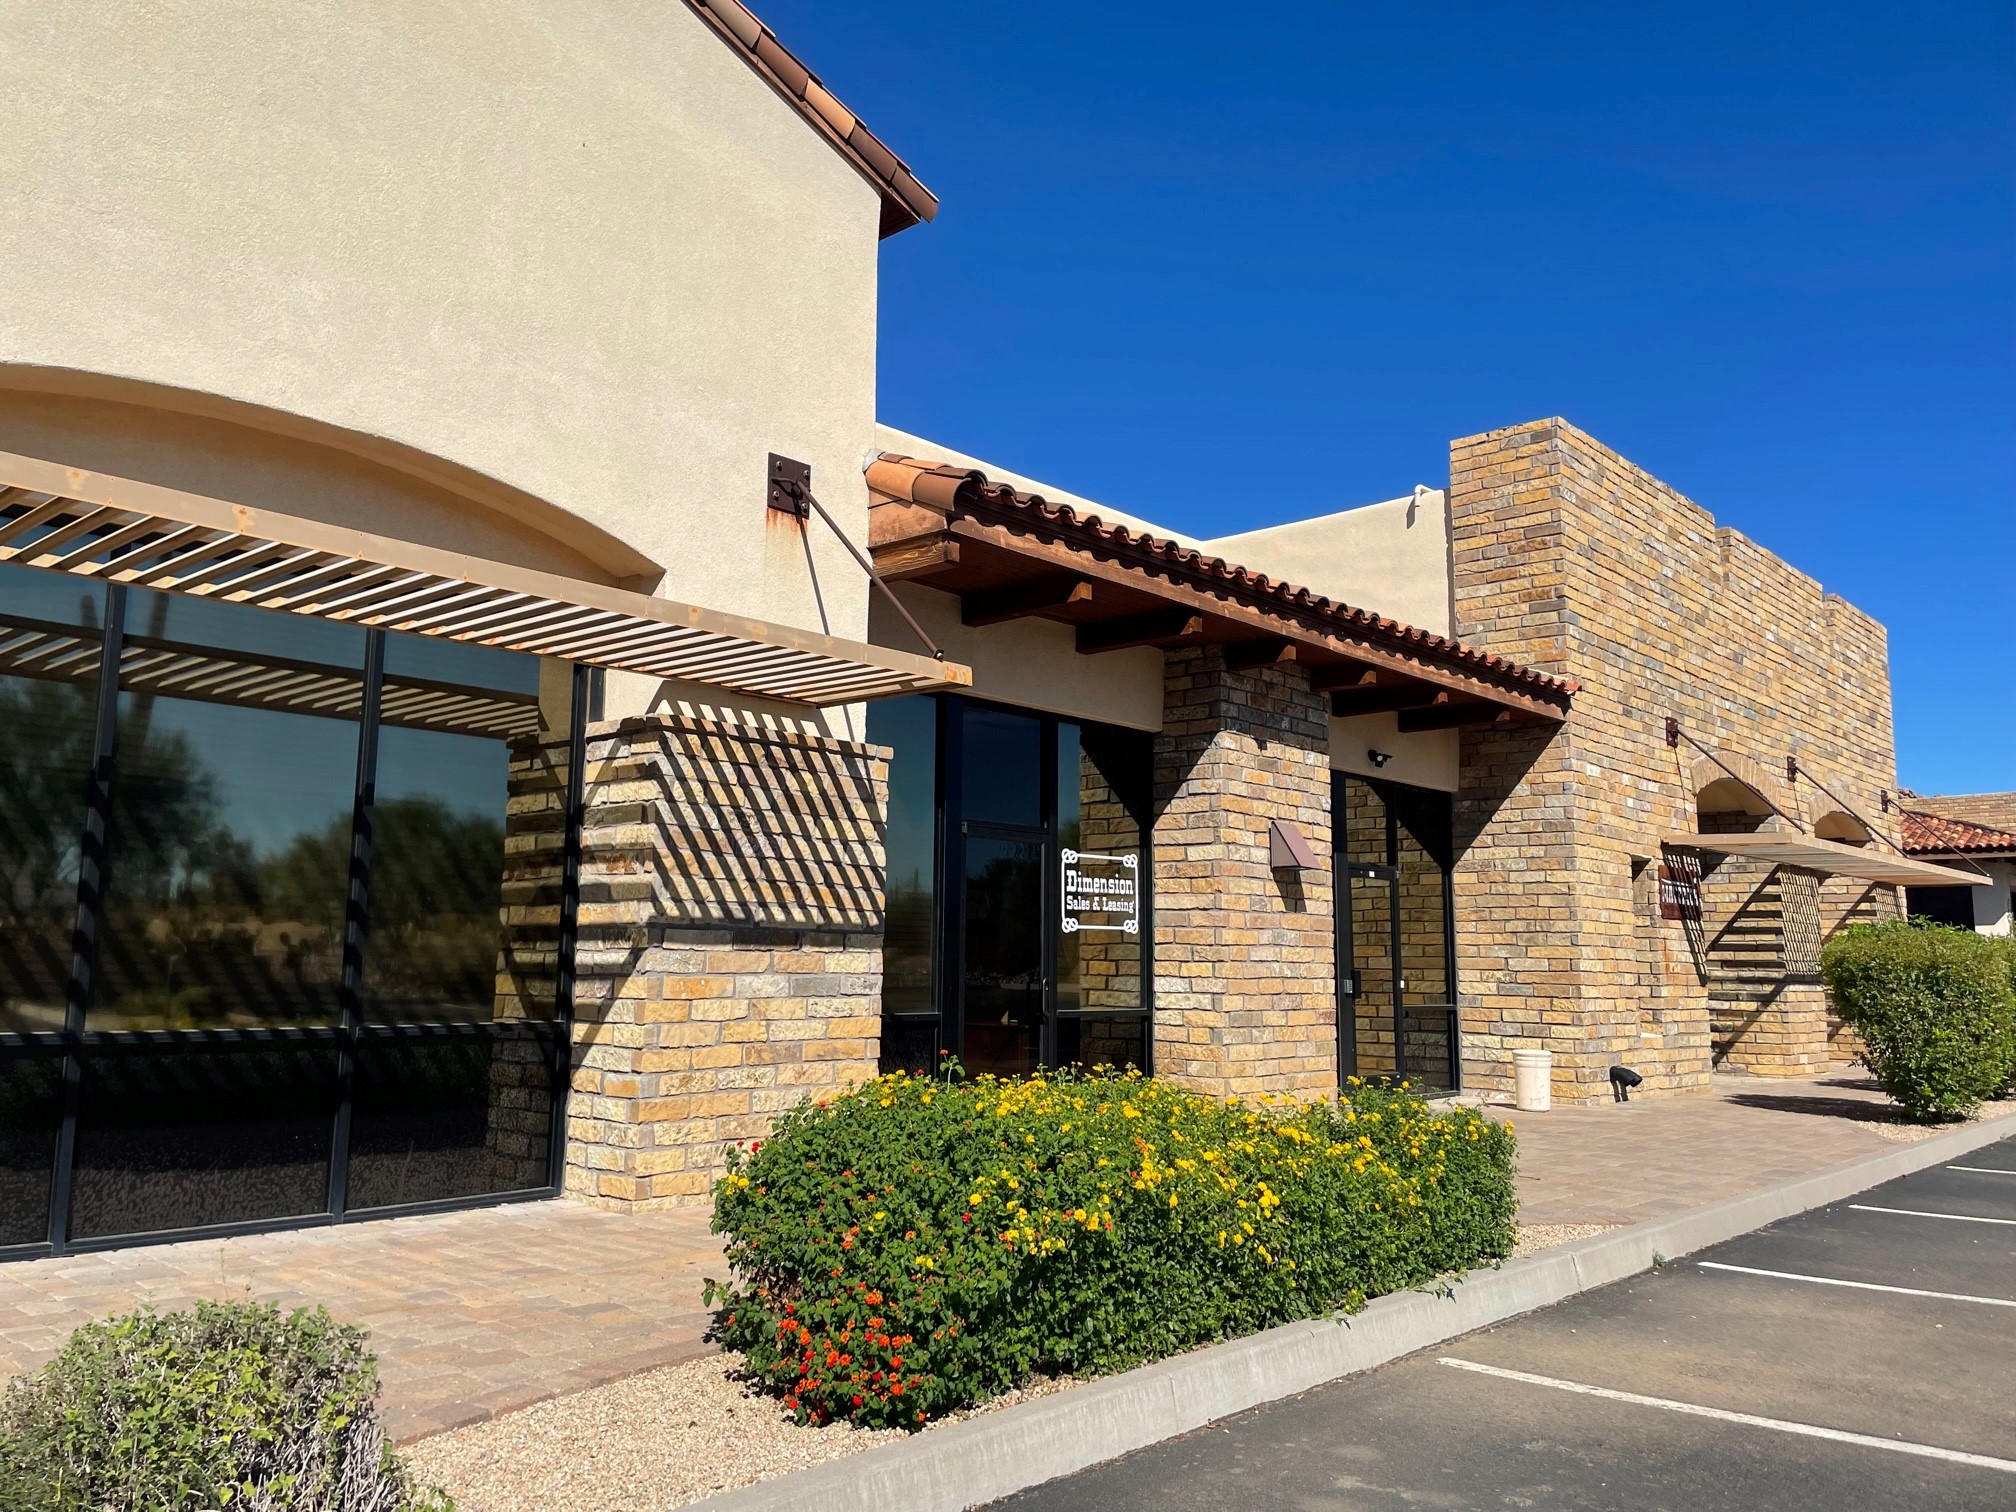
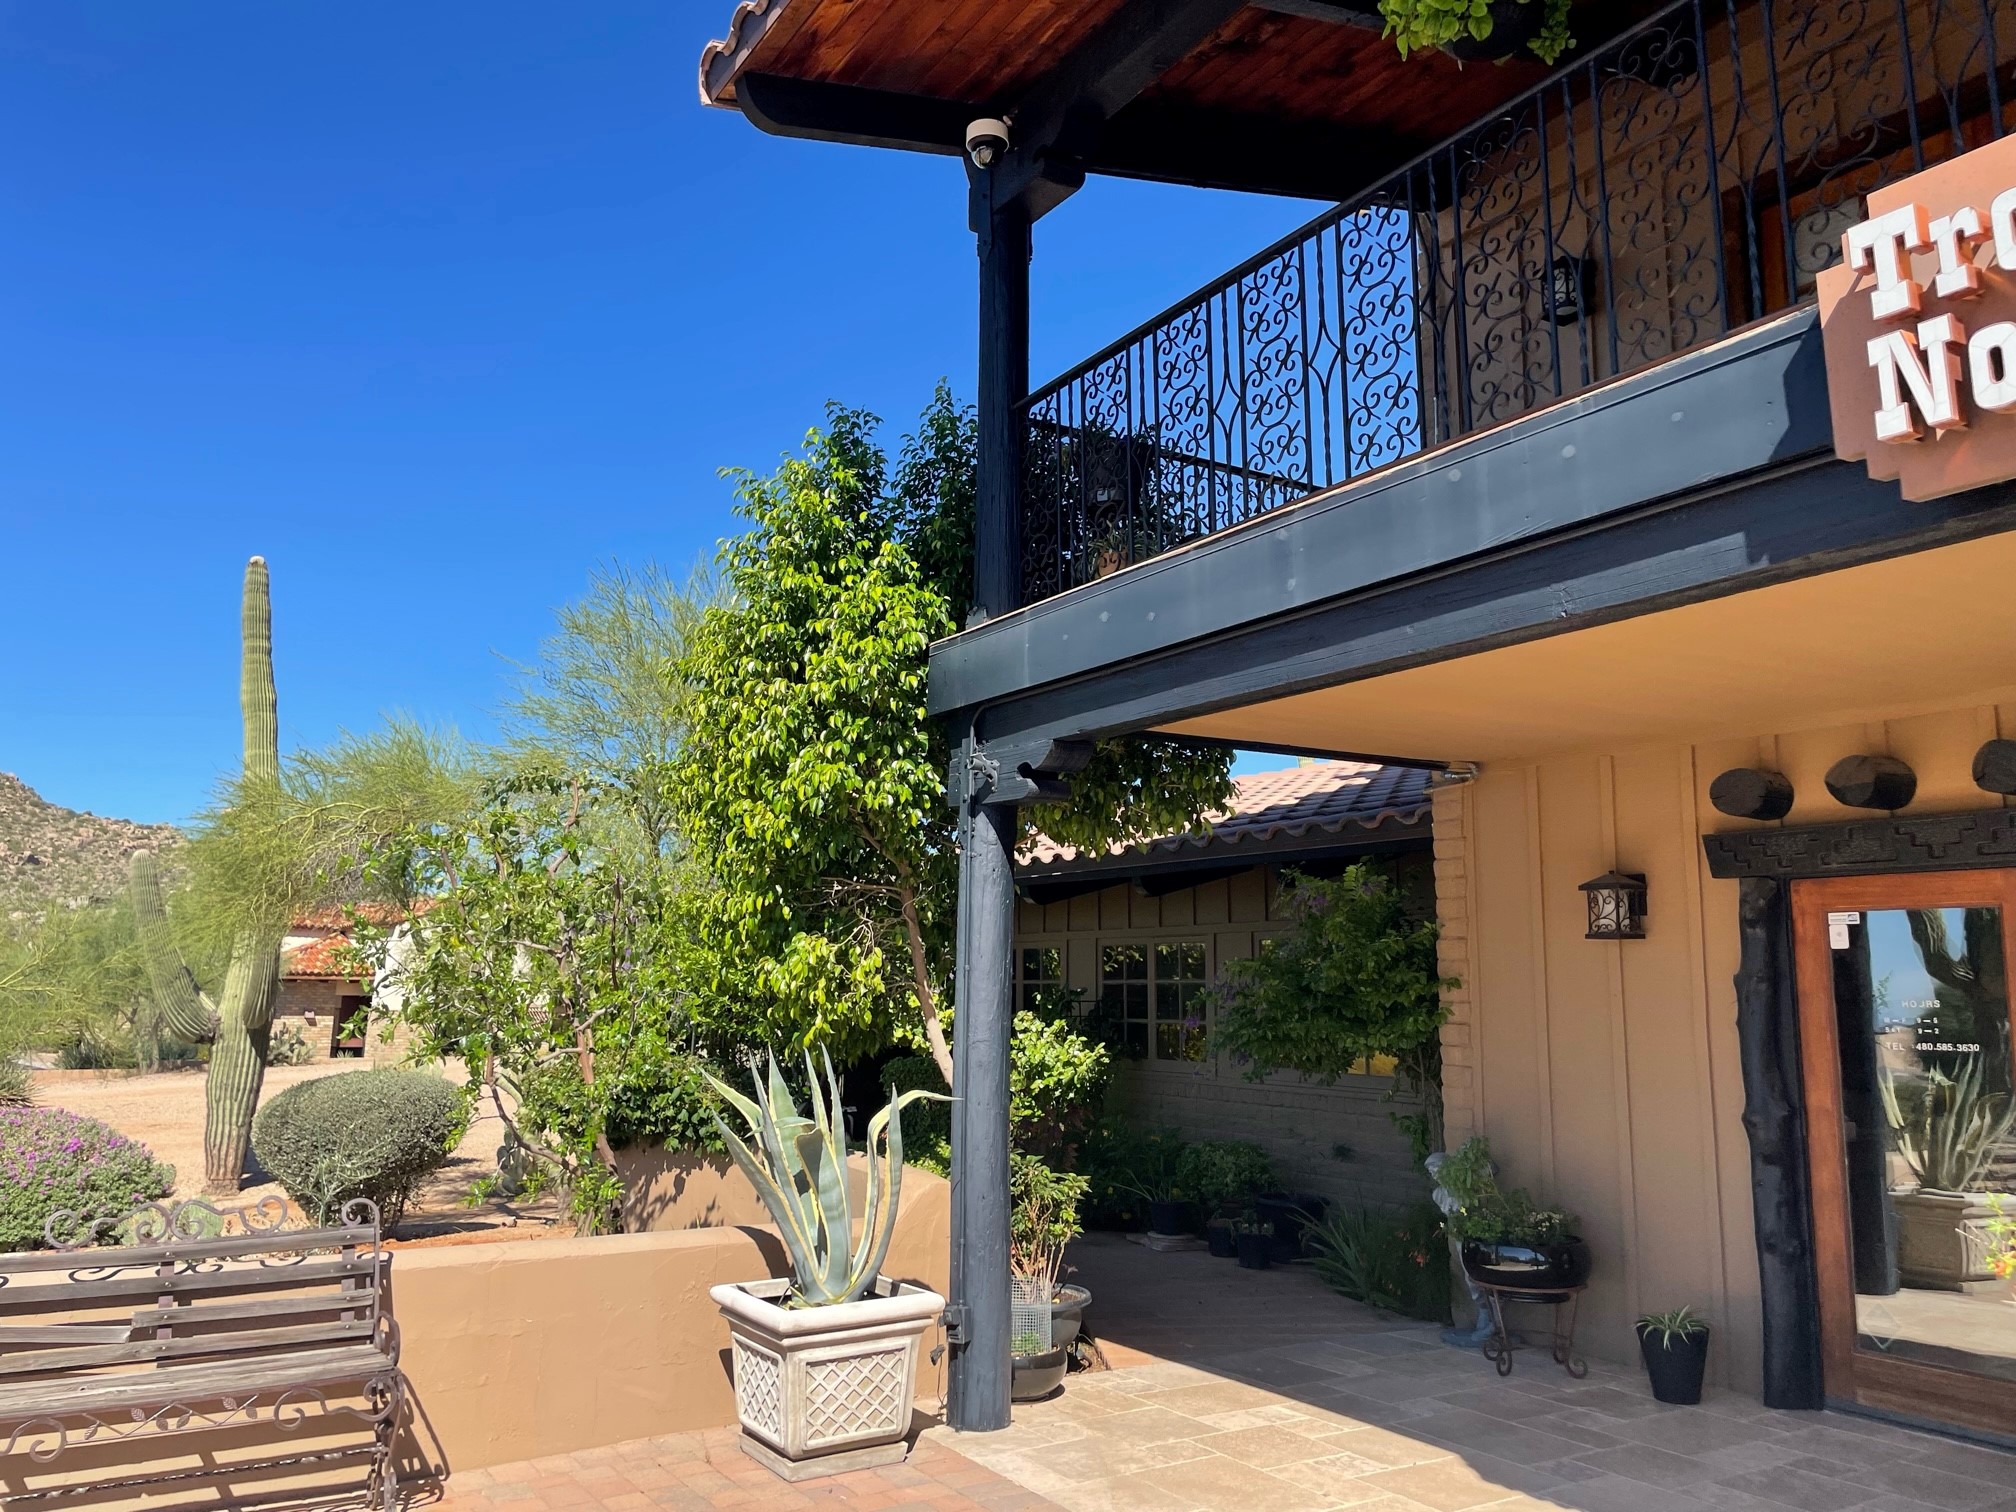
Right – this commercial building employs good techniques to resist solar heat gain: awnings and pergolas over windows, recessed windows and entryways, deep tinting on glass, and shade plants.
Image
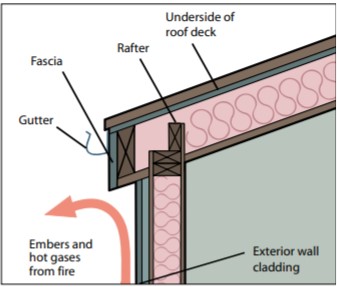
Right – This fire-rated wall assembly uses exterior gypsum board and an exterior siding of fiber-cement or metal to increase fire resistance.
Image
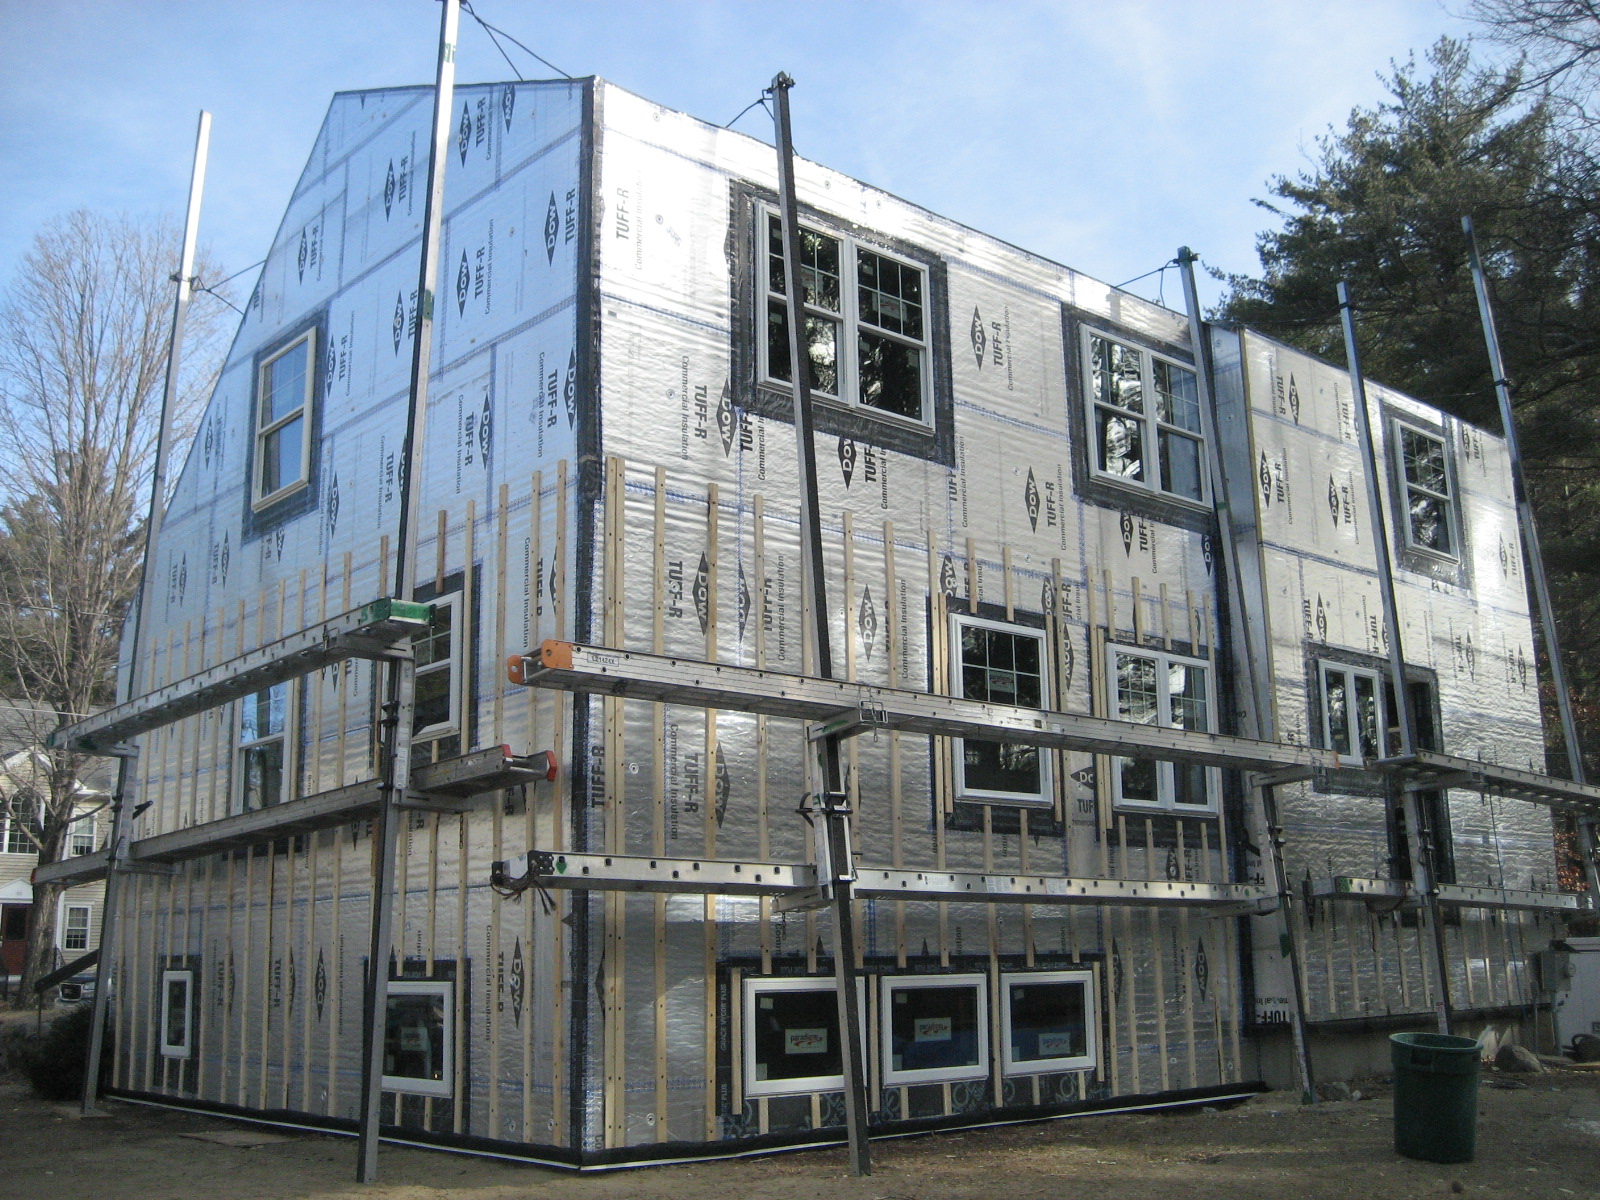
Right – This foil-faced foam sheathing has taped seams and proper flashing details so it can serve as a drainage plane.
Image

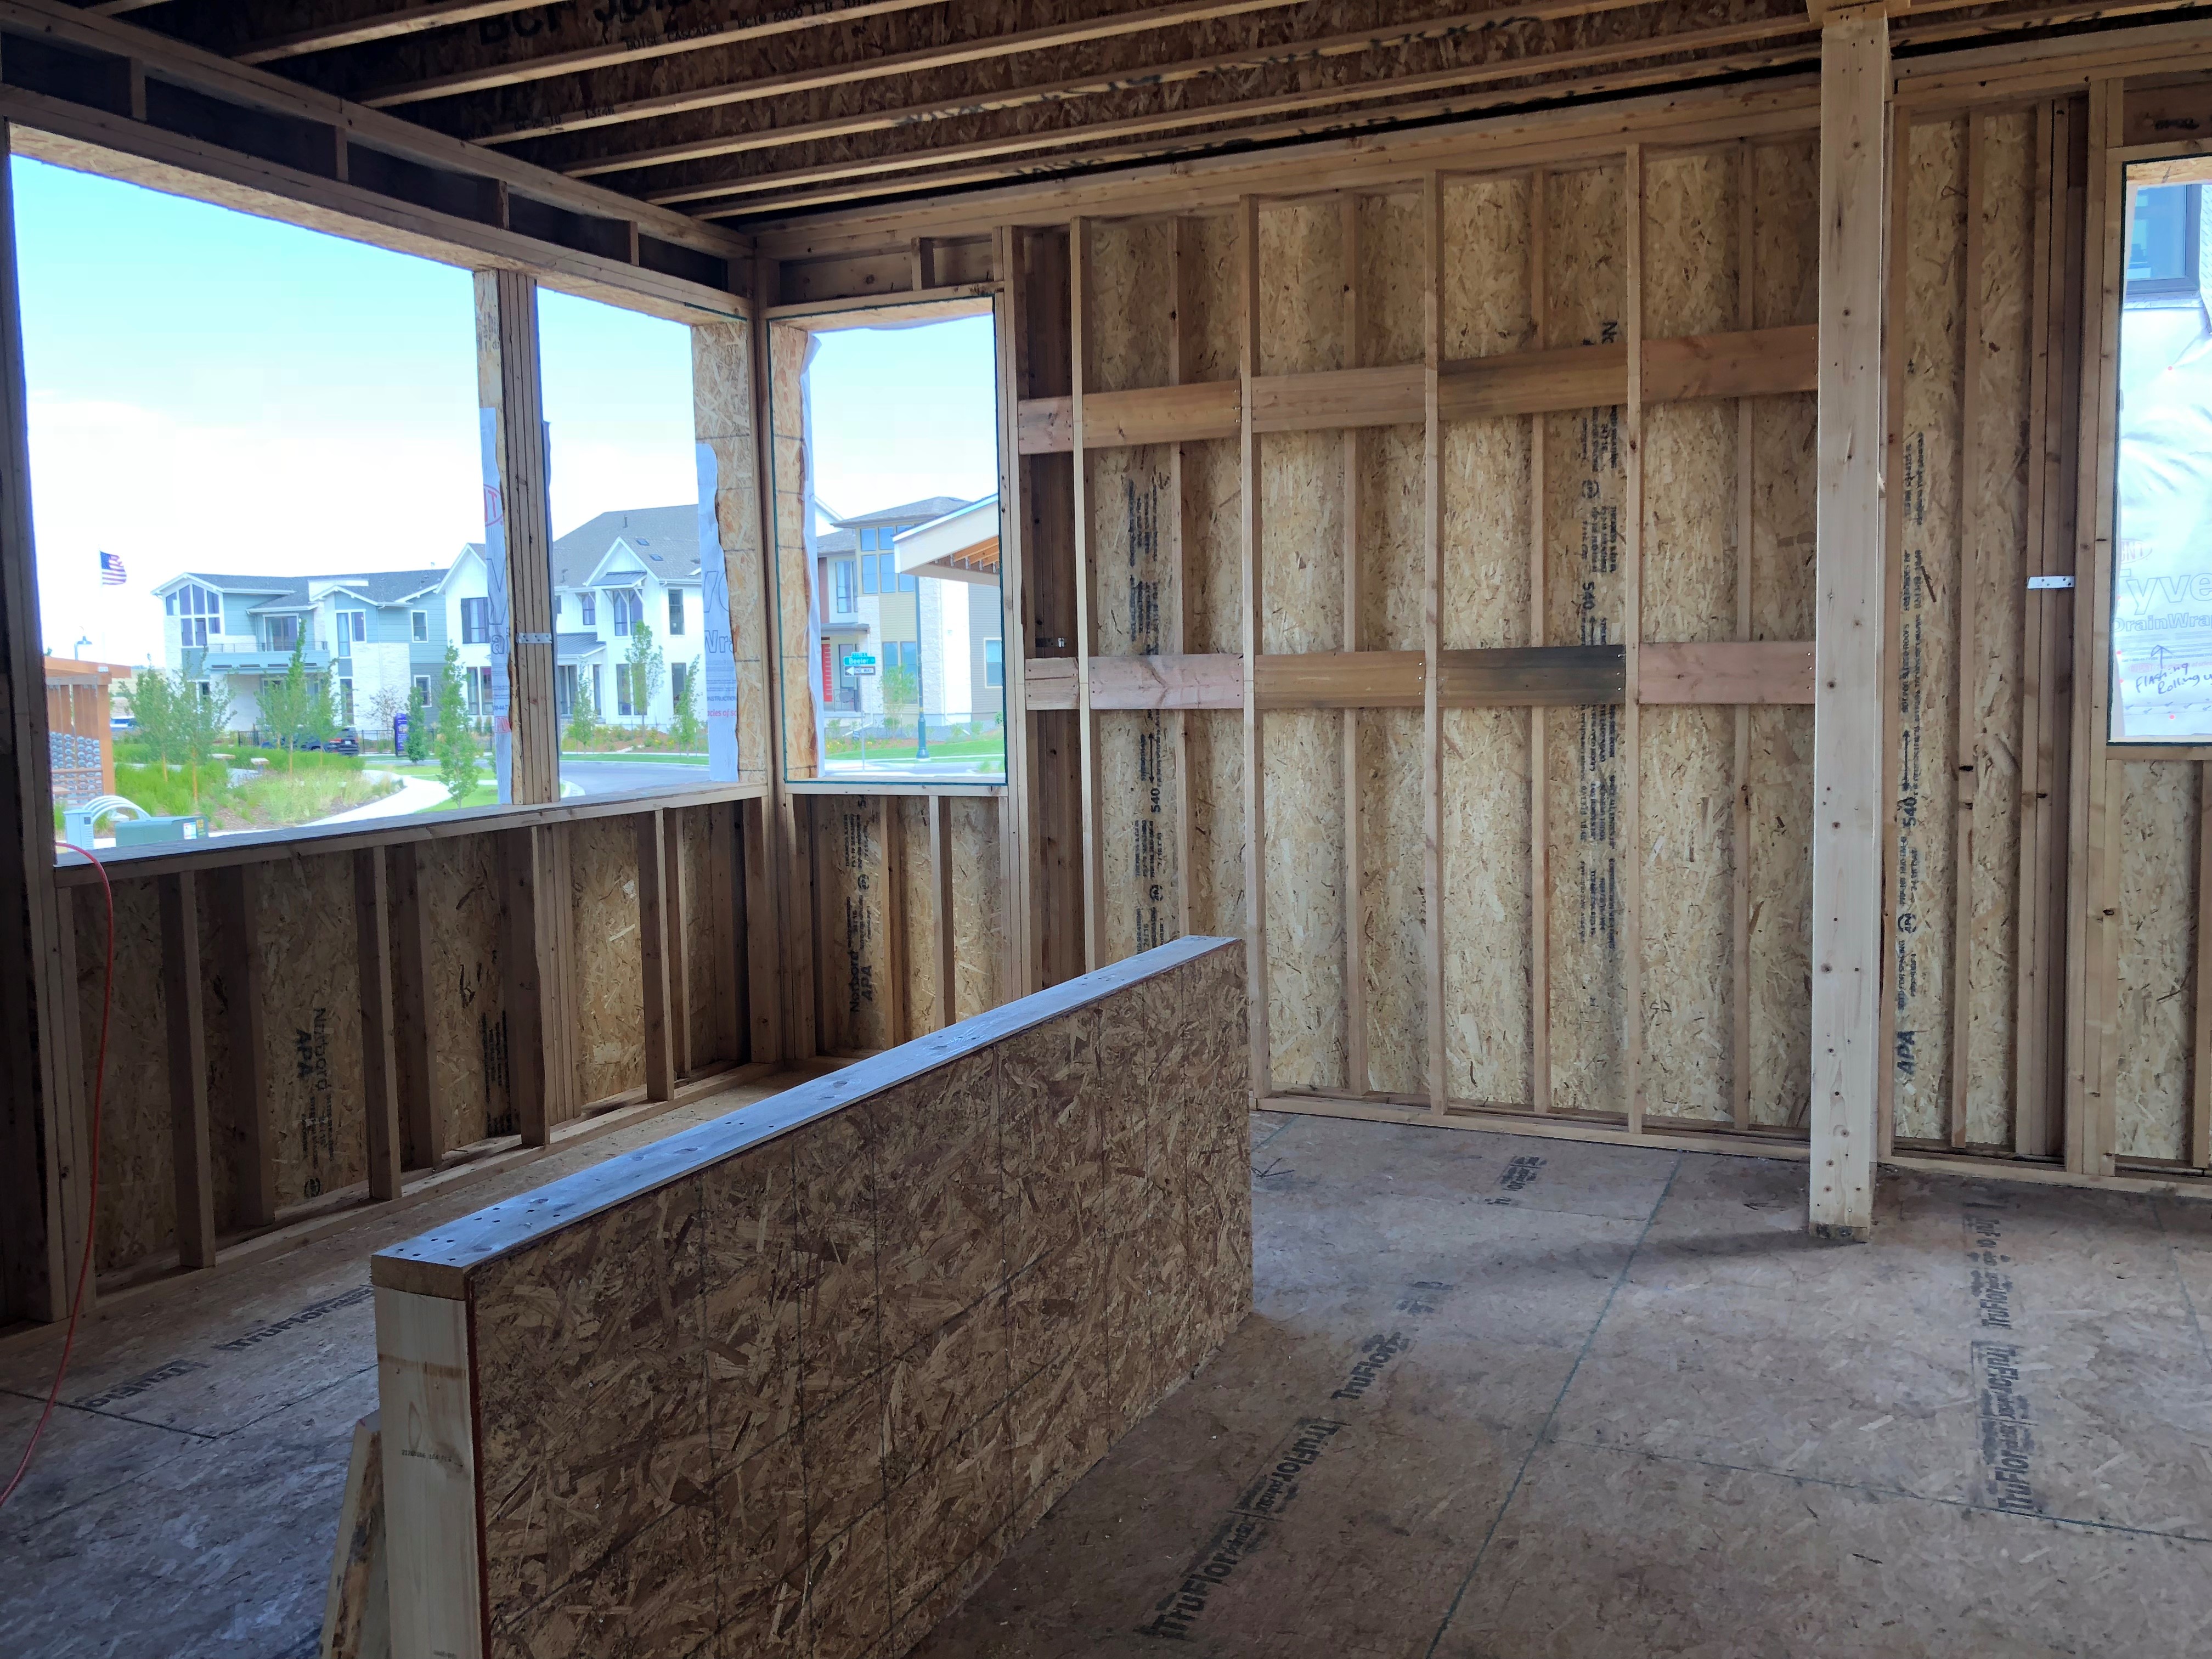
Right – This home is framed with double walls – two 2x4 walls set next to each other then sheathed with OSB on the exterior and netted on the interior face to create an extra-deep wall cavity that can be filled with blown-in insulation.
Image
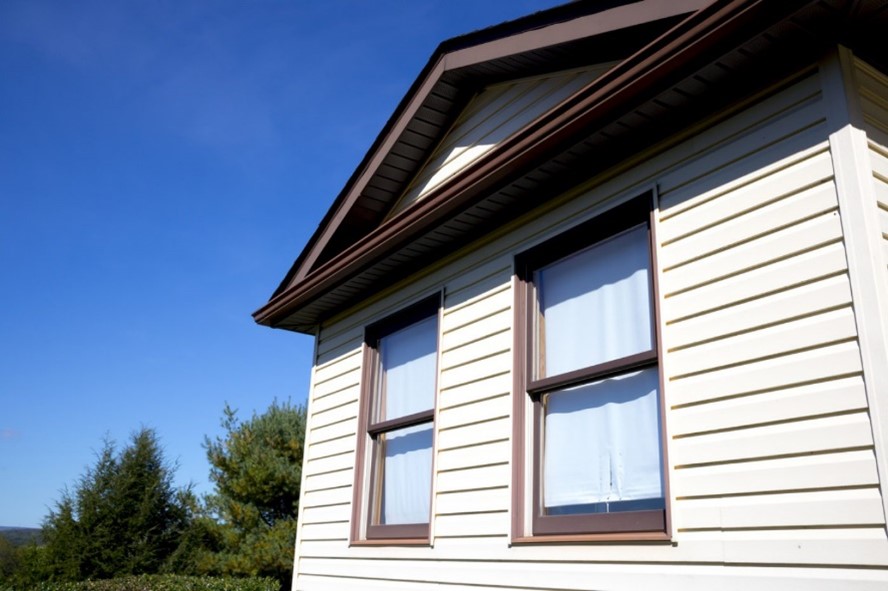
Right – This home uses a light-colored exterior wall to reduce solar heat gain
Image
Image
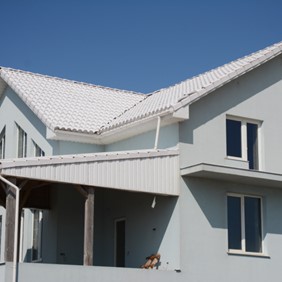
Right – This home uses light tan stucco and white trim to reduce solar heat gain.
Image
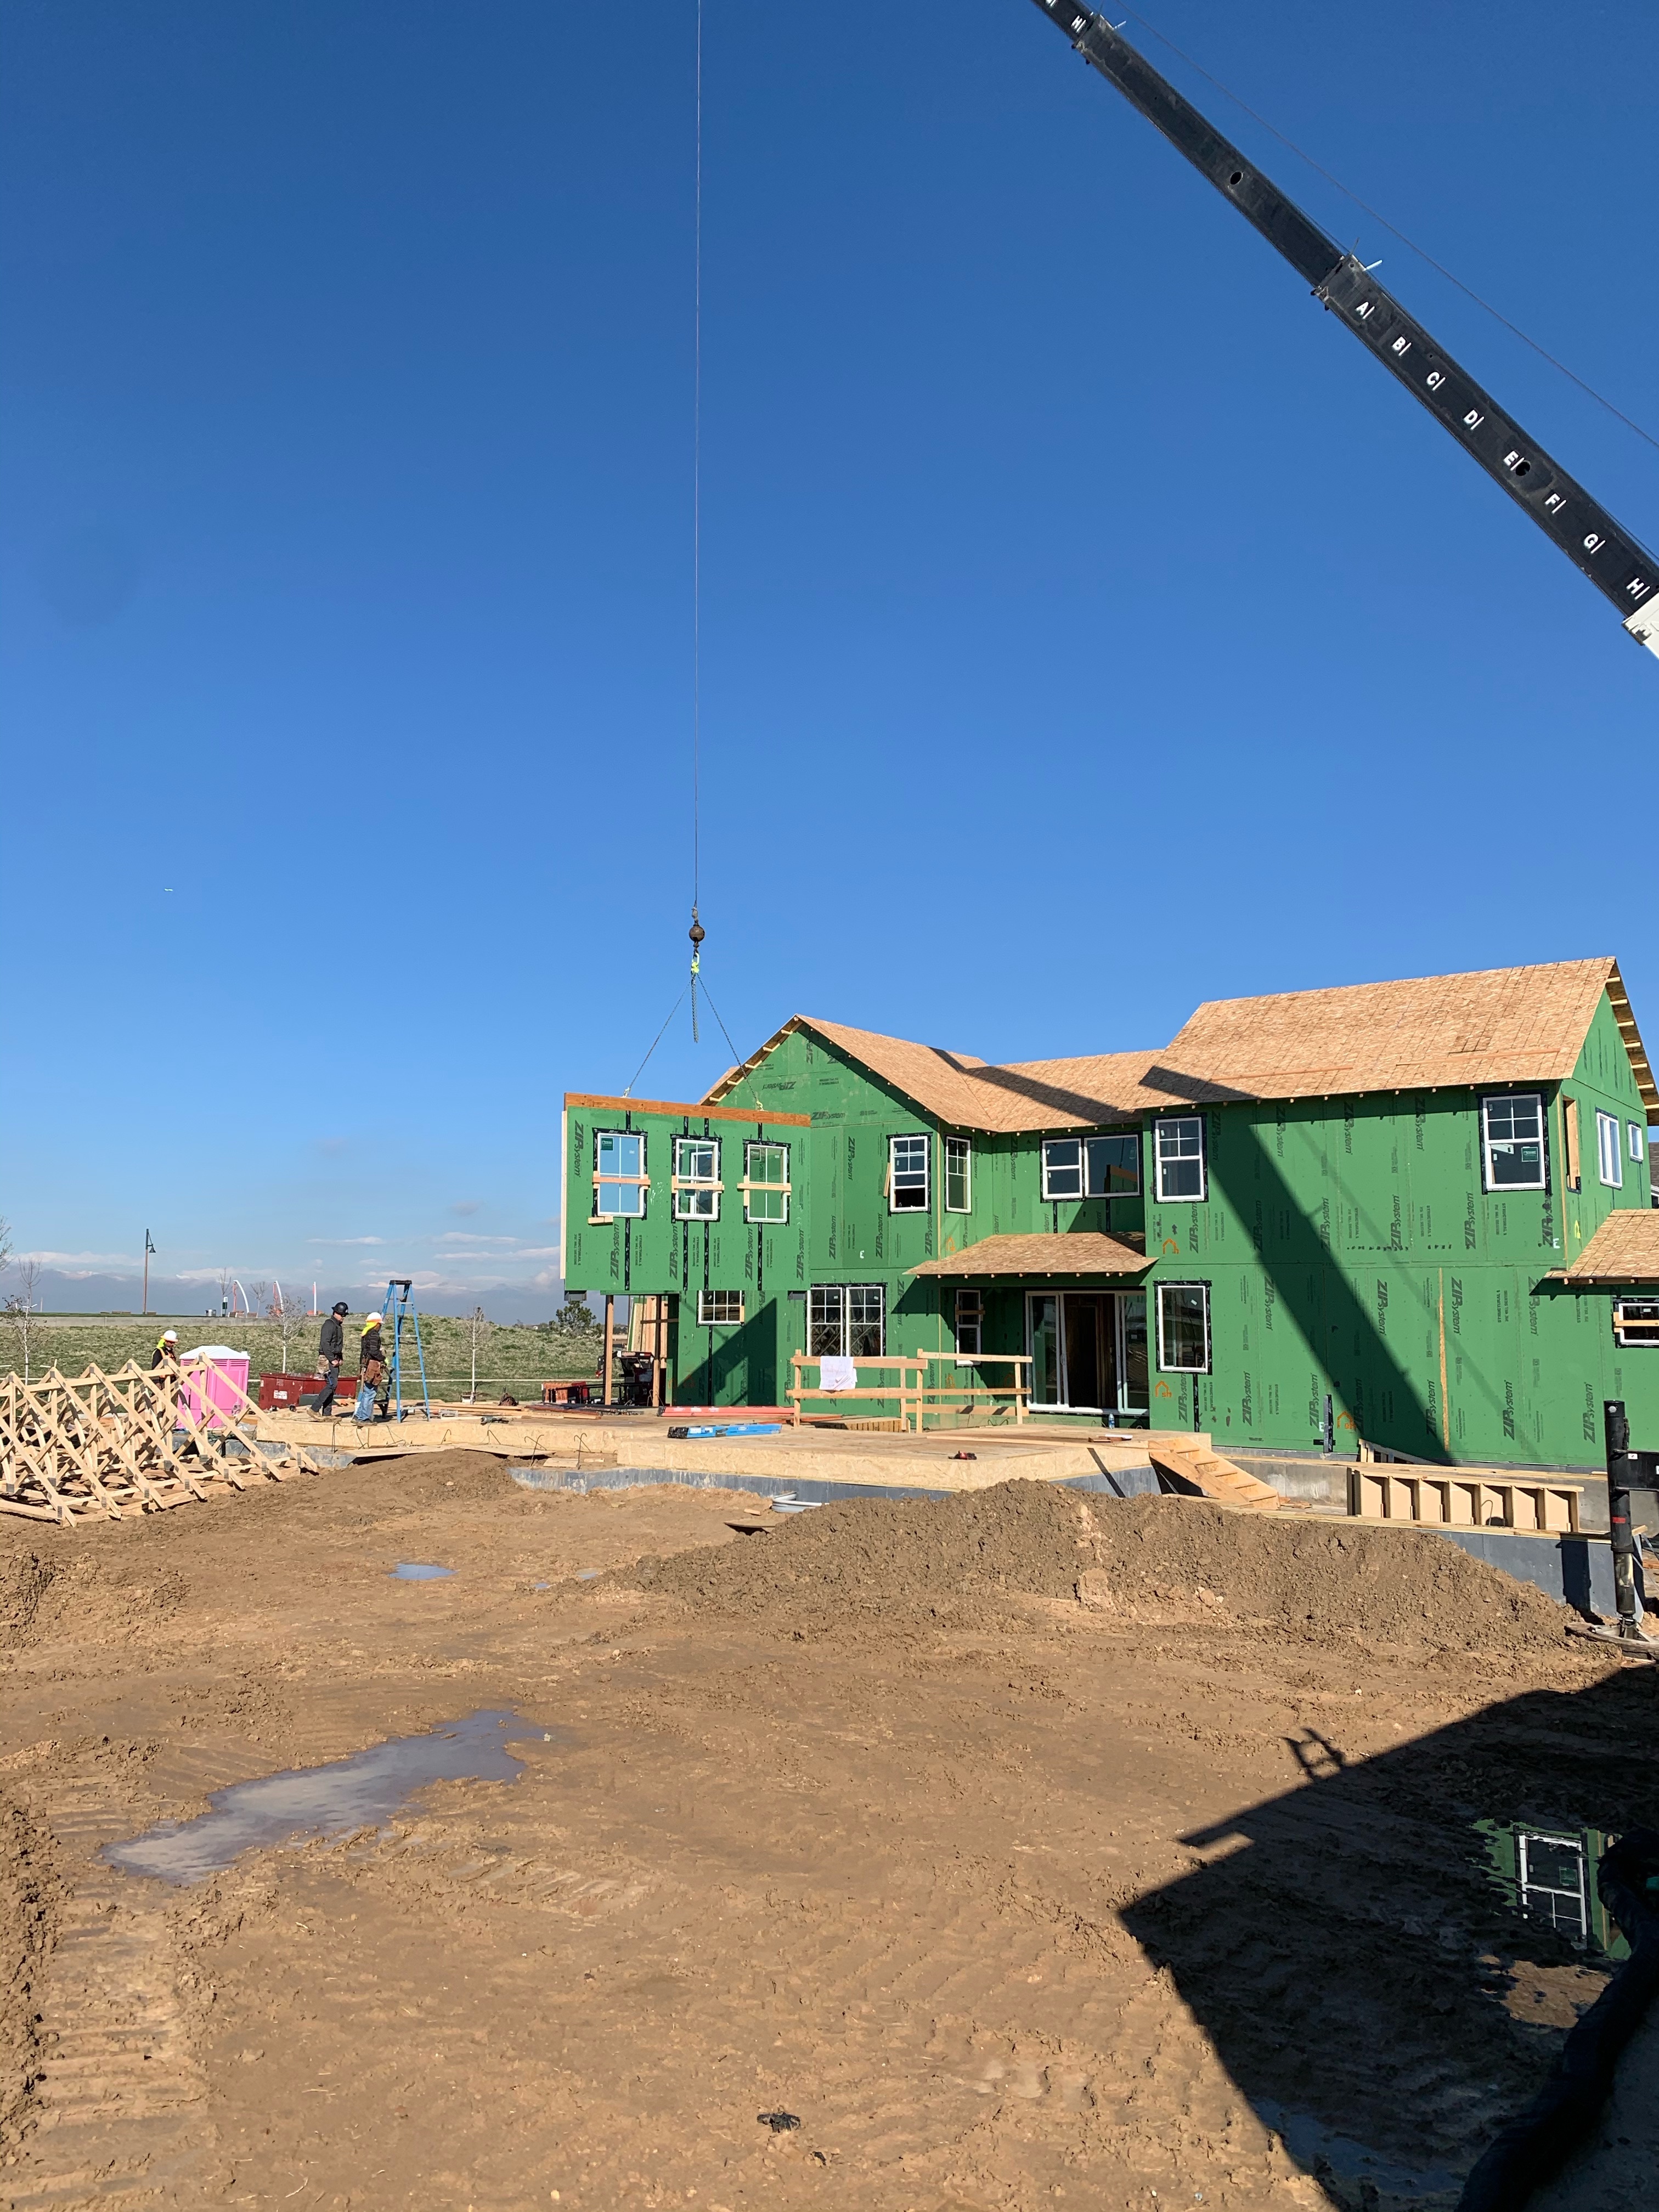
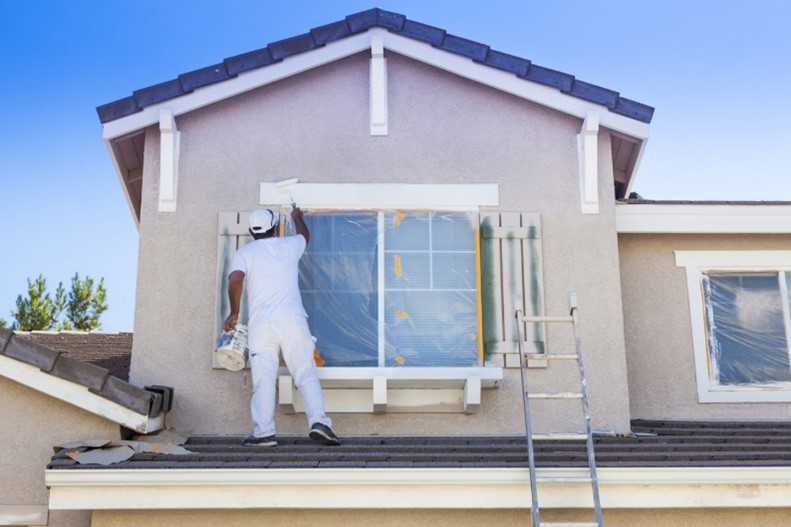
Right – This home’s above-grade walls are constructed in a factory where wall panels of 2x6 studs are assembled and sheathed with a coated OSB product, then windows are installed and flashed before shipping the panels to the site for assembly by crane.
Image
Image

Right – This low-slope roof and parapet assembly has continuity of both the air and water barriers
Image
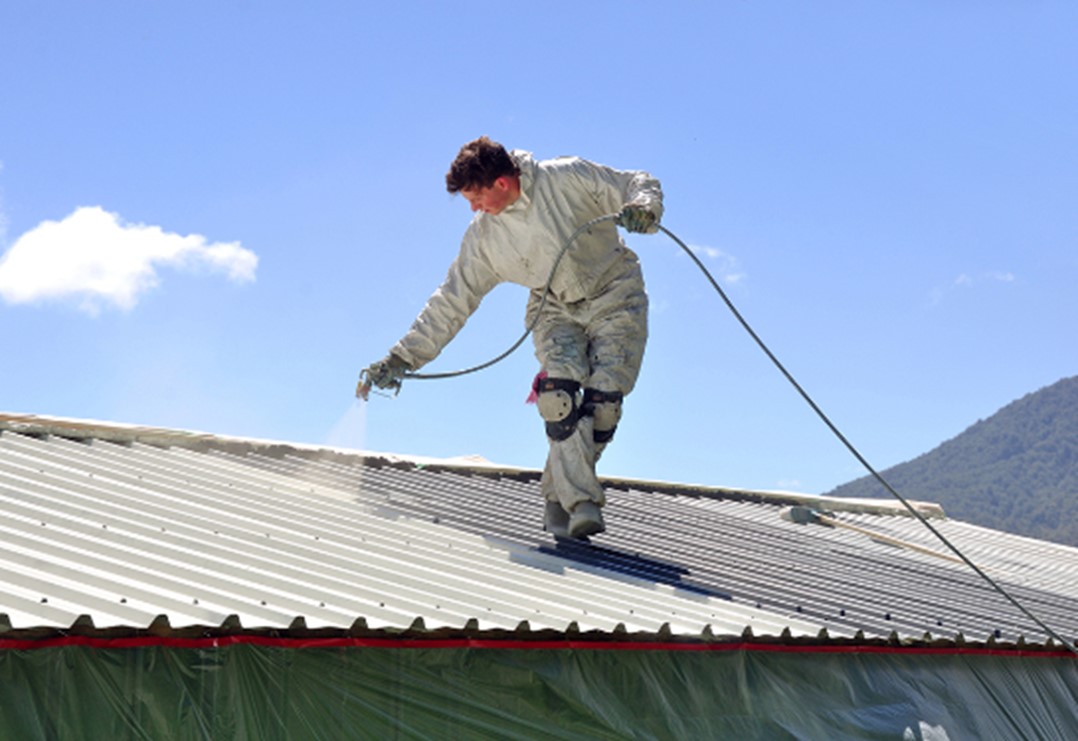
Right – This metal roof is being coated with a cool (high SRI) coating to reduce solar heat gain
Image
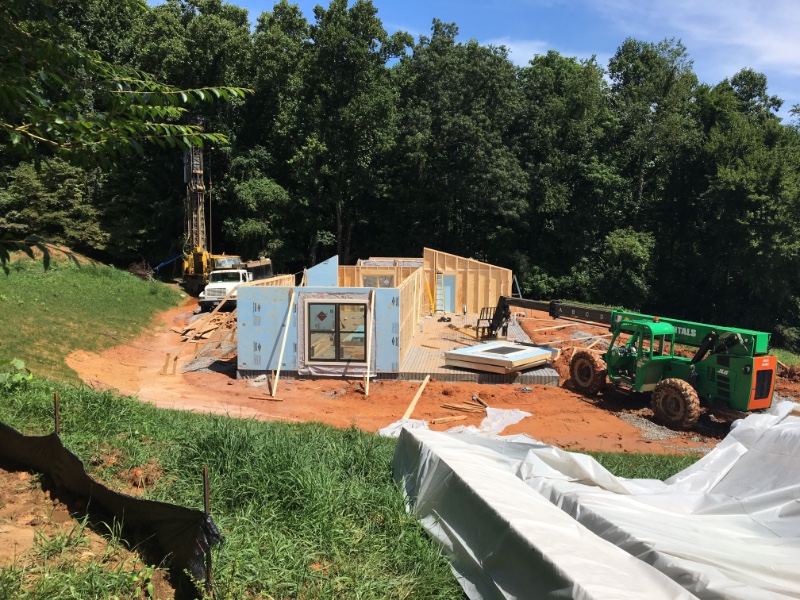
Right – This modular home consists of prebuilt wall panels that are assembled on site.
Image
Image
Image
Image
Image
Image

Image

Image
Image
Image

Image
Image

Right – Walls, windows, and wiring are installed in the factory for these modular homes, which are installed at the site on basement foundations made of insulated concrete wall panels.
Image
Image
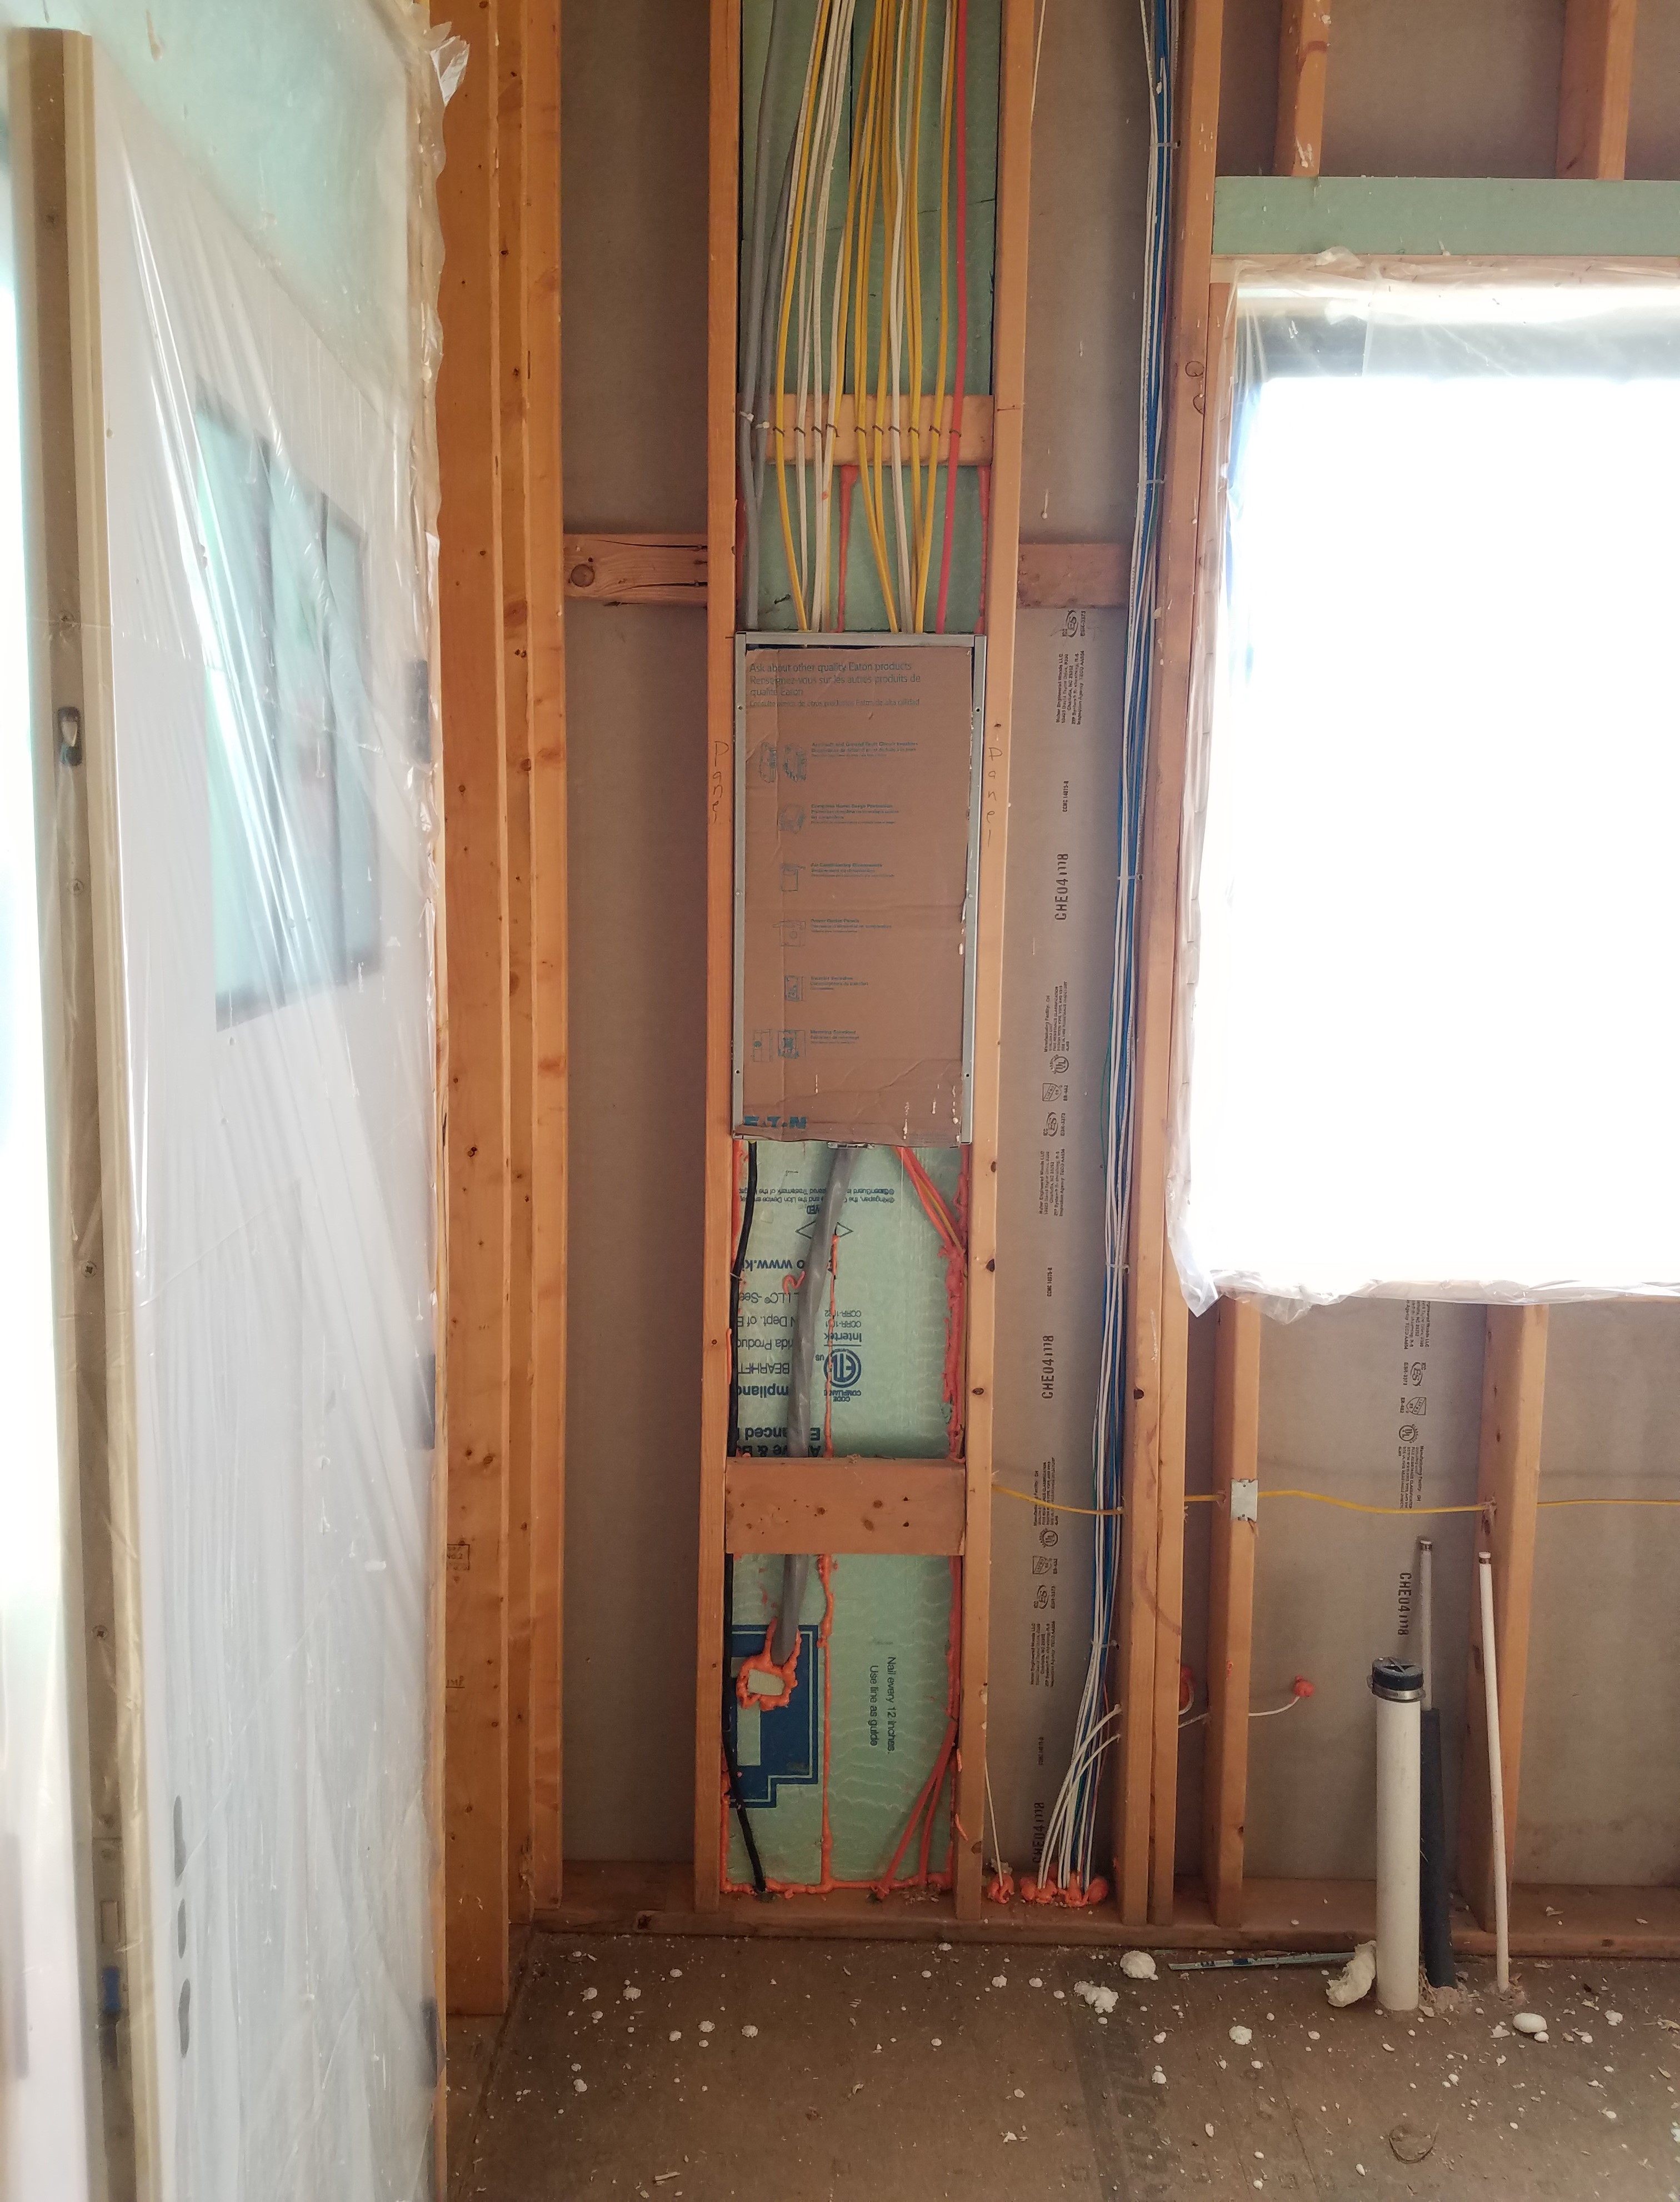
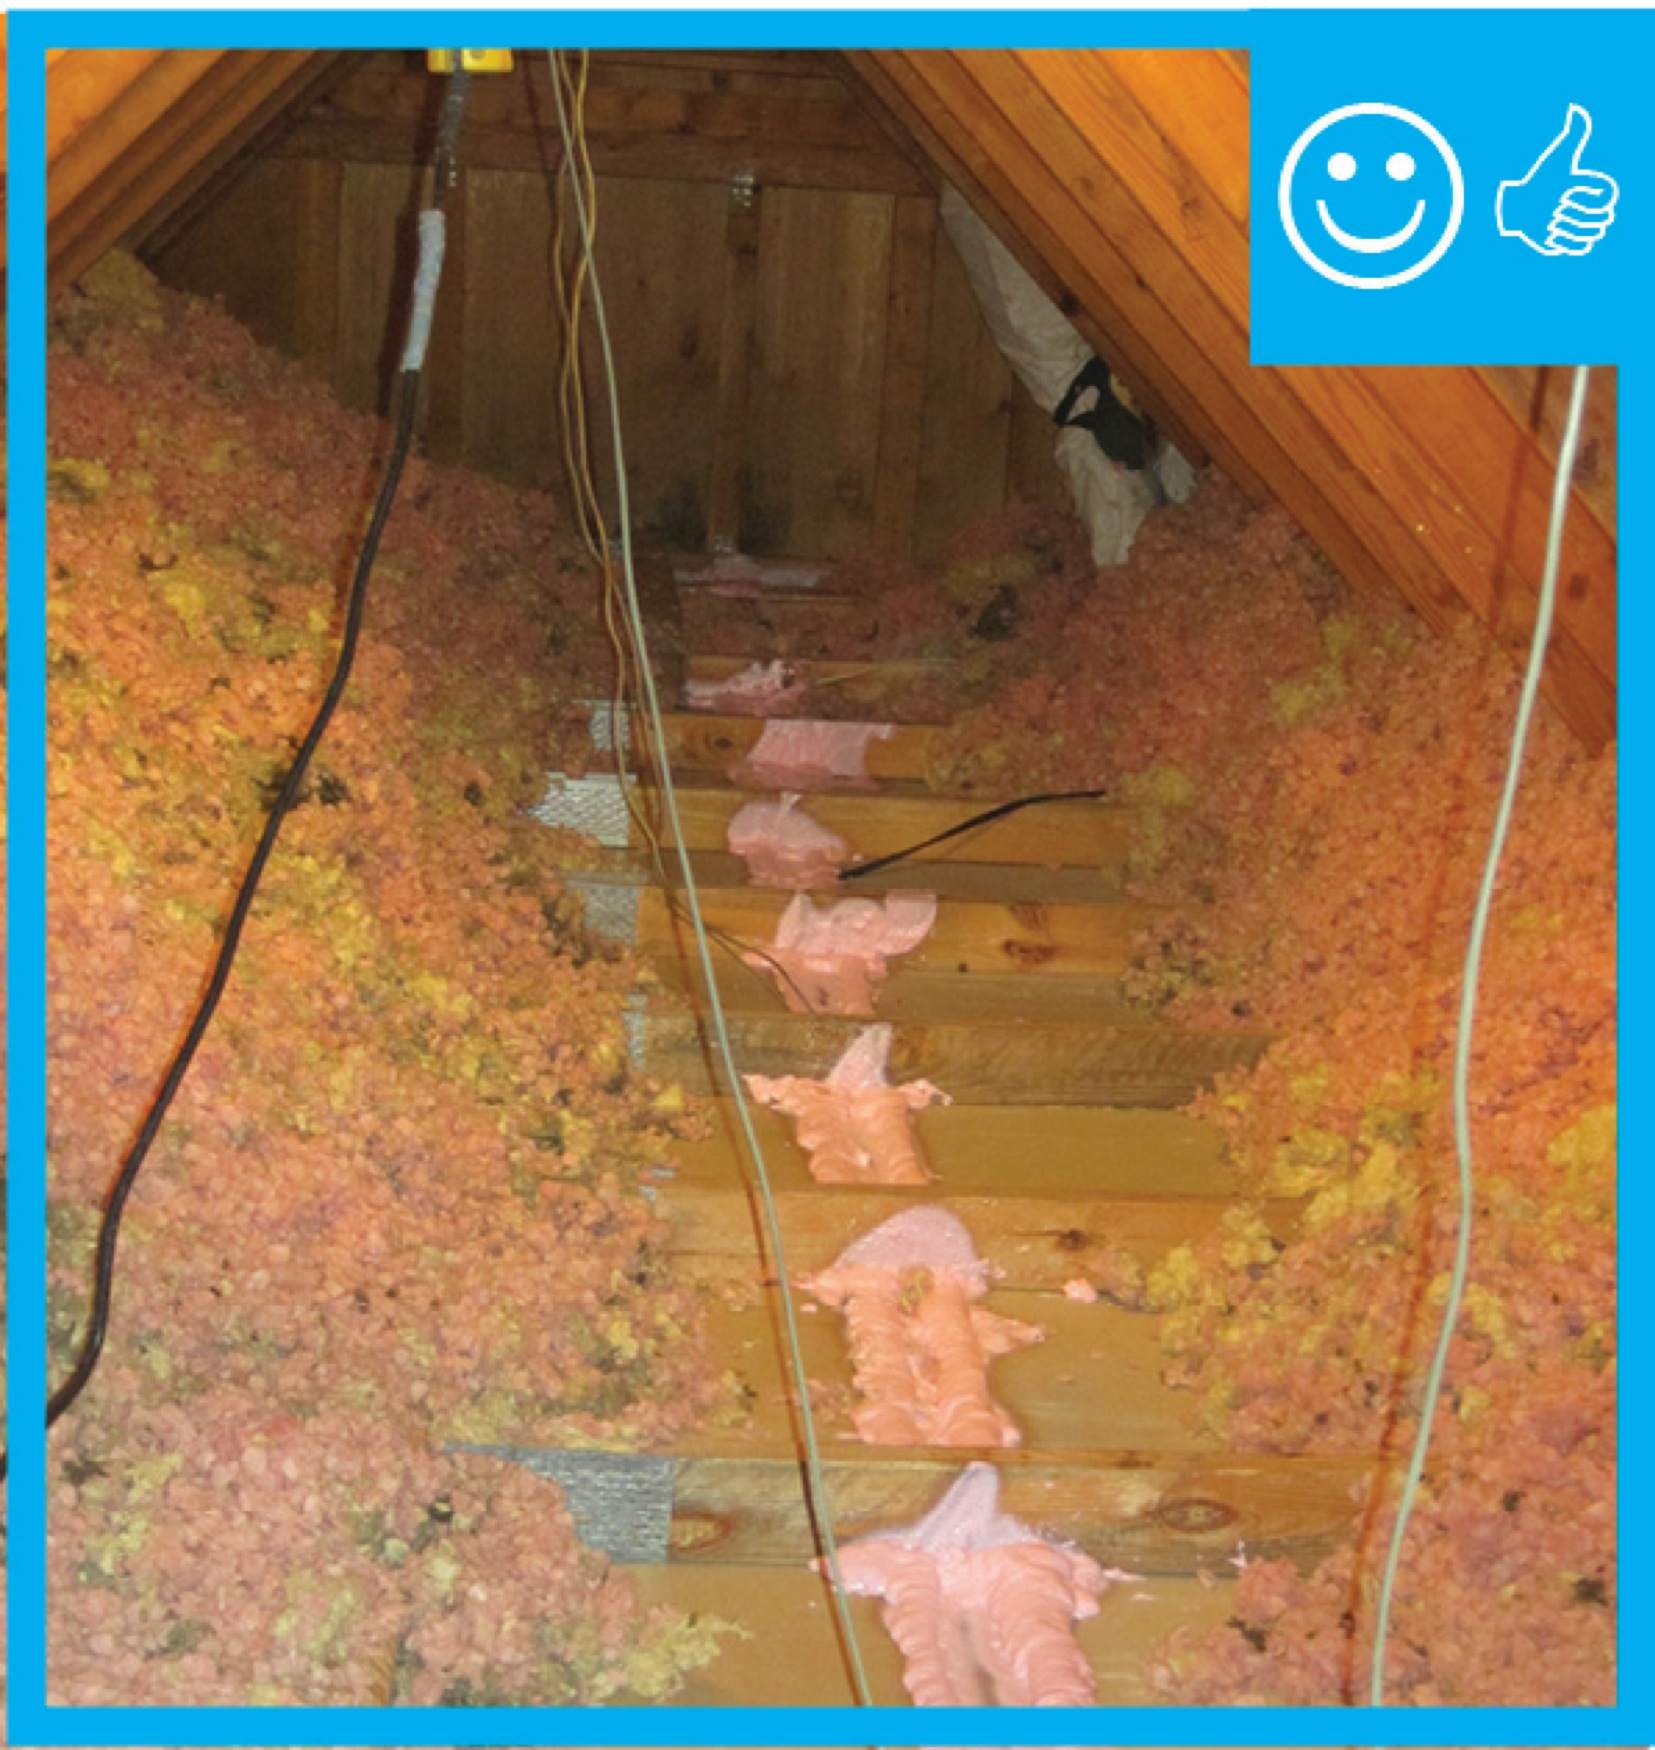
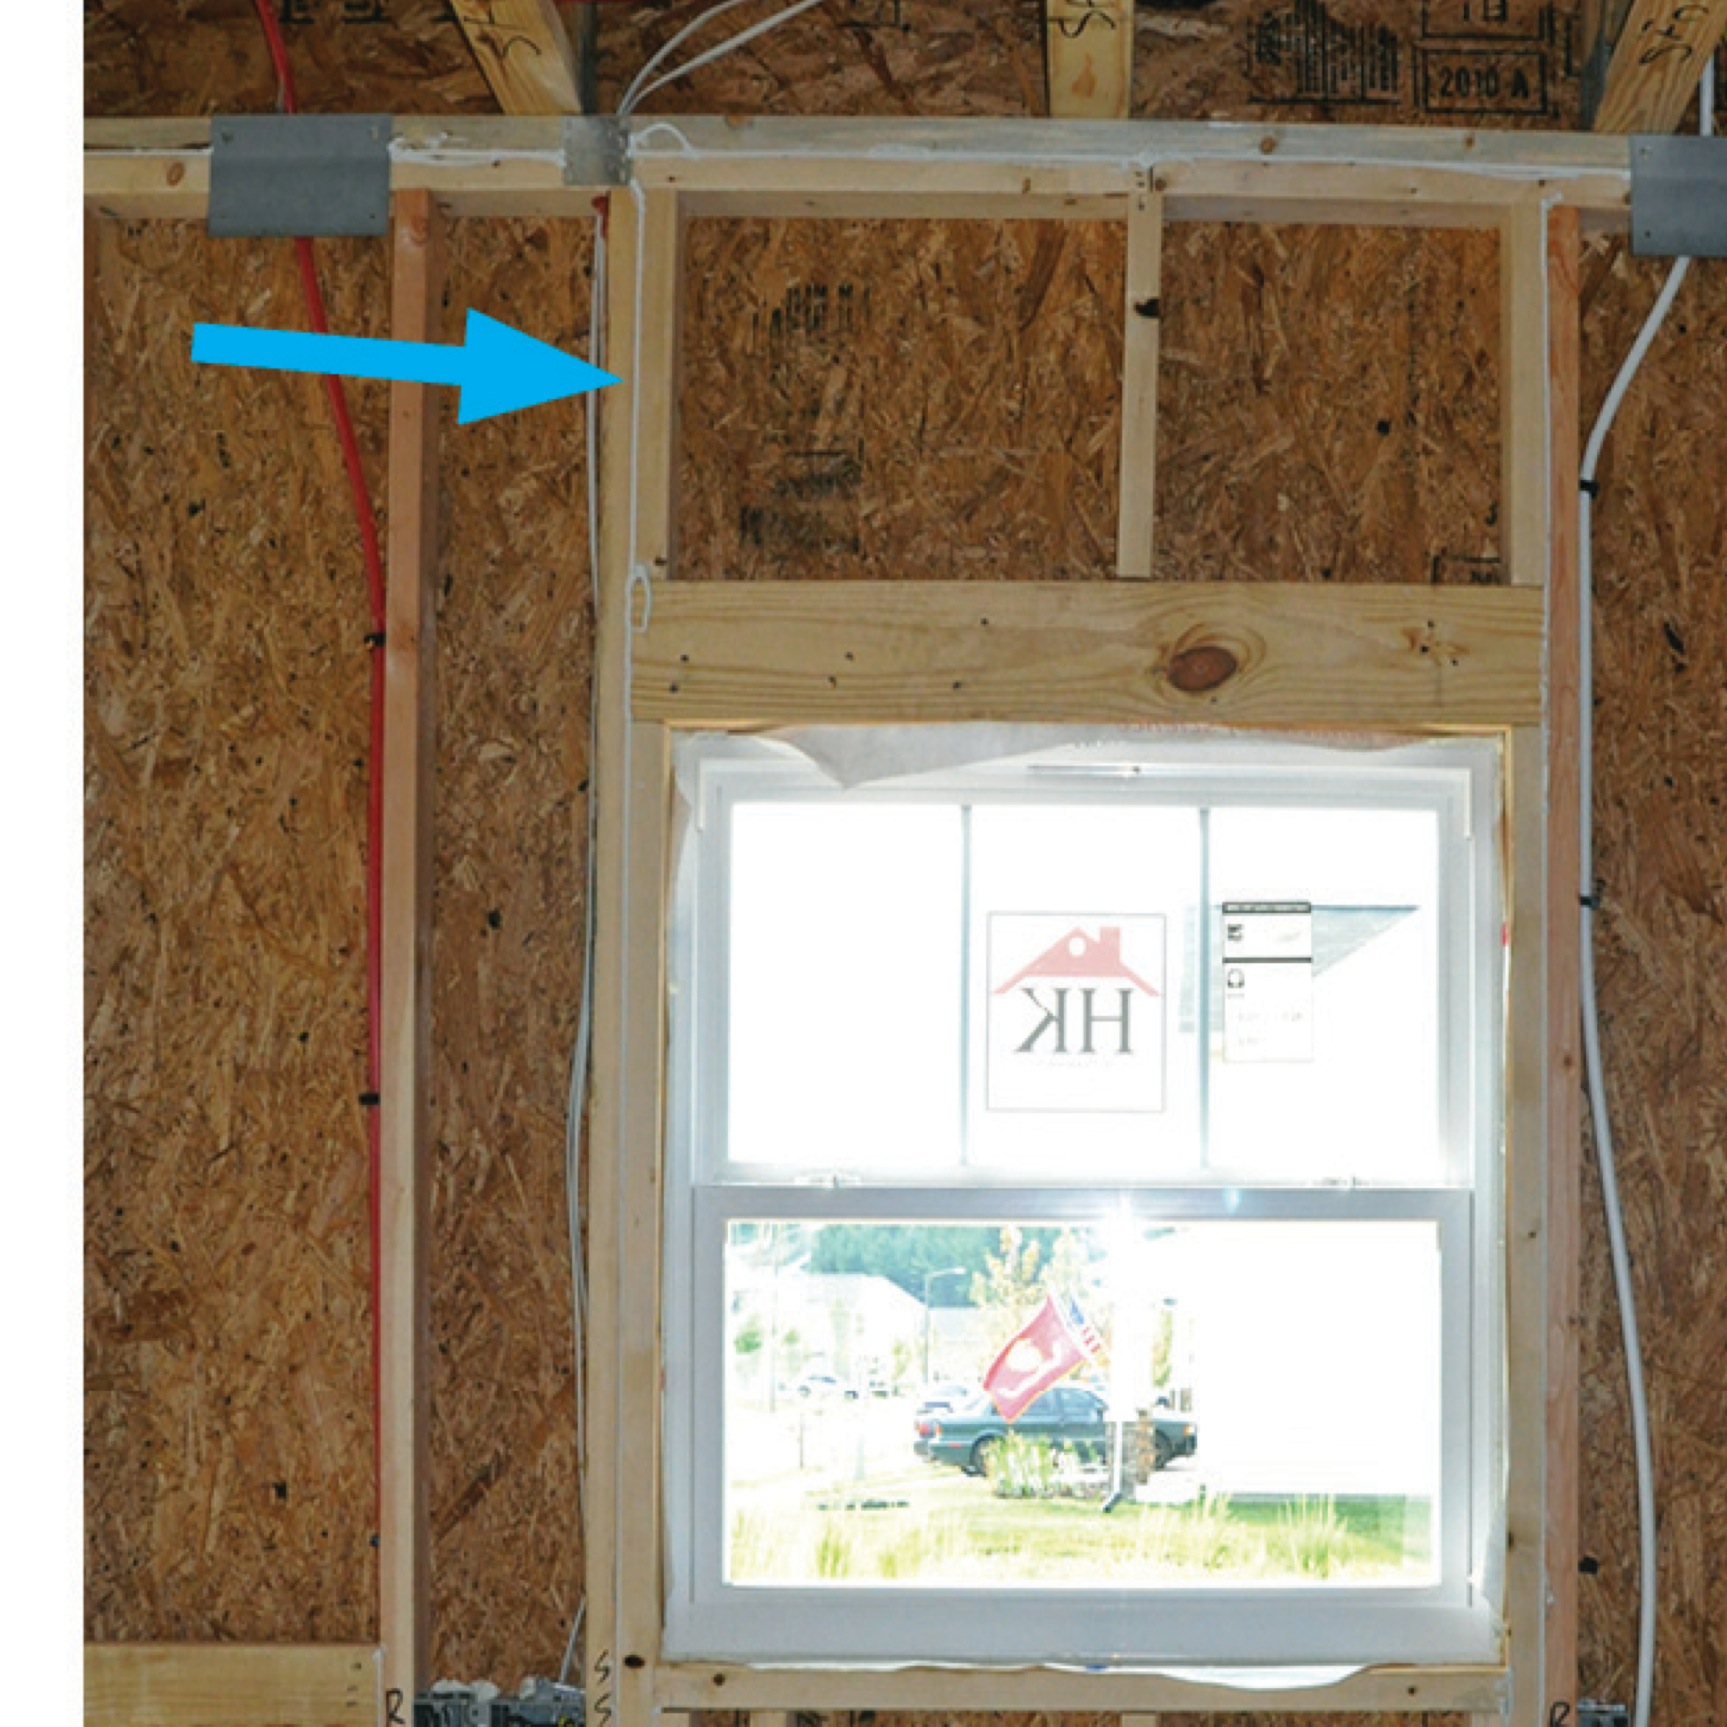
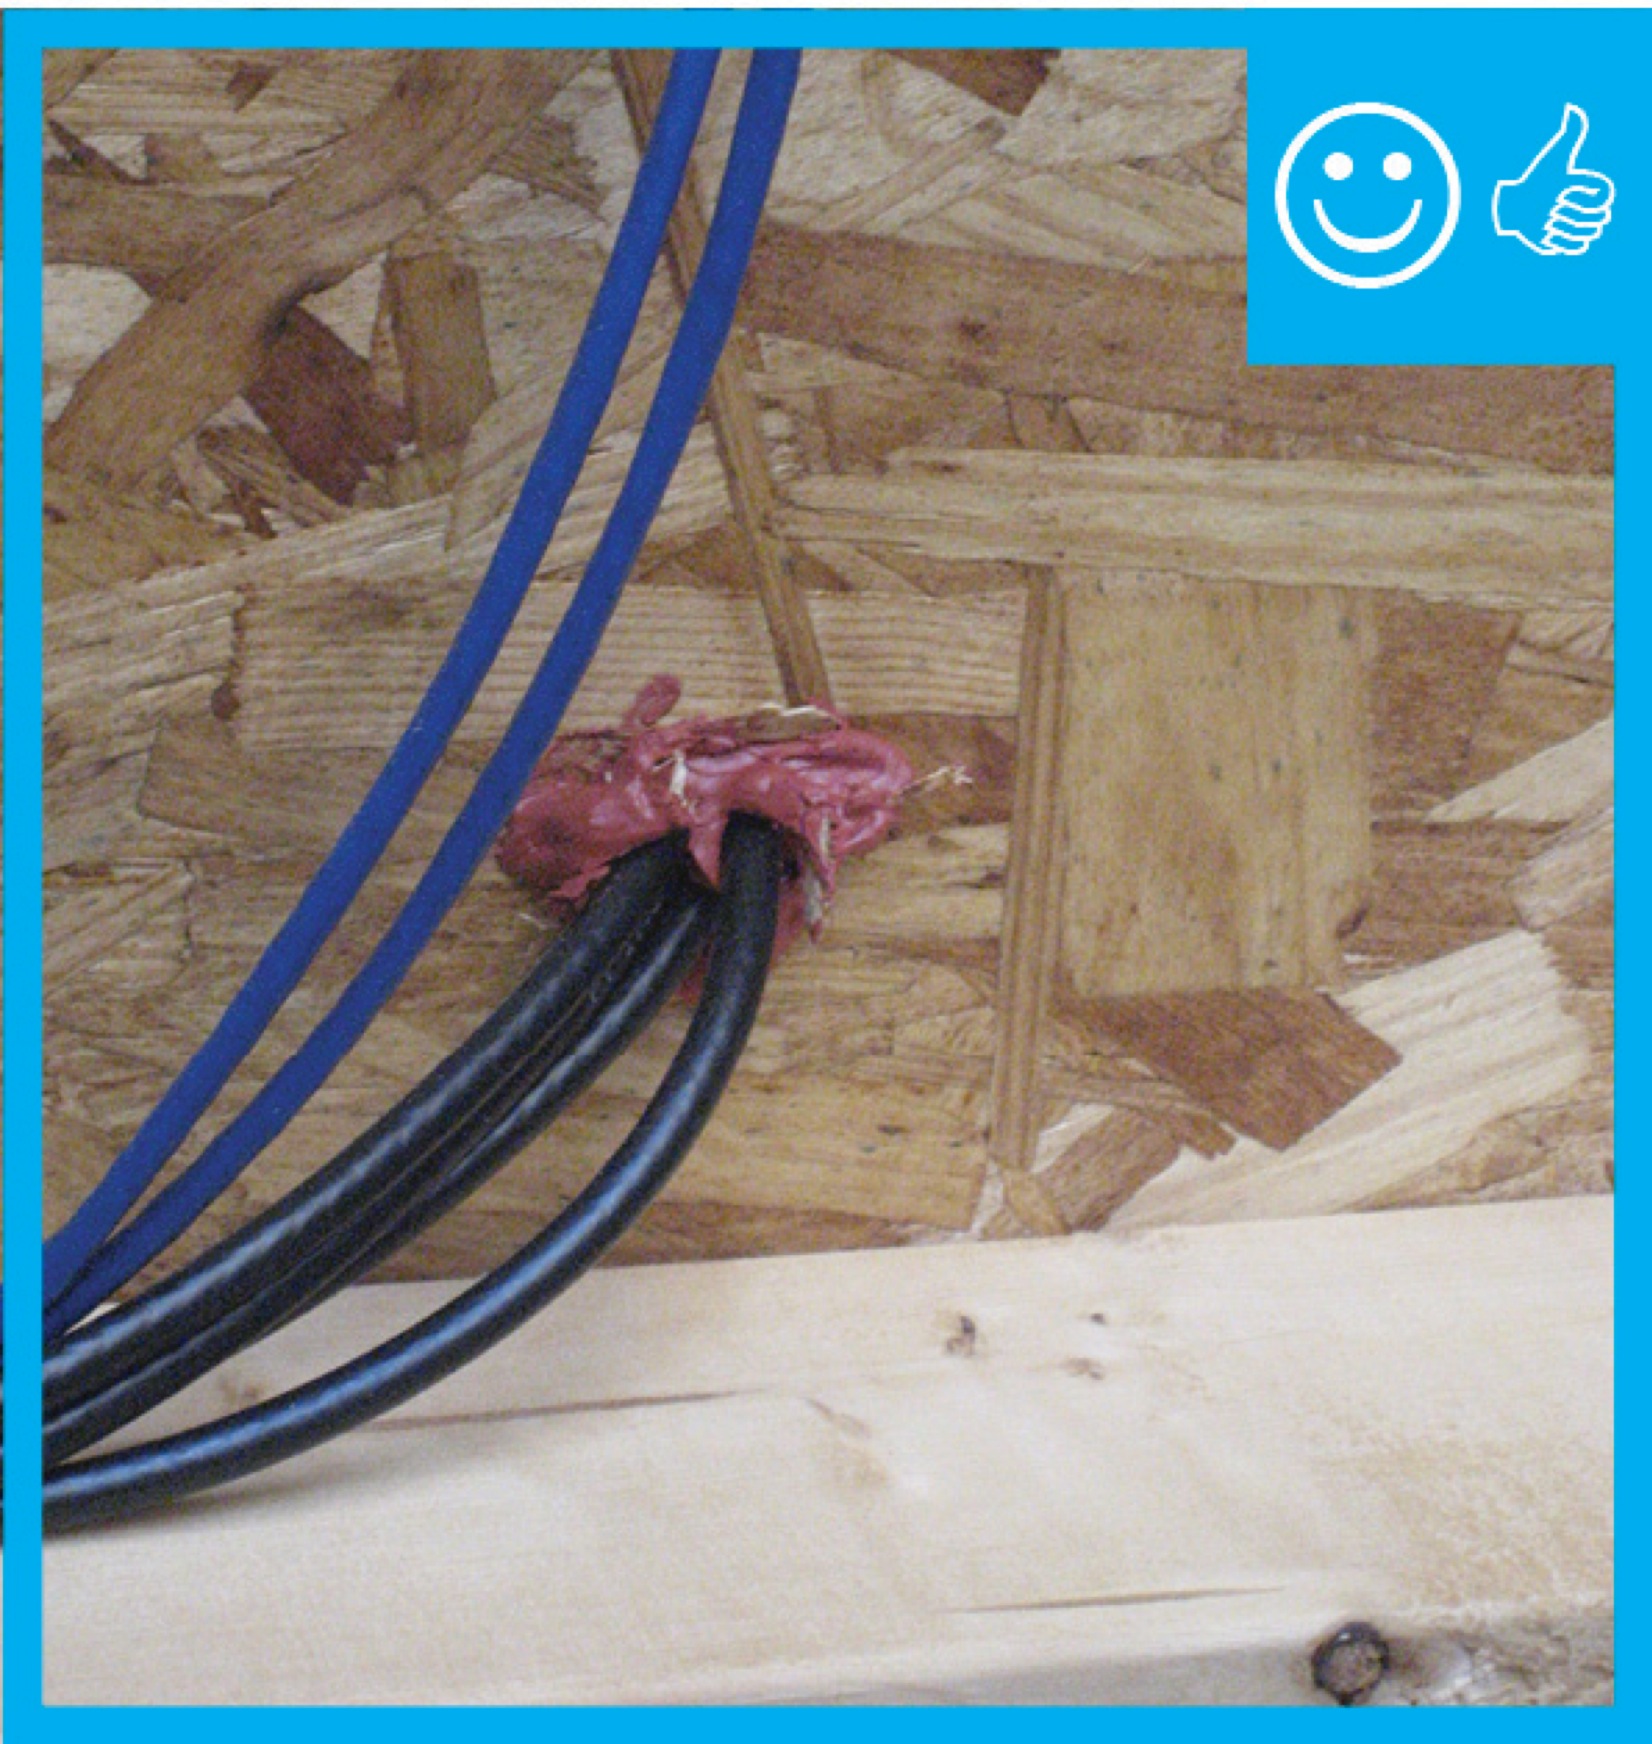
Right – Wiring holes in the exterior walls are sealed with canned spray foam to prevent air leakage into or out of the home.
Image
Image
Right- Landscaping shades the entry on the south west corner of this hot dry climate building.
Image
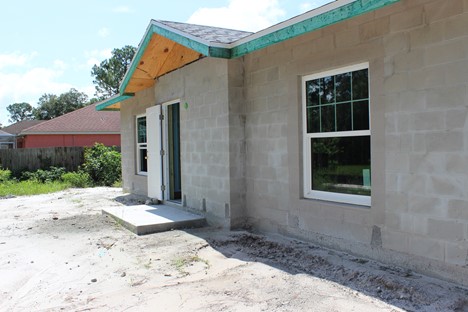
Right- This house uses CMU construction for flood and termite resistance as well as thermal mass
Image
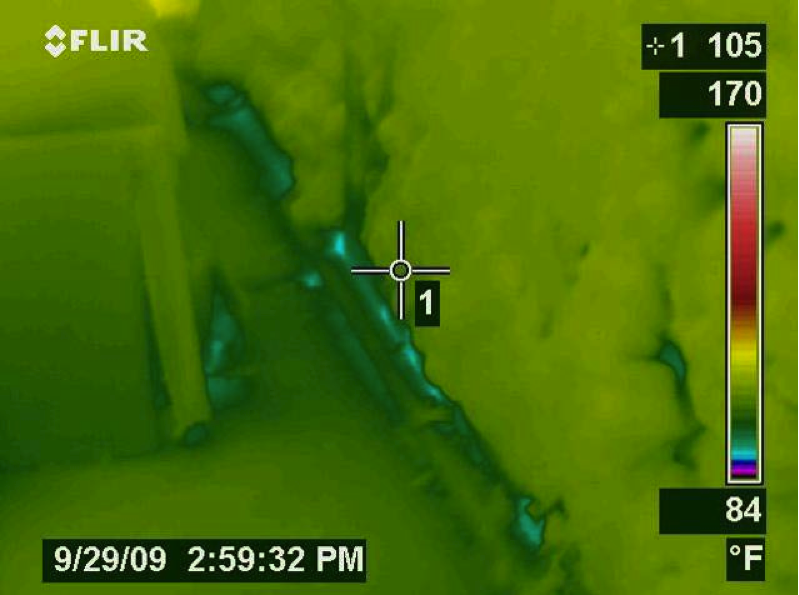
Right-- IR photo shows how effectively spray foam insulated/air sealed attic kneewall and the floor cavities under kneewall
Image
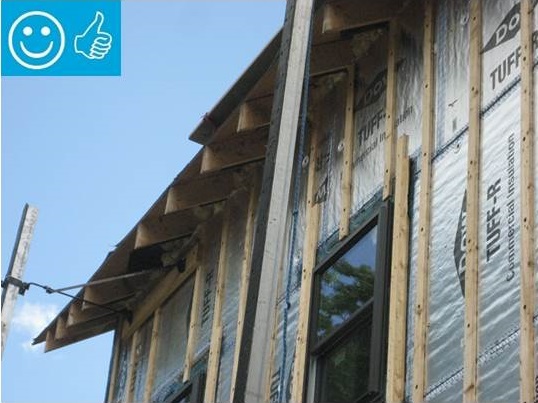
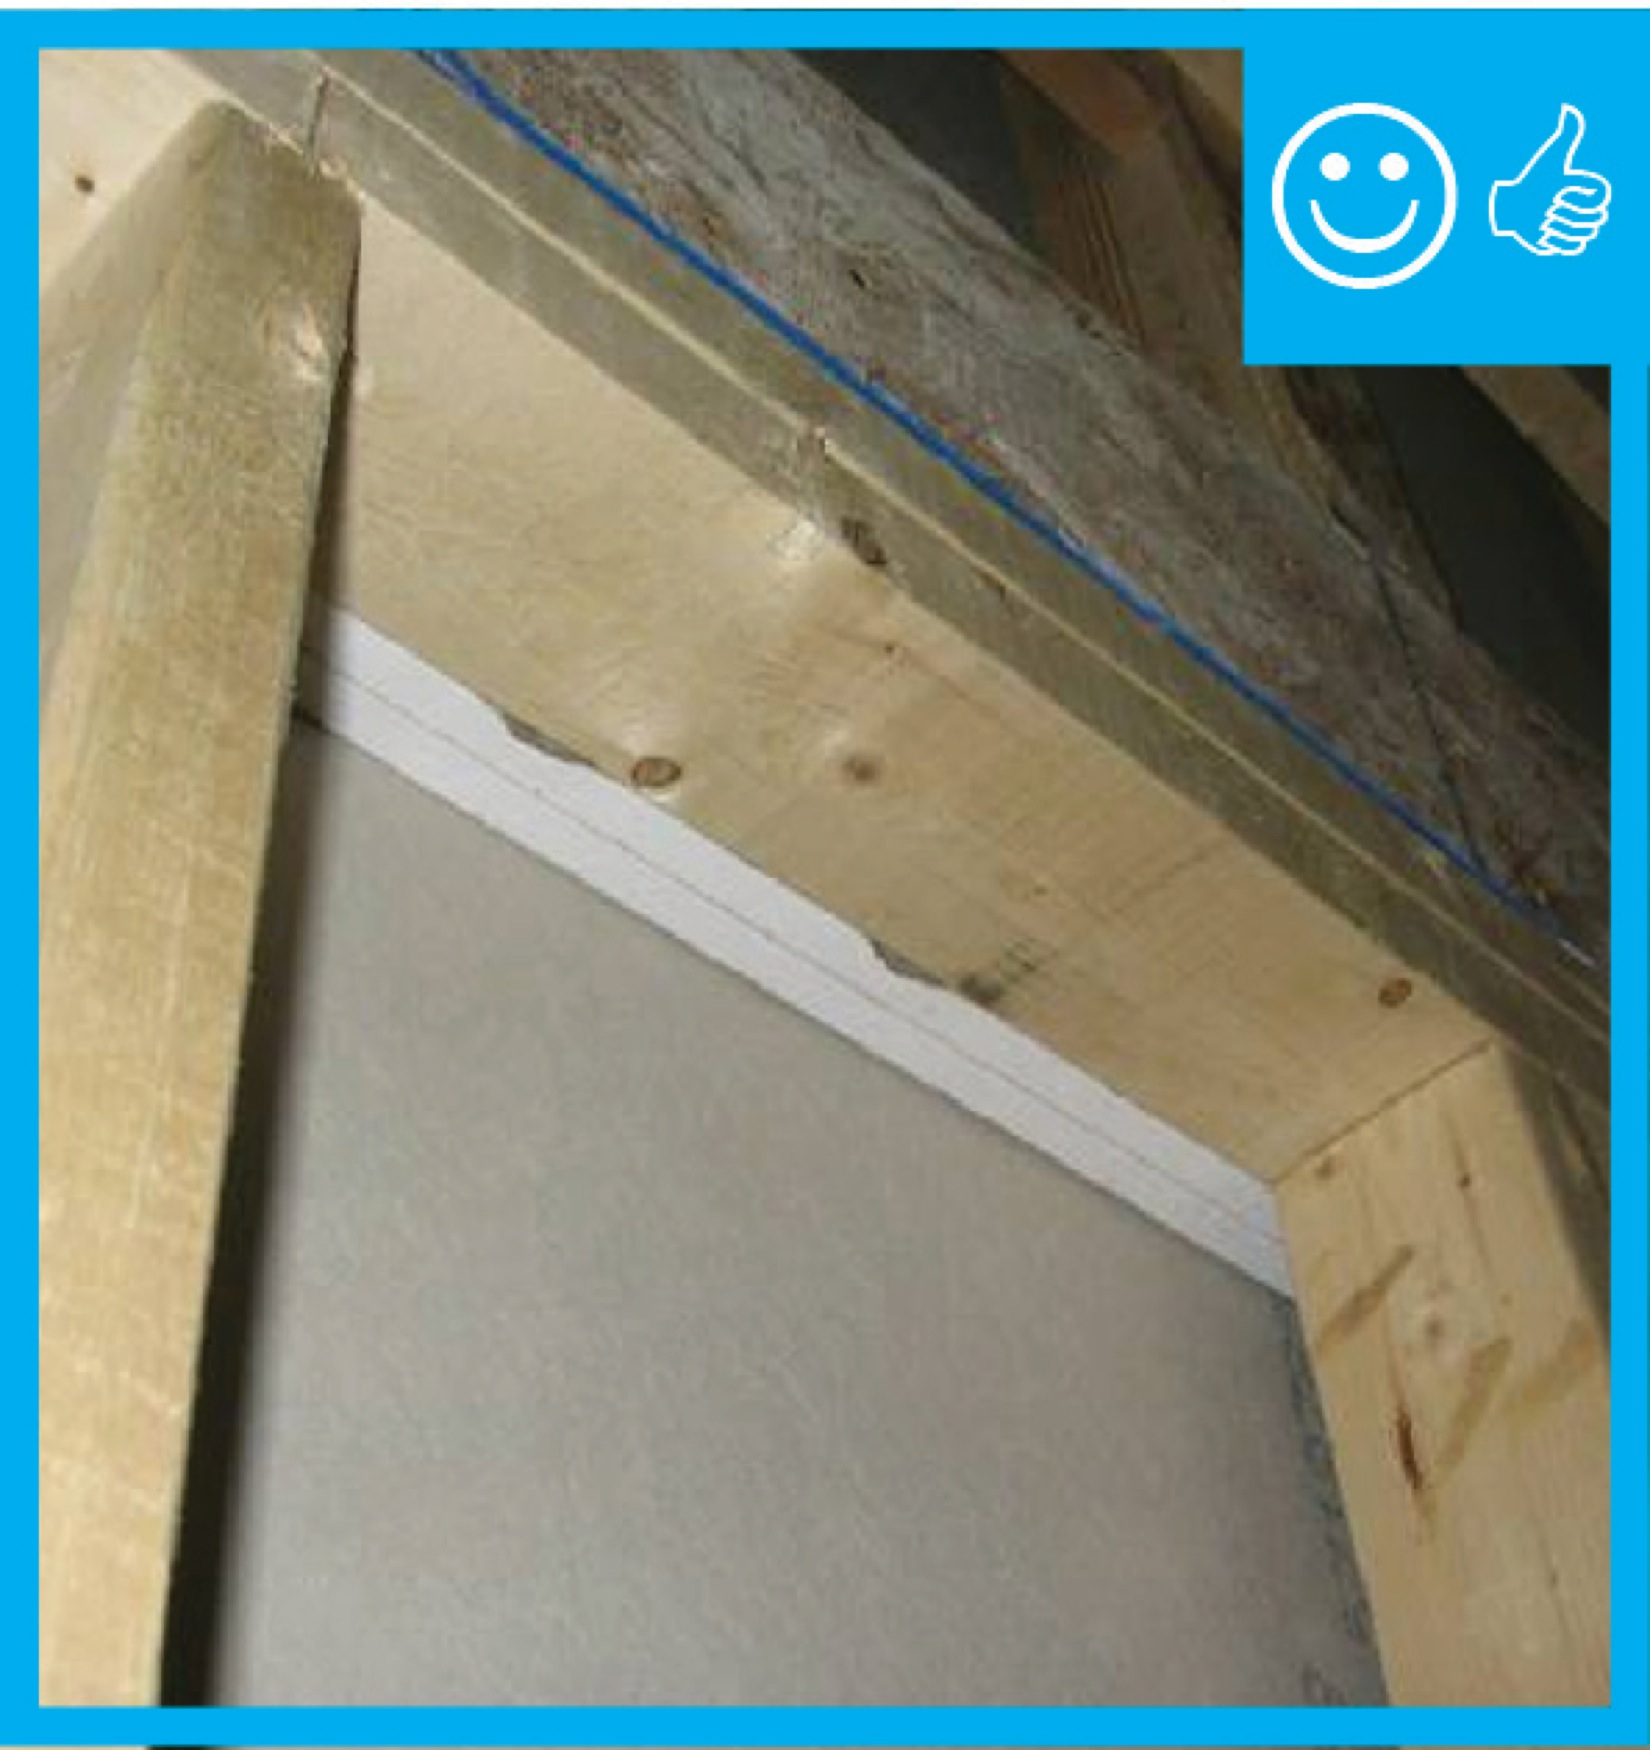
Right-Wall-insulating sheathing is extended up to roof rafters and sealed around the framing with spray foam
Image
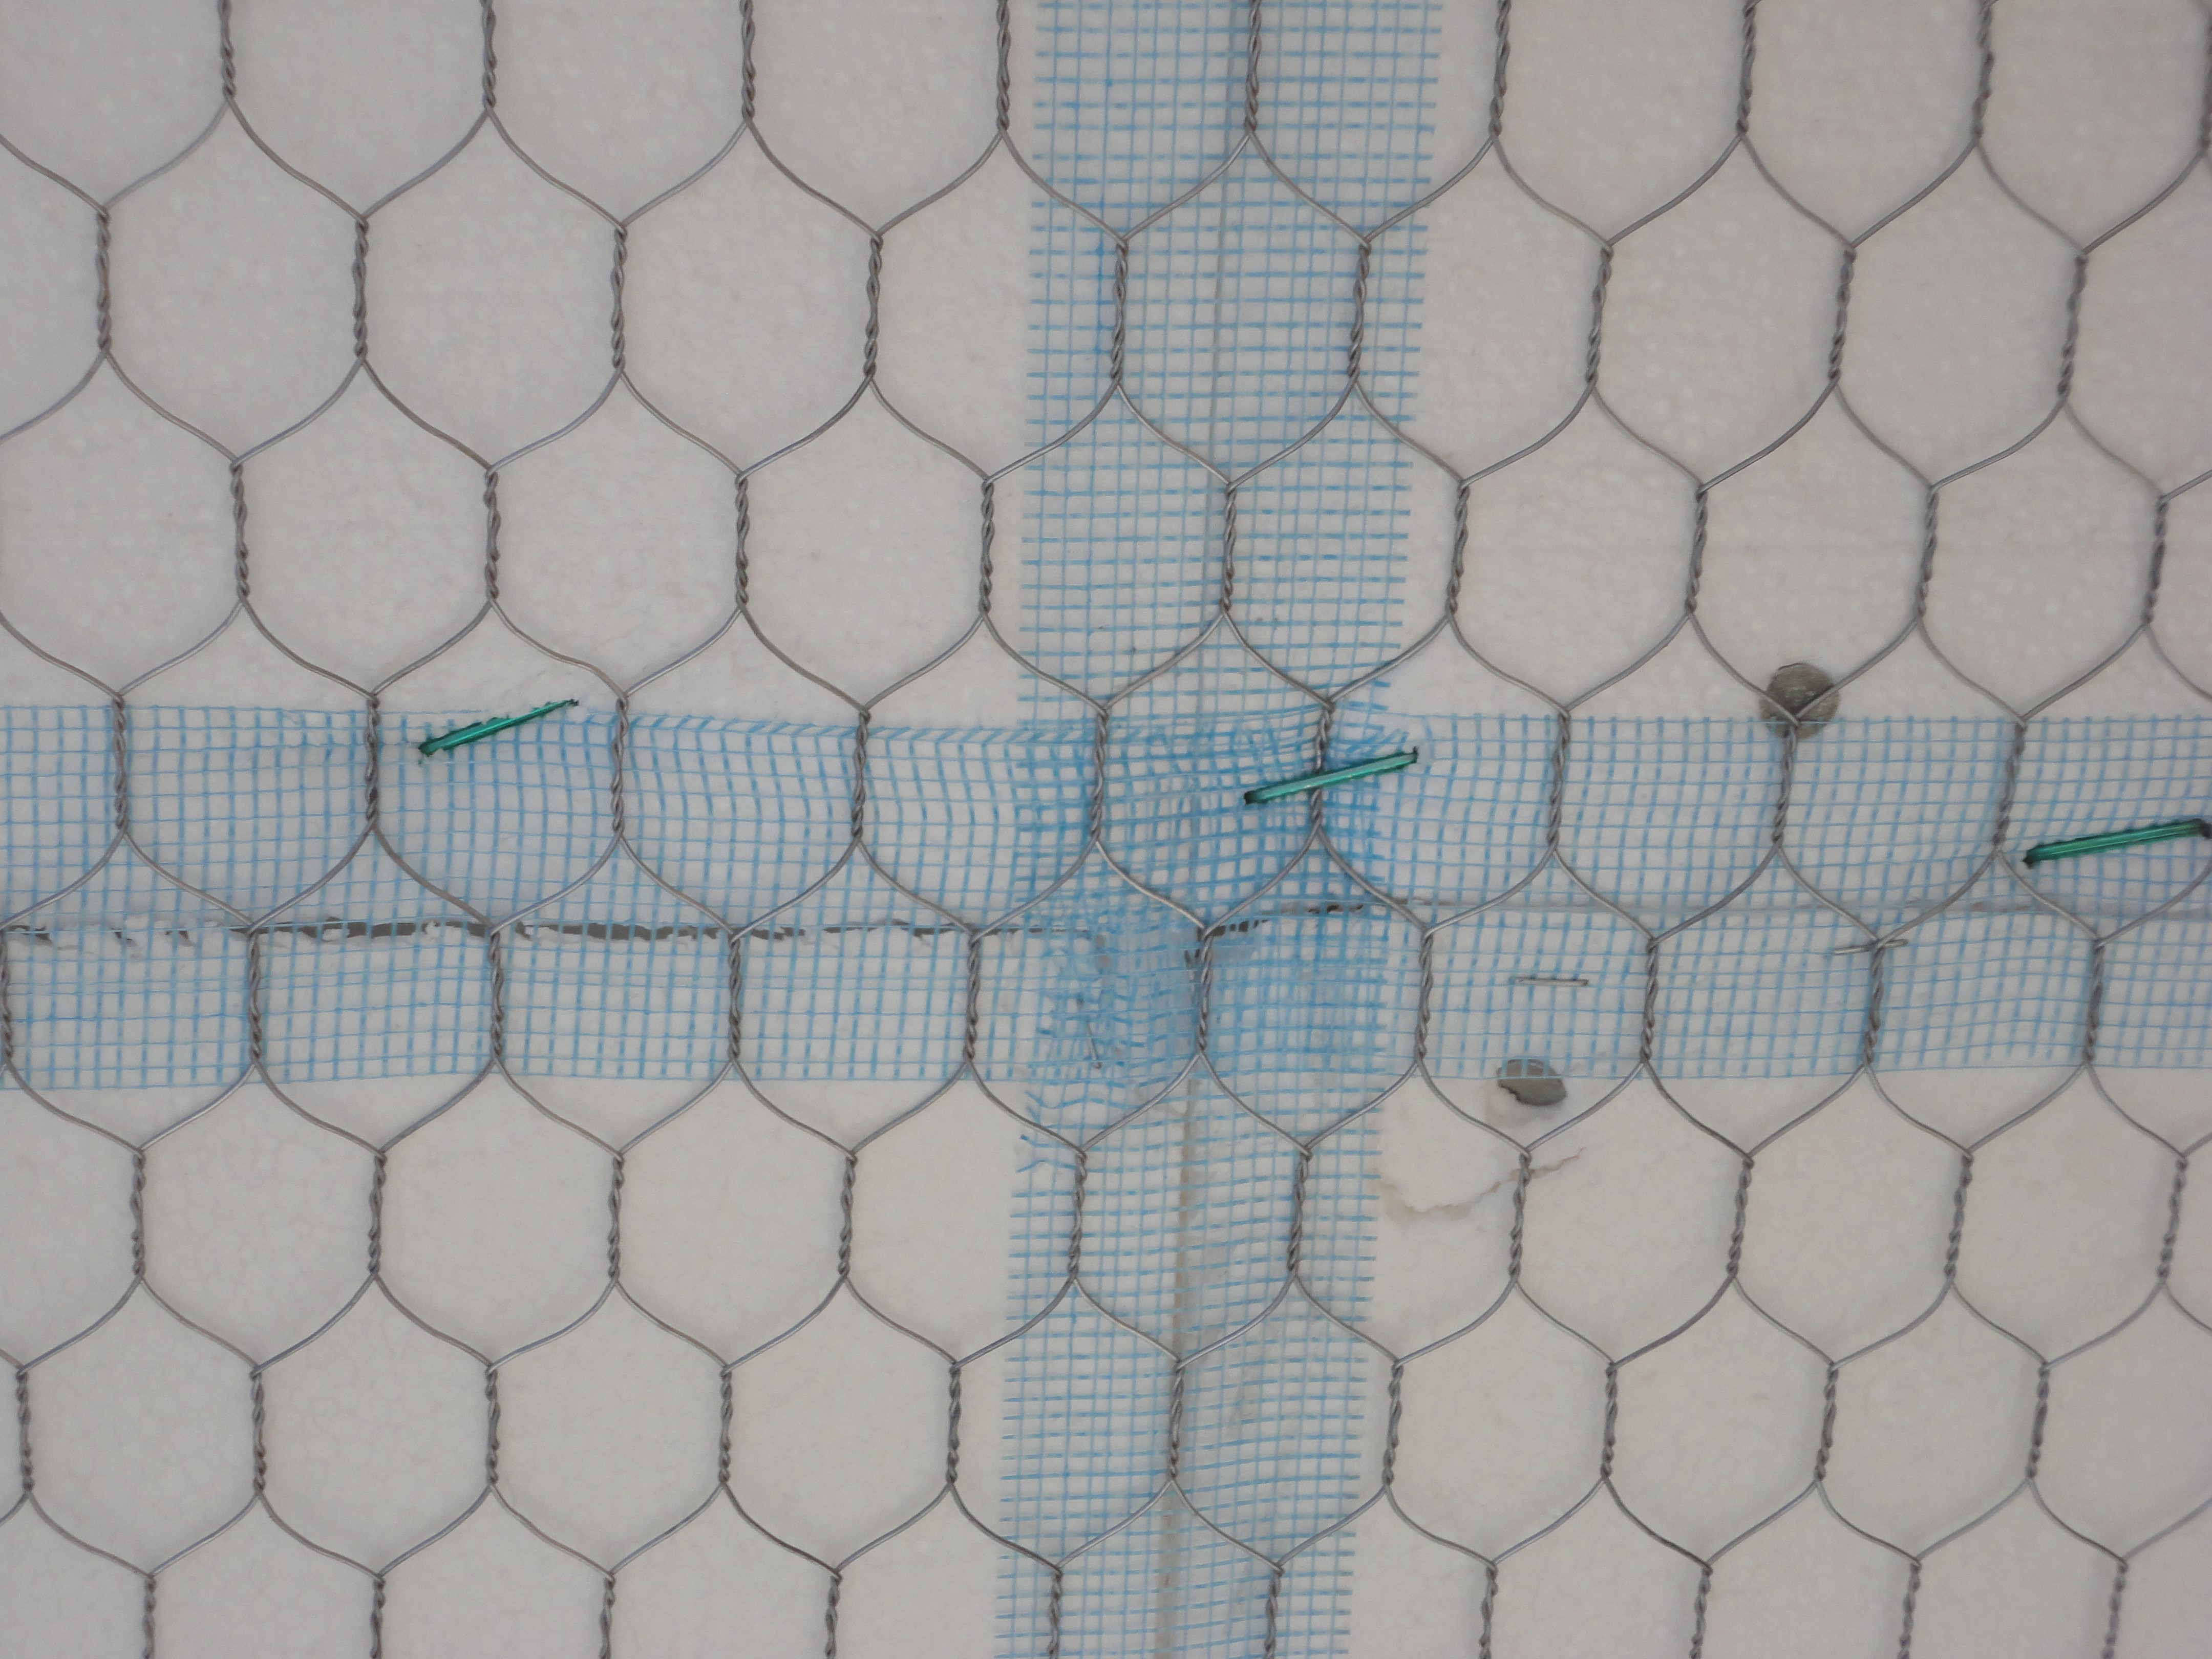
Right: All joints in the rigid foam are taped to keep stucco out of joints for even drying. Mesh tape (shown here) is used with expanded polystyrene (EPS); acrylic sheathing tape or self-adhered membrane is used with XPS
Image
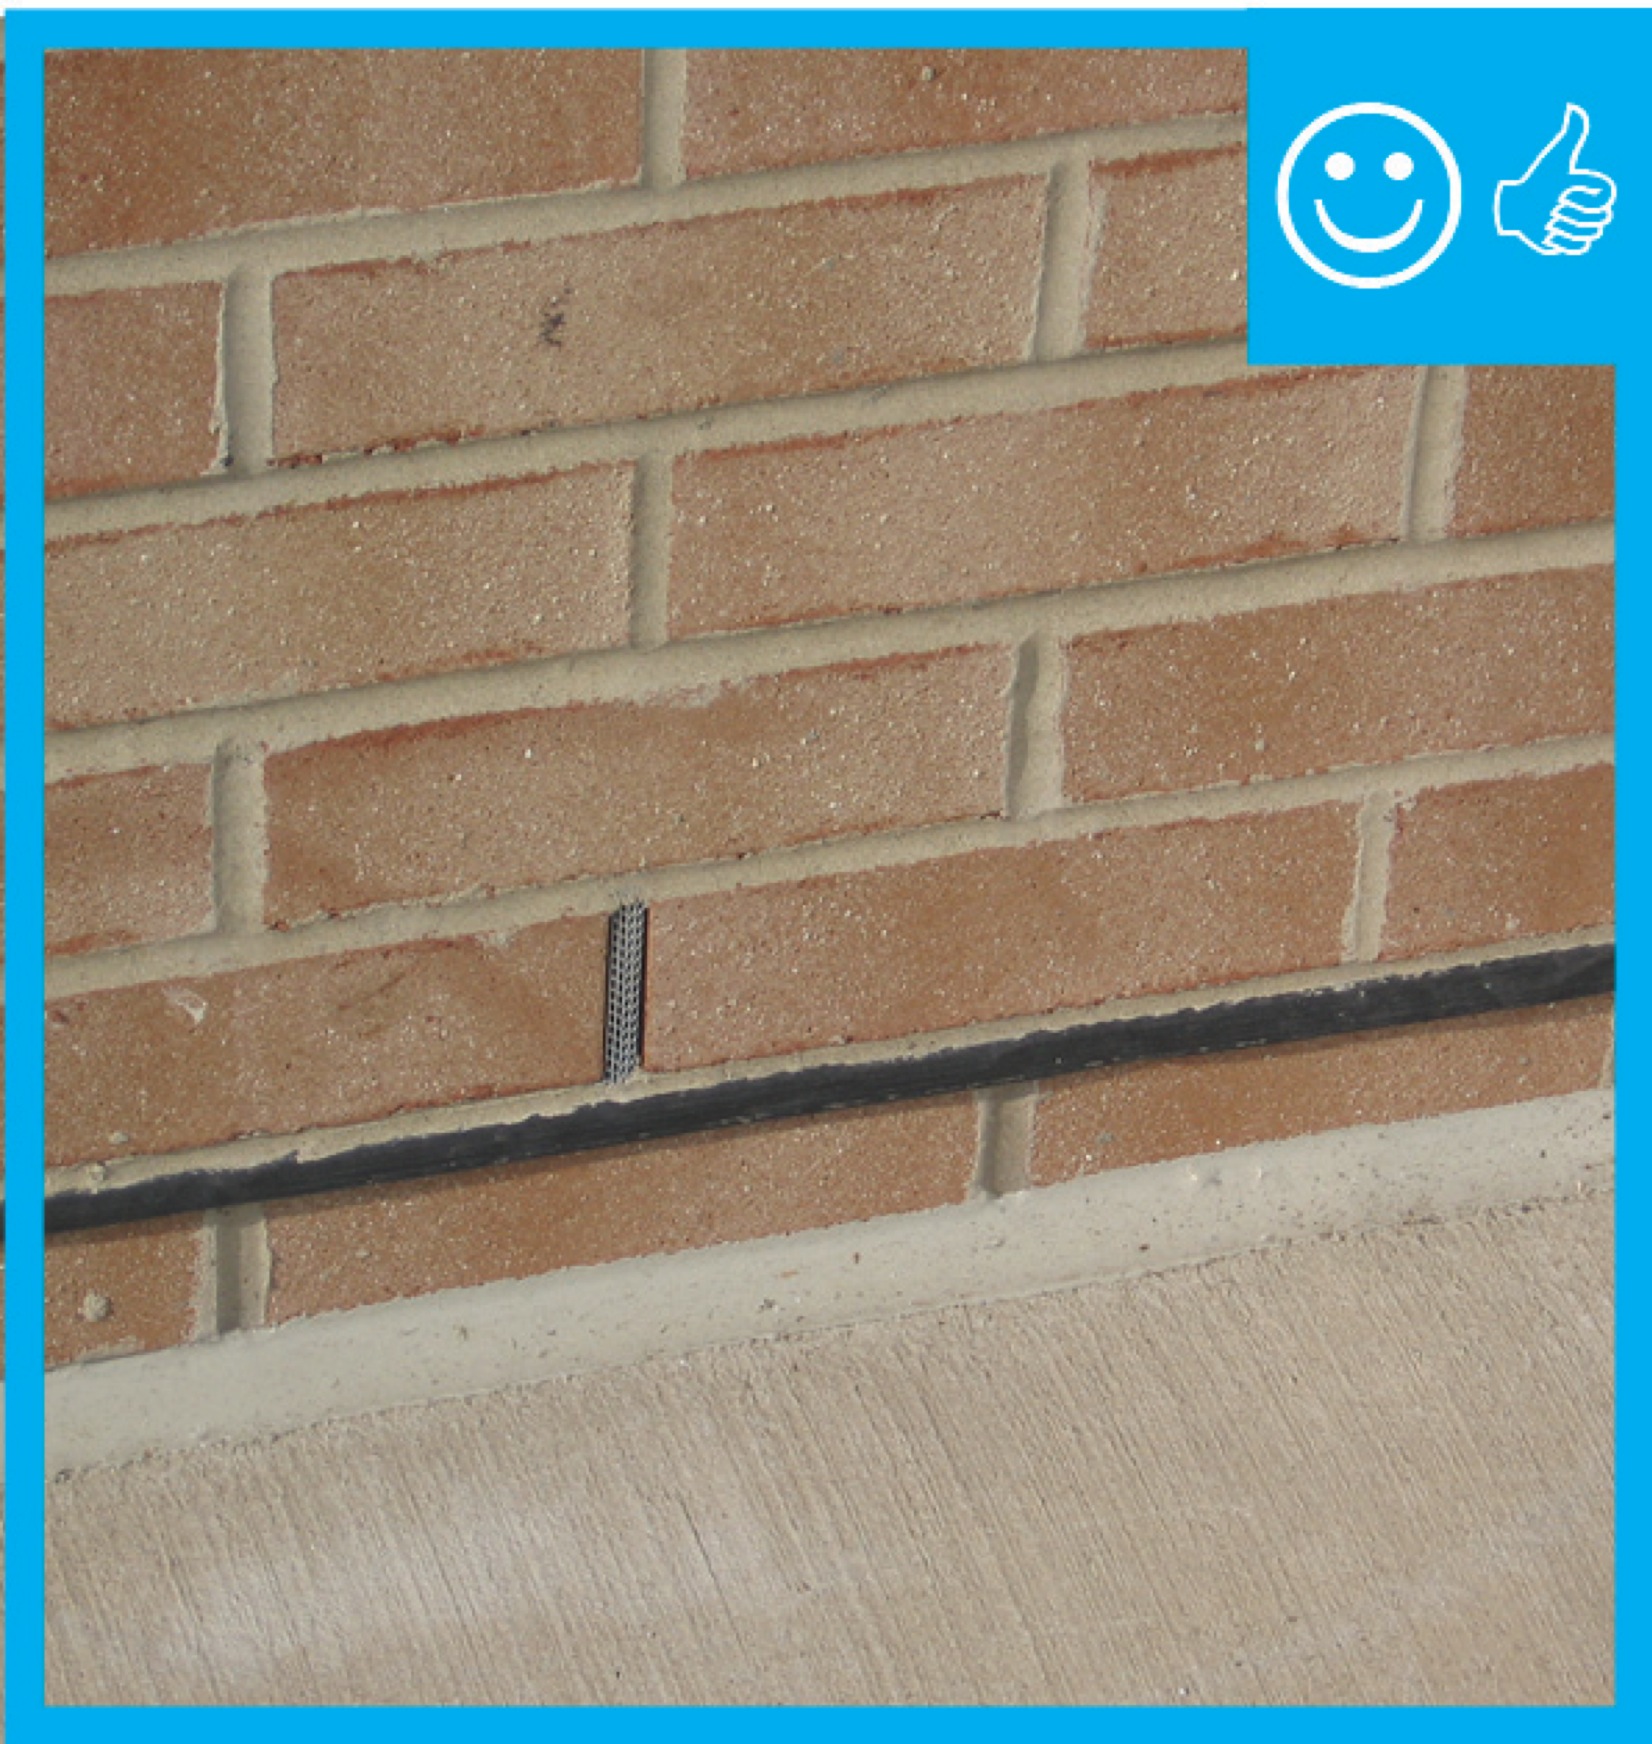
Right: Brick veneer is flashed correctly with weep holes and a fine mesh screen is installed to prevent pest entry.
Image

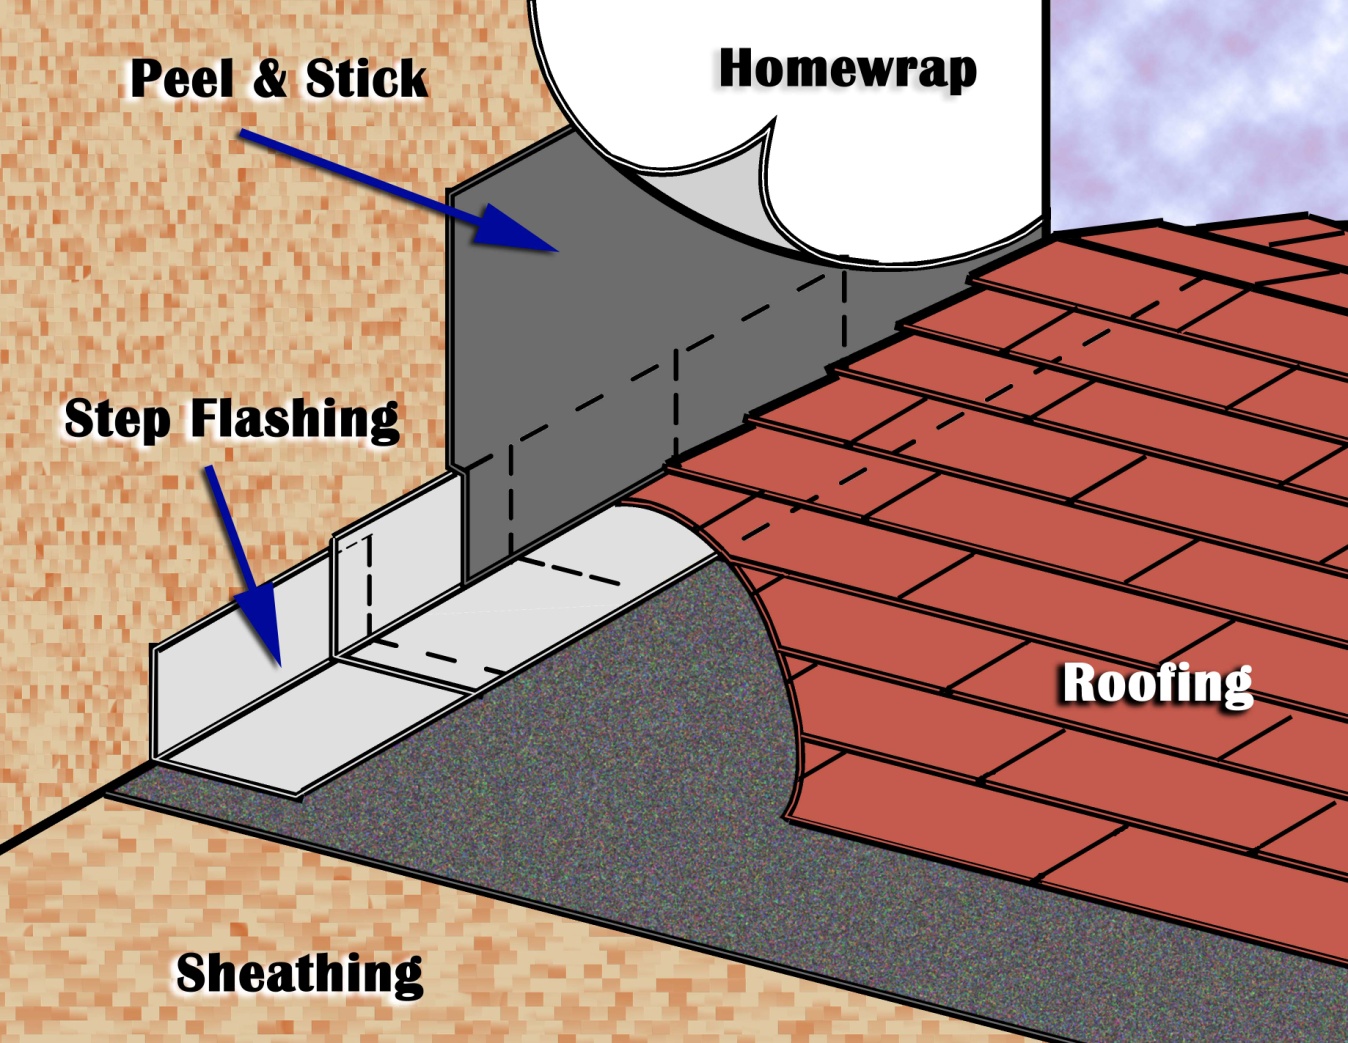
Right: This vent was correctly flashed providing proper waterproofing detailing for this siding penetration.
Image

Rigid foam insulated sheathing placed exterior to house wrap, interior to house wrap, or take the place of the house wrap
Image

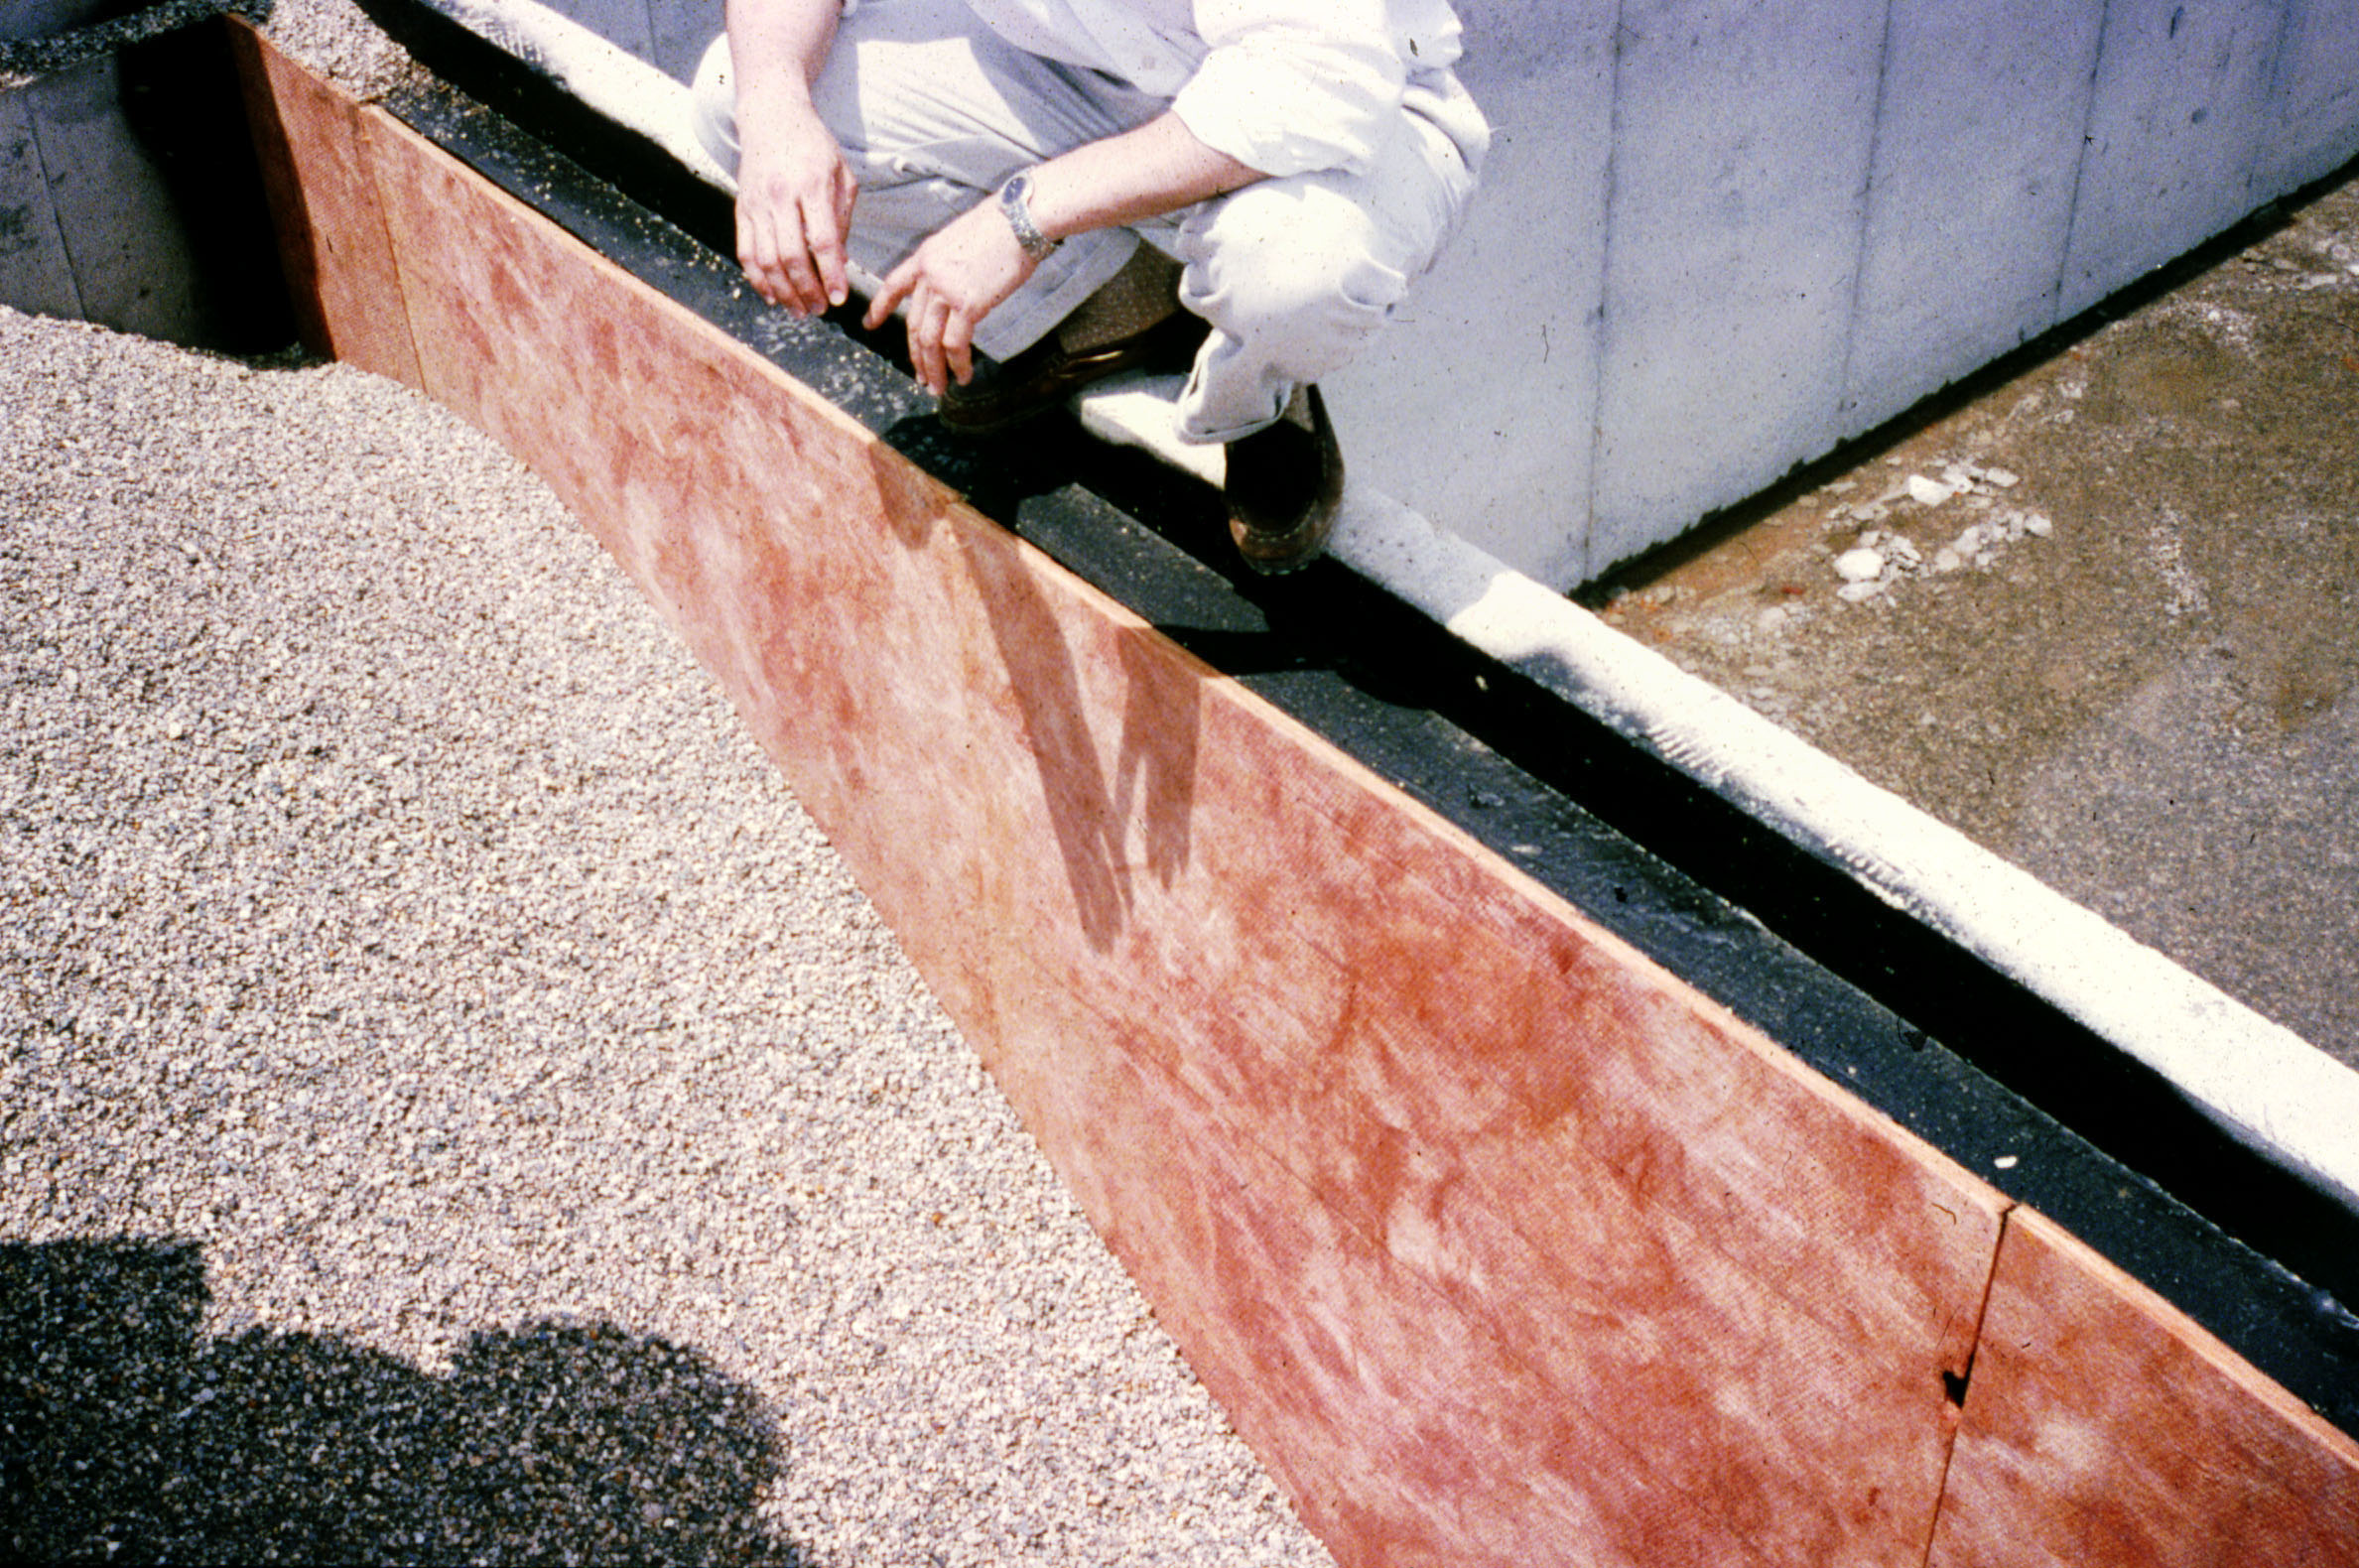
Rigid foam insulation applied to the crawlspace walls, allowing a 3-in. pest control inspection strip at the top
Image
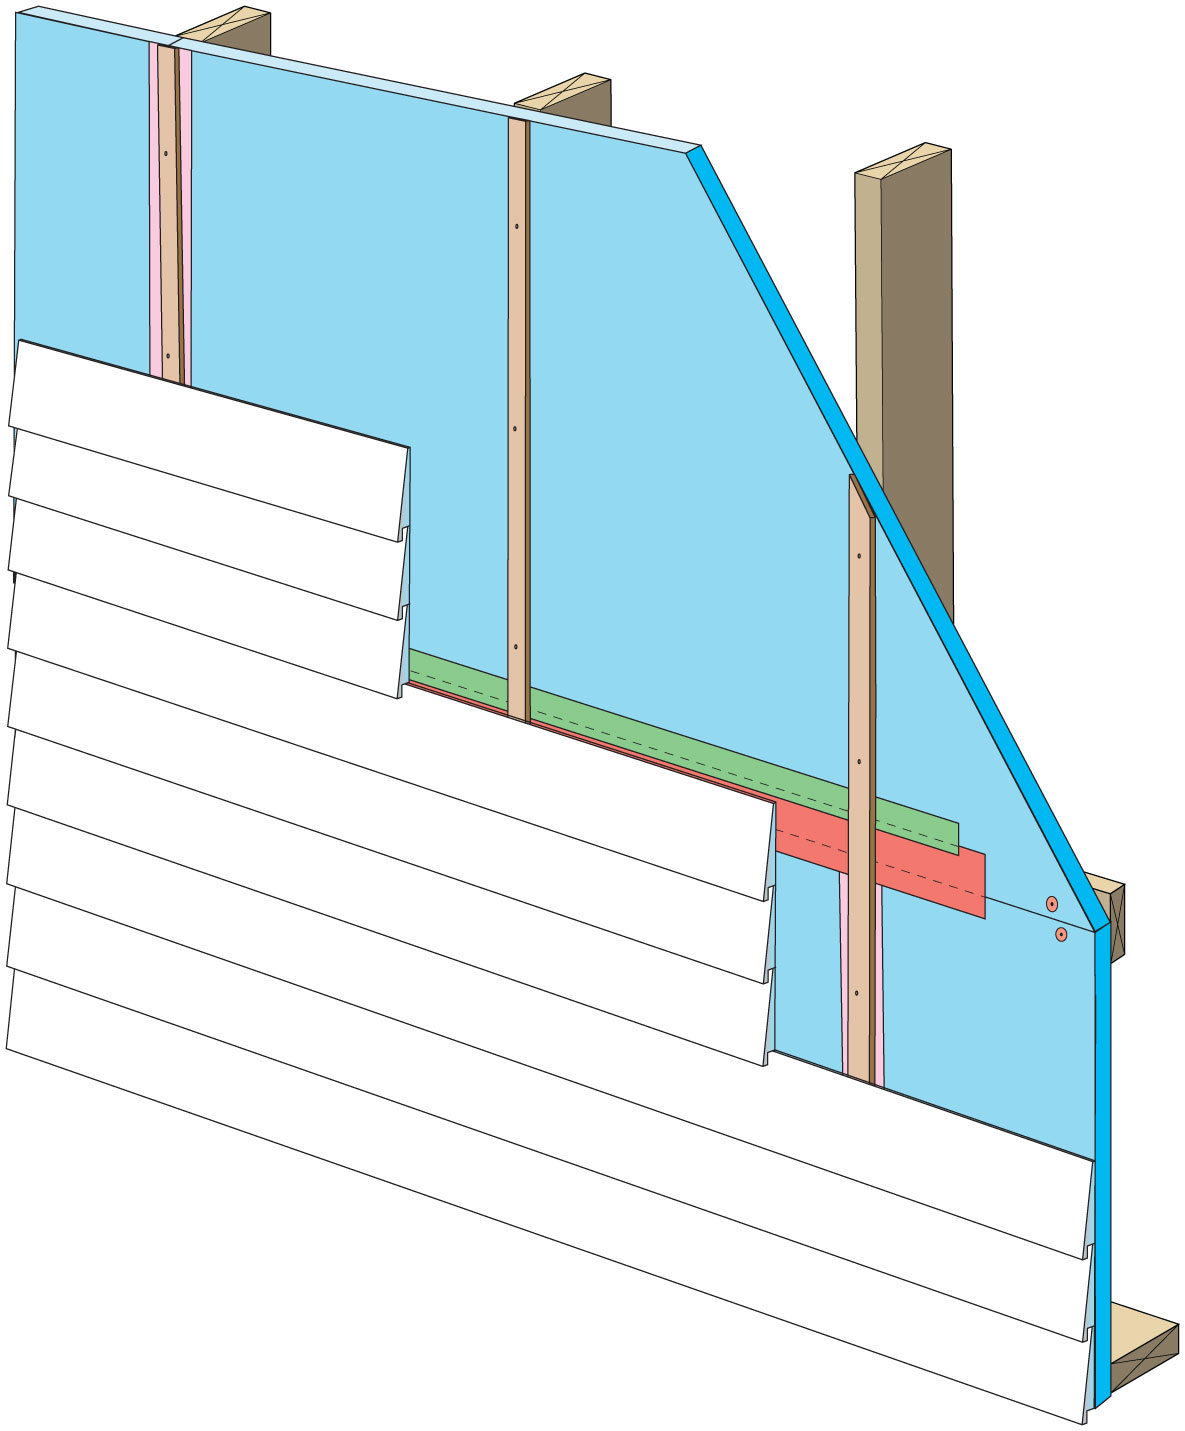
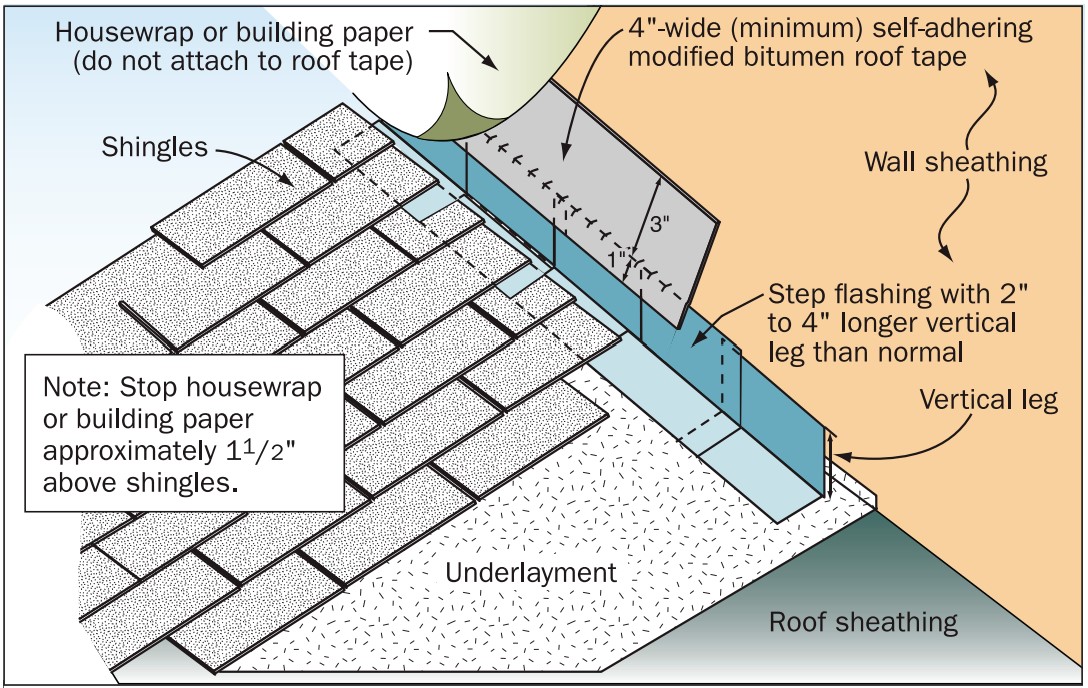
Rigid foam insulation can serve as the drainage plane when all seams are taped. Furring strips provide an air gap behind the cladding.
Image
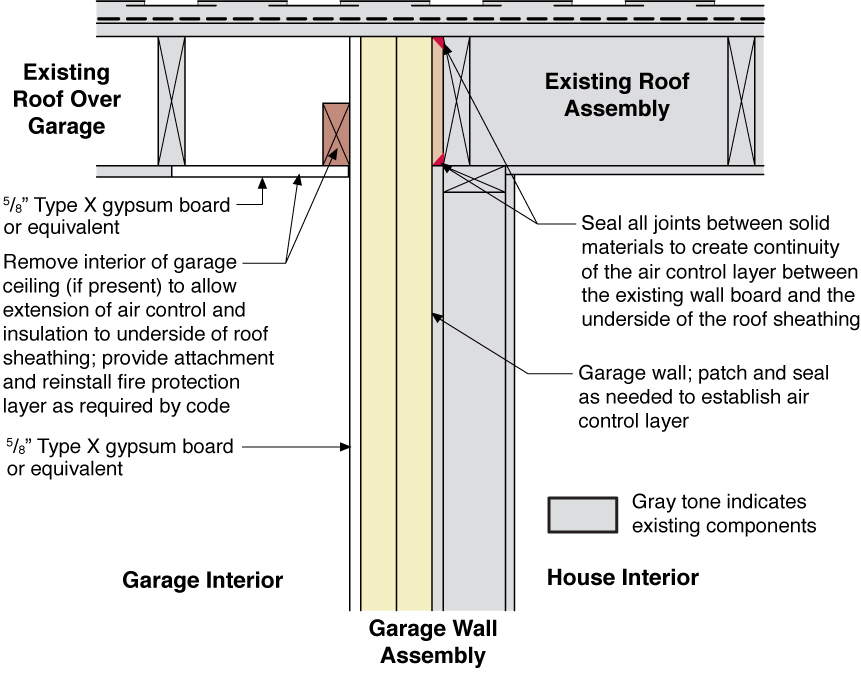
Rigid foam insulation is installed on the garage side of the shared garage wall and roof of an existing home
Image
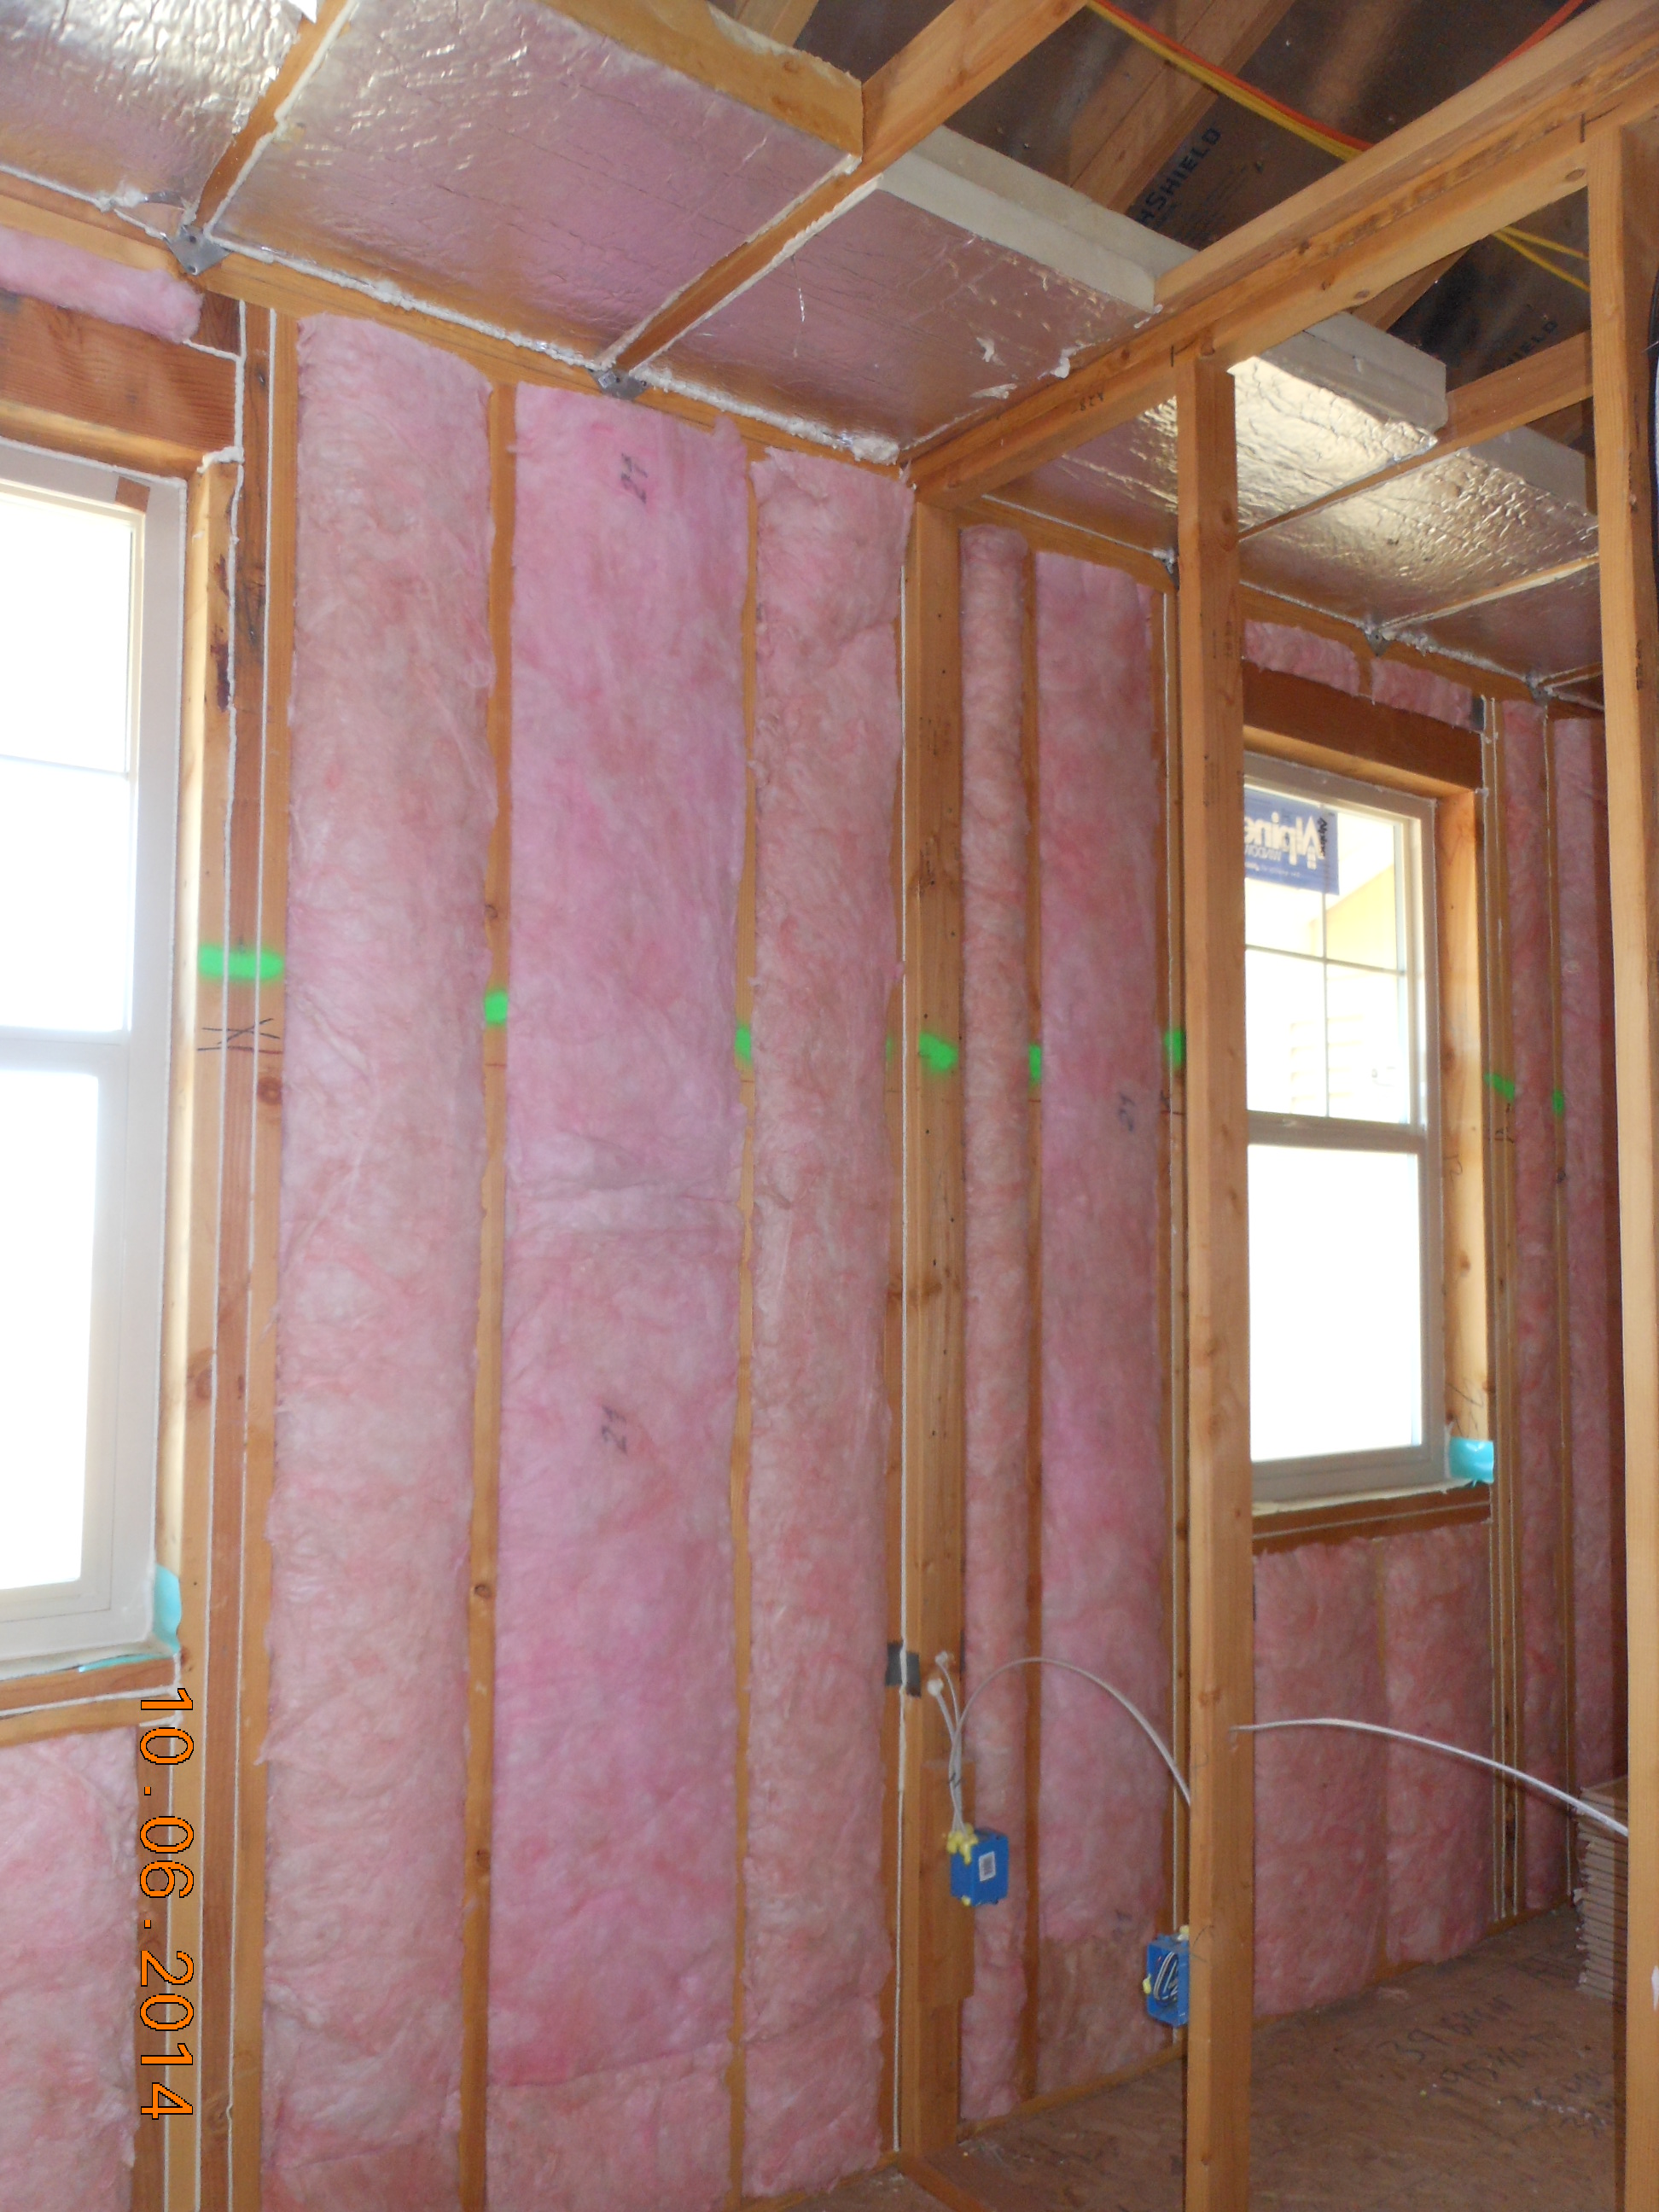
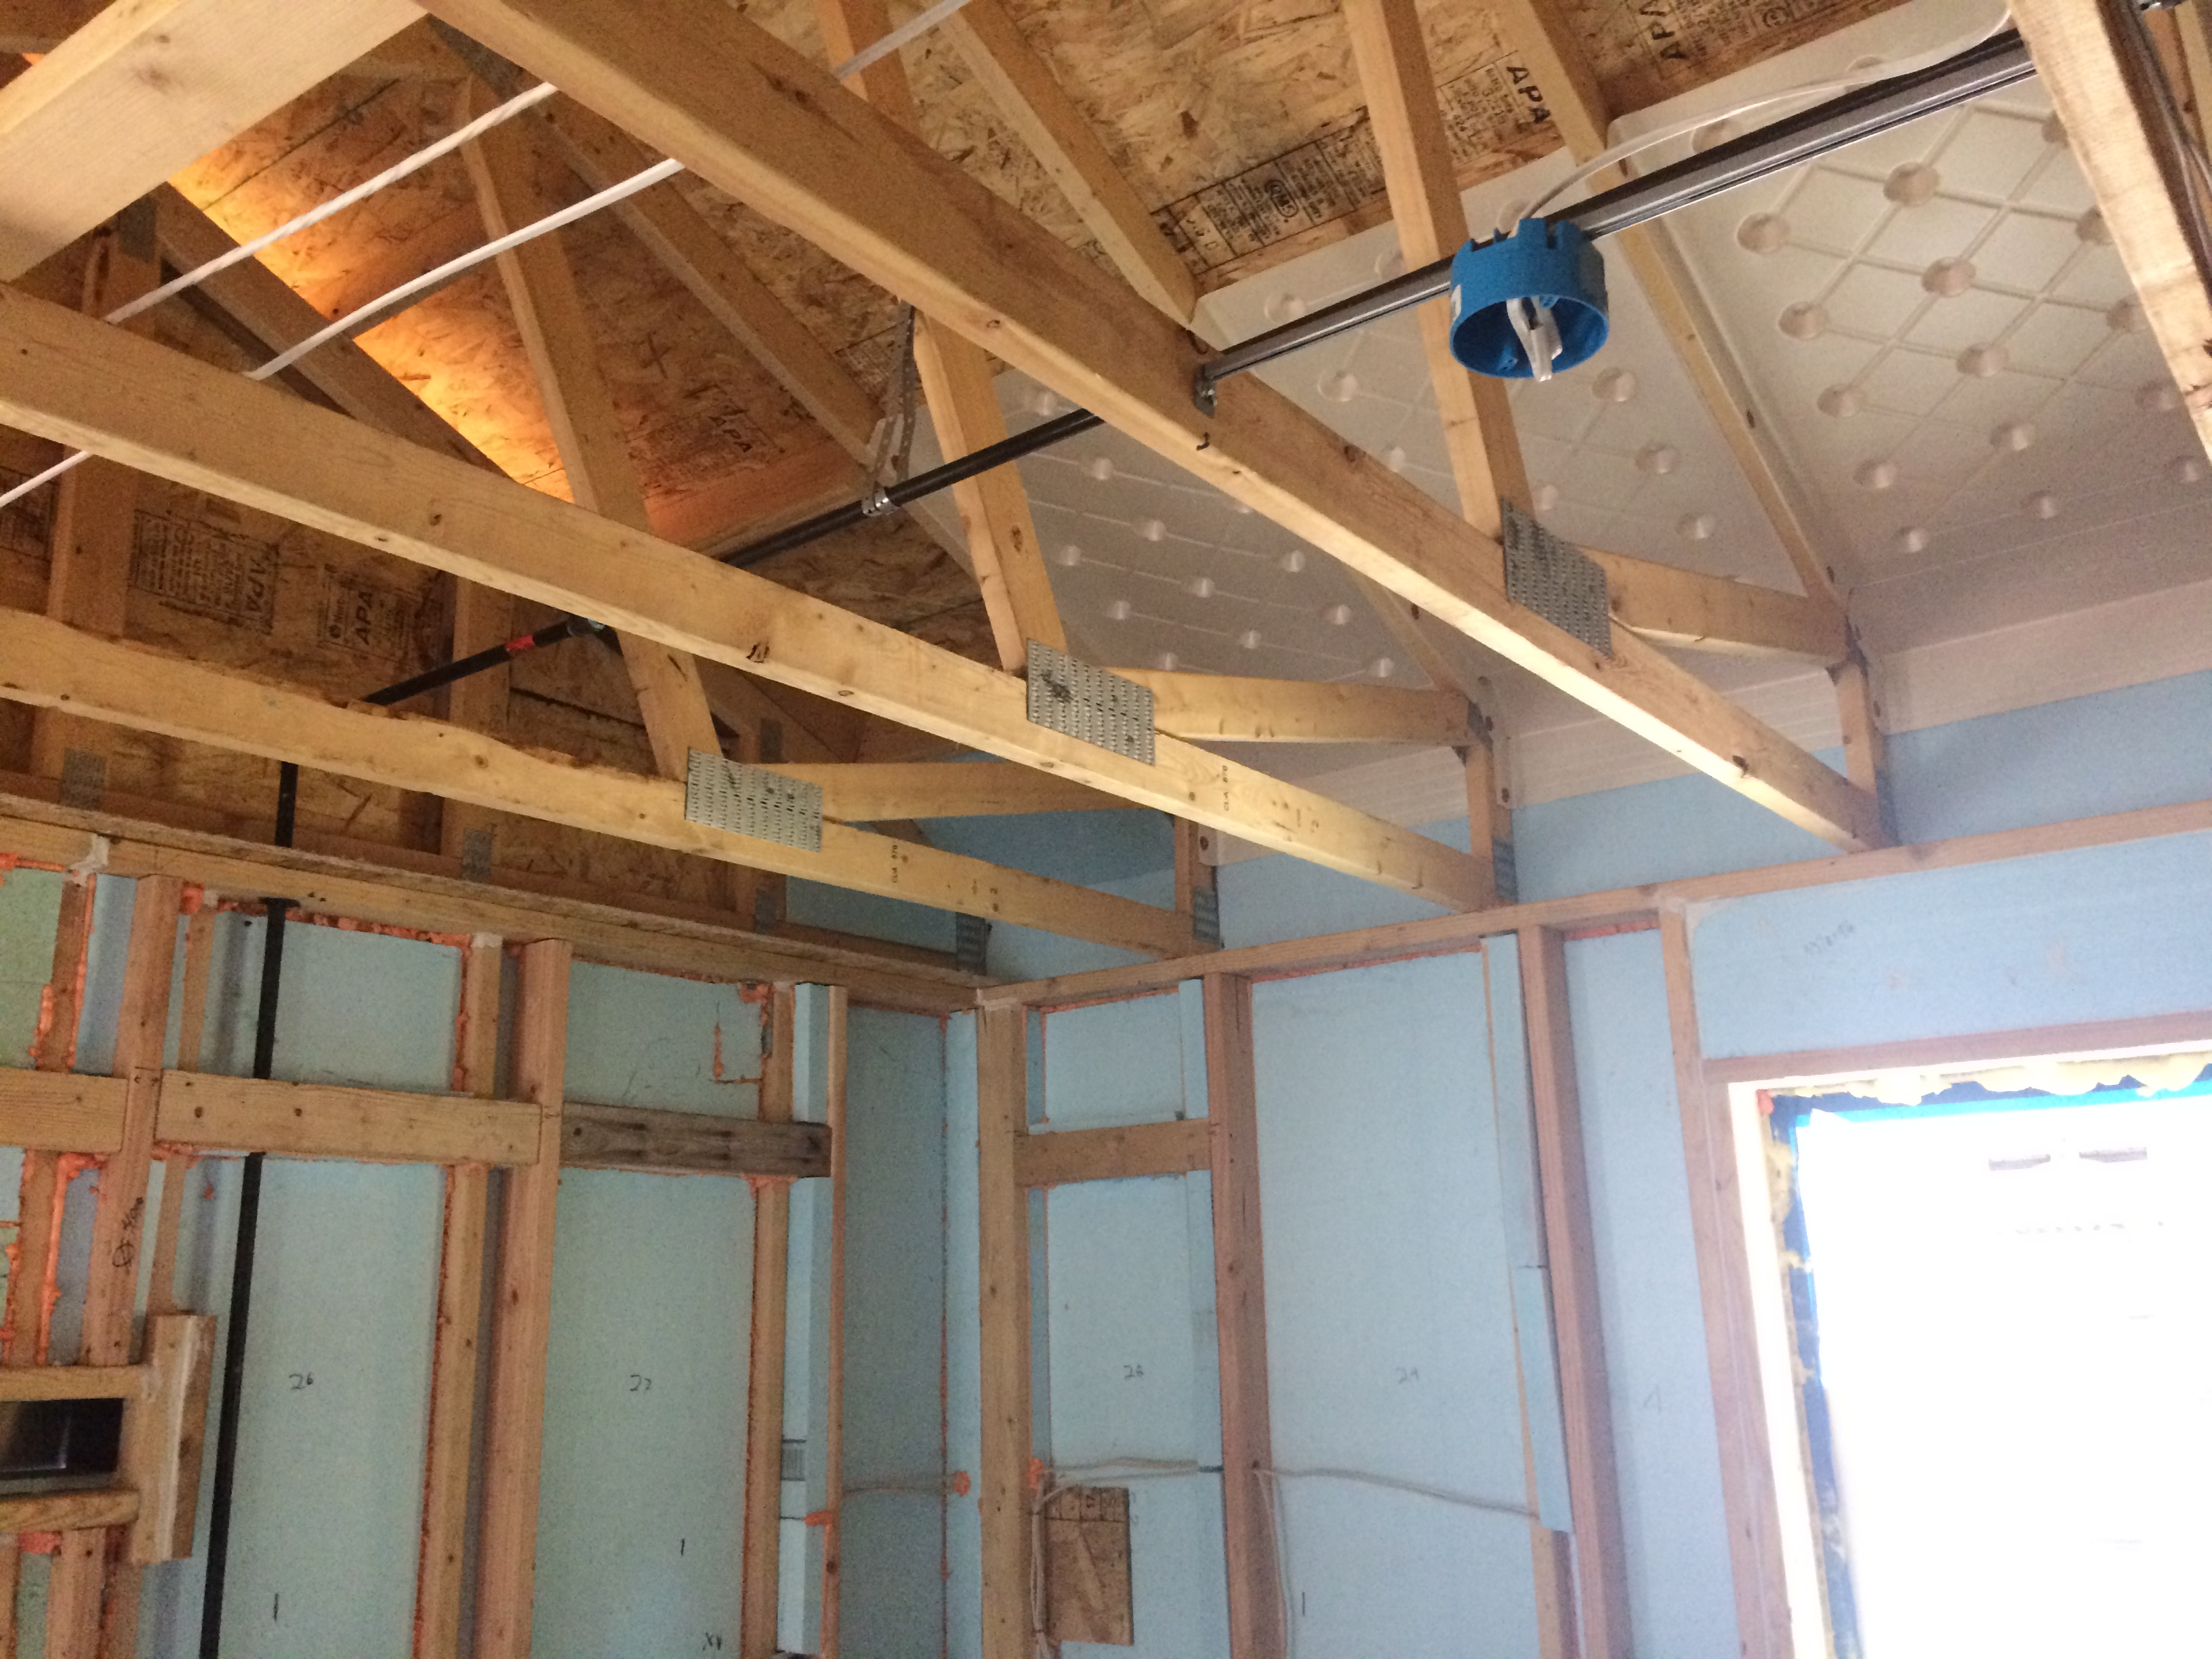
Rigid foam insulation was installed at the perimeter of the one-level apartments before installing ceiling drywall to ensure a minimum R-21 attic perimeter insulation.
Image
Rigid foam serves as the sheathing on these 2x6 24-inch on center walls; plywood is used only at the corners for wind bracing.
Image
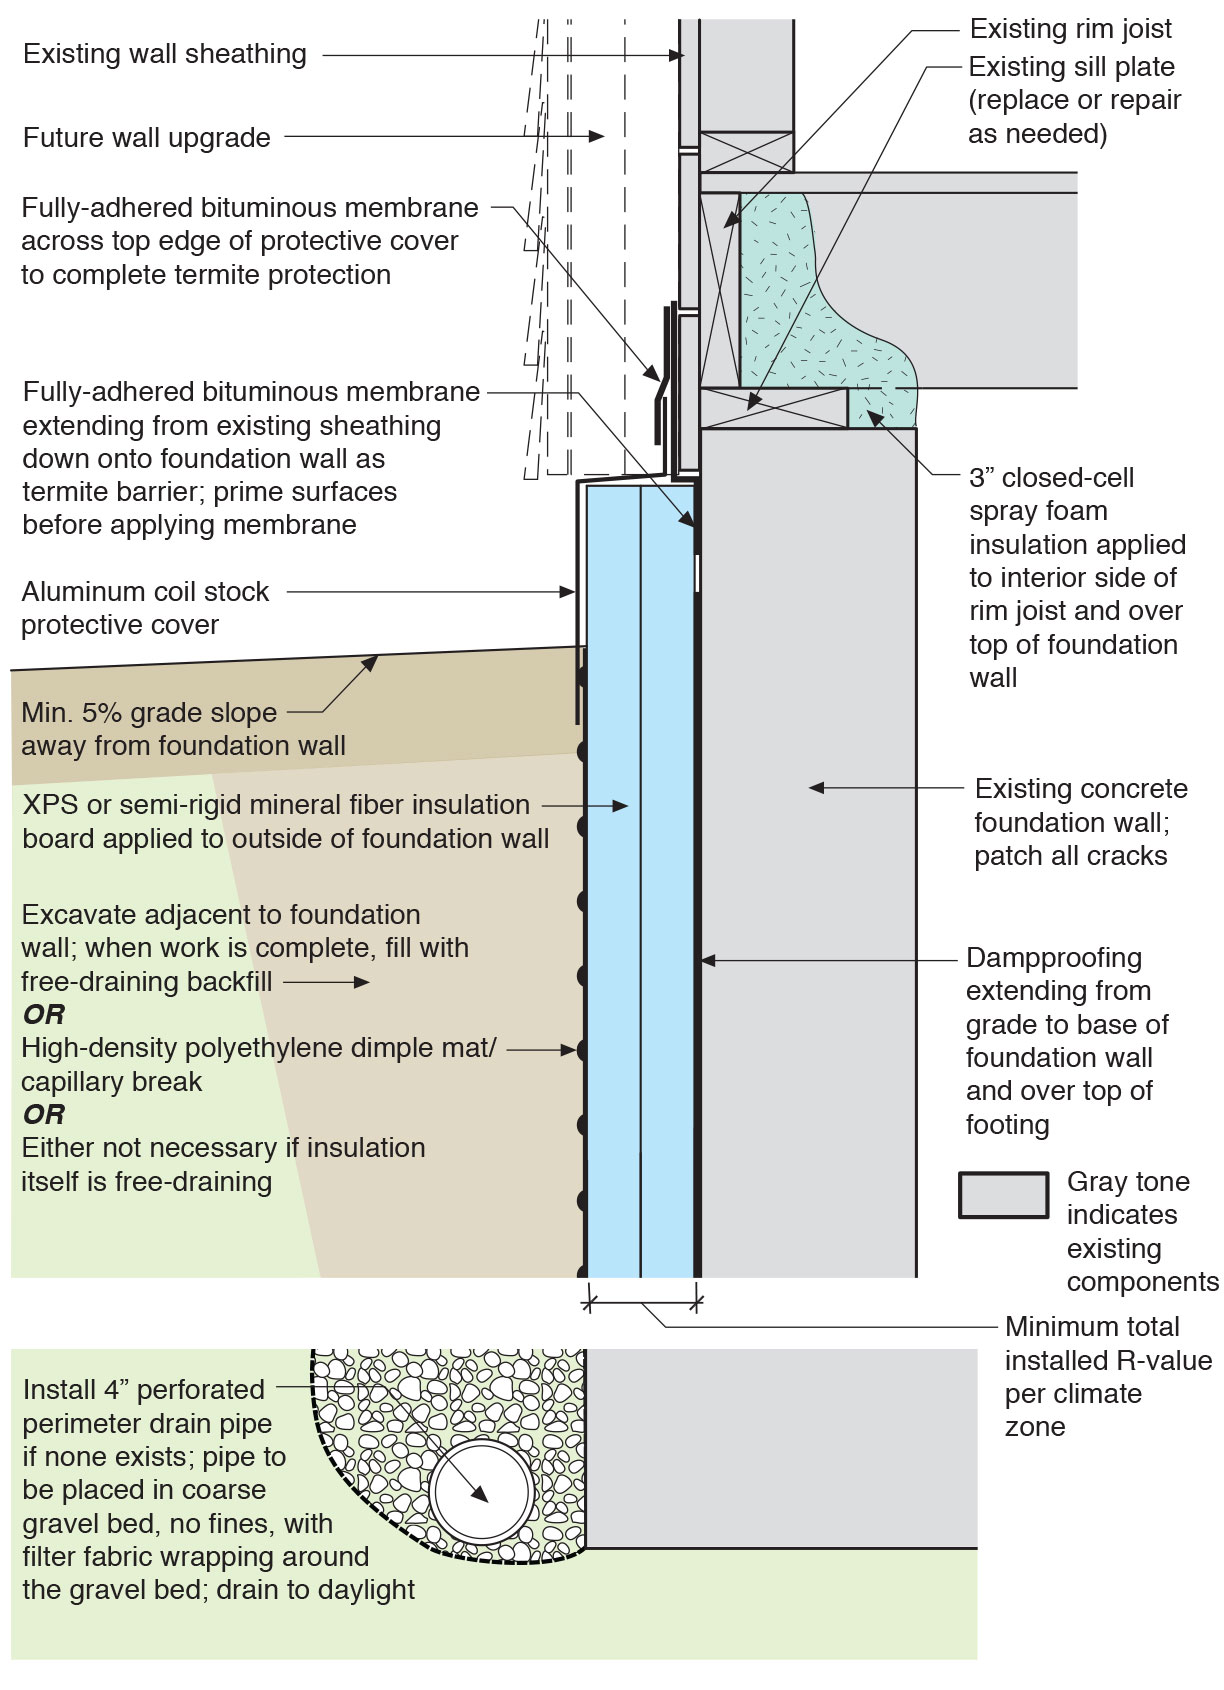
Rigid insulation and water control layers are installed on the exterior of a flat foundation wall; spray foam insulates the rim joist
Image
Image
Image
Image
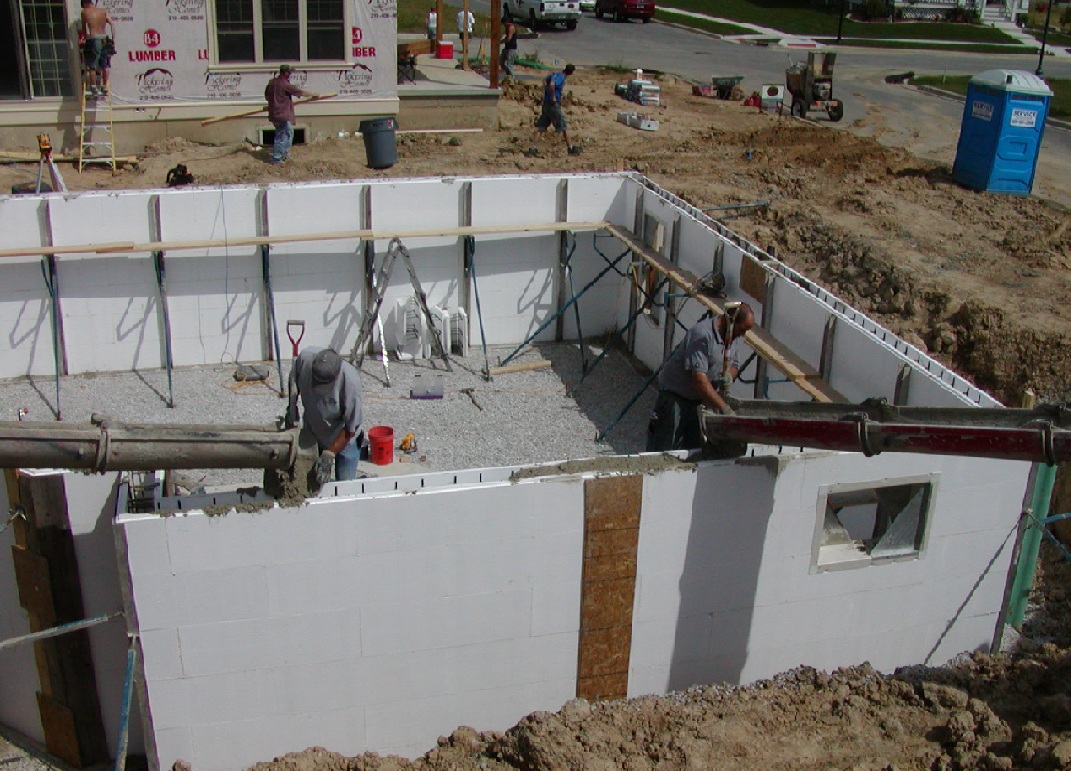
Scaffolding is continually raised as courses of foam brick are added so that the pour man can see both sides of the wall during the pour.
Image
Image
Image

Seams in the ICF block are sealed so the EPS foam surface can serve as the drainage plane; no house wrap is needed.