Showing results 1 - 35 of 35
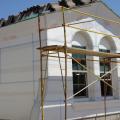
Expanded polystyrene insulation is installed with joints taped and lath attached in preparation for the application of stucco
Install continuous rigid foam insulation or insulated siding to help reduce thermal bridging through wood- or metal-framed exterior walls.
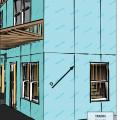
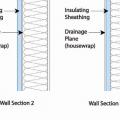
Insulating sheathing is installed on exterior of an existing framed wall with water control between existing sheathing and insulating sheathing
Lay out the rigid foam sheathing joints so they do not align with the window and door edges
Over the taped rigid foam board, 2x4 furring strips provide a ventilating air gap and drainage plane under the engineered wood lap siding. The furring strips were attached with structural screws to provide an attachment surface for the siding.
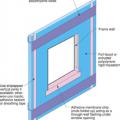
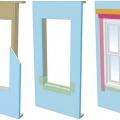
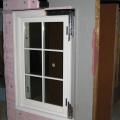
Proper flashing around windows is especially important when the rigid foam serves as the drainage plane in the wall
Right - Foil-faced polyisocyanurate rigid foam is attached to the existing exterior wall with vertical wood furring strips
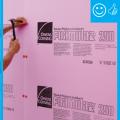
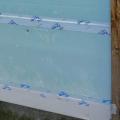
Right - This foil-faced polyisocyanurate rigid foam is installed on an existing exterior wall and the seams are taped so the rigid foam can serve as a water control layer
Right – All insulated sheathing boards are installed according to the manufacturer’s recommended fastening schedule and taping specifications
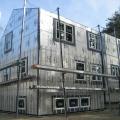
Right – Structural insulated sheathing can provide racking strength (lateral load resistance), and serve as an air barrier and thermal barrier if installed according to manufacturer’s specifications with taped, sealed seams
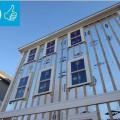
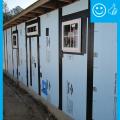
Right – This foil-faced foam sheathing has taped seams and proper flashing details so it can serve as a drainage plane.
Right: All joints in the rigid foam are taped to keep stucco out of joints for even drying. Mesh tape (shown here) is used with expanded polystyrene (EPS); acrylic sheathing tape or self-adhered membrane is used with XPS
Rigid foam insulated sheathing placed exterior to house wrap, interior to house wrap, or take the place of the house wrap
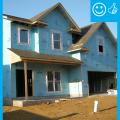
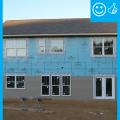
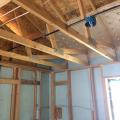
Rigid foam serves as the sheathing on these 2x6 24-inch on center walls; plywood is used only at the corners for wind bracing.
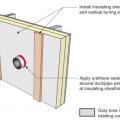
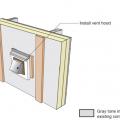
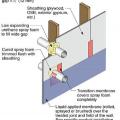
Step 4. Install insulating sheathing and vertical furring strips on the retrofitted exterior wall; seal around pipe or duct with urethane sealant.
Step 5. Install sheathing tape flashing over the duct or pipe and wood blocking on either side for later attachment of trim.
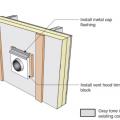
Step 6. Install vent hood trim block, metal cap flashing; seal top edge of flashing with sheathing tape.
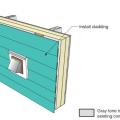
Step 8. Attach the new cladding to the furring strips over the rigid foam for the exterior wall retrofit.
Stucco is installed over rigid insulation, which is installed over a drainage plane consisting of a drainage gap and building wrap layer over the sheathing
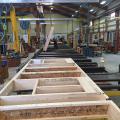
These factory-built walls consist of 9.5-inch I-studs sheathed with coated OSB, faced with OSB, and dense-packed with cellulose; a second interior surface of drywall is added to provide a 1.5-inch cavity for electrical wiring.
Two layers of XPS are installed with staggered seams over a liquid-applied membrane on the structural sheathing
Unvented roof assembly at eave retrofitted with rigid foam, spray foam, and taped top edge of existing house wrap or building paper
Use flashing tape to seal around any pipes or vents that penetrate through the foam
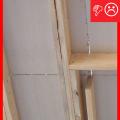
Wrong – A visible gap in the insulated sheathing introduces unwanted outside air, creating a thermal bypass and encouraging convective air flow
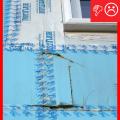
Wrong – Either this tape was not pressed down firmly or the surface was wet or dirty so the tape is not sticking properly even during construction.
Wrong – If the insulated sheathing will serve as an air barrier and drainage plane, any cuts and seams must be taped or sealed.
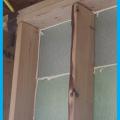
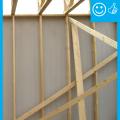
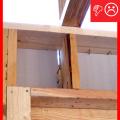
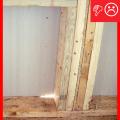
Wrong – When insulated sheathing is installed correctly, you should not see daylight. Nail holes were also left unplugged.
