

Introduction
Look at the crawlspace for moisture issues.
Why
No one likes going into a crawlspace; however, it is important to aim to look at least once a year. Inside the crawlspace, you’ll be looking for problems with moisture, insulation, ventilation, pests, and structural issues. Letting these types of problems fester undetected can lead to serious structural damage and thousands of dollars in repair costs. Looking annually can help you address problems early and protect your home, saving you time, money, and stress.
What You'll Need
- Half-mask respirator and safety glasses or a full face respirator
- Full-coverage coveralls with hood
- Headlamp
- Secondary battery-powered light
- Gloves
- Kneepads
- Camera or smartphone camera
- Wood moisture sensor
- Air moisture meter (humidity sensor)
- Note pad and pen or cell phone for taking notes.
1. Pick a time to look.
The best time to look at the crawlspace is as soon as you suspect a problem down there - it could be due to a bad smell in the house or noises coming from the crawlspace. If there are no signs of an active crawlspace problem, the best time to look at a crawlspace is in the spring or fall after a significant rain event – this will help you detect any active water intrusion issues. If you have crawlspace vents, look during daylight hours so light coming in the vents can help you navigate.
2. Gather supplies and get suited up.
Take the time to gather supplies (camera, wood moisture sensor, air moisture sensor, flashlight, headlamp, gloves, notepad and pen or cell phone for taking notes). You don’t want to be down in the crawlspace far from the entrance and then realize you forgot something. Check that your light sources are fully charged. Review the signs to keep an eye out for that link to moisture, insulation, ventilation, pest, and structural problems. Review this list of what to look for.
- Moisture problems.
Signs include standing water, puddles, water stains, efflorescence (a white, crystalline powdery deposit on the surface of concrete walls, damp insulation, mold or mildew growth, and rusty pipes and nails.
Common causes could be a water leak, sewer leak, water entry from rain or melting ice or snow outside the house, a non-working dehumidifier in the crawlspace, or a torn, poorly installed, or missing vapor barrier on the crawlspace floor. - Insulation problems.
Signs include missing insulation, sagging insulation, wet insulation, and discolored insulation.
Common causes include poor installation, high humidity or water in the crawlspace, air leaks between the crawlspace and the inside of the house, and pests in the crawlspace. The rim joist and the areas furthest from the crawlspace entrance are common areas of missing insulation due to improper installation. - Ventilation problems.
Signs include bad odors, mold or mildew growth, and moisture problems.
Common causes include debris clogging the crawlspace vents, or foam blocks that were placed in the wall vents to “winterize” the crawlspace then left in all year. Leaking, disconnected, kinked, or sagging HVAC ducts in the crawlspace can result in HVAC problems in the living space and problems in the crawlspace with pressurization or depressurization. - Pest problems.
Signs include droppings, areas of disturbed, discolored, or missing insulation, chewed wires, damaged vapor barrier, wood damage, and soil disturbances.
Common causes could be rats, mice, racoons, opossums, rabbits, snakes, skunks, squirrels, bats, powderpost beetles, carpenter ants, and termites. - Structural problems.
Signs include sagging floor joists, sawdust, mold or mildew on wood, support posts that are not making contact with the pier, and large cracks in wood support members.
Common causes are high moisture levels in the crawlspace, bad soil or bad soil conditions during construction, and wood-boring insects and pests.
Looking at the crawlspace could take over an hour and is a physically demanding task. Hire a contractor if you don’t feel up to it. Protect your clothes and skin by suiting up in a full-coverage Tyvek coverall with hood. Wear a properly fitted half-mask respirator and safety glasses or full face respirator, gloves, kneepads, and headlamp (Figure 1).

Source
3. Access the crawlspace.
Find the crawlspace access hatch. They are often located in bedroom closets.
Remove storage items that might be obstructing the crawlspace access.
4. Navigating the Crawlspace.
Once you’re inside the crawlspace, develop a plan for how to methodically and efficiently navigate the crawlspace so you don’t miss any areas. For example, if you must crawl under a low beam or duct to access a section of crawlspace, develop a navigation plan that reduces the number of times you must crawl underneath that low section.
Always evaluate and re-evaluate your personal safety. If there is a section with a significant amount of standing water, don’t go into that area. Document it and consult a professional to remove the water. If you see exposed electrical wire connections, document from afar and don’t touch the wires.
5. Visually check and take measurements.
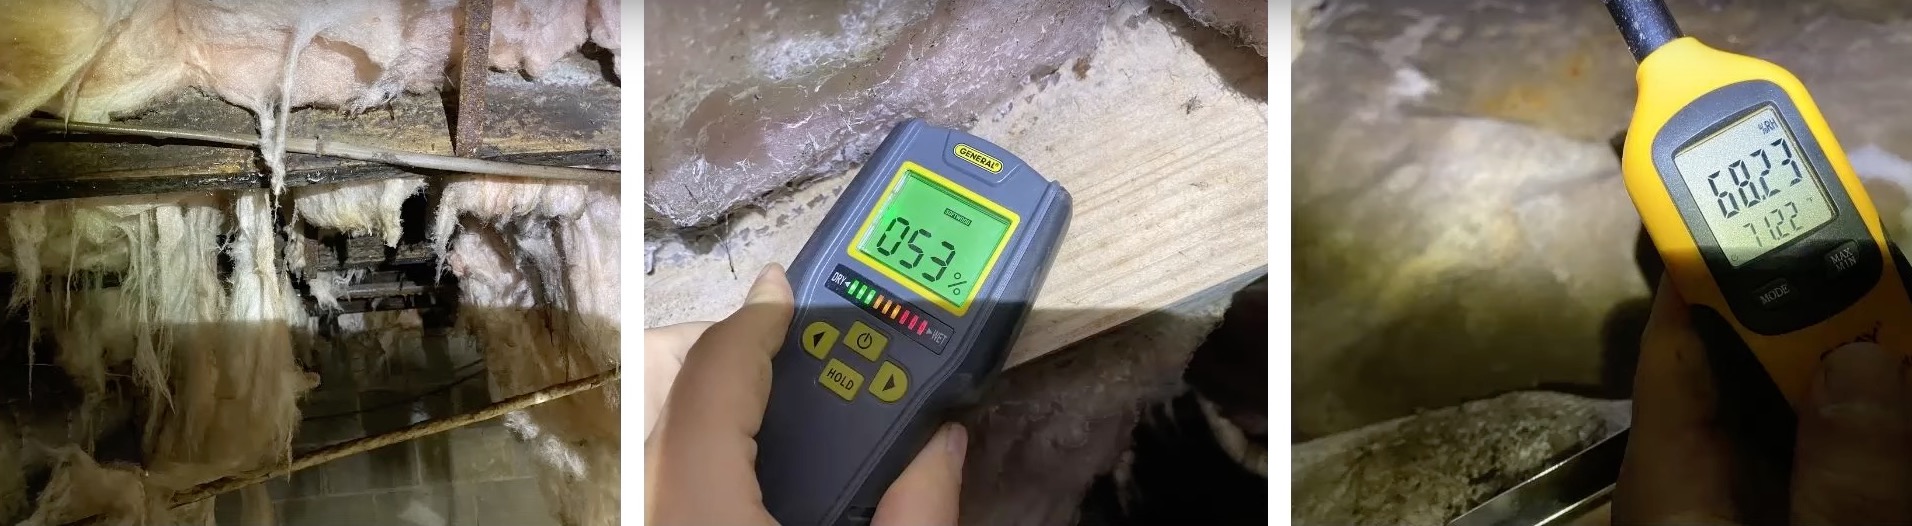
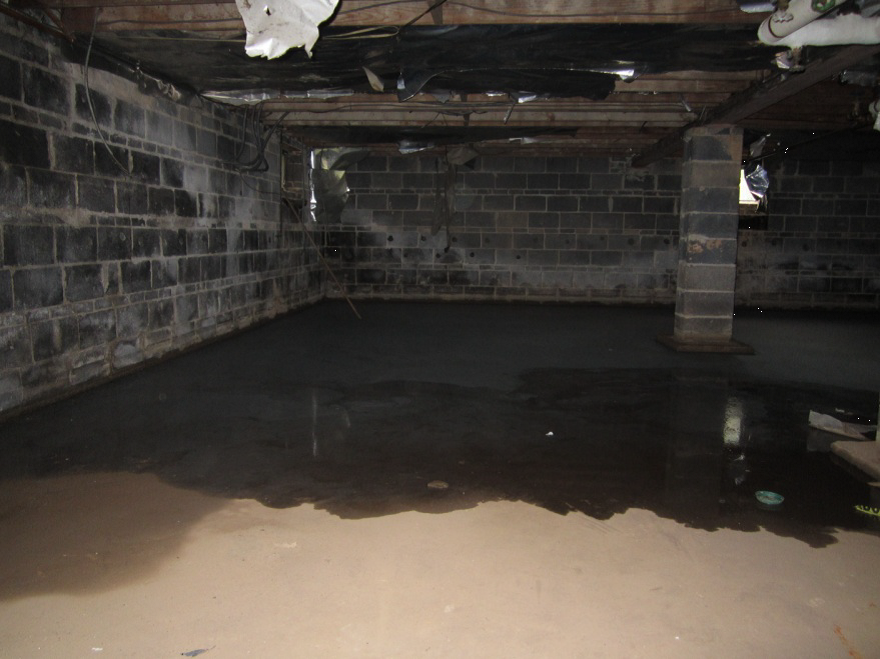
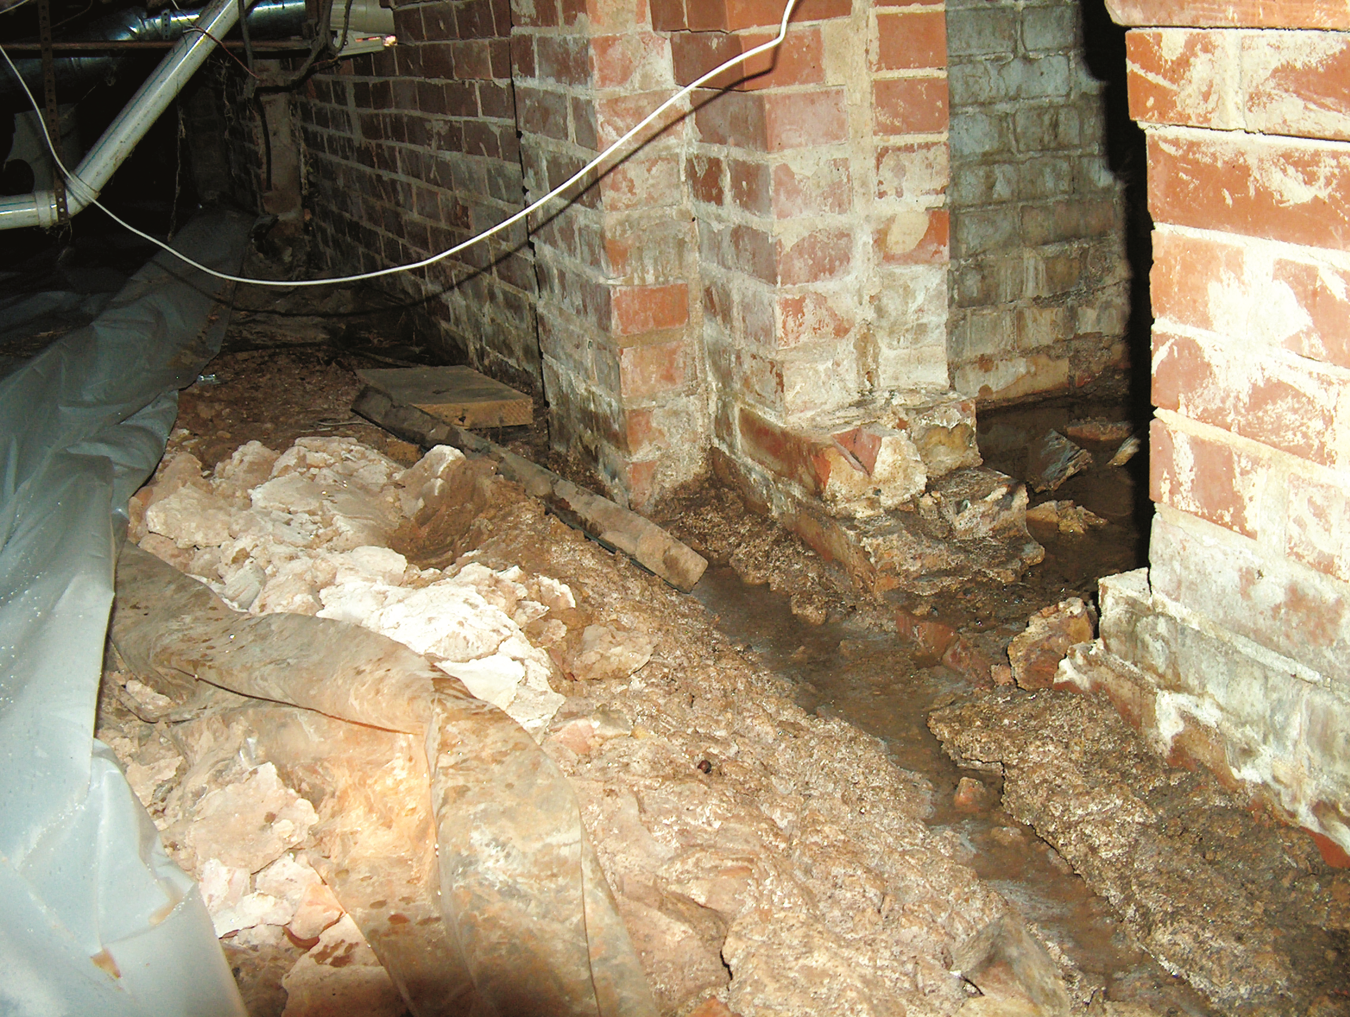
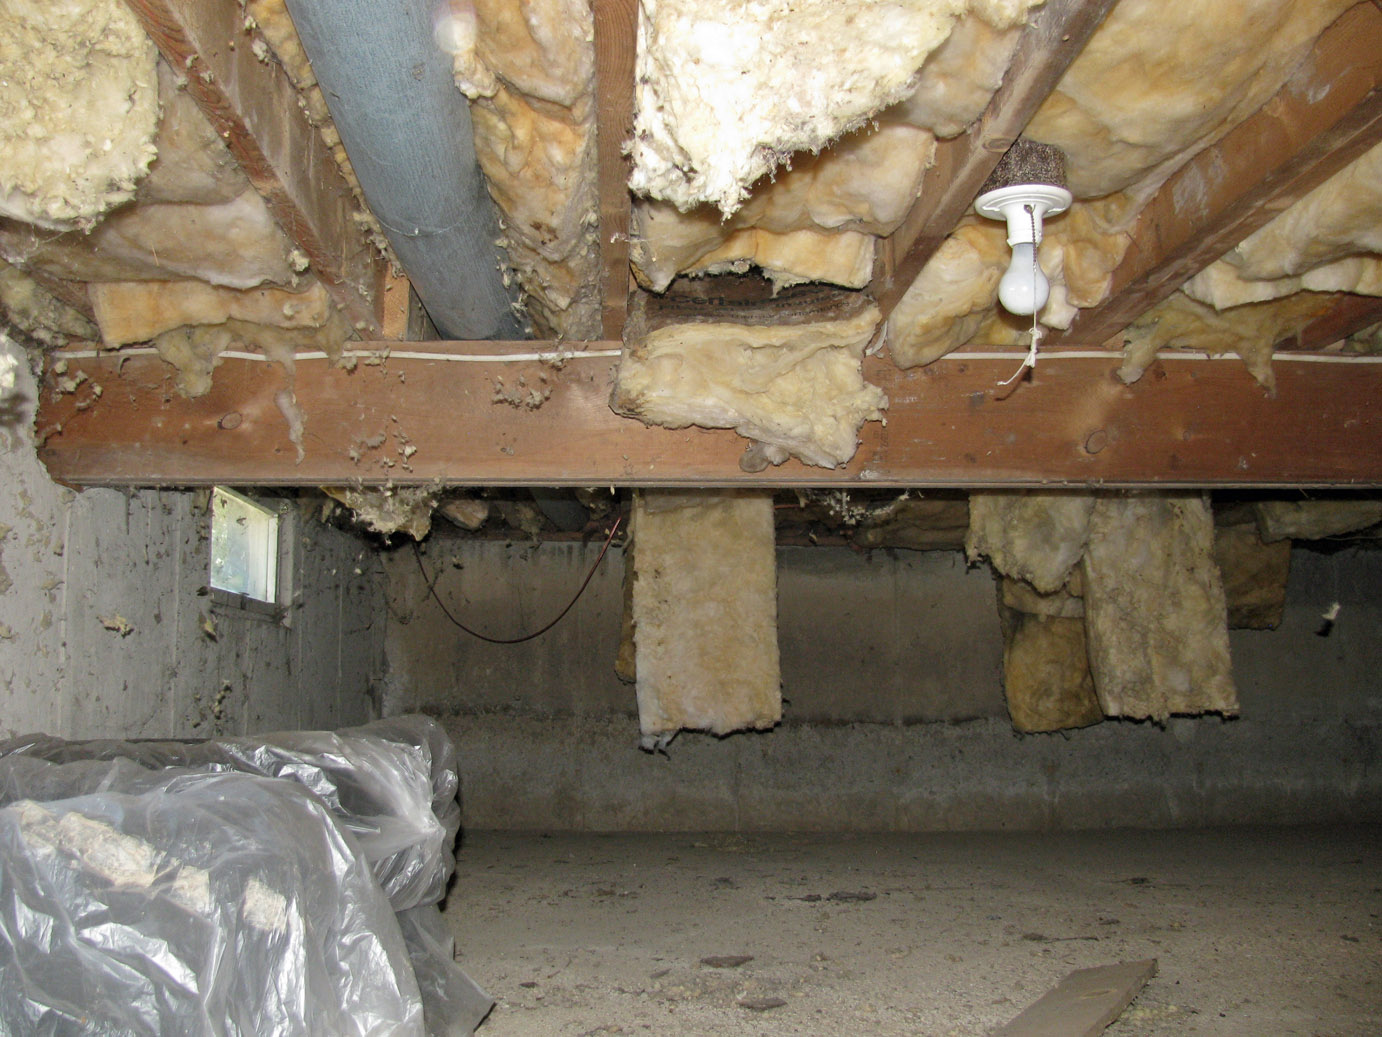
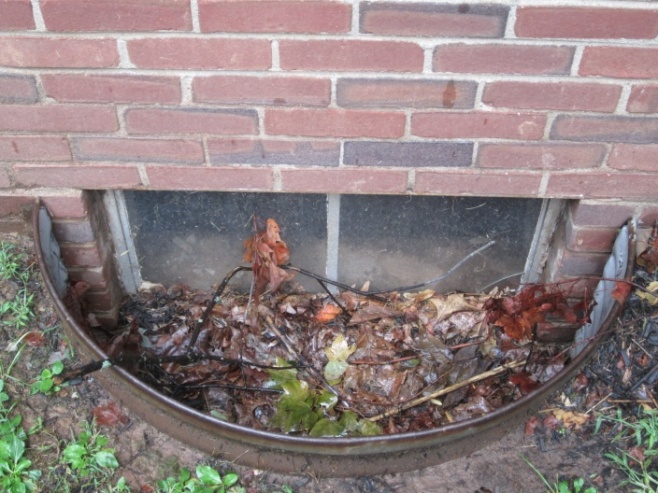
Visually check and take measurements of the wood moisture level and the humidity level of the air while you are in the crawlspace (Figure 2). Generally wood moistures content above 18% is bad. Air relative humidity levels above 70% are bad. Figures 3 through 10 show additional pictures of good and bad situations you might encounter.
Source
Source
Report analyzing results in crawlspace retrofits in multifamily buildings.

Source
Article describing how closed crawlspaces can do "double duty" by controlling moisture and providing energy savings.

Source

Source
Article describing methods to manage moisture, rainwater, and vapor in basements and crawlspaces.
Source
Report analyzing results in crawlspace retrofits in multifamily buildings.

Source
Article describing methods to manage moisture, rainwater, and vapor in basements and crawlspaces.