Introduction
Tankless water heaters contain an air filter and a water filter screen, which require regular cleaning.
Why
Tankless water heaters have two filters – an air filter and a water filter. Cleaning these filters on your tankless water heater every 6-12 months ensures the highest efficiency and performance. For example, if the air intake filter becomes clogged with dust or debris, the water heater will stop working until the air filter is cleaned.
What You'll Need
- Soft bristled brush
- Dish soap
- Lint-free towel
- Pliers (optional)
- Toothpick or cotton swab
1. Turn off the water heater.
Instructions are provided below for electric water heaters and gas water heaters. Consult the instruction manual for specific instructions and filter locations for your model.
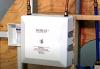
Electric: Unplug the unit from the wall. Remove the front cover, as shown in Figure 1.
Gas: Turn off the power to the unit. Wait for the water heater to cool down. Close the manual gas shutoff valve. Then open the water heater unit. Consult the manufacturer’s instructions to ensure proper shutdown.
Source
2. Remove Air Filter
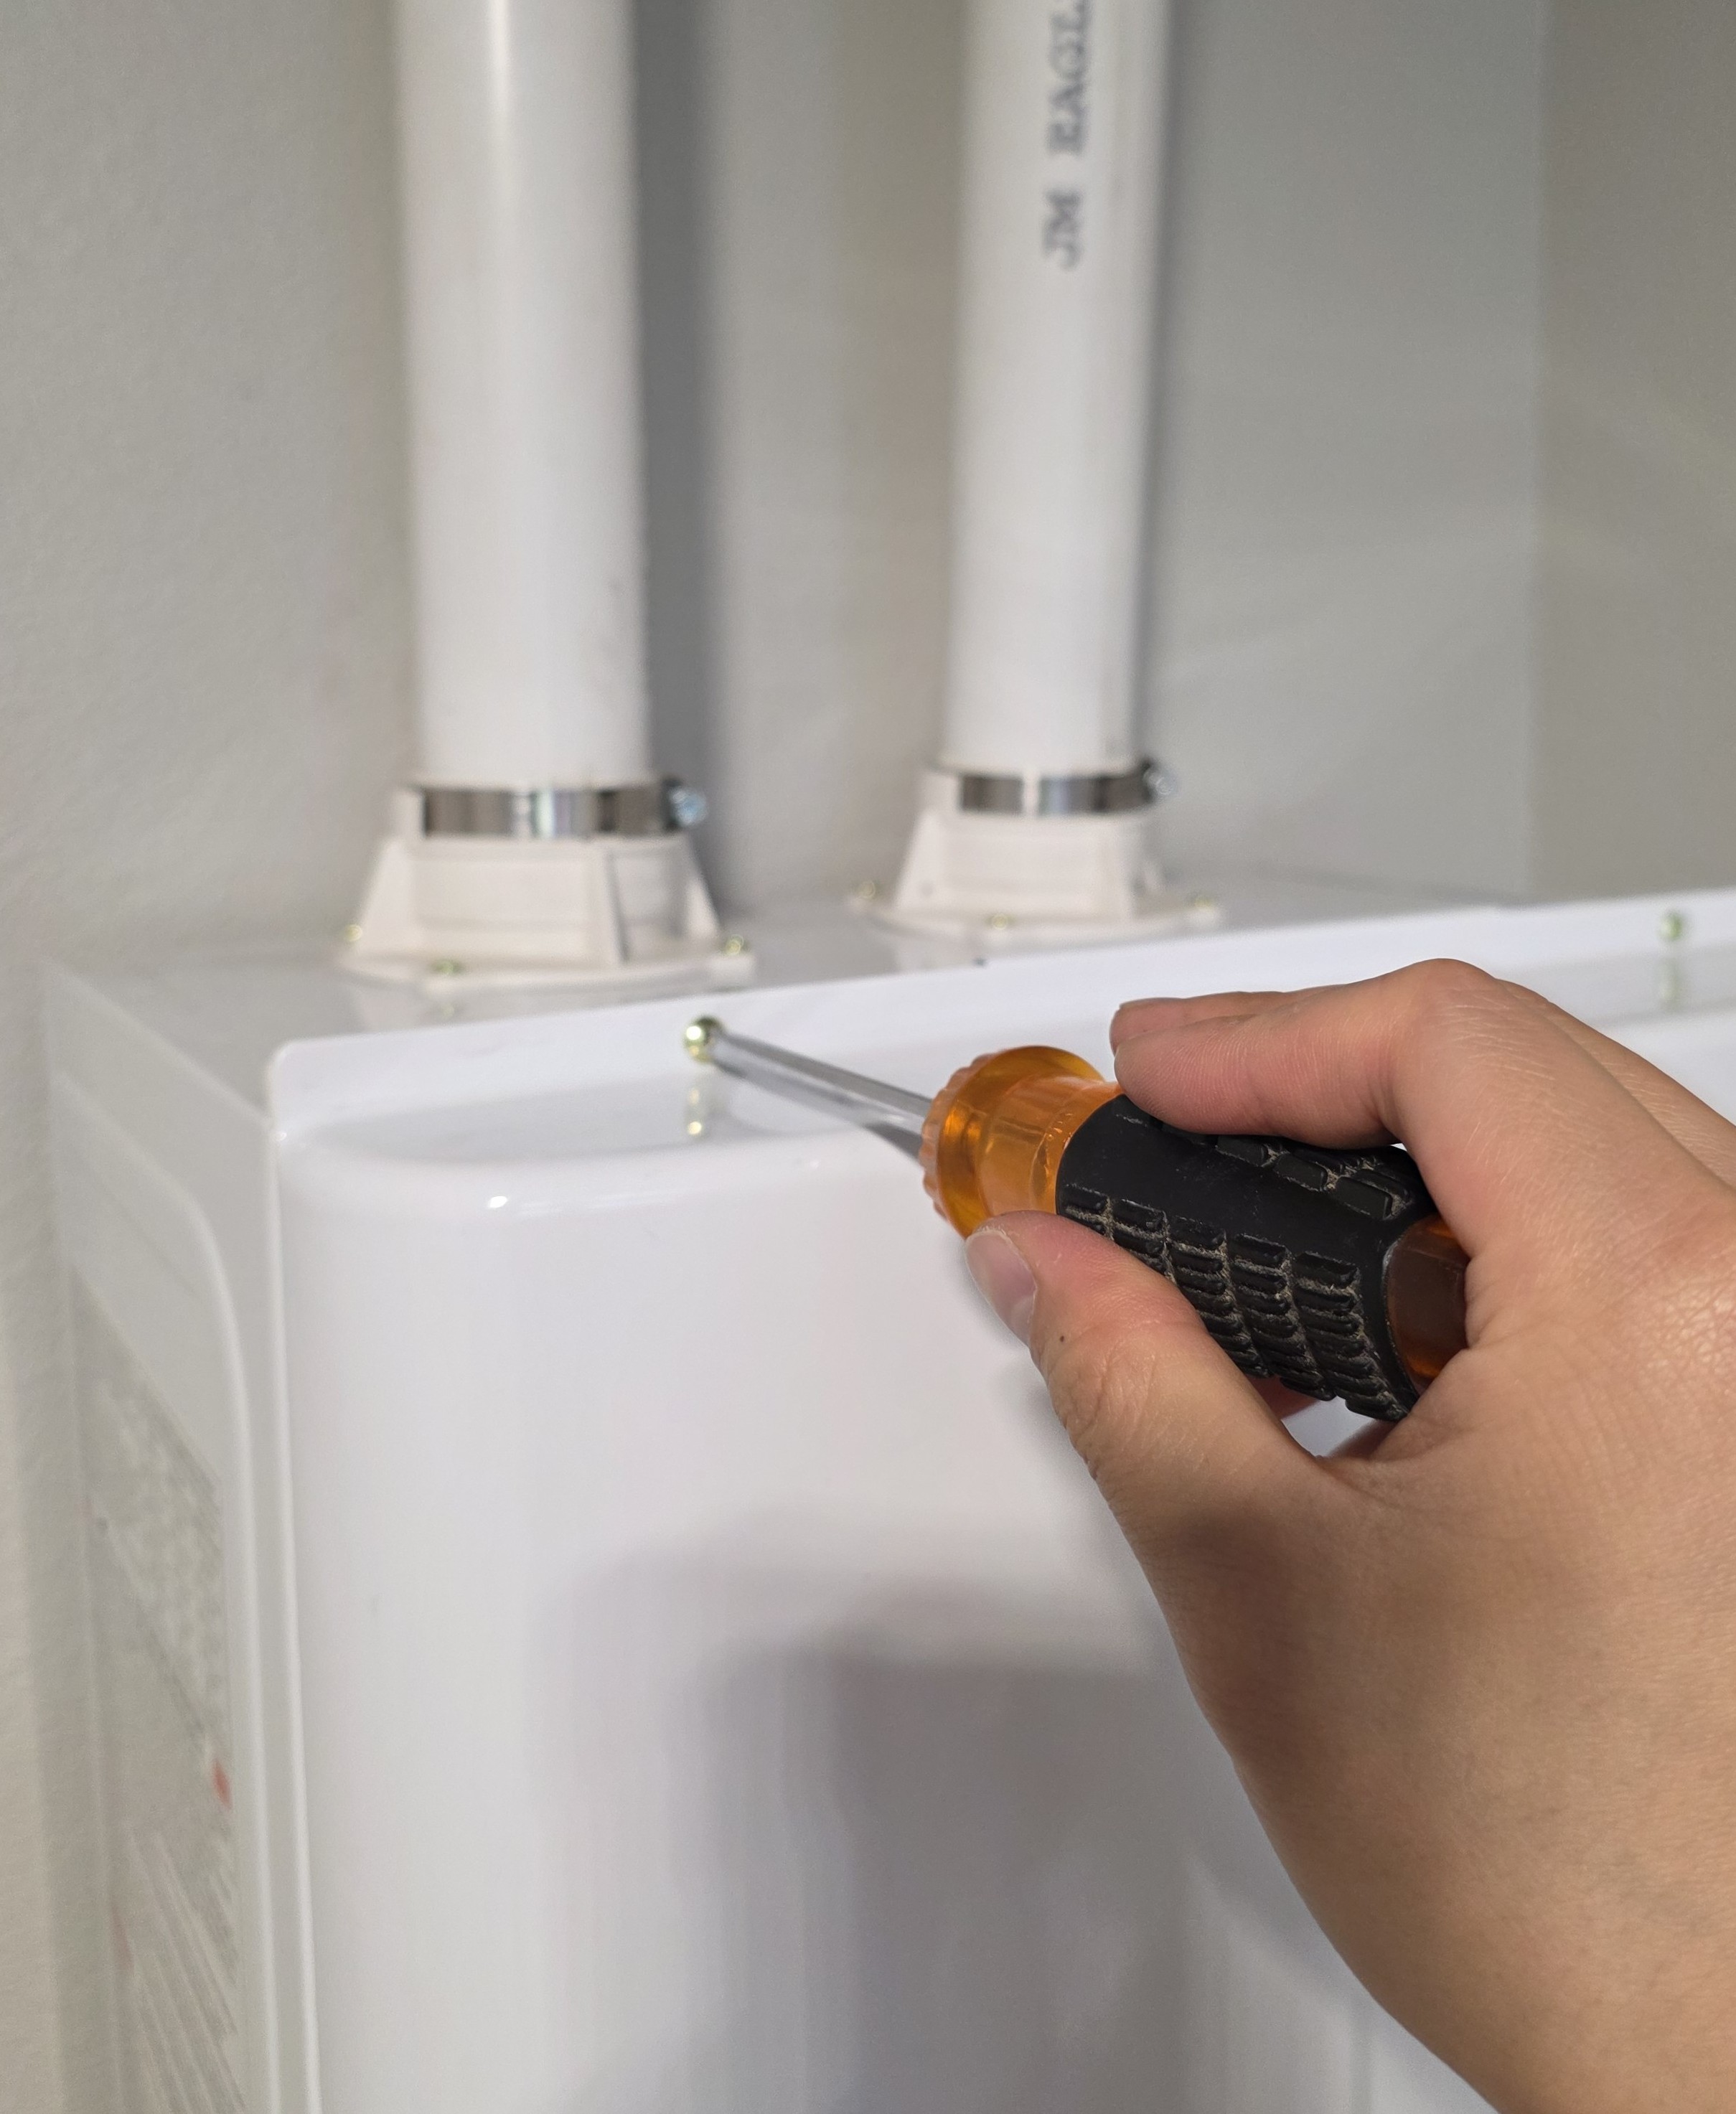
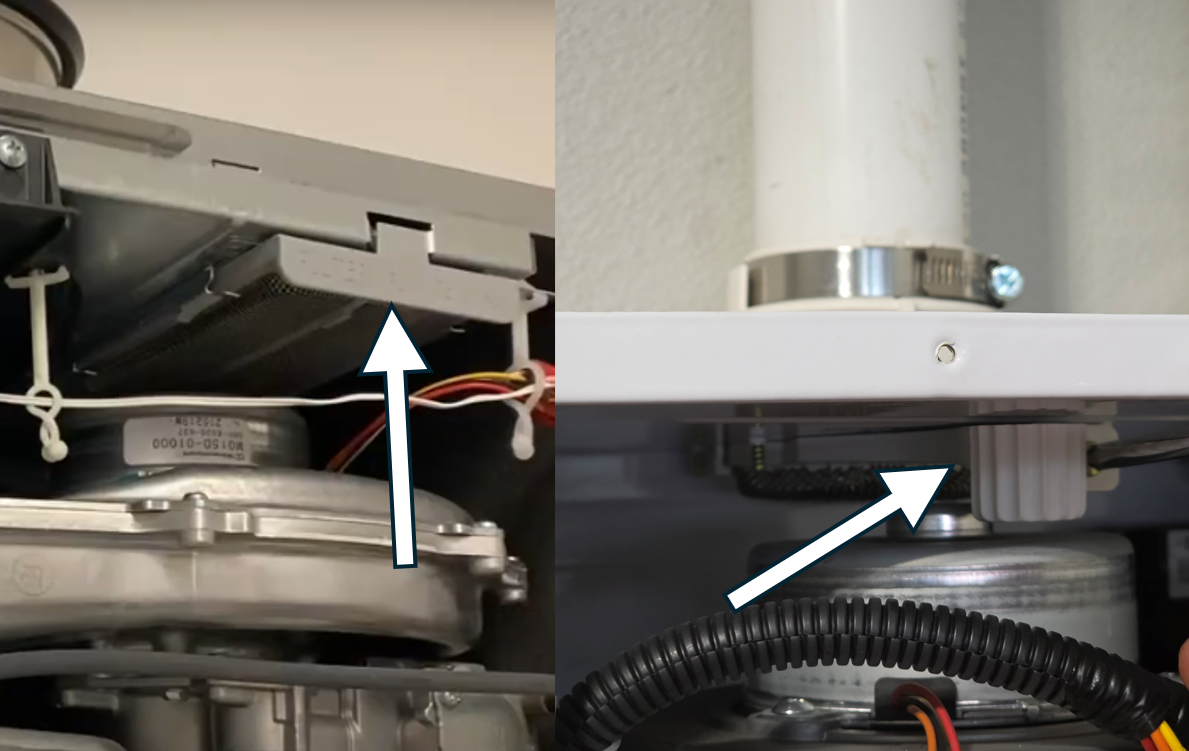
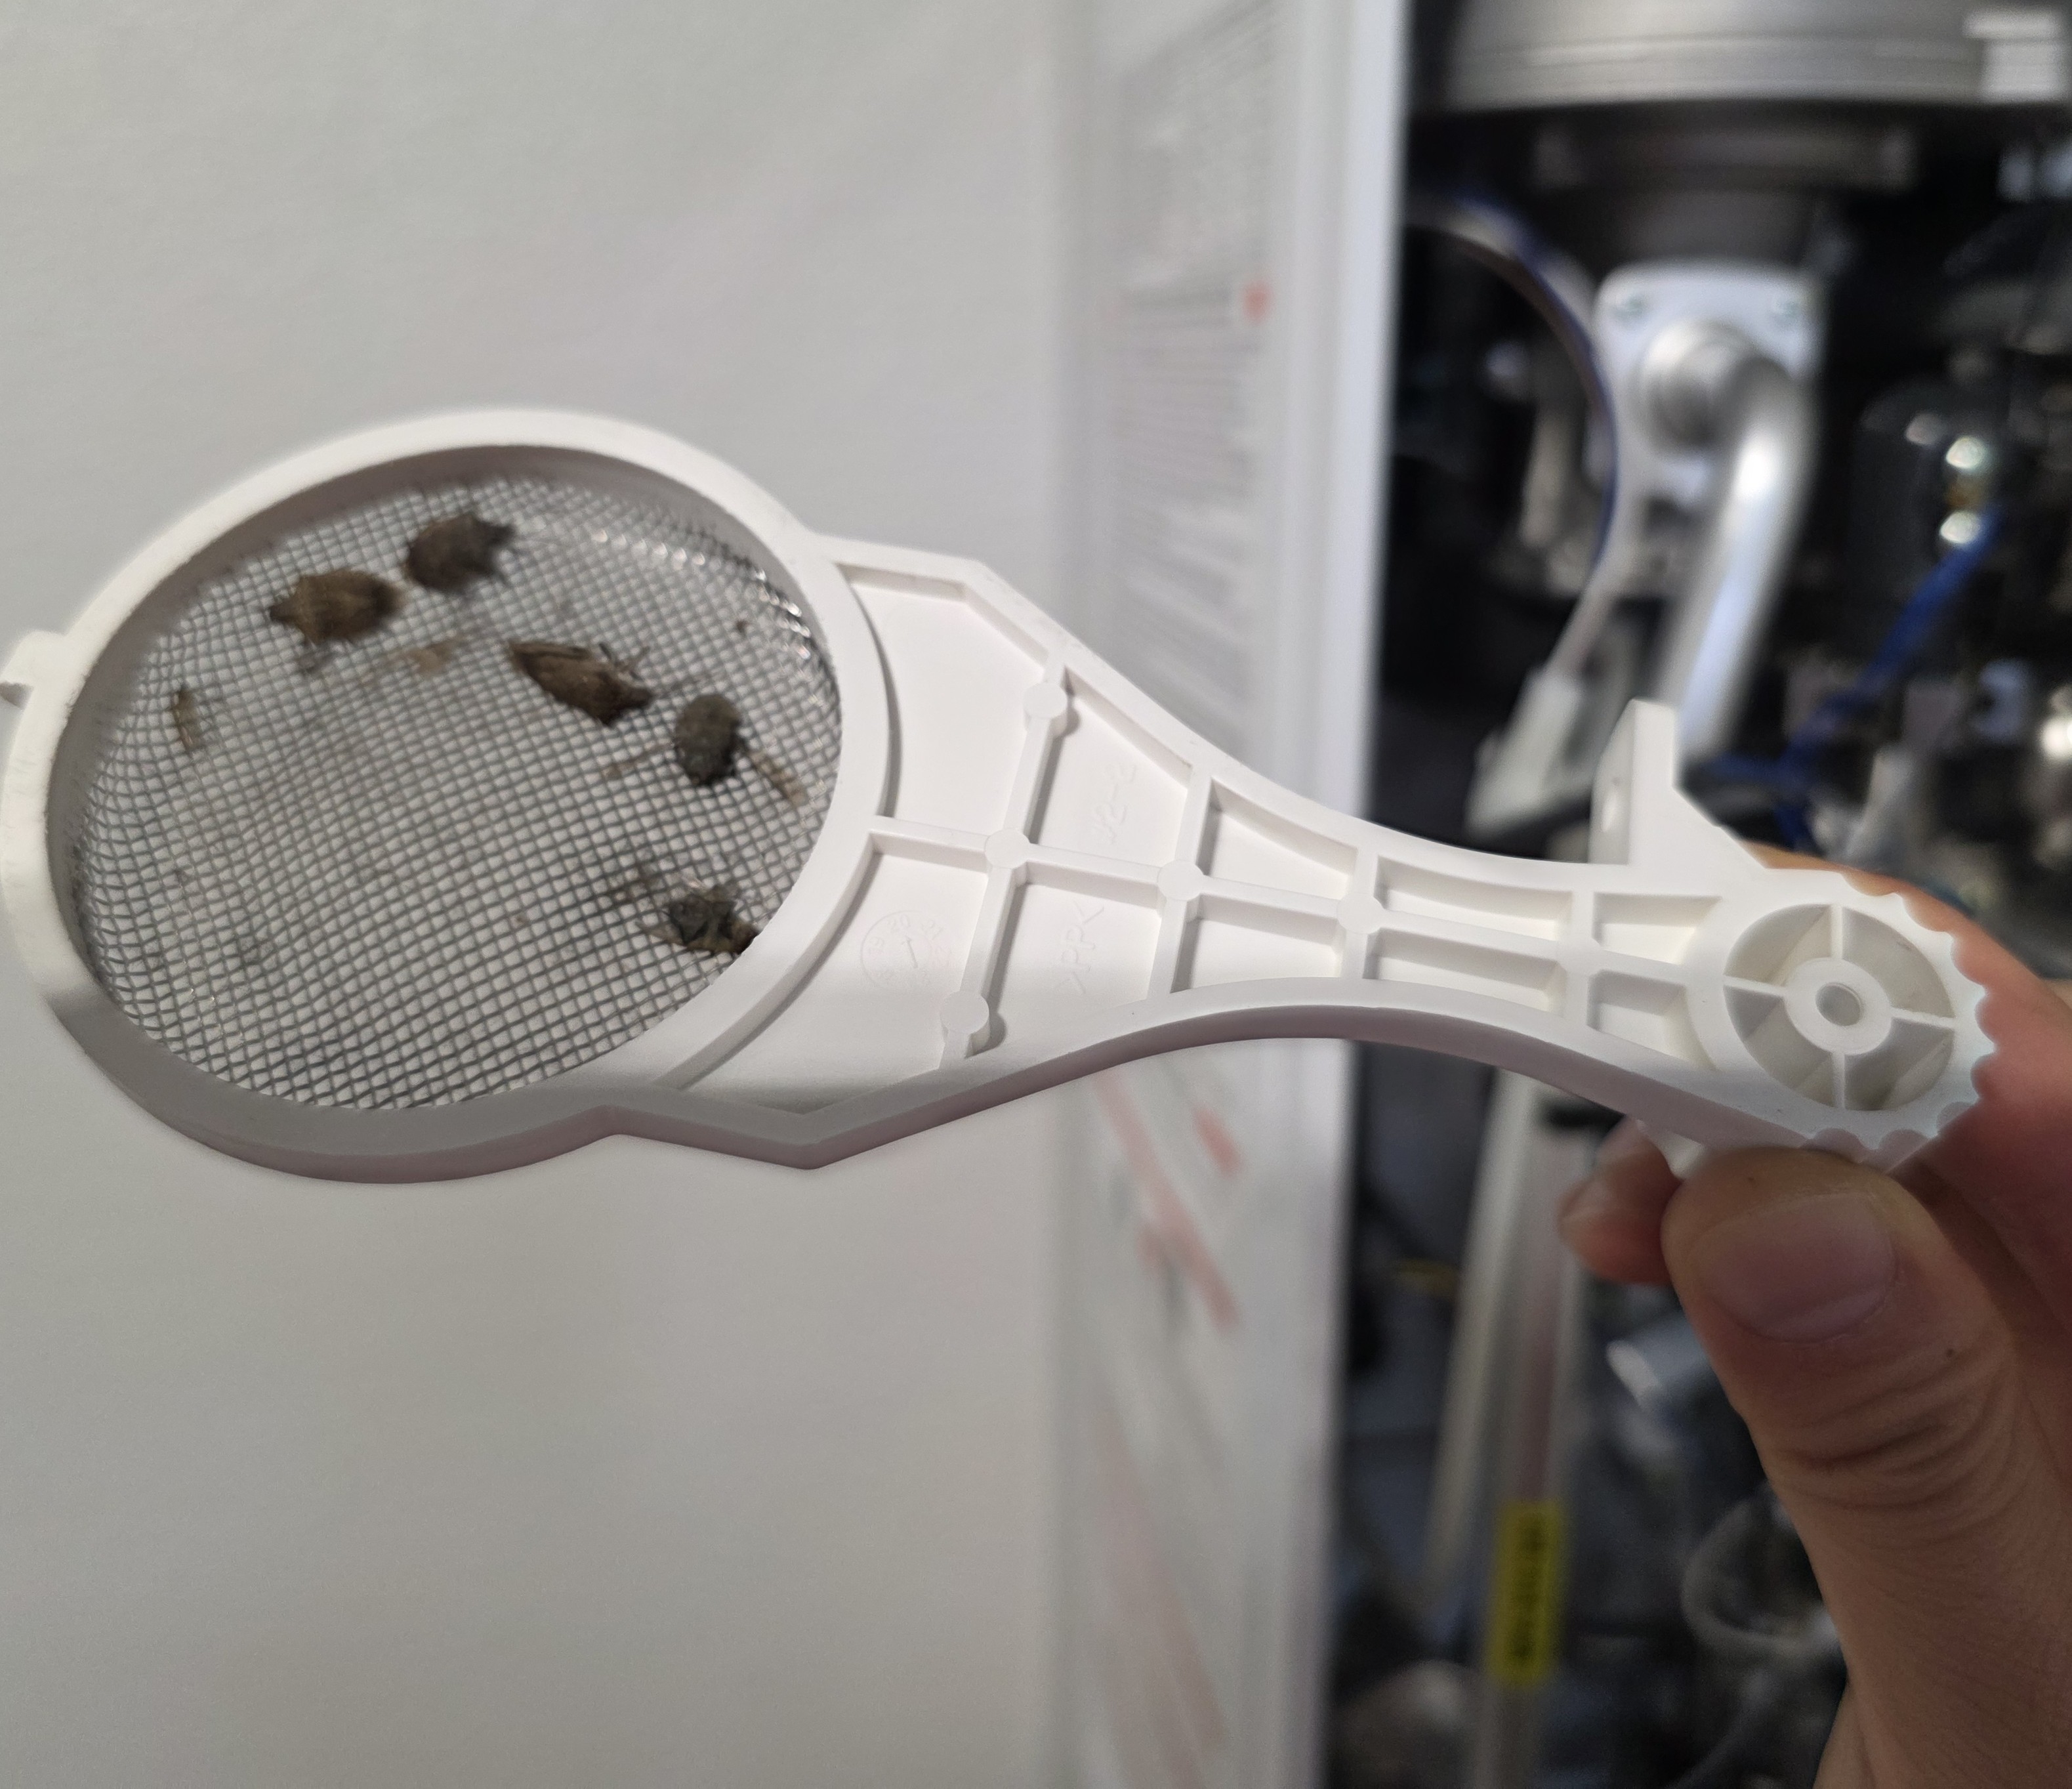
Locate the air filter and remove it. If you cannot locate the air filter, consult the product specifications for your water heater. Figure 2 shows the location of the air filter in two different tankless water heaters. Air filters come in various shapes, depending on the model (Figures 3 and 4). The filter is often located near the top of the water heater between the air intake pipe and the fan.
Source
Source
Source
3. Clean Air Filter.
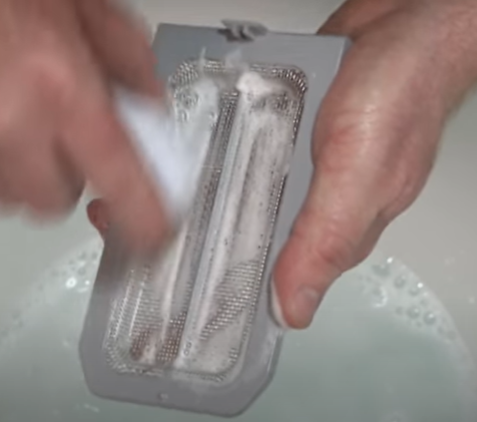
Gently scrub the air filter with a soft bristled brush and a mild dish soap solution, as shown in Figure 5. Rinse the air filter with clean water and dry with a lint-free towel or air dry. Re-install the air filter. Next clean the water filter.
Source
4. Shut off and Drain Tank.
Electric: Close the cold-water inlet valve. Figure 6 shows an example of the water inlet valve. The location of the valve will be specified by the manufacturer.
Gas: Close the water inlet valve.
Turn on hot water faucets in the house to drain residual water from the tank. Once the flow subsides, turn off the faucets.

Source
5. Remove Water Line Filter.
Locate the water line filter above the water inlet valve and place a bucket beneath to catch any water still in the unit. The filter has a black cap and can be unscrewed manually, as shown in Figure 7. If the filter cap is too tight, gently use a set of pliers to loosen it.

Source
6. Clean the Water Filter.
Gently tap the water filter to dislodge debris (Figure 8). Use a cotton swab, toothpick, or old toothbrush to remove debris from the filter (Figure 9). Place the filter under running water to clean further.

Source

Source
7. Re-Install the Water Filter.
Screw the water filter back into place; hand tighten only.
8. Turn the Water Heater On.
Electric: Turn the water inlet back on by turning the valve. Ensure no water leakage occurs from the filter. Plug the water heater back in and turn on.
Gas: Turn the water inlet back on by turning the valve. Turn the manual gas shutoff valve back on. Power the water heater back on.
Consult the instruction manual for specific instructions for your model.