

Introduction
Air seal and insulate around old wooden windows to remove or renovate pocket weights, decrease heating and cooling losses, and make your home more comfortable.
Why
Old wooden double-hung windows use an intricate system of weights and pulleys to counterbalance the weight of the window sash, allowing it to slide up and down smoothly and stay open in any position. These weights, made of lead or cast iron, hang in a hidden cavity next to the window. A rope or chain runs through a pulley at the top of the frame, connecting the weight to the sash. As the window is raised, the weight lowers, and as the window is lowered, the weight is raised, providing a consistent counterbalance. Newer windows use a high-tension spring built into the frame to serve the same purpose. Because the cavity needs to remain open so that the weight can move, there is no insulation in this section of the wall and the location of the pulley is often in a small opening in the window frame which means cold or hot air can easily flow into the room. So, while they may be nostalgic, these window weight pockets are also likely a big source of air leakage and discomfort during hot summers and cold winters. There are several options for replacing or renovating these weight pockets, some of which are discussed here.
What You'll Need
- Tape measure
- Weatherstripping material (styles including felt, reinforced foam, vinyl, or silicone, tape, magnetic, tubular rubber or vinyl, and others)
- Caulk or caulking tape
- Rigid foam insulation
- Canned spray foam
- Window balance hardware (such as spring balances or jamb liners)
- Utility knife
- Putty knife
- Prybar or hammer
- Screw driver
1. Determine your strategy.
You have several options for treating old wooden windows with window weights, including the following:
- Keep the window weights and restore the window to original operation.
- Keep the window but replace the weights and pulleys with spring balances.
- Replace the window, and seal and insulate the weight pockets.
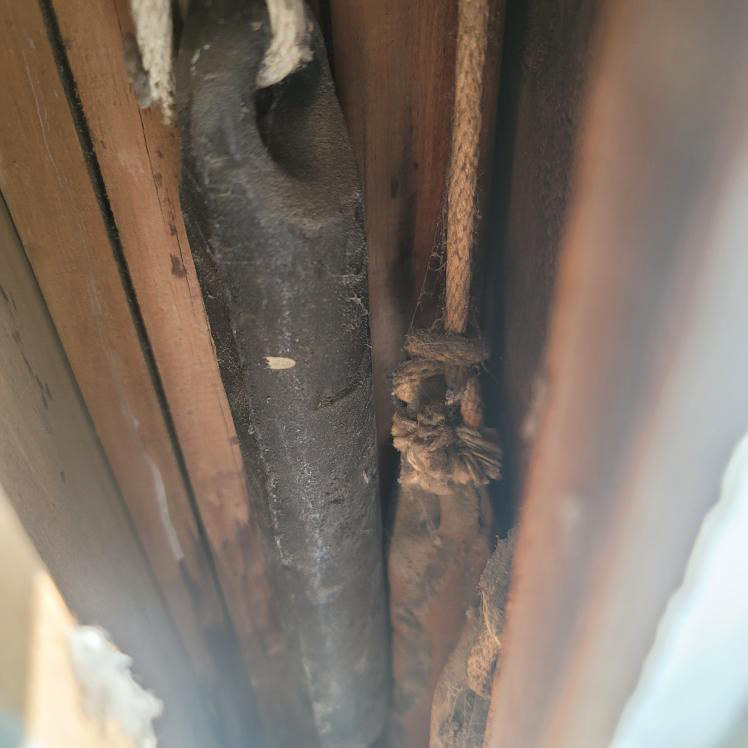
These options may require advanced carpentry skills. Consider the condition of the windows. The pulley chains or ropes may be missing (Figure 1) or painted over. If the windows are loose or water damaged, or if you see signs of water damage around them, you may need to replace the windows. If the home is older than 1978, it may have lead paint. Lead safety precautions should be followed when conducting renovation activities like sanding painted surfaces. Depending on the condition of the windows, it may be best to hire a professional contractor.
2. Option 1. Keep the window weights.
If you want to keep the window weights and pulleys to maintain the historic nature of your home, it will typically involve replacing the pulley chains or ropes and cleaning and lubricating the pulleys. This requires opening the access panels on the sides of the windows, which typically involves removing the window stop along the jambs. You may also need to remove the interior window trim to access the weight cavities so you can replace the ropes or clean the chains. This might give you the opportunity to use caulk to air seal the seams in the back of the cavity along the exterior sheathing, but there still likely won’t be room to add any insulation. Restoring these window pockets and window frame may take advanced carpentry skills depending on their current condition. Detailed instructions for doing this renovation are beyond the scope of this guide. Find resources on line.

Source
3. Option 2. Remove the weights.
You can keep the window but remove the weights and pulleys and replace with spring balances:
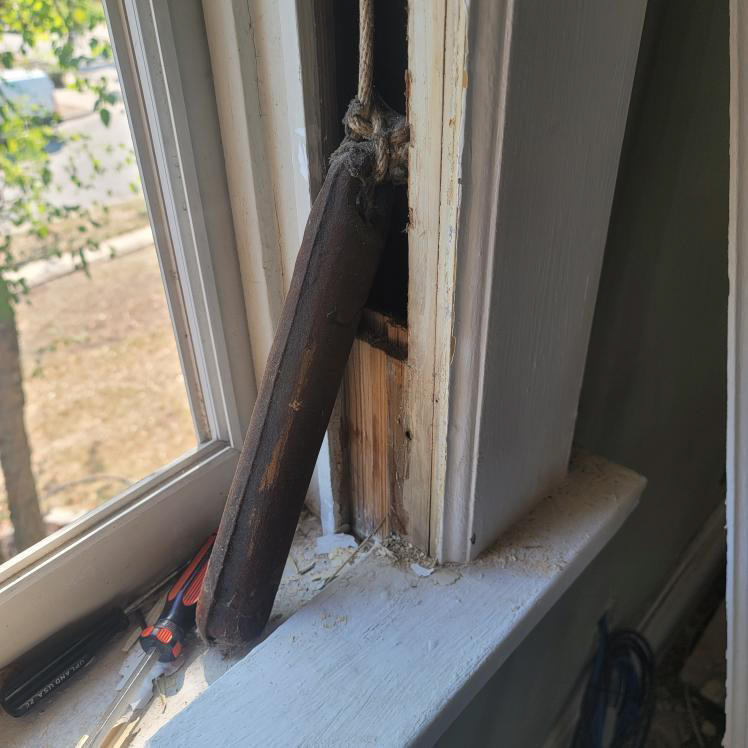
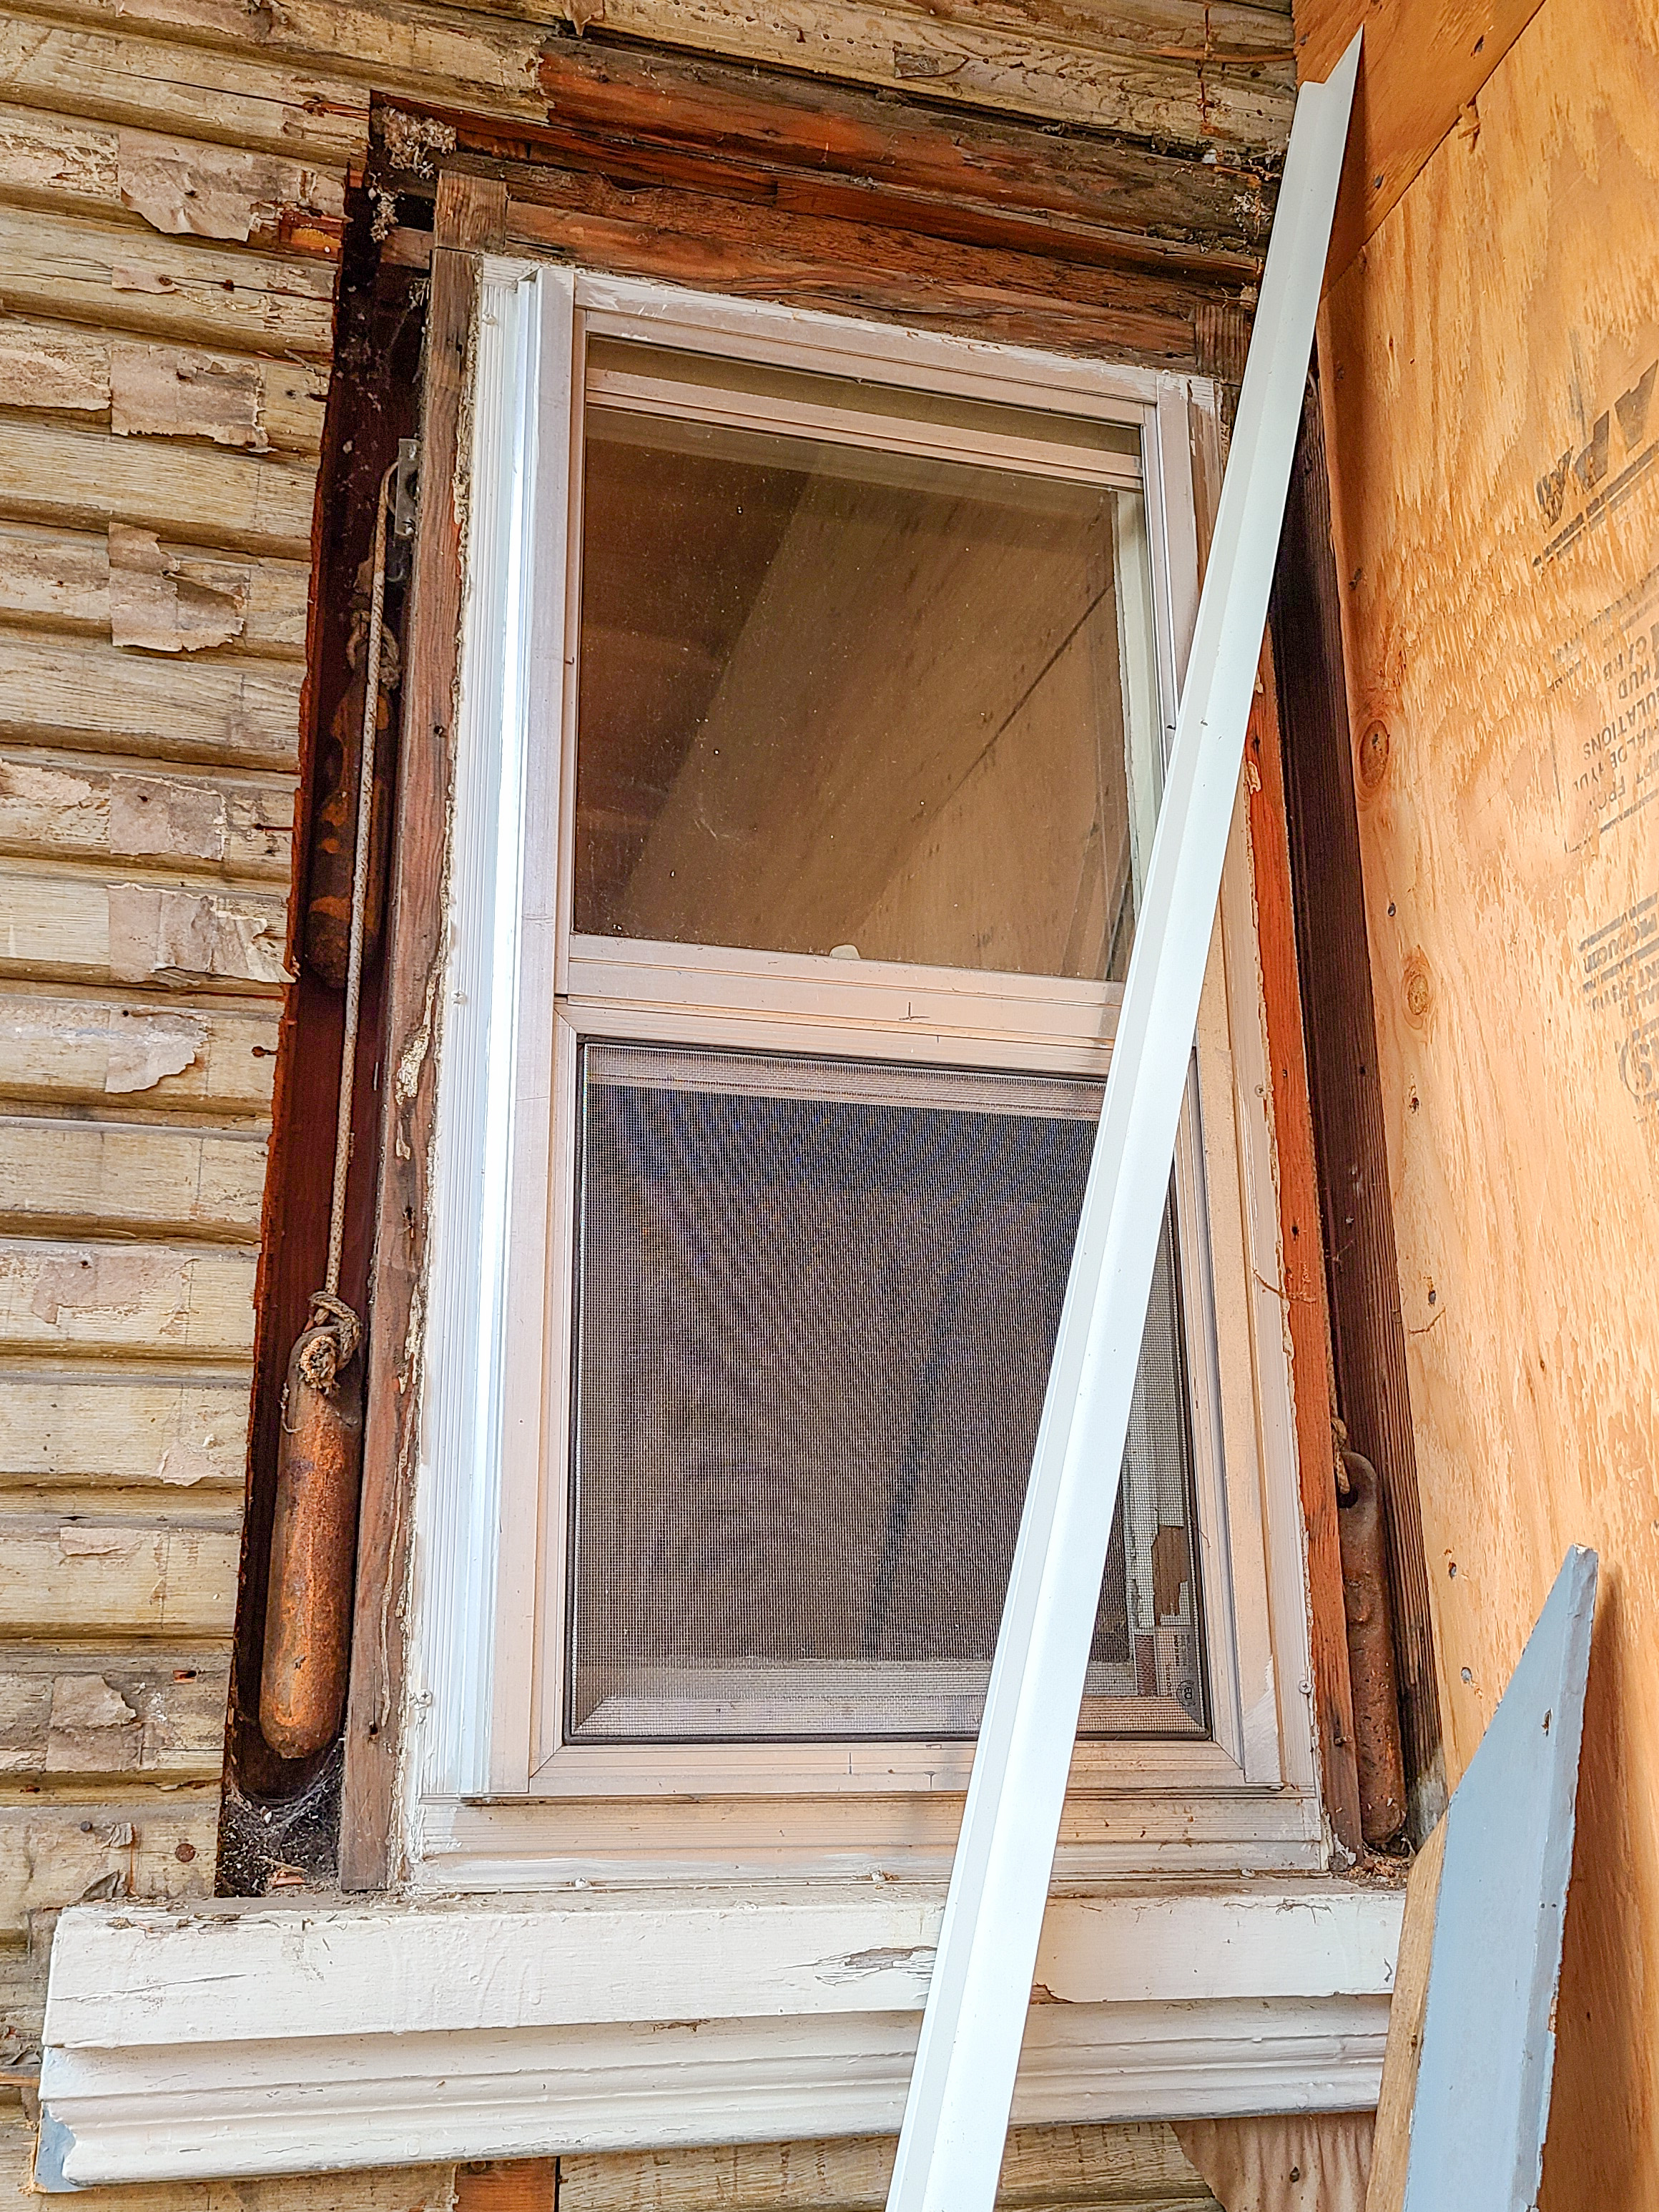
- There are typically access panels in the sides of the window that are held in place with screws or nails to access the weight pocket but these give limited access to the pocket (Figures 2 and 3). Another option for accessing the pockets is to remove the interior window trim which should expose the full pocket (Figure 4).
- Pull the weights and ropes out of the pockets. Cut the ropes and remove the weights (Figure 3).
- Remove the pulley located at the top of the opening. Caulk the corners and seams in the back of the pockets, then fill the space with strips of rigid foam. Use foil-faced foam if you are in a colder climate that requires a vapor barrier in exterior wall insulation. The foil should face toward the room. Seal the edges with caulk or metal tape.
- Re-install the trim.
- Install new jamb liners and new spring balances.
Source
Source
Source
4. Option 3: Install new windows.
In addition to air sealing and insulating the weight pockets, if the windows themselves are in bad shape (loose or cracked panes, evidence of water damage) and/or if they are single-pane only, you may want to replace the old window unit with a new double- or triple-pane replacement window. See the Building America Solution Center Guide Insert Replacement Window for details.
Instead of installing a replacement window, if the window is single-pane but otherwise in good shape, another option for improving the overall window performance is to install weatherstripping and storm windows. See the DIY guides Add Weatherstrip to Windows and Doors, Install Interior Storm Windows, and Install Exterior Storm Windows.