Introduction
Air seal the rough opening around windows and doors prior to installing trim to minimize air leakage.
Why
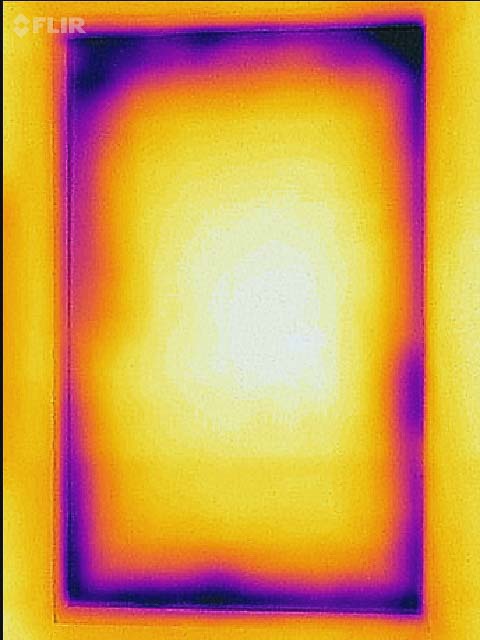
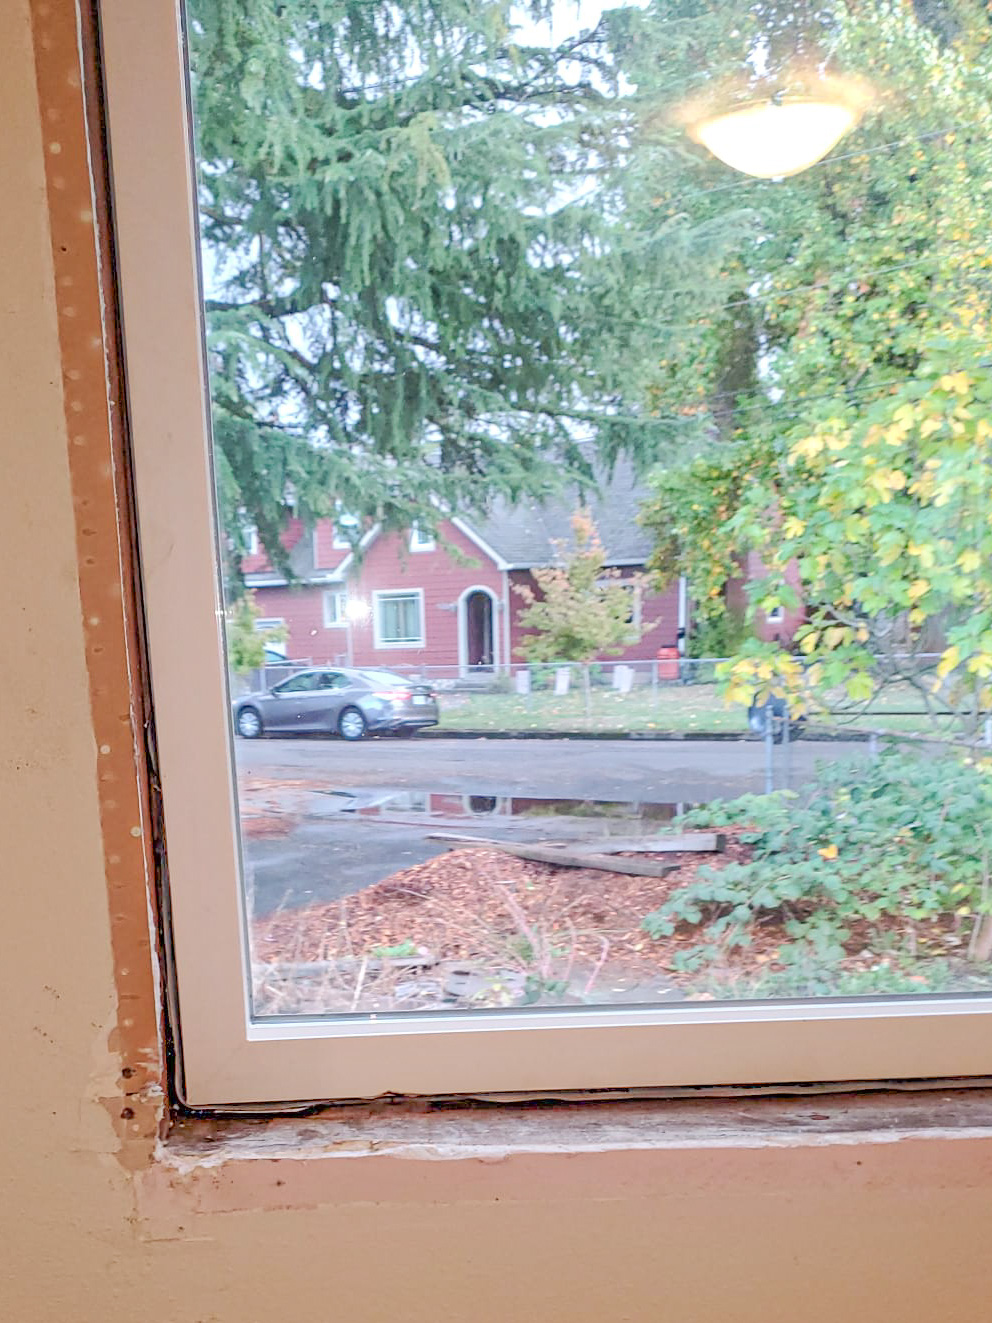
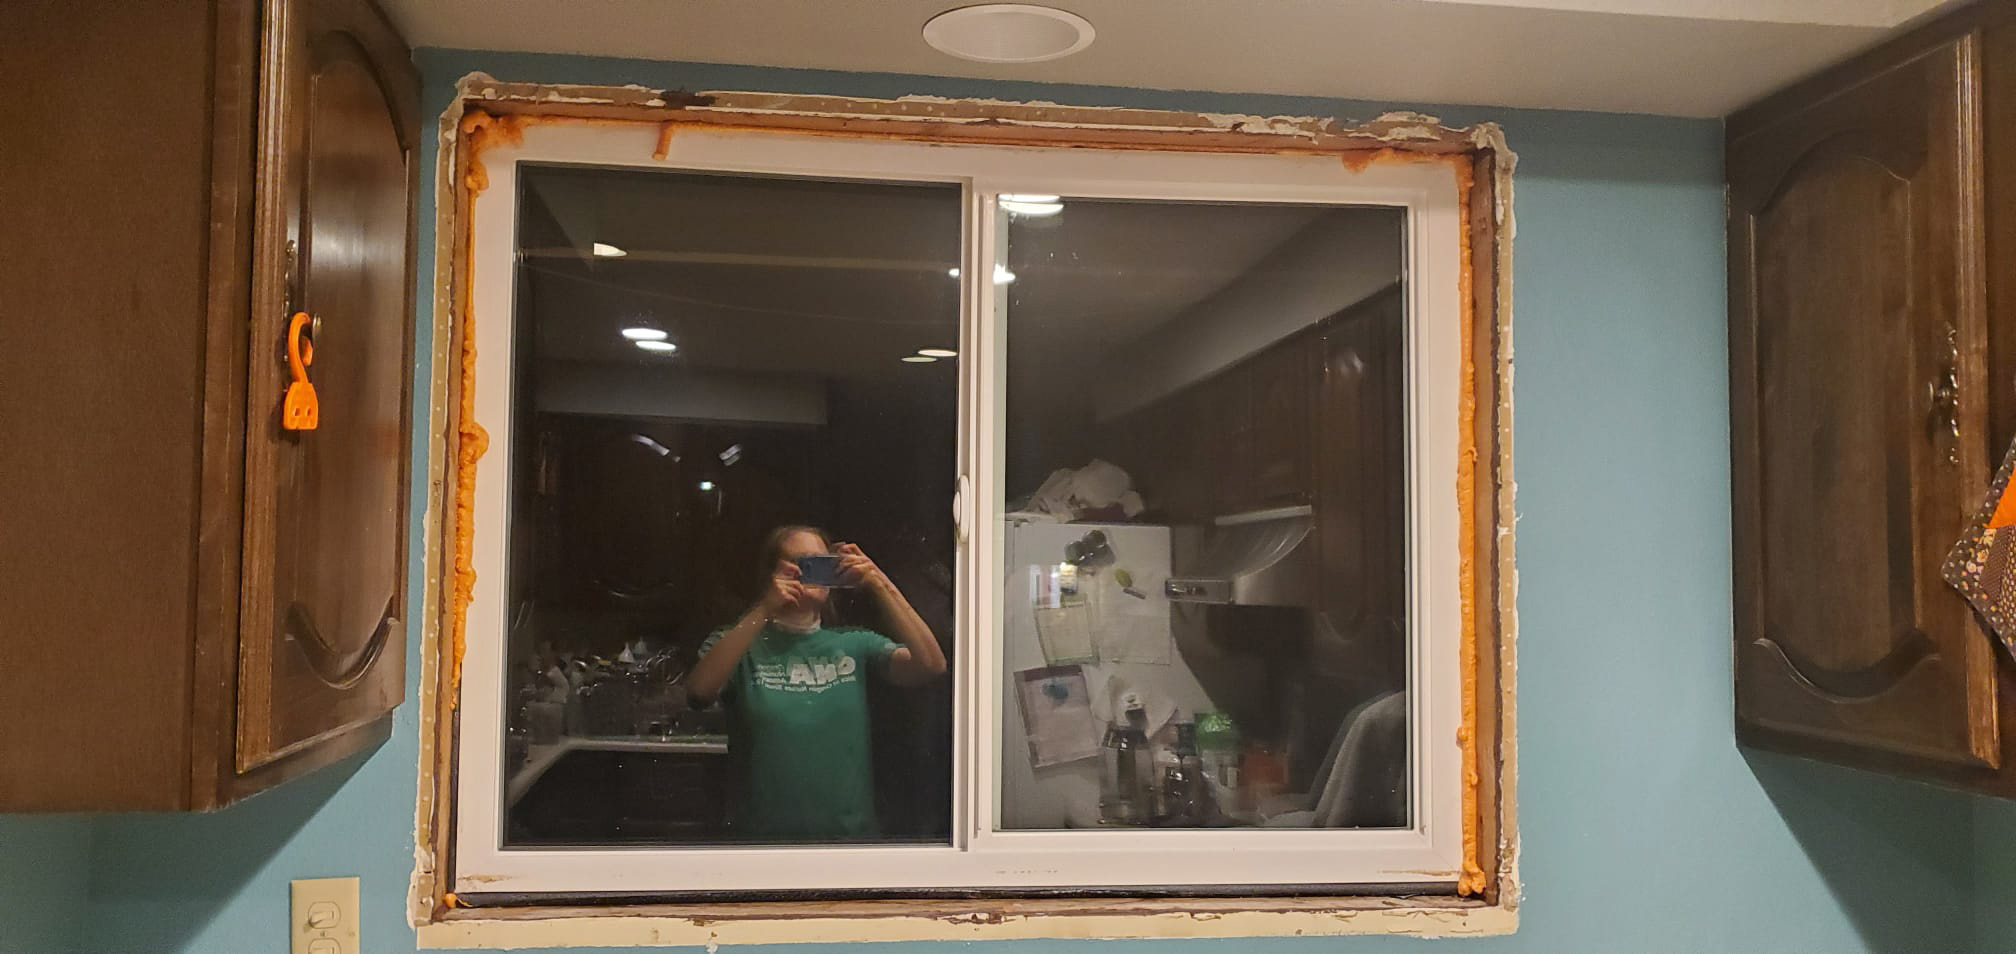
When homes are constructed, the framed opening for the windows is often bigger than the exact dimensions of the window so that when the window is installed, it can be shimmed to get it exactly level. This leaves gaps in the “rough opening” around the window that are often left unsealed or insufficiently air sealed by stuffing fiberglass insulation into the gaps. These gaps can allow air to pass through and water to collect, causing drafts, cold spots, and moisture issues (Figure 1). Air sealing with moisture-resistant closed-cell backer rod and caulk or low-expanding foam stops the leaks.
Source
What You'll Need
- Pry bars
- Pliers
- Closed-cell-foam backer rod
- Caulk
- Low-expanding foam
- Gloves
- Hammer
- Finish nails
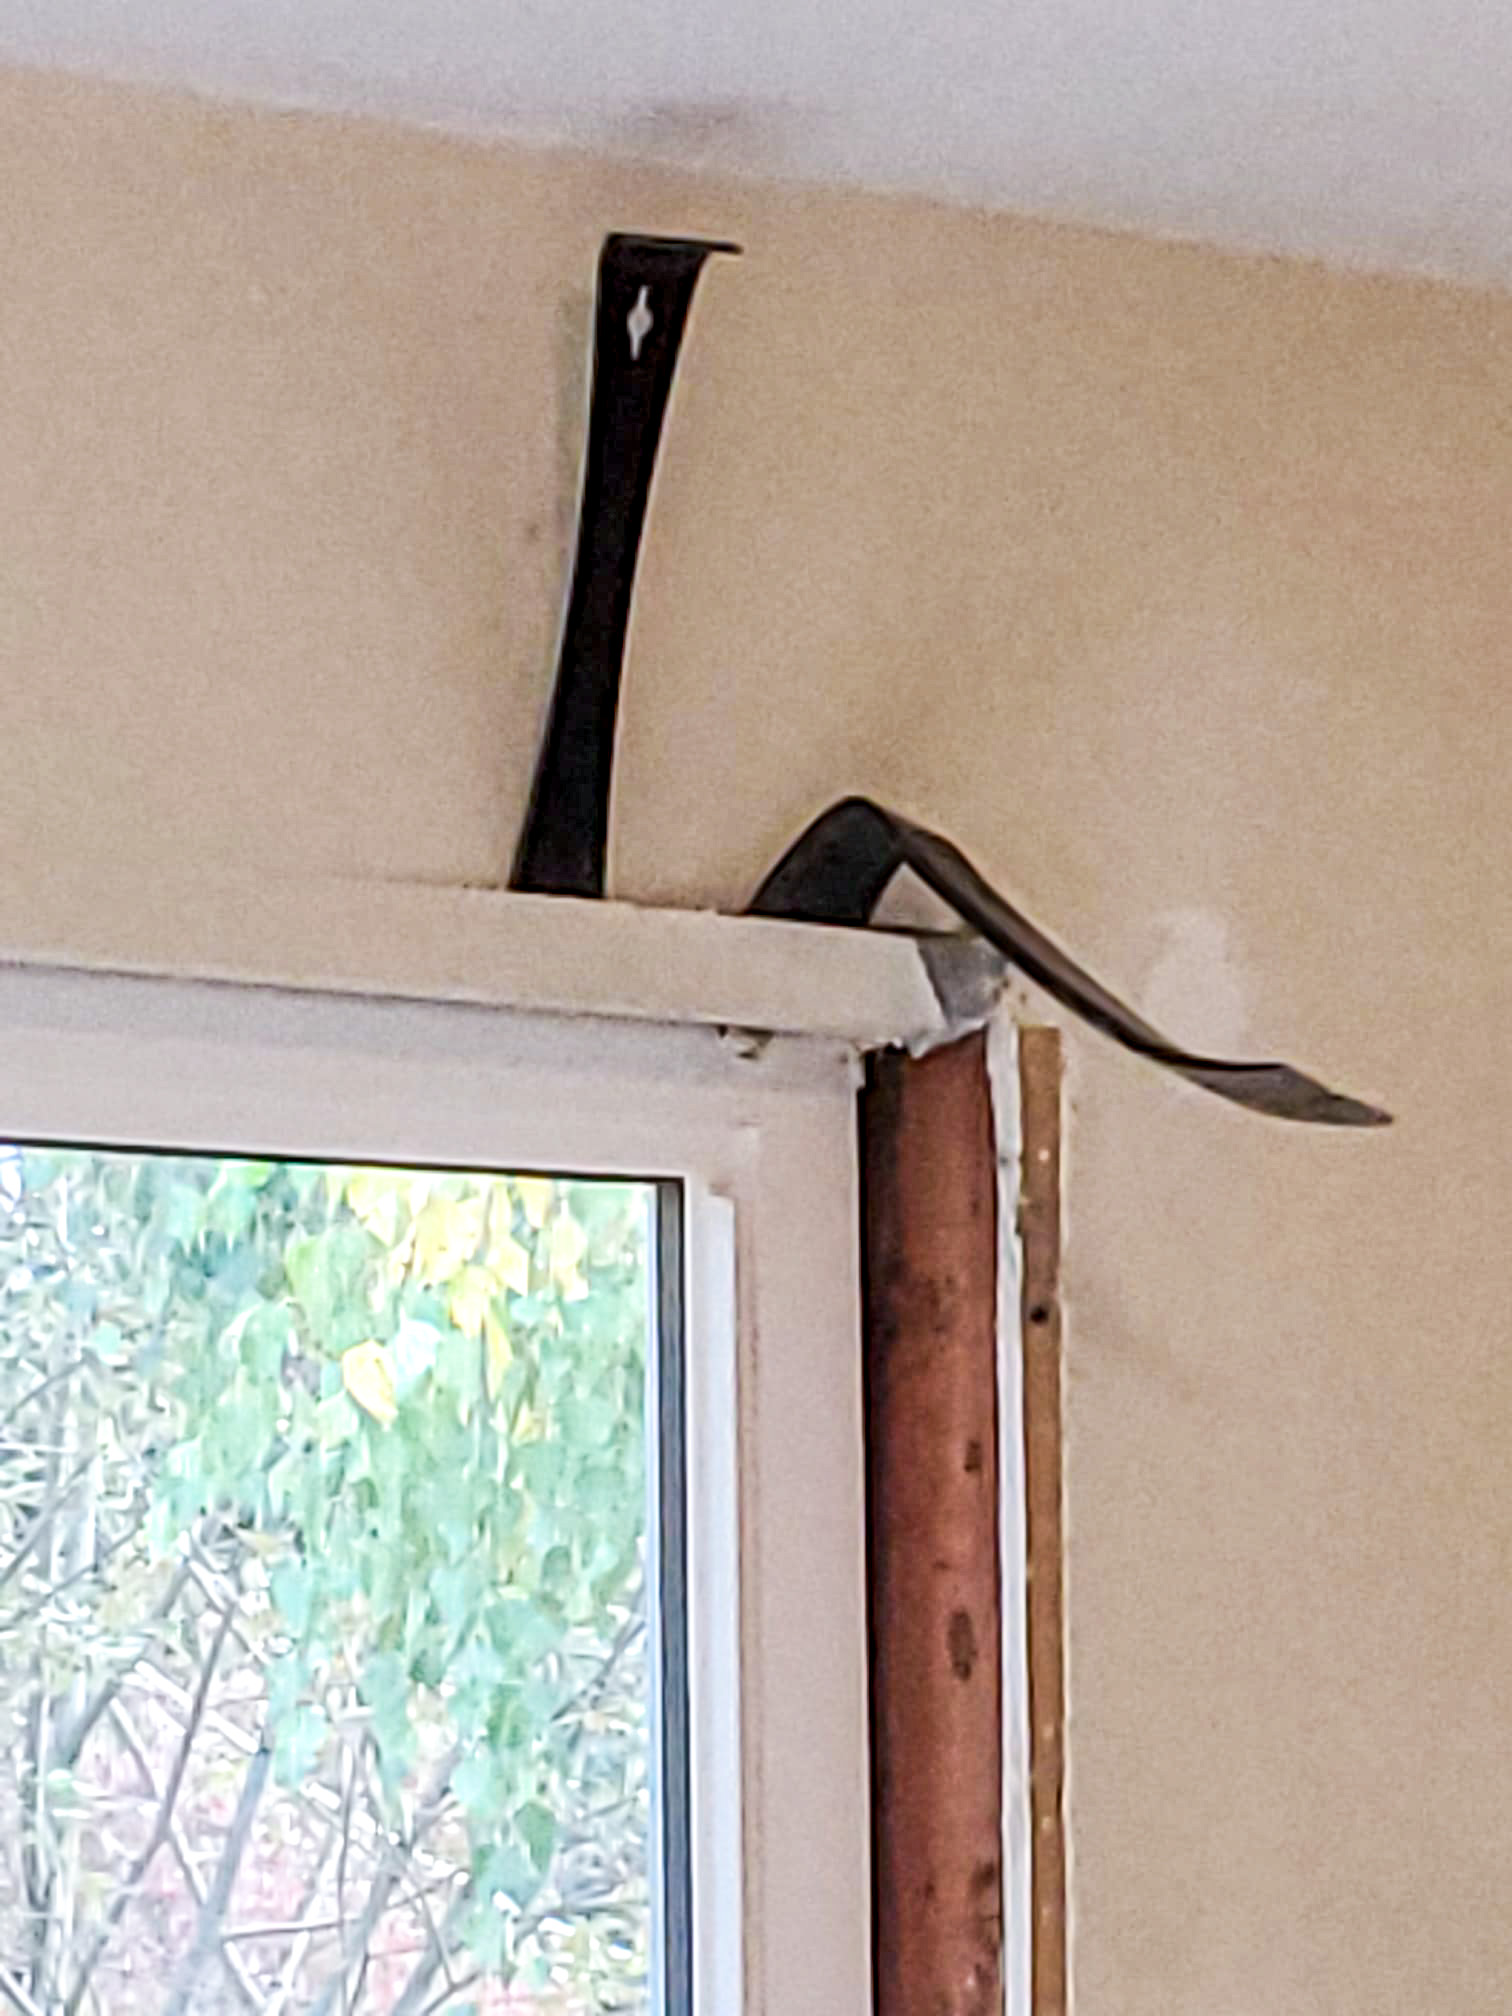
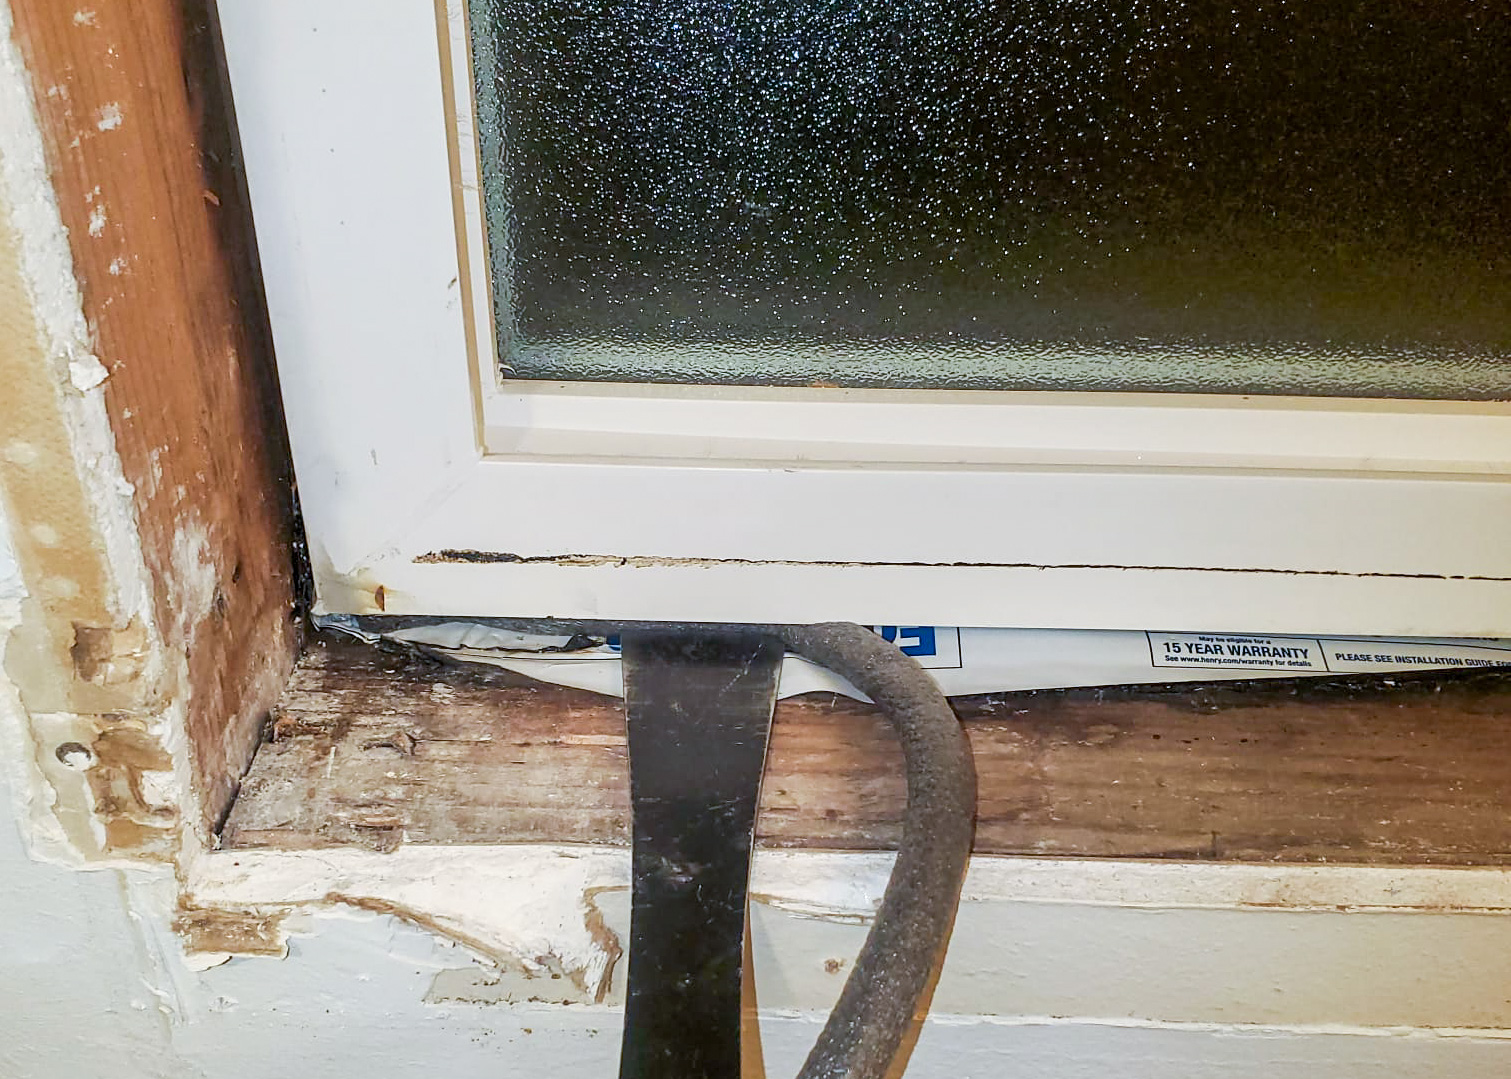
1. Remove the Trim.
Use a pry bar to carefully remove wood trim around the window on the inside of the house (Figure 2). If needed, use a hammer to tap in the pry bar. Work carefully, tapping in and lifting the pry bar along the edge of the trim a little at a time to avoid splitting the trim. You can slide a piece of cardboard or wide putty knife blade between the pry bar and the wall to keep the pry bar head from damaging the wall. If the trim-to-wall seam was caulked or painted over, use a sharp utility knife or flexible putty knife to score the caulk or paint at the seam before attempting to pry the trim up. Set the trim aside to be re-installed later. You may want to number the trim pieces clockwise around the window with a pencil on the backside of the trim to assist you with reassembly later.
Source
2. Clean gaps.
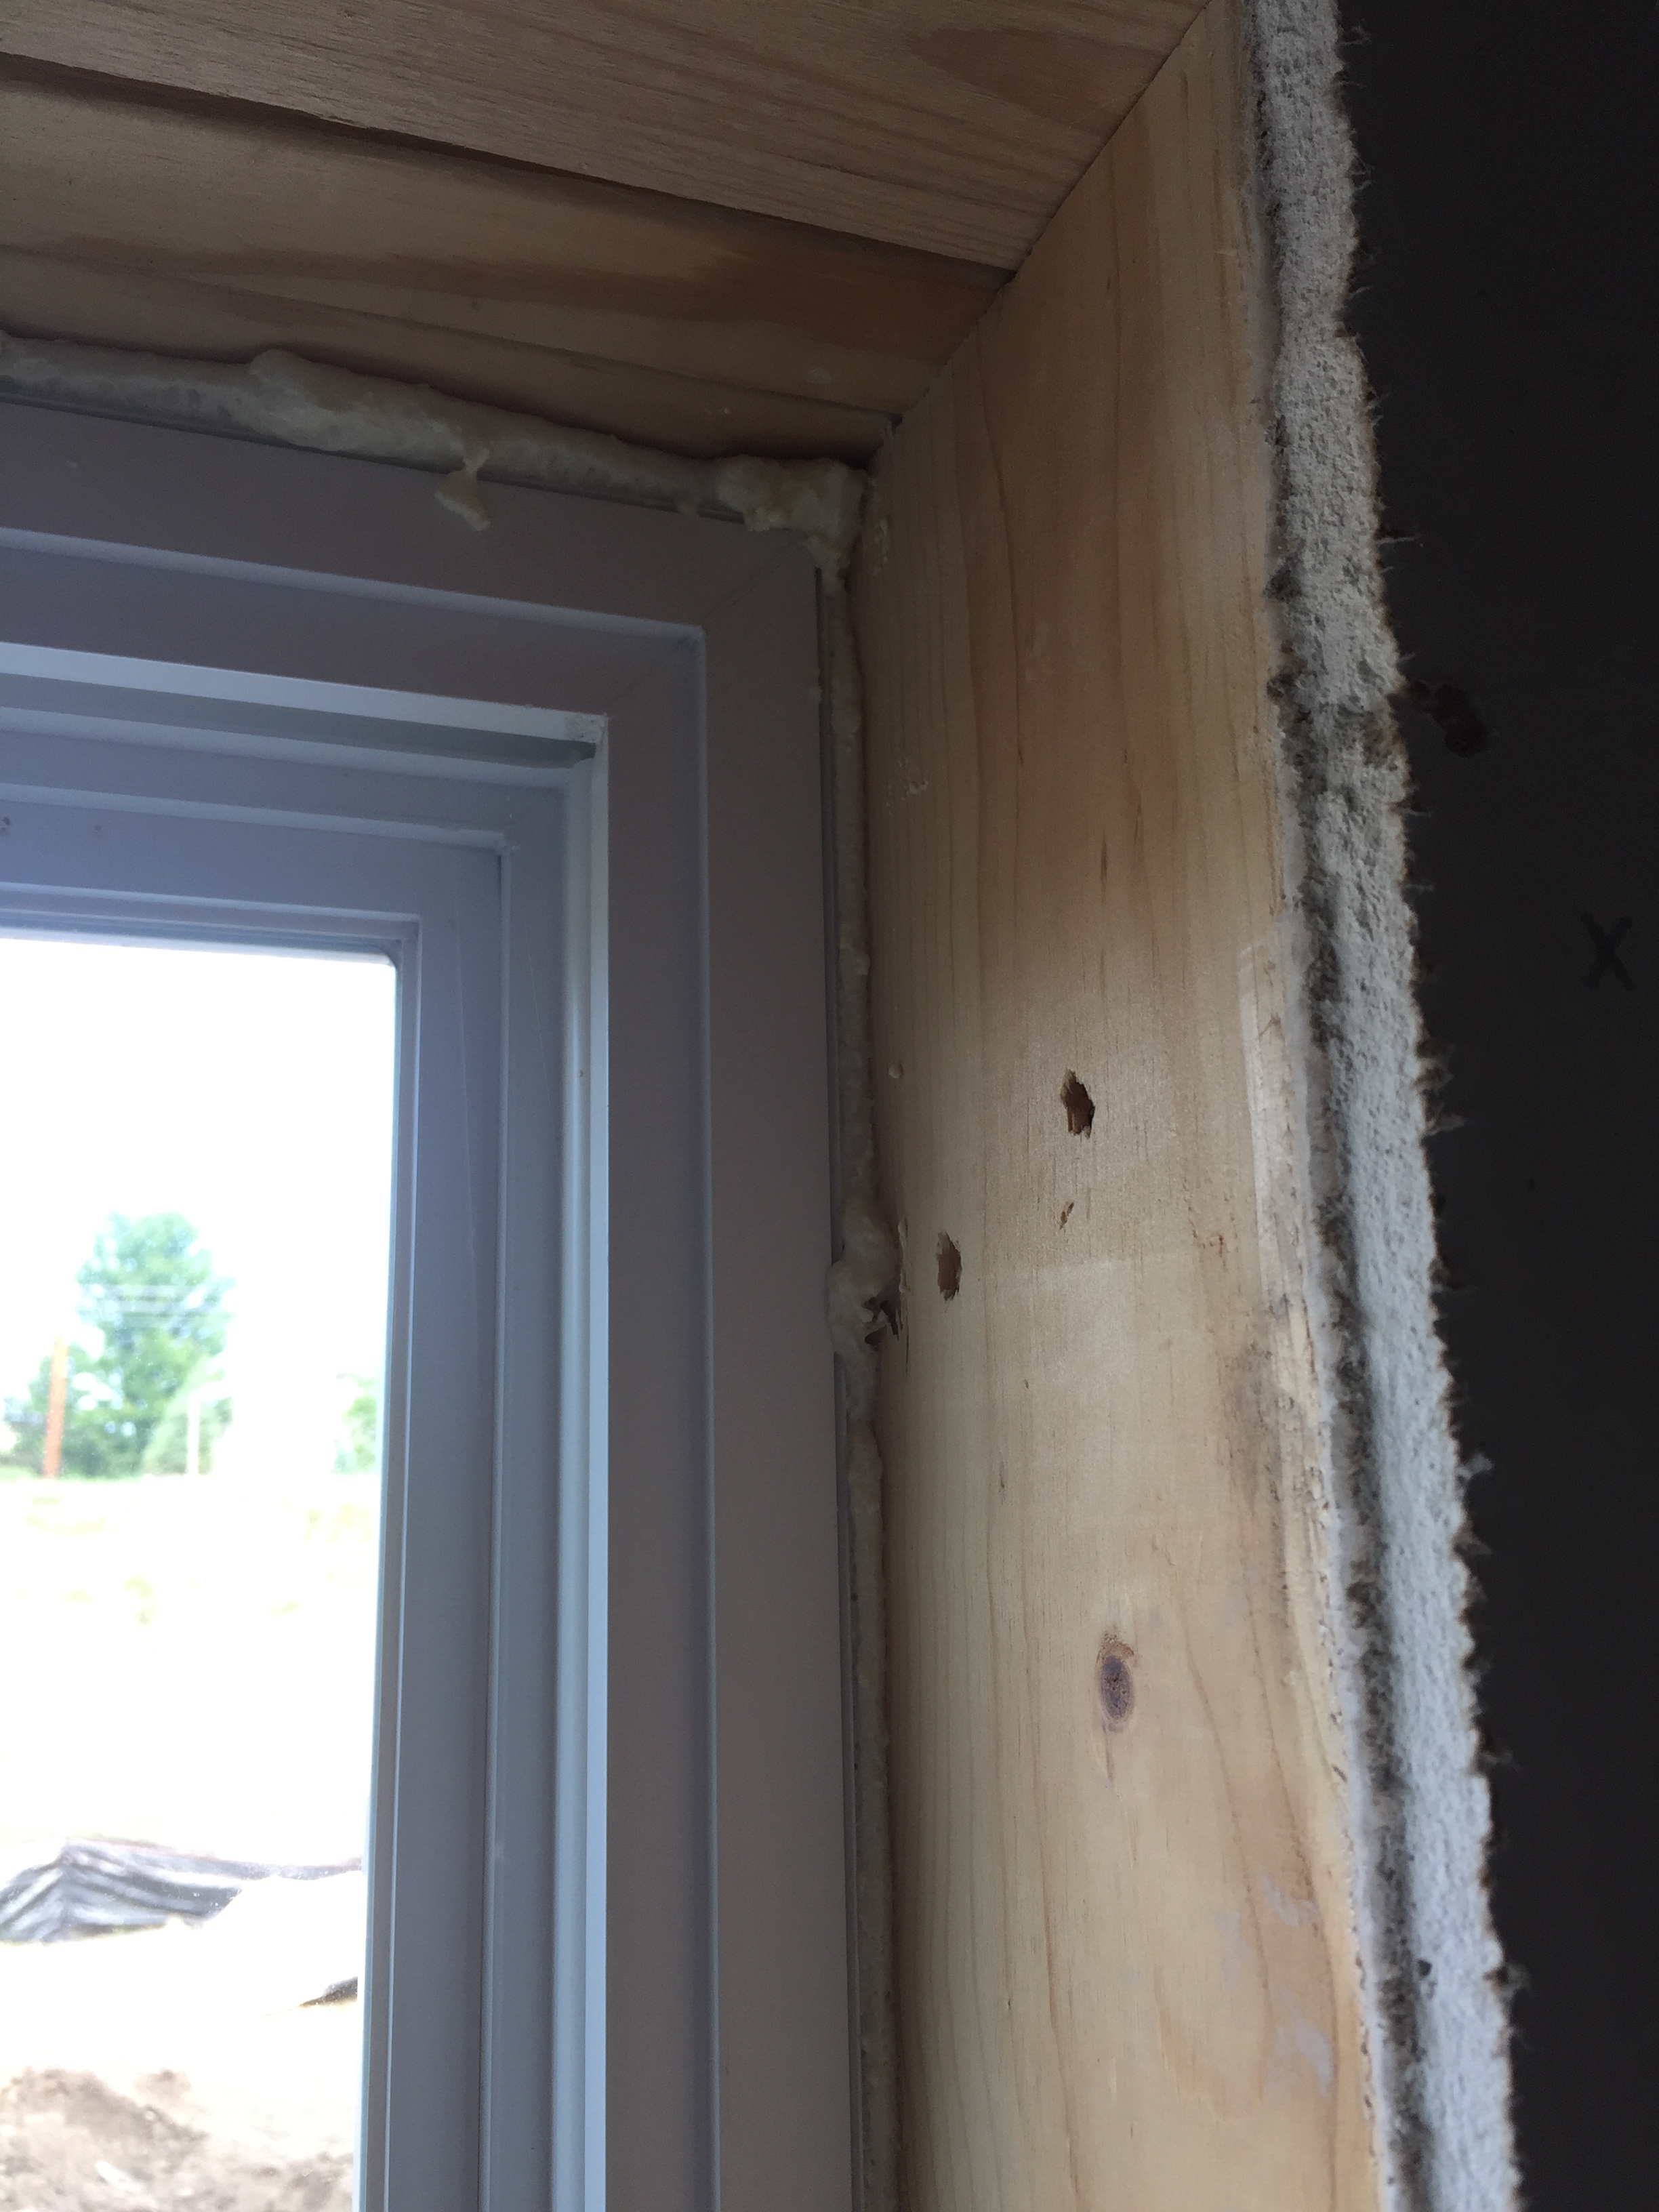
Remove any fiberglass insulation that was stuffed into the gaps around the window. Use a dust brush to brush out any debris (Figure 3).
Trim back any shims that protrude from the surface of the wall; trim them back to slightly recessed into the wall so that sealant can be applied over the shims for a tighter seal.
Source
If you notice any wet wood or water damage in the framing around the window, the wood should be allowed to dry out and exterior flashing should be installed. Severely damaged wood should be replaced. This may require removing and resetting the window. Consult a contractor.
3. Fill gaps.
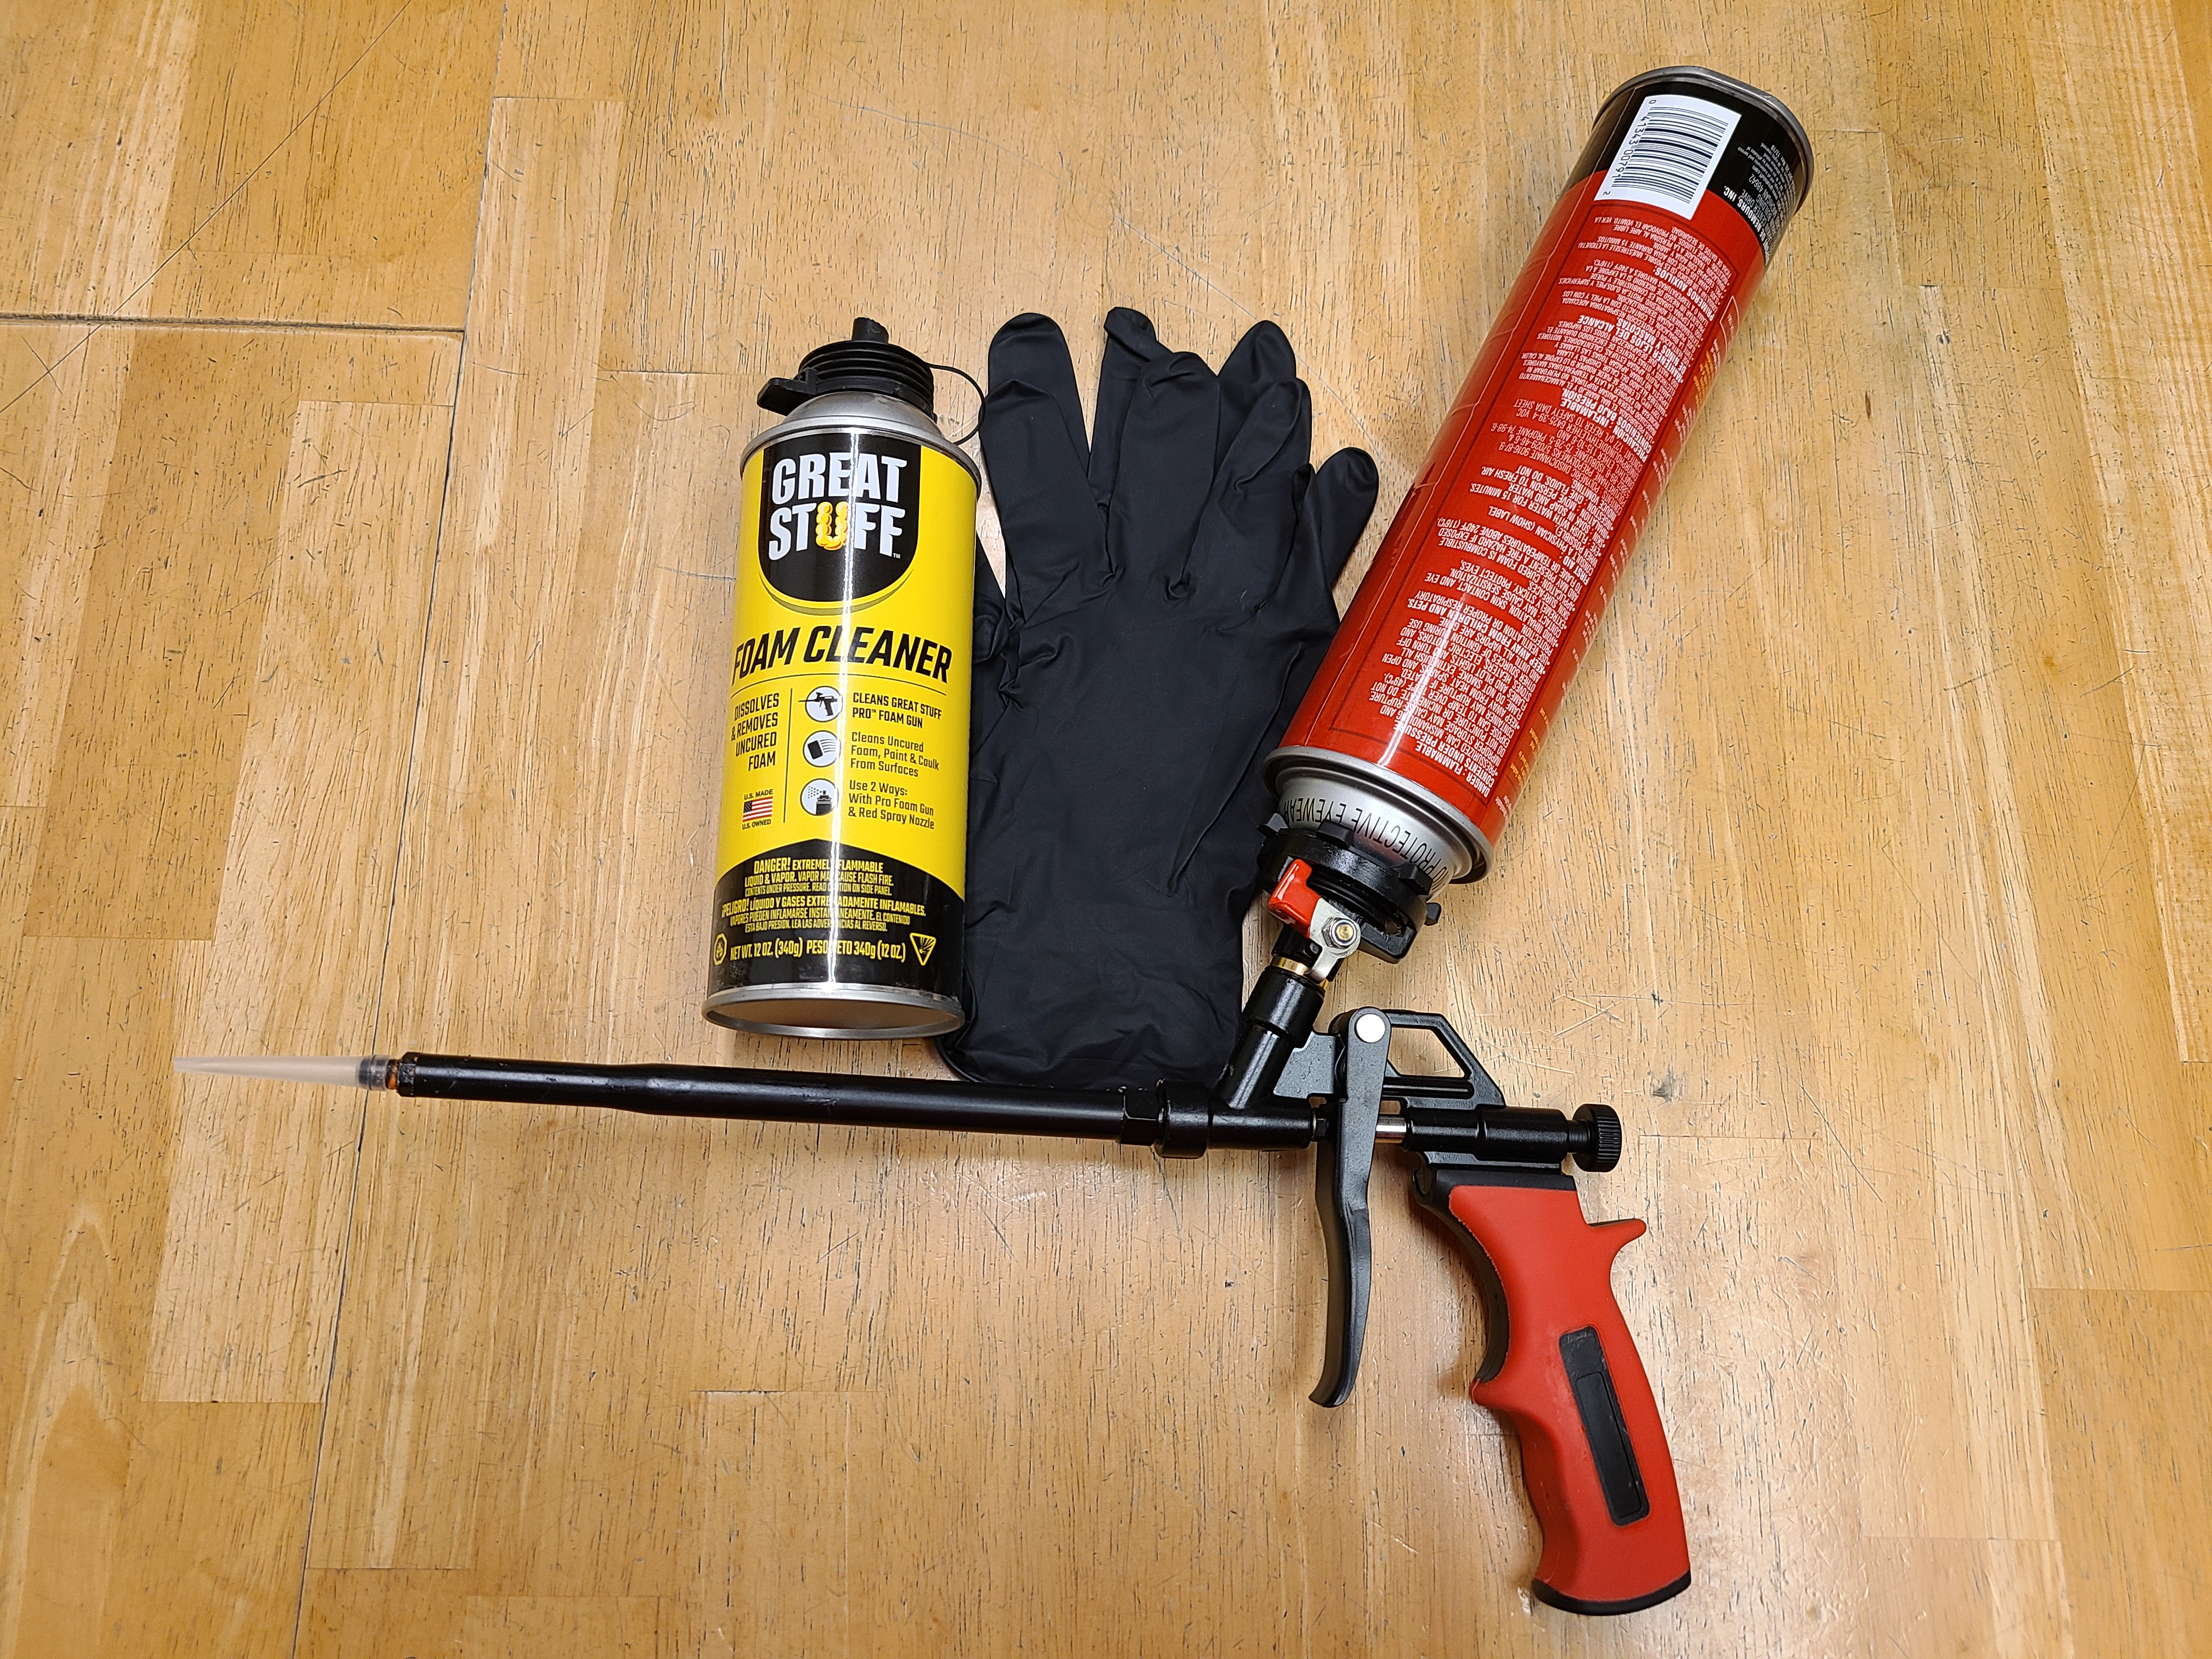
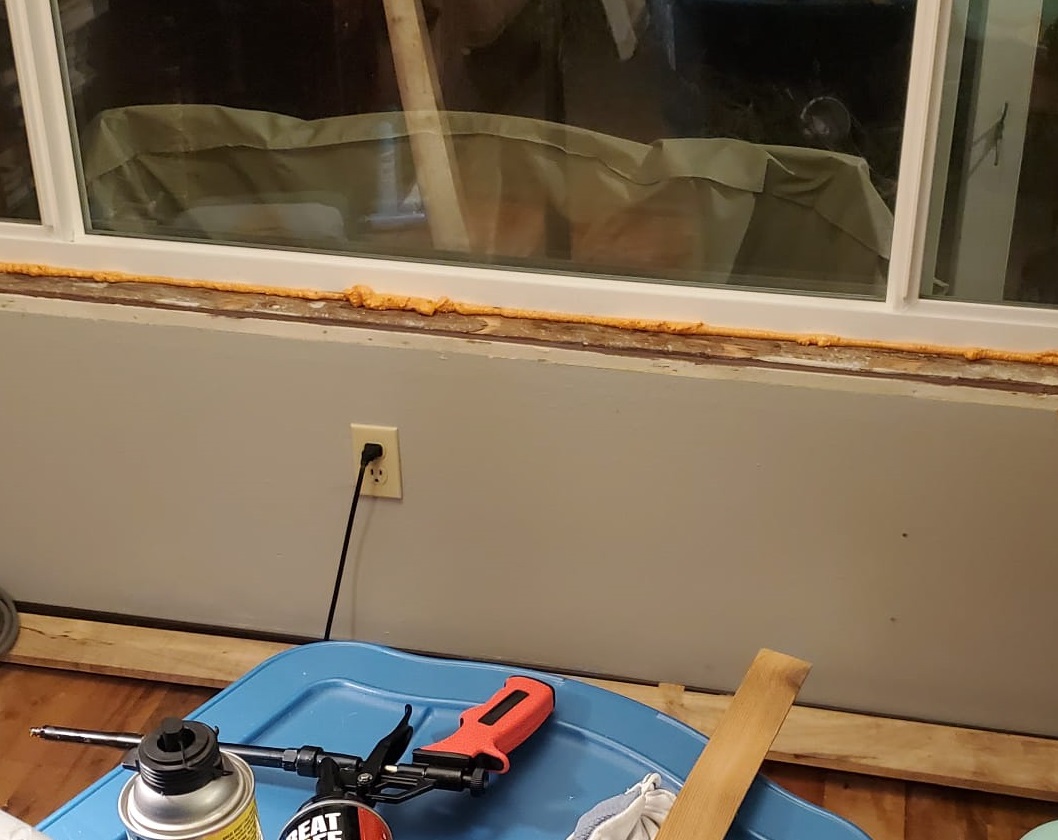
If the gaps around the window are less than a half inch wide, they can be sealed with low-expanding canned foam. Use the narrow tip applicator with the canned spray foam (Figure 4). Insert the spray nozzle about one-half inch into the gap between the wall framing and the window or door unit (Figure 5). Keep the spray nozzle moving at a steady speed while applying the foam (Figures 6 and 7). If the nozzle moves too slowly, foam will fill too much of the cavity; if the nozzle moves too fast, there will be gaps in the bead. Using this approach leaves a gap behind the foam to the exterior that can drain freely and will be pressure equalized with the exterior, which limits the potential for an air pressure difference to force water into the joint. Let the foam harden, then trim off the excess flush with the window frame using a sharp utility knife.
Source

Source
Source
Source
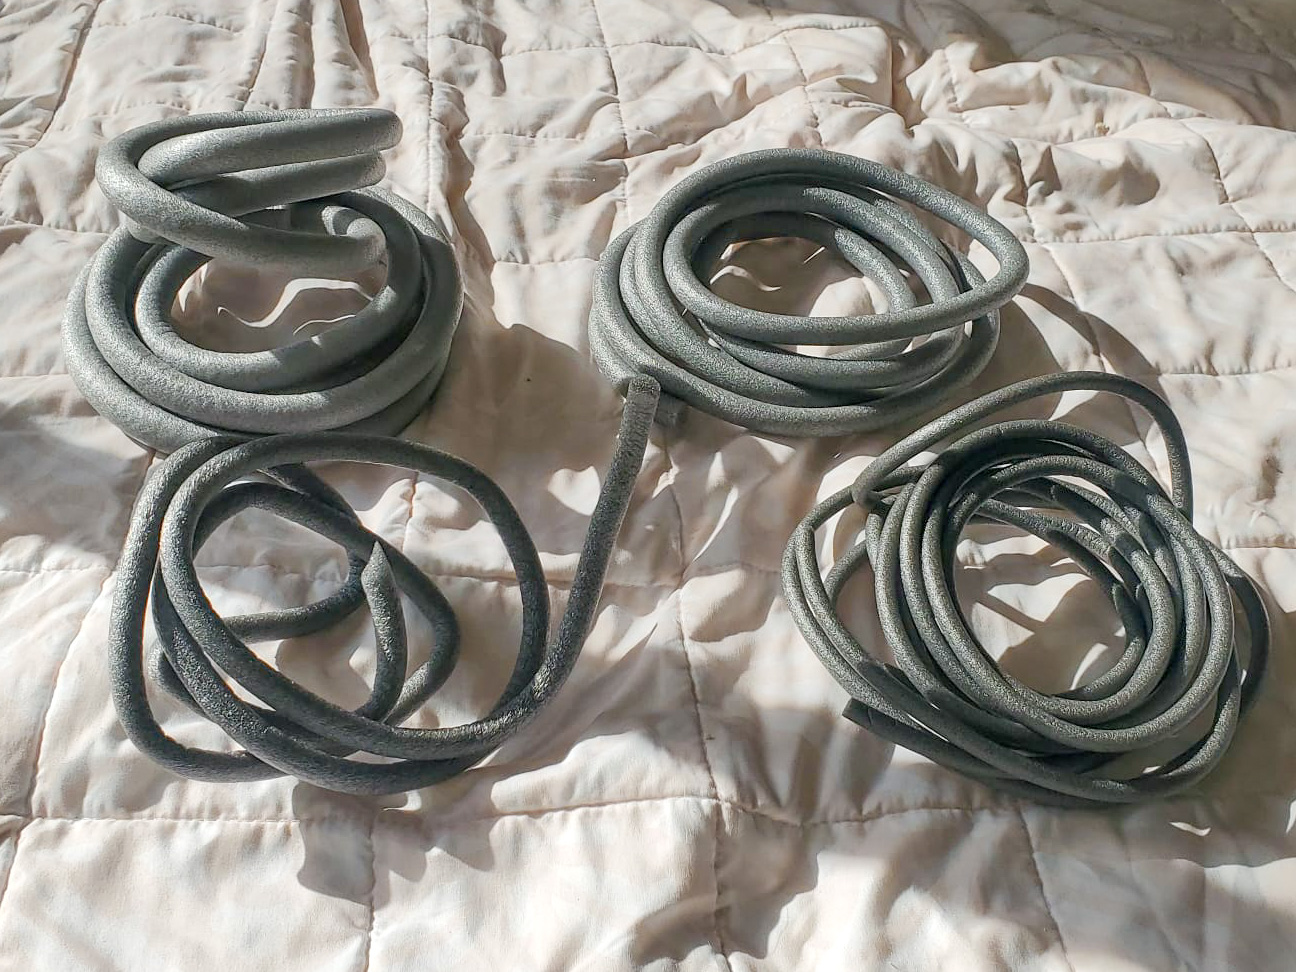
If the rough opening gaps are greater than a half inch, use closed-cell foam backer rod (Figure 8) and caulk or foam. Backer rod comes in various widths; choose one slightly thicker than the widest part of the gap. Press the backer rod into the gap between the wall framing and the window or door unit, using your fingers or a pry bar or putty knife to push it in (Figure 9). Apply even pressure; don't force it in or the tool will tear the backer rod. Push the backer rod to an even depth, about one-fourth to one-half inch in.
Source
Source
For a tighter air seal, cover the backer rod with silicone caulk, canned spray foam or tape. Caulk should not be used alone to fill the rough opening gap but should always be applied against a backer rod. Without the backer rod, the caulk would have nothing to hold it in place or the bead of caulk would be too thick. It would be prone to cracking when it cures and it would be resistant to flexing with seasonal movements in the wall materials.
Tool the caulk bead against the backer rod to flatten the bead to completely cover the backer rod and touch both sides of the joint (both the window trim and the wood framing). This will create an hour-glass shape (Figure 10), which allows the sealant to expand and contract over time without cracking. If using canned spray foam over the backer rod (Figure 11), it should be applied to completely cover the rod, allowed to dry, and trimmed flush with the window frame. Spray foam is very hard to remove, so wear gloves and you may want to masking taping the edge of the window frame before you start applying the foam.
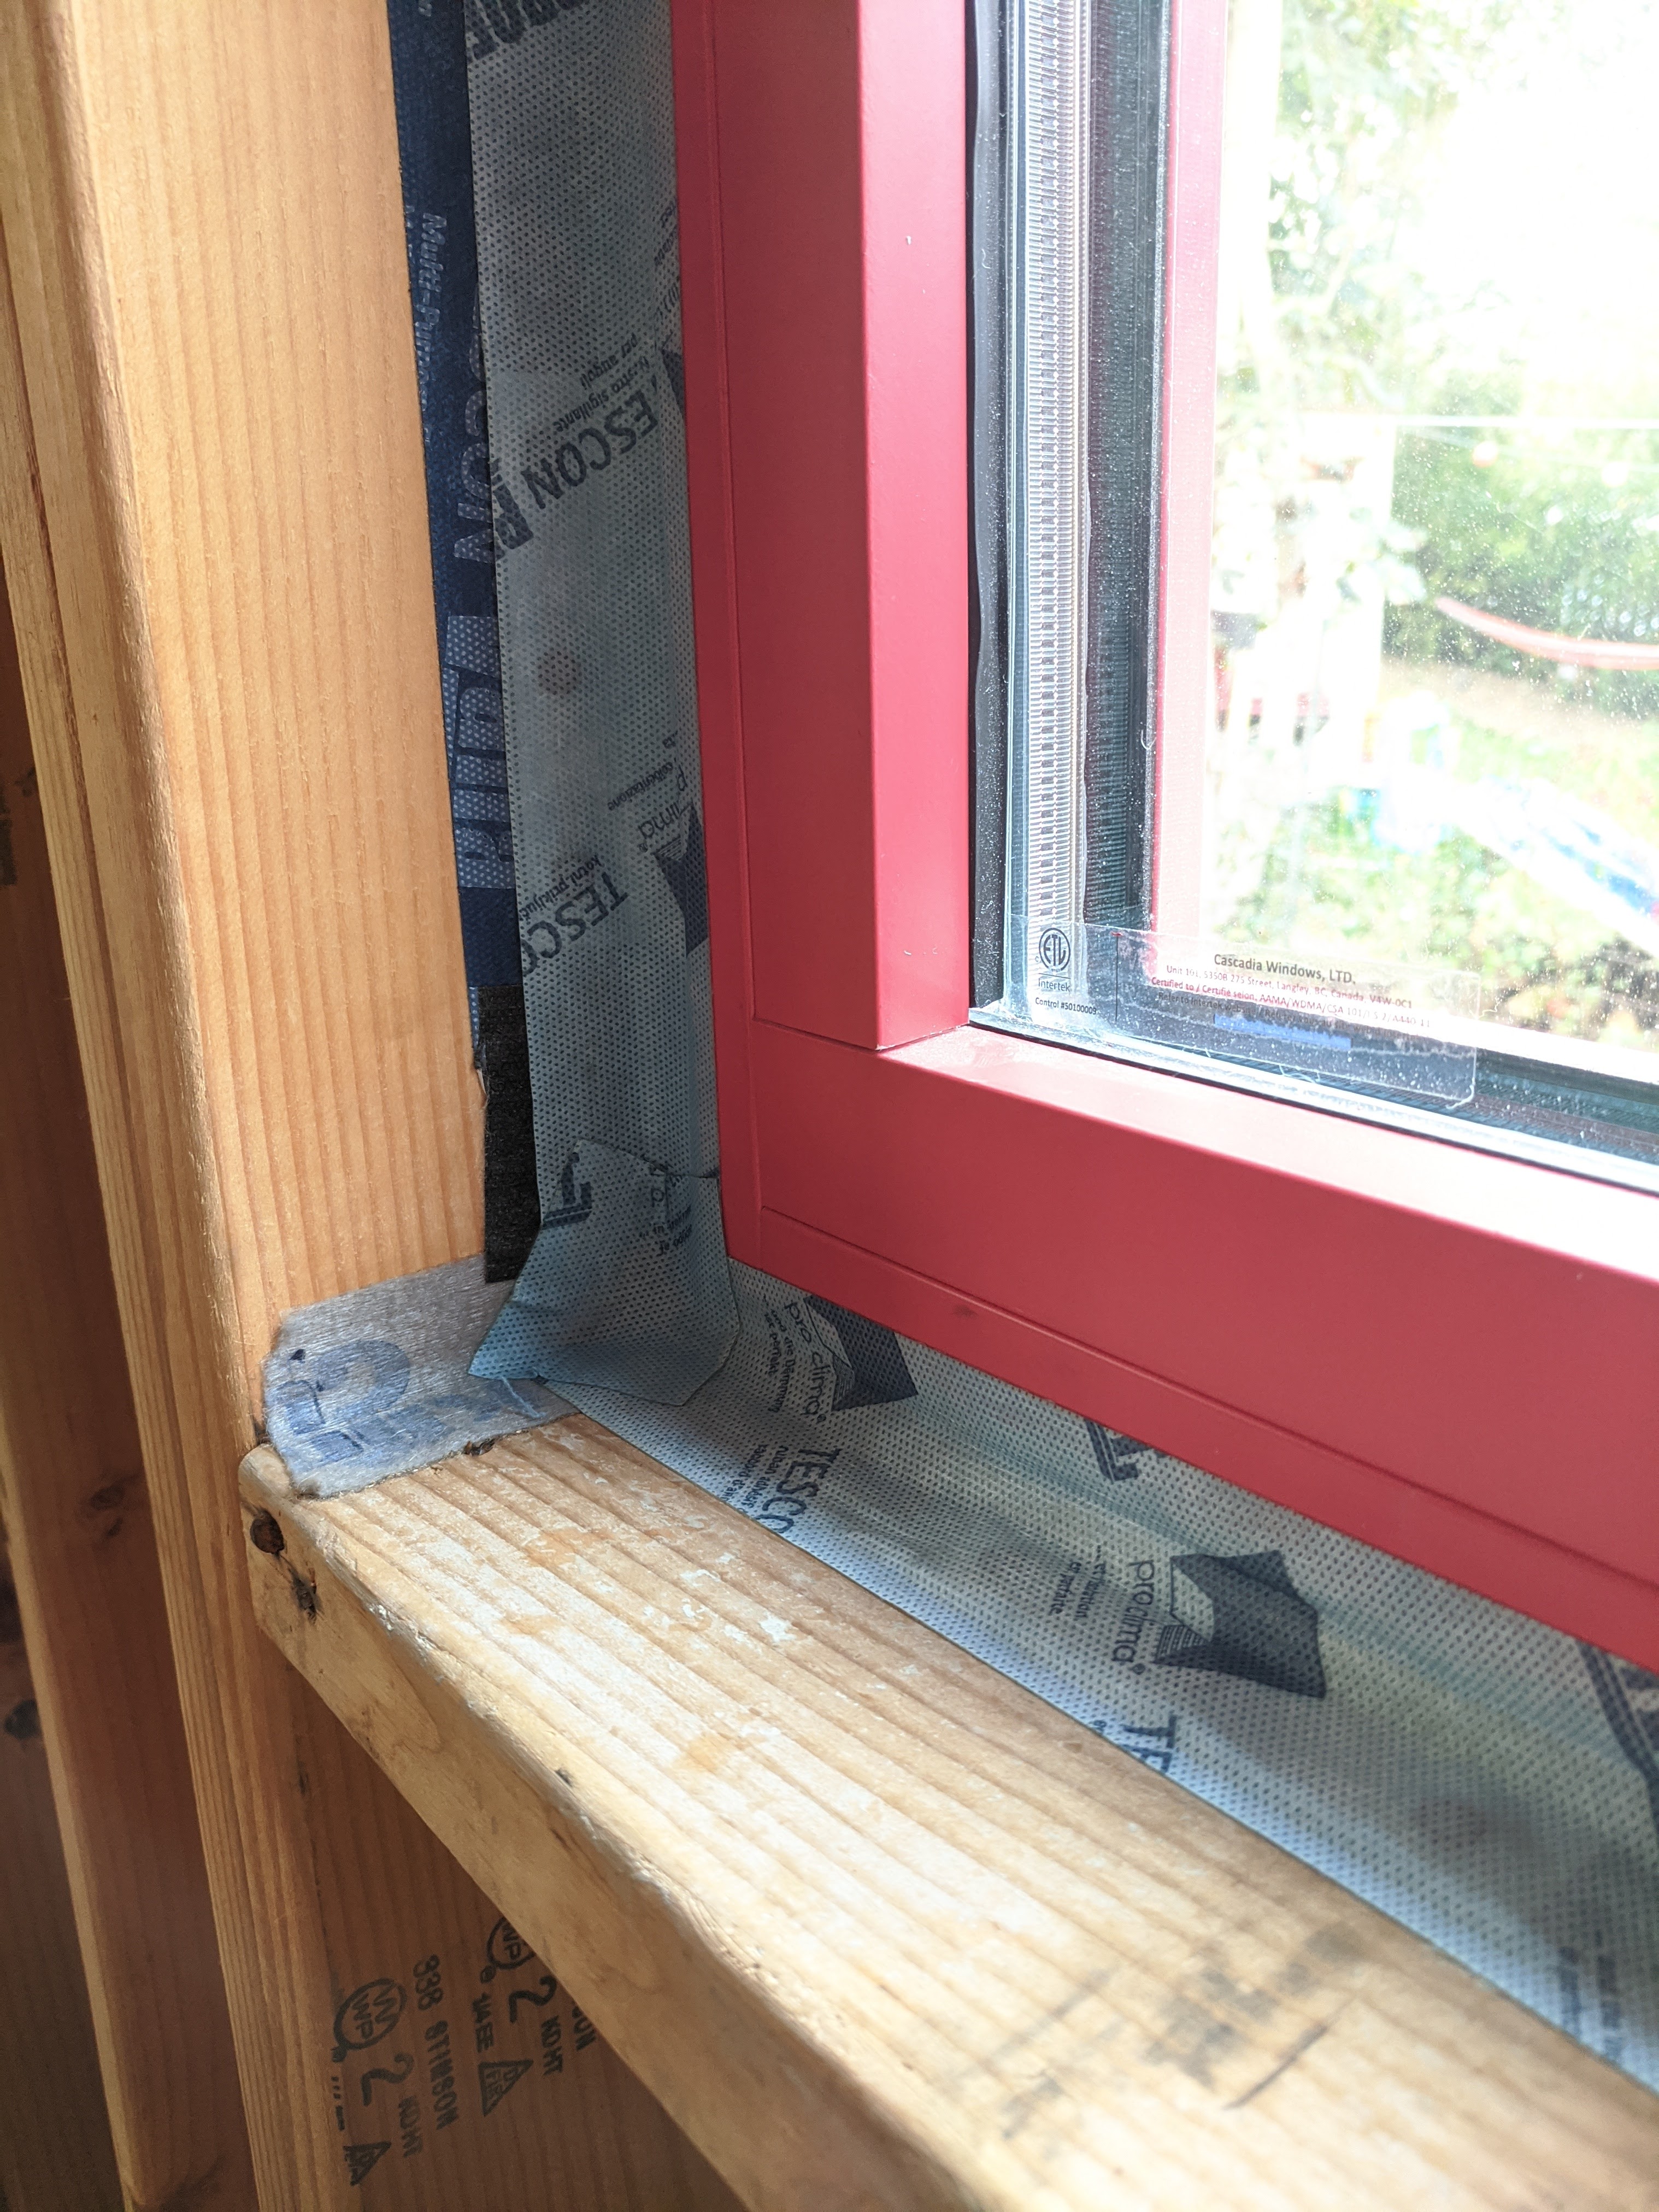
The window rough opening can also be sealed with tape installed over the foam backer rod (Figure 12).

Source
Source
Source
4. Re-Install Trim.
Use a hammer and finishing nails or a nail gun to re-install the trim. If you decide to repaint the trim before installing and you want to sand off old paint, note that paint applied before 1978 may contain lead. Wear a mask, sand outdoors, and use a sander that collects sanding dust, or contact a lead remediation specialist.
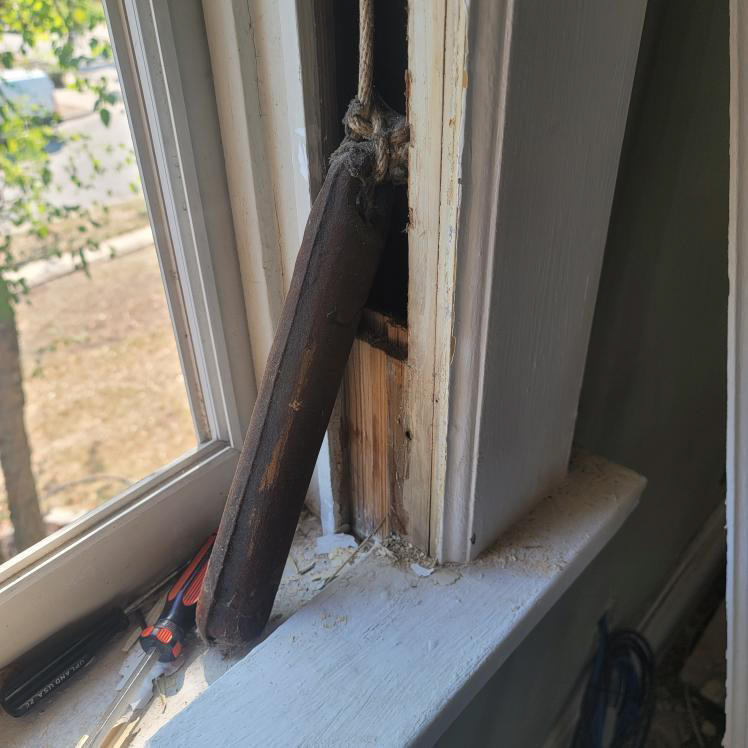
Special Circumstances: Sash Weights
If you have an older home, you may encounter sash weights (Figure 13), a system of weights and pulleys installed in the sides of single-hung and double-hung windows to assist in raising, holding, and lowering the windows. The sash weights may still be operational or they may have been covered and painted over and you may not realize you have them until you remove the trim. Whether you choose to remove them or refurbish them, either way, air sealing them is a special case. Consult a contractor skilled in dealing with sash weights. See the Building America Solution Center guide, Window Rehabilitation for more information.