Introduction
Replace cracked or missing caulk along windows, doors, and trim on exterior walls to prevent water intrusion into walls.
Why
Exterior caulking prevents water damage and ensures that a home is well-sealed from the outdoor environment. Over time, the bond between caulking and siding and trim weakens, allowing the caulk to crack or peel away. Replacing old, cracked caulking will help stop water leaks; can prevent the air leaks that contribute drafts and unwanted heat loss or heat gain, and can even help to keep out bugs.
What You'll Need
- Caulking gun
- Utility knife
- Razor scraper
- Masking tape
- Rubbing alcohol
- Rags
- Gloves
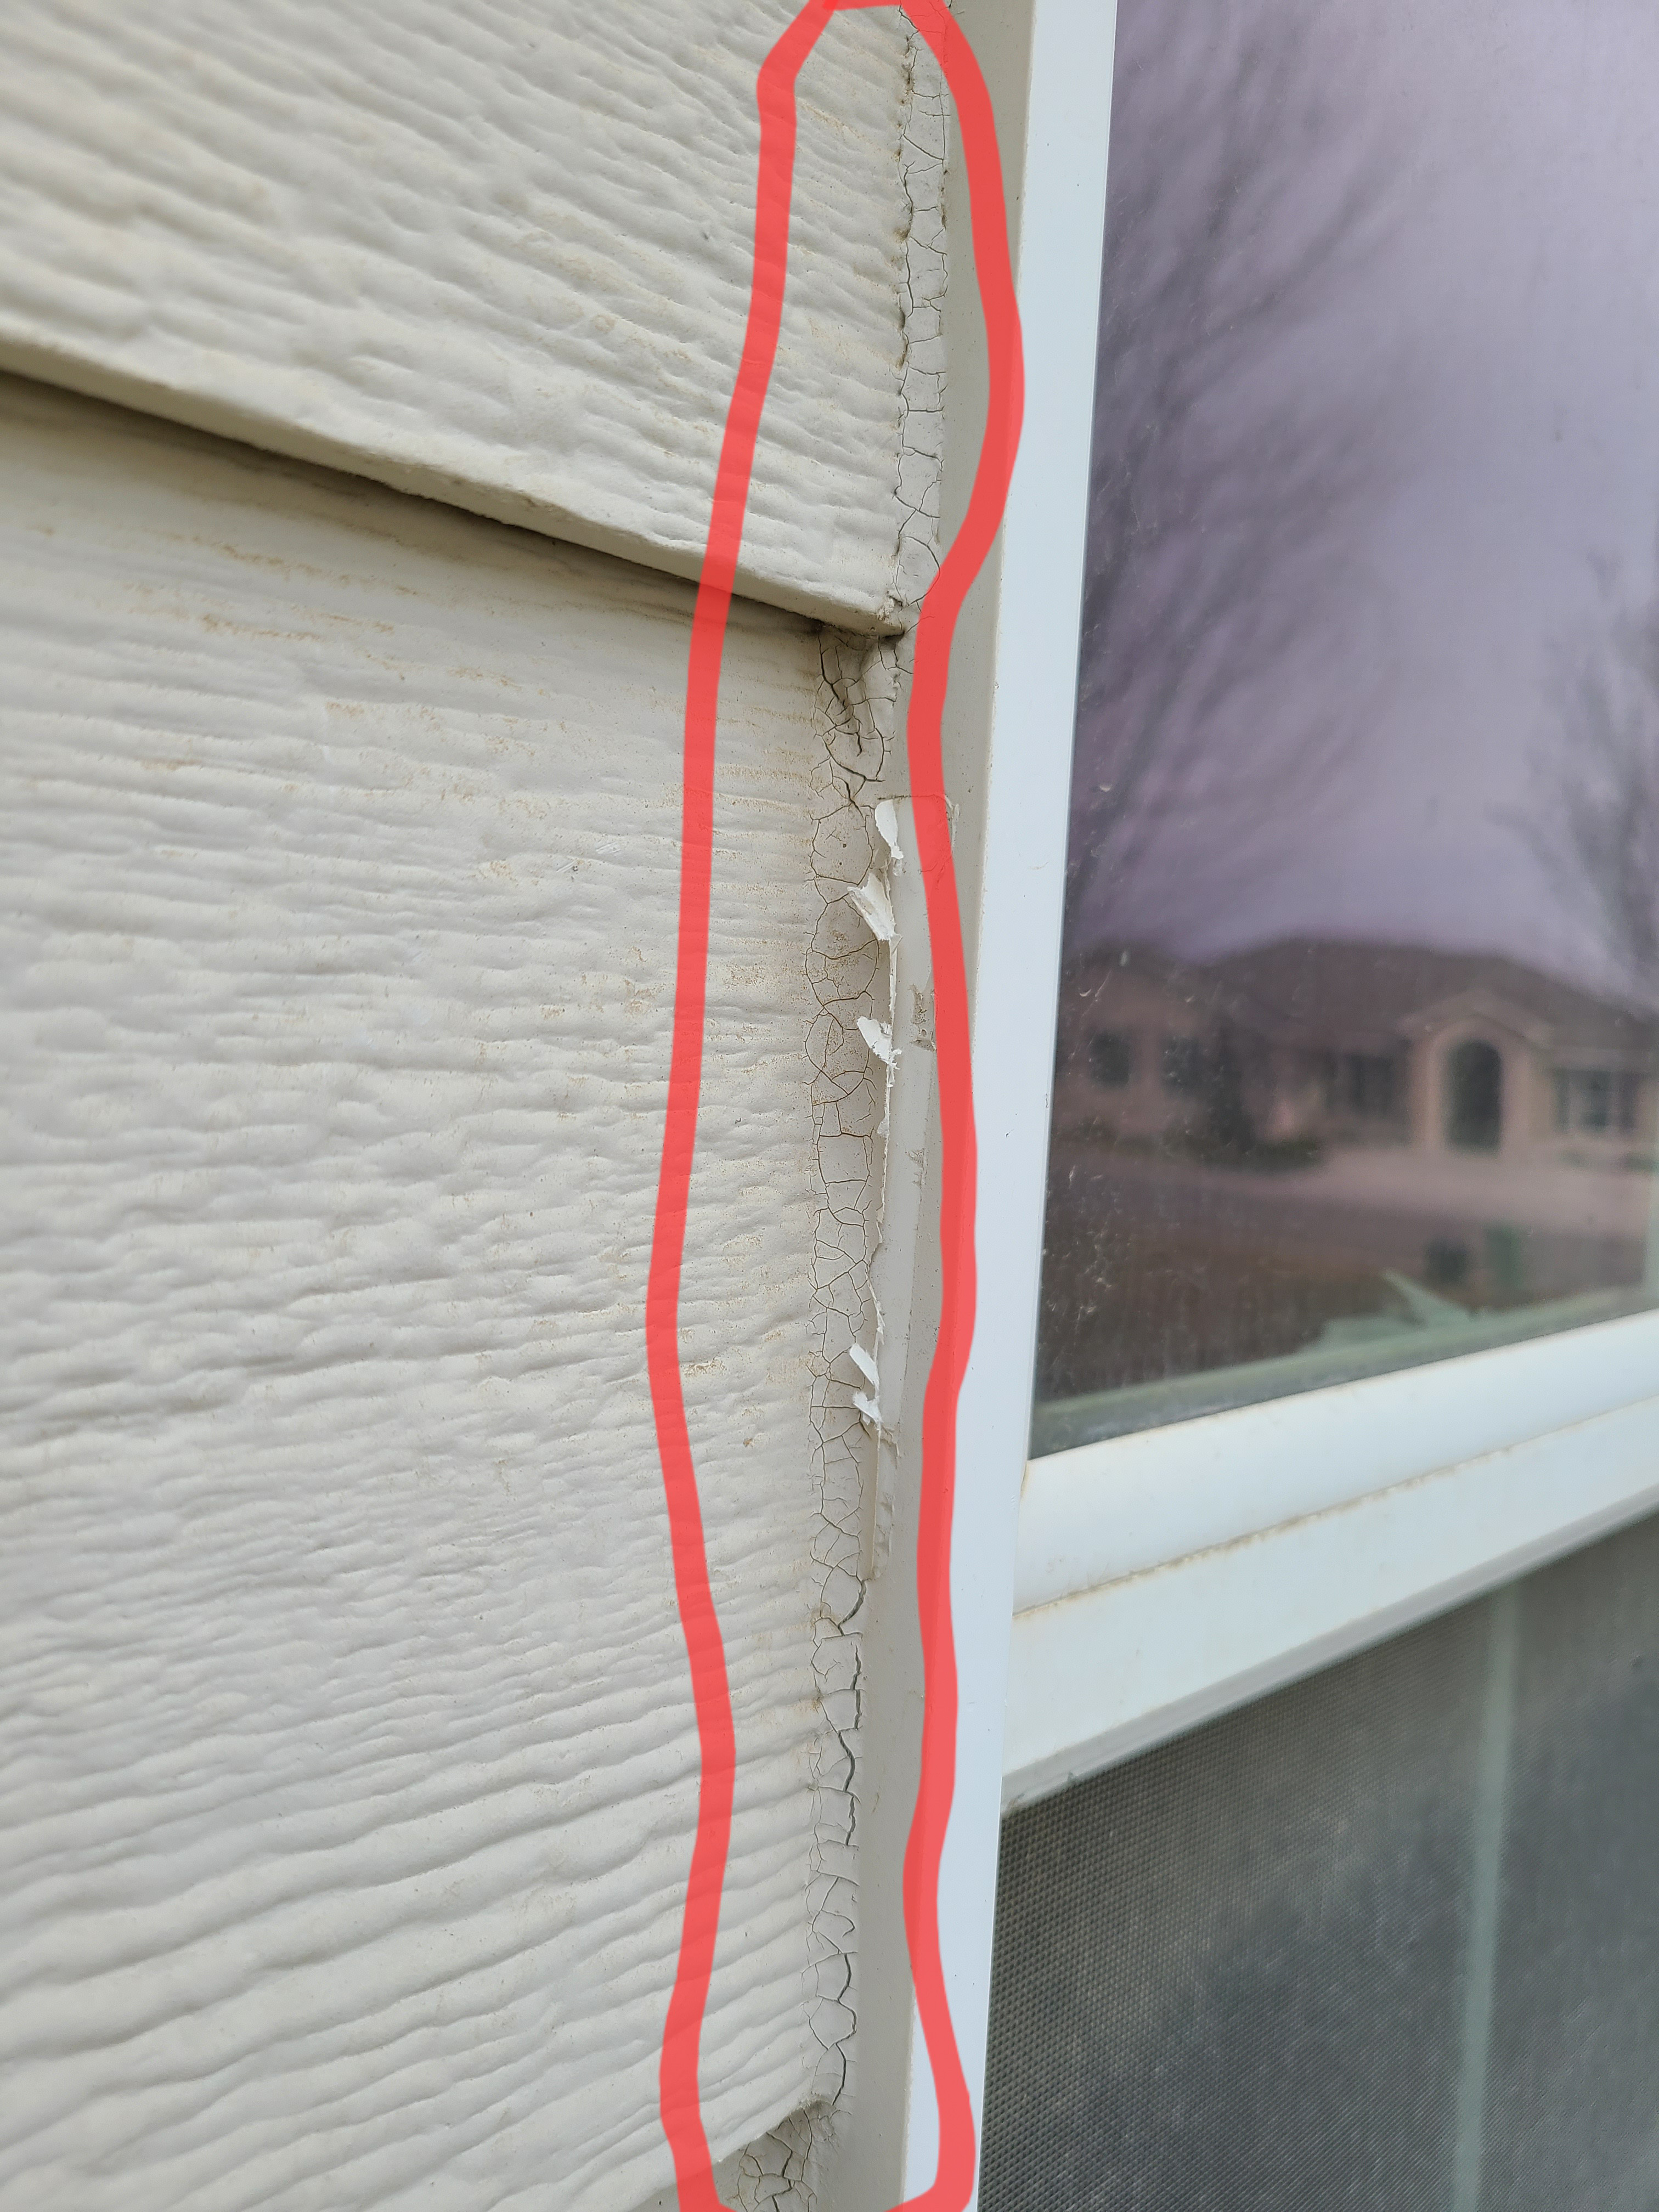
1. Locate exterior caulking.
The best time to caulk is during the summer, or late spring or early fall, when temperatures are still warm and the caulk is softer and easier to work with. Just before you paint the exterior of the home is another ideal time to check and fix caulk. If you are worried about your caulking skills, practice in an inconspicuous location on your home, such as along the back or side. You can also practice using the caulk gun on a piece of cardboard to “get the hang” of the process.
Exterior caulking is commonly located in the following areas: around windows, around doors, along trim, between dissimilar building materials, along eaves and overhangs, around exterior light fixtures and other wall penetrations, and around vents. If the exterior caulking is cracked, such as in Figure 1, it should be replaced.
Source
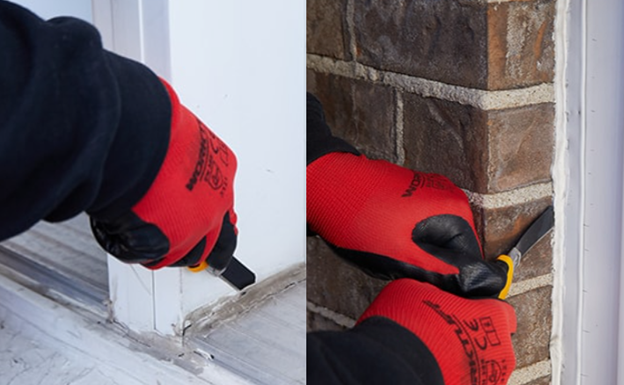
2. Remove old caulk.
The old caulk should be removed prior to installing the new caulk. Use a utility knife to cut along both edges of the old caulk (Figure 2). Caulk is easier to remove when warm, so it may be desirable to complete this project in the summer or late spring. Or, a hair dryer or low-temperature heat gun can be used to soften the caulk.
Source
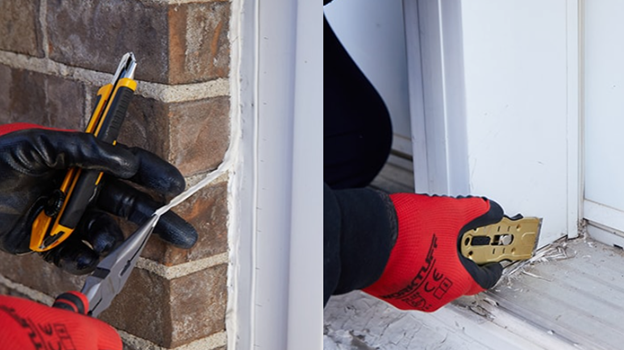
After the seams have been cut, use pliers or your fingers to pull off the strips of caulk (Figure 3). Older, cracked caulk may have to be removed in small pieces. Remove all of the old exterior caulk prior to moving to the next step.
Source
3. Clean caulking areas.
Caulk adheres best to a clean and dry seam. If there is residual old caulk remaining after Step 2, use a razor scraper to chip off the remnants. In hard-to-reach areas, a bristled brush can help to loosen old caulk.
Once the old caulk is completely scraped off, use a dry rag or a soft brush to remove the debris from the area.
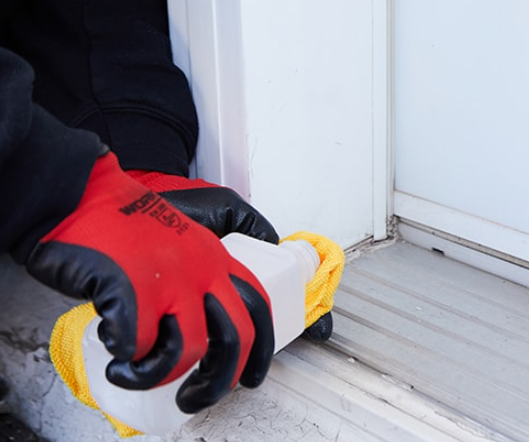
Put on rubber gloves and clean the debris-free seams with rubbing alcohol and a clean rag (Figure 4).
Source
4. Prepare the seams for caulking (optional).
Although optional, painter’s tape can be applied to both sides of the seams prior to caulking to ensure straight lines and an even, attractive appearance (Figure 5).
Source
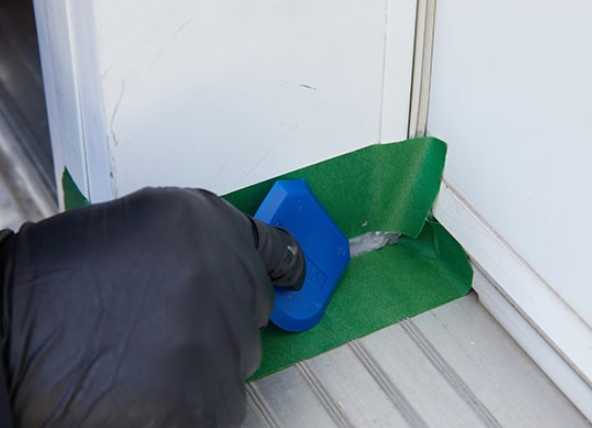
5. Apply caulking.
Before starting, use a piece of scrap cardboard to test the caulk gun and become comfortable with using it.
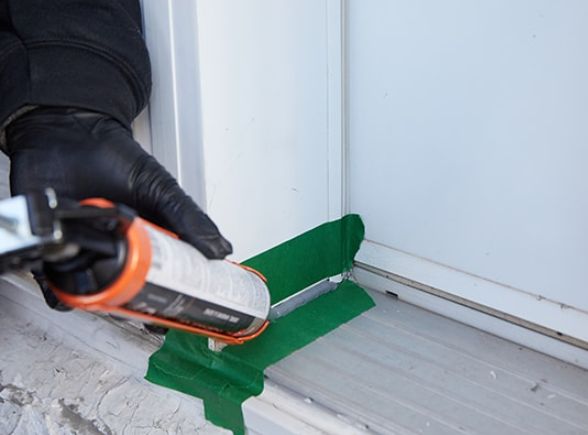
Squeeze the handle of the caulking gun lightly, to apply a thin line of caulk to the seam.
Using a gloved finger or a piece of plastic with a round edge (such as a plastic spoon), gently press in and smooth the caulk. This pushes the caulk into the seam and creates a smooth appearance (Figure 6). You can clean up any residue that got onto siding, trim, or your tools with a rag dipped in isopropyl (rubbing) alcohol or mineral spirits.