Introduction
Install LED inserts into old recessed can lights to replace inefficient bulbs and air seal the can.
Why
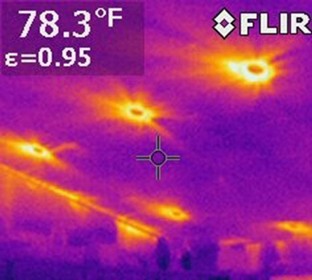
With old recessed can ceiling fixtures, the cans often had many holes for wiring that weren’t sealed and the rims were often not caulked, allowing heat to escape into the attic in winter and hot dusty attic air to come into the home in the summer, wasting energy and making your home uncomfortable. Many older can light models are not rated for insulation contact so attic insulation could not be piled on or around them creating cold spots or hots spots on the ceiling depending on the season and some still have incandescent light bulbs adding to energy losses (Figure 1). If you have a lot of old can lights in your home, one way to fix them is to build boxes over each can light. But that involves building (or buying) the insulation boxes, climbing around in the attic and pushing insulation out of the way to find the can lights and install the boxes, foaming them in place, and then re-installing the insulation. A much easier method that doesn’t involve going into the attic and might achieve more airtight results is to retrofit your ceiling can light fixtures with LED insert kits. These insert kits replace the incandescent lamp with a much more energy-efficient LED light source. The insert fixture is air tight and has an insulating gasket to minimize air leakage. As an added benefit, the LED light source is long lasting, requiring far fewer bulb changes, and the LED produces less heat output as well.
Source
What You'll Need
- LED retrofit trim kit with a foam gasket
- Step ladder
- Eye protection
- Non-contact voltage tester
- Caulk and caulk gun
- Foaming glass cleaner
- Plastic gloves.
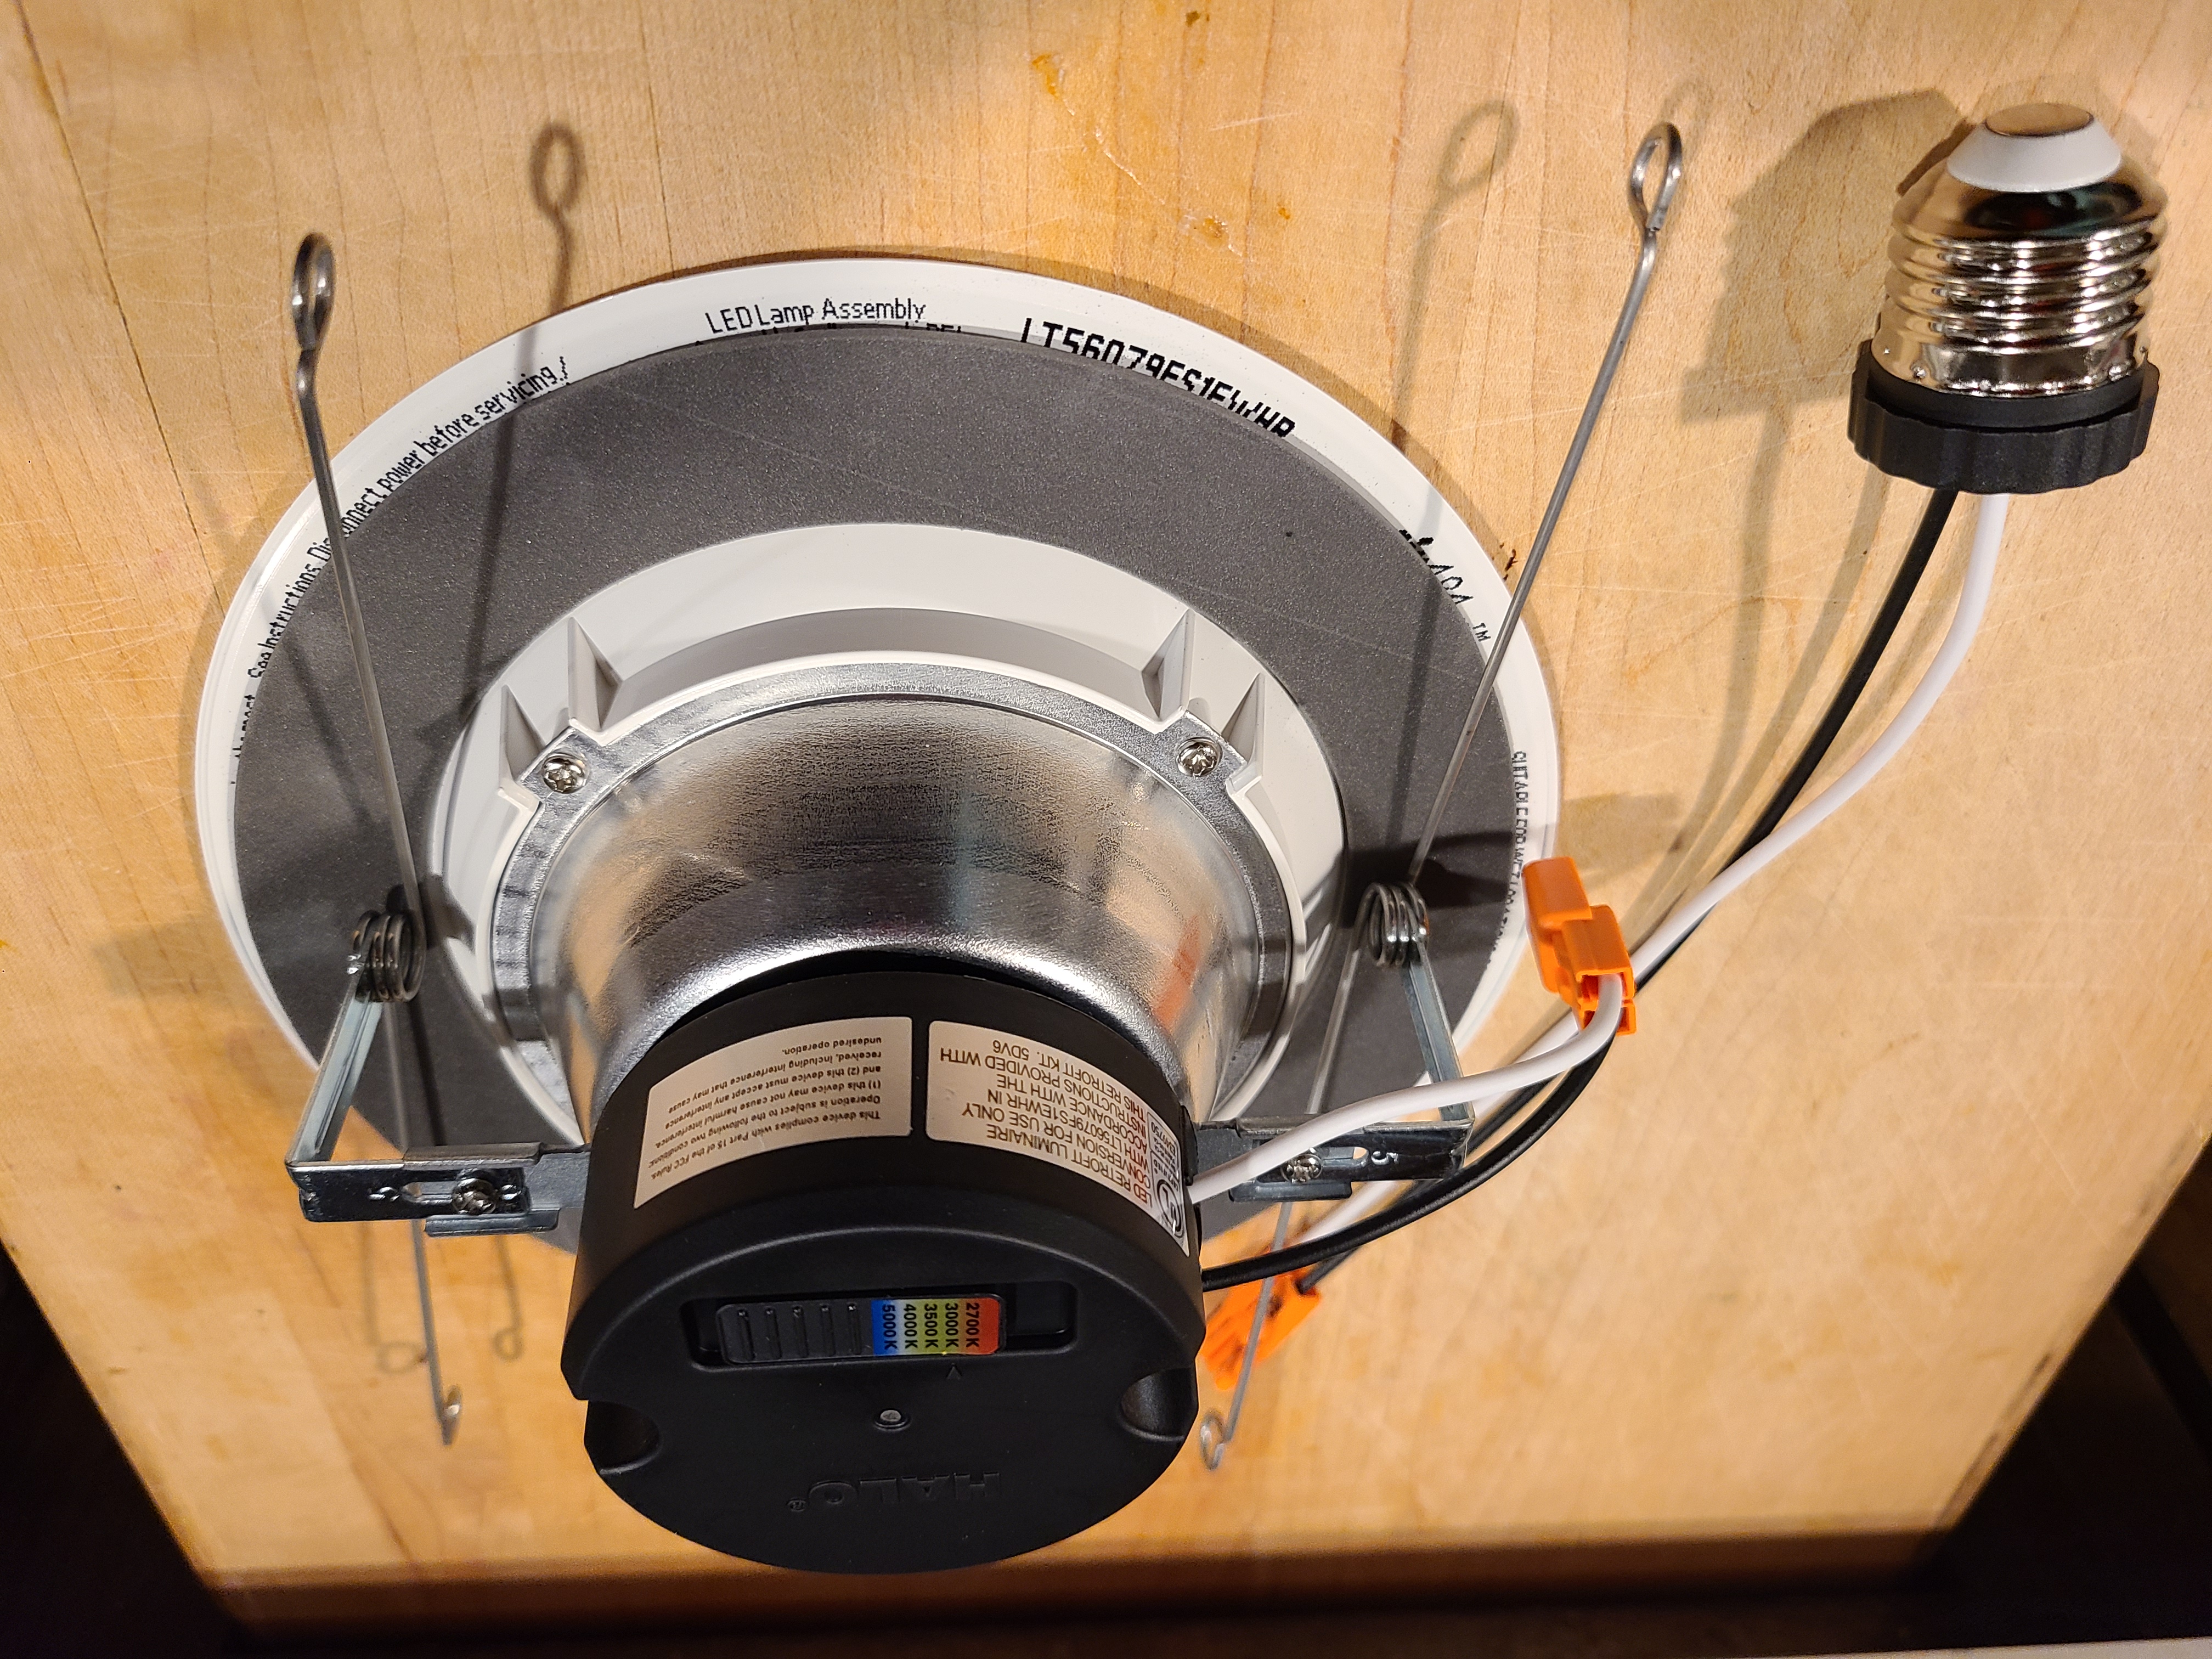
1. Buy an LED retrofit trim kit with a foam gasket.
When shopping for LED retrofit ceiling fixture trim kits, look for fixtures that come with a foam gasket (Figure 2). The foam gasket helps seal the light fixture to prevent air leaks. These LED retrofit trim kits are often available in multi-packs.
Source
2. Turn off the power to the fixture at the light switch.
3. Remove the bulb.
Use a step ladder to remove the existing bulb from the recessed can light fixture. Wear safety glasses to protect your eyes from falling debris. Wear work gloves or wait for the bulb to cool before attempting to remove it.
4. Test the fixture for power.
Use a non-contact voltage tester to test the fixture to make sure there is no electricity going to the bulb socket (Figure 3). Touch the tip of the voltage tester to the metal in the middle inside of the bulb socket. If the tester beeps, power is still flowing to the fixture. Make sure the wall switch is turned off. If needed, turn off the power to this circuit at the electric panel. Test the socket again and only proceed if no alarm beep sounds.

Source
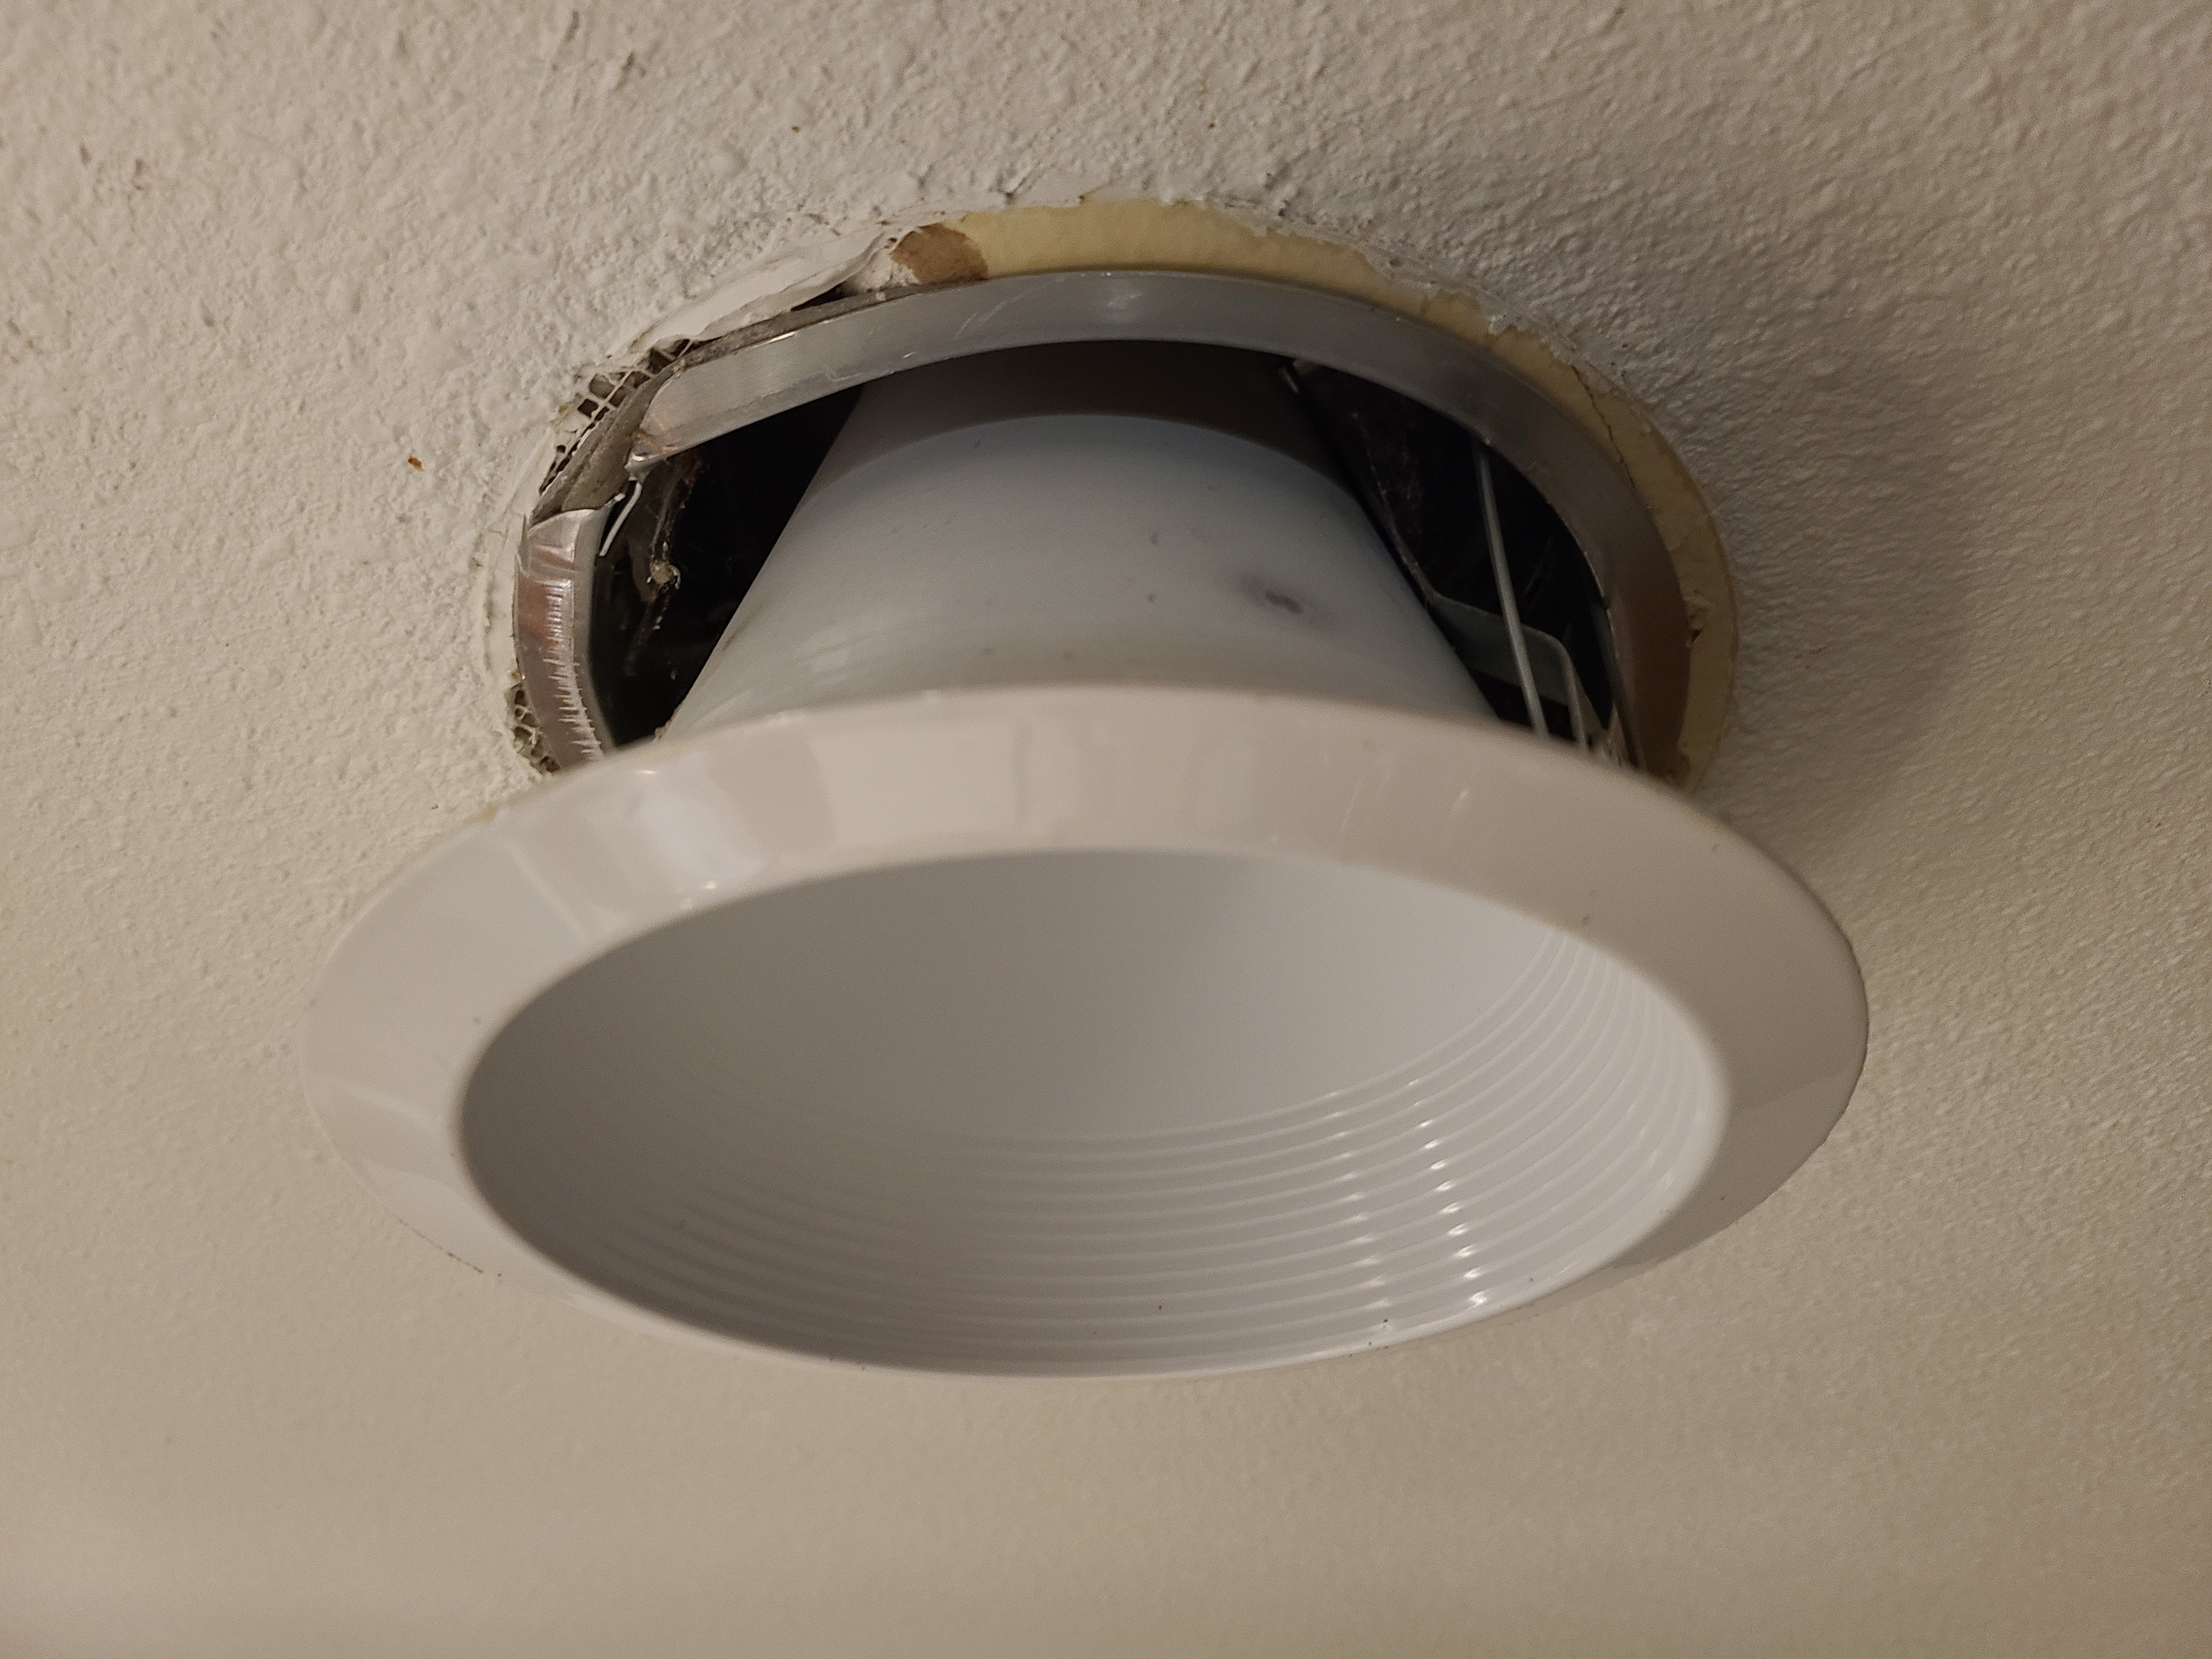
5. Pull the trim down.
Use your fingers and/or a flat-head screwdriver to pry the trim ring loose and pull the ring and the can light down from the ceiling a few inches.
Source
6. Disconnect the old can light.
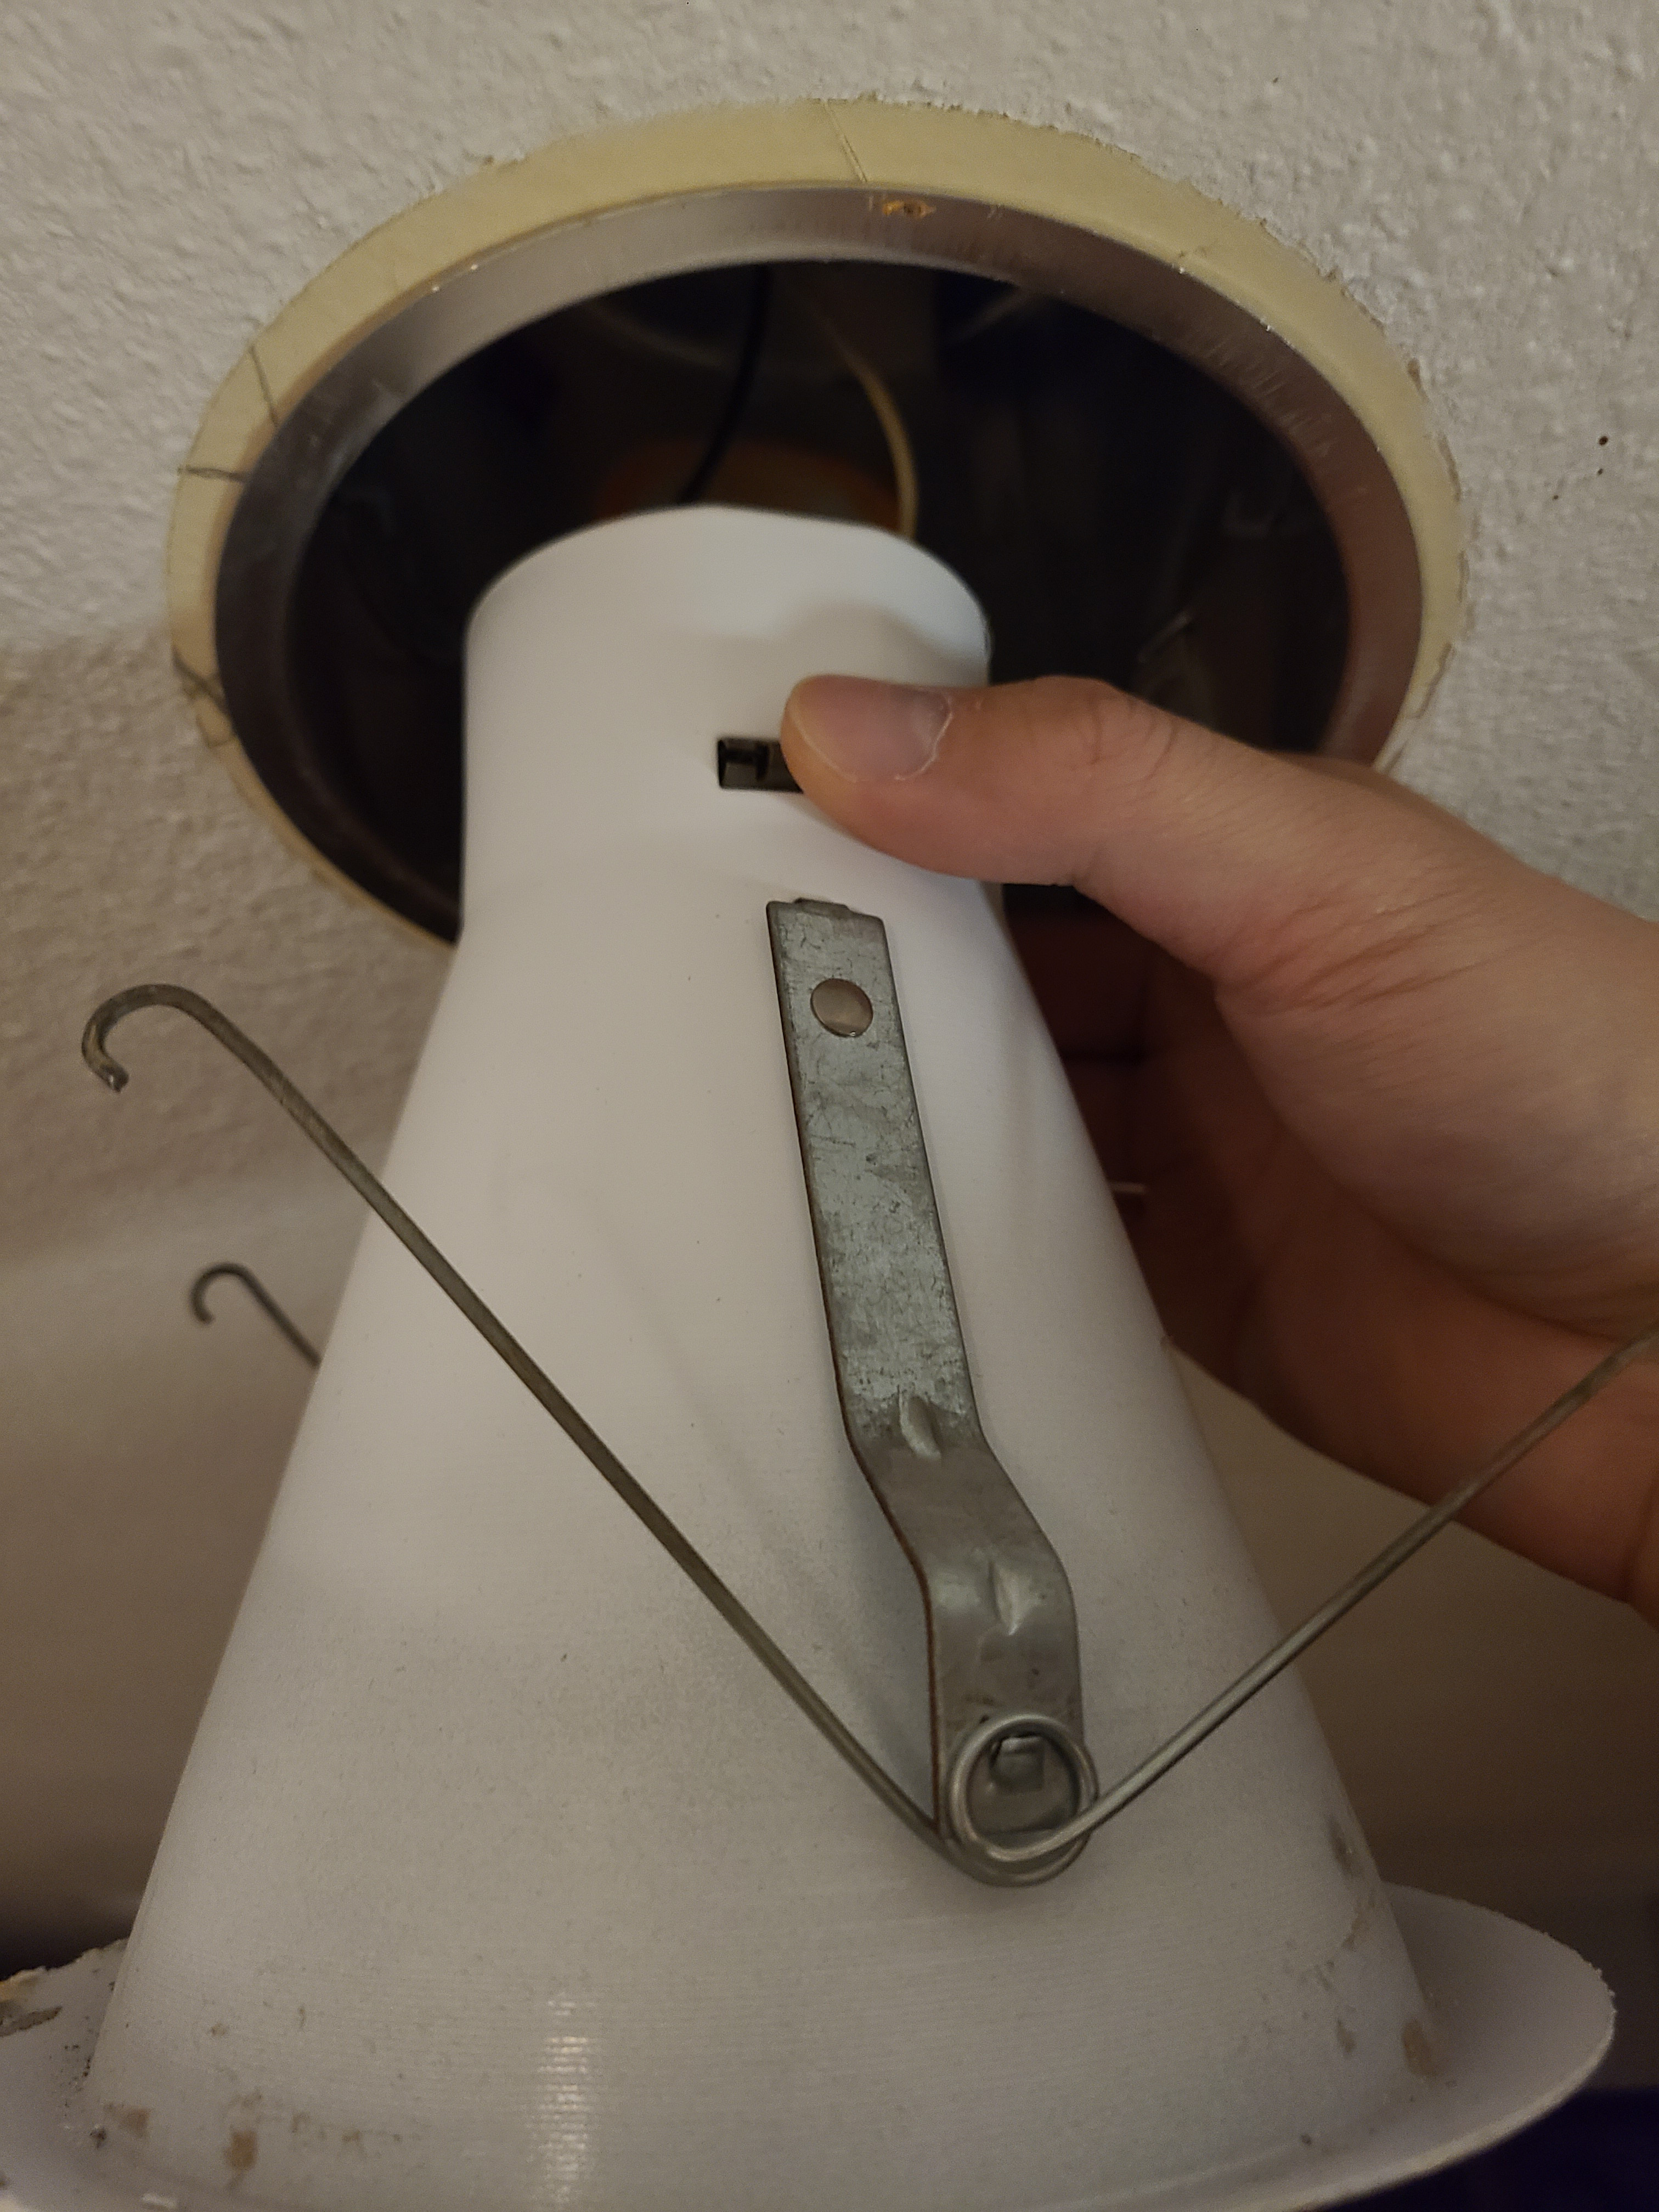
Fully remove the old can light from the housing by squeezing on the two metal spring clips located on each side of the can to disconnect it from the permanent housing, which will stay in the ceiling (Figure 5). Then, disconnect the trim from the bulb socket by squeezing on the clip.
Source
7. Connect the wire adapter to the bulb socket.
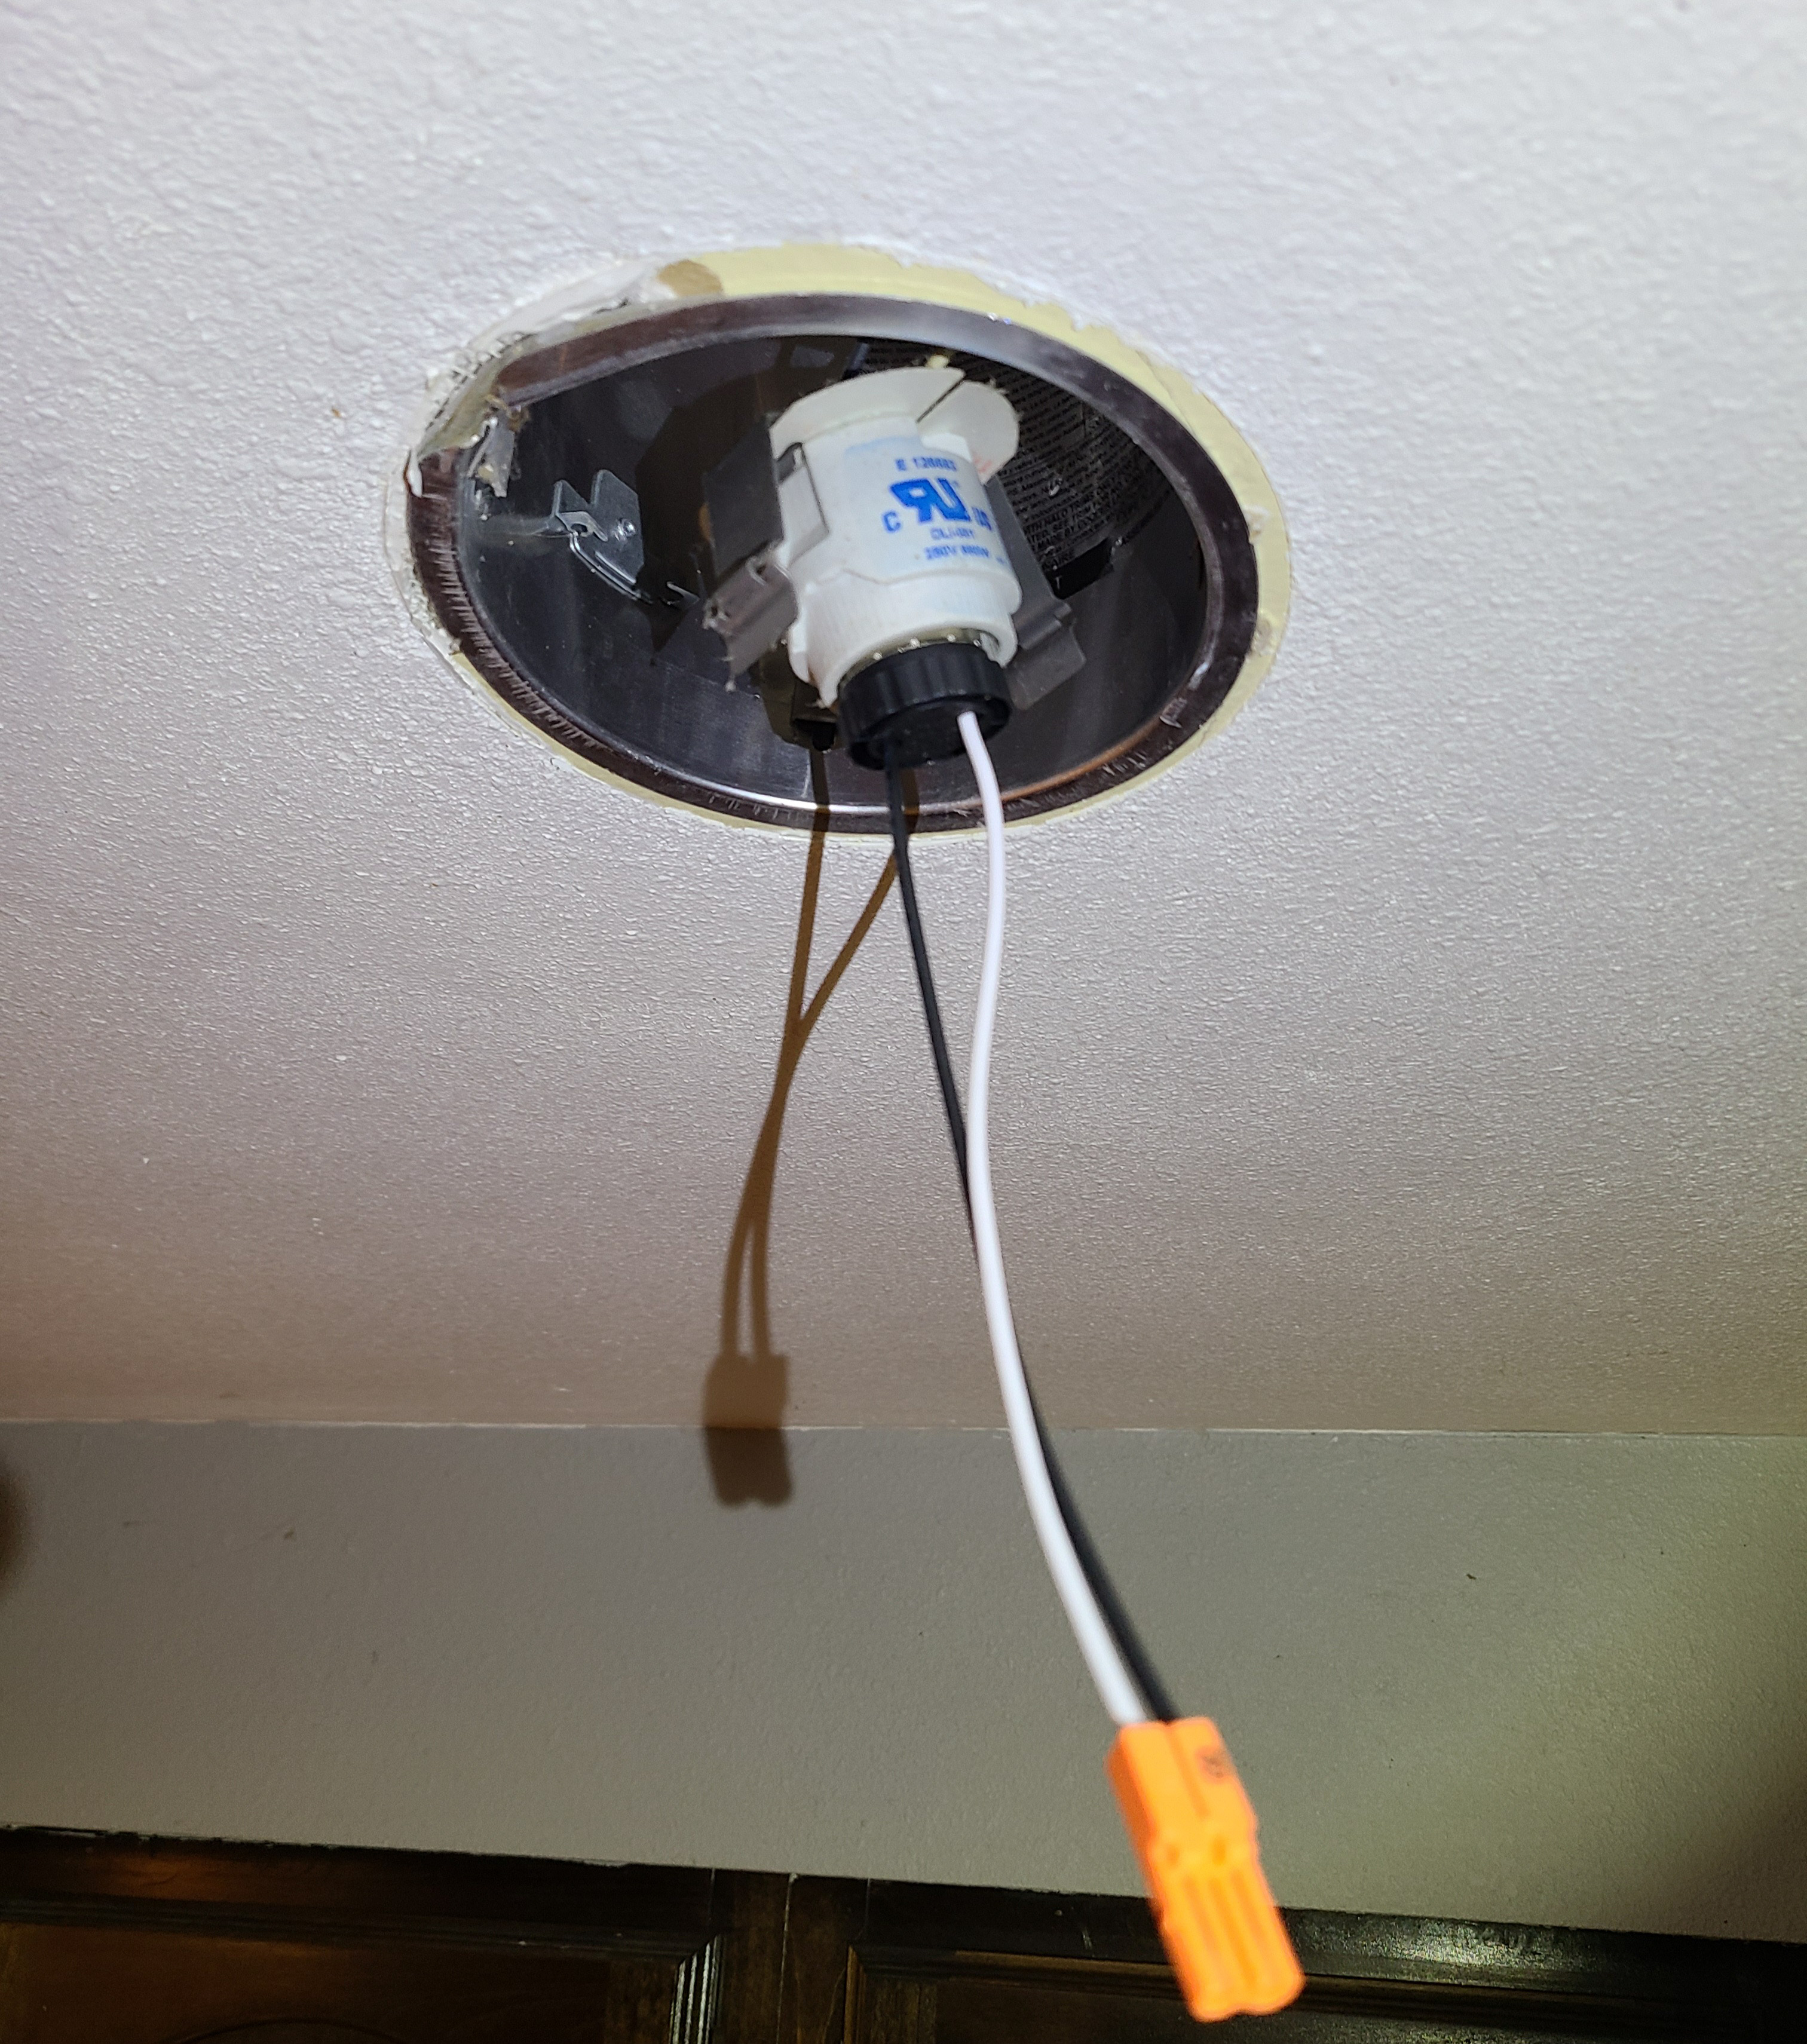
Connect the wire adapter for the new LED retrofit fixture to the old light socket by screwing it into the bulb socket (Figure 6).
Source
8. Set the light color.
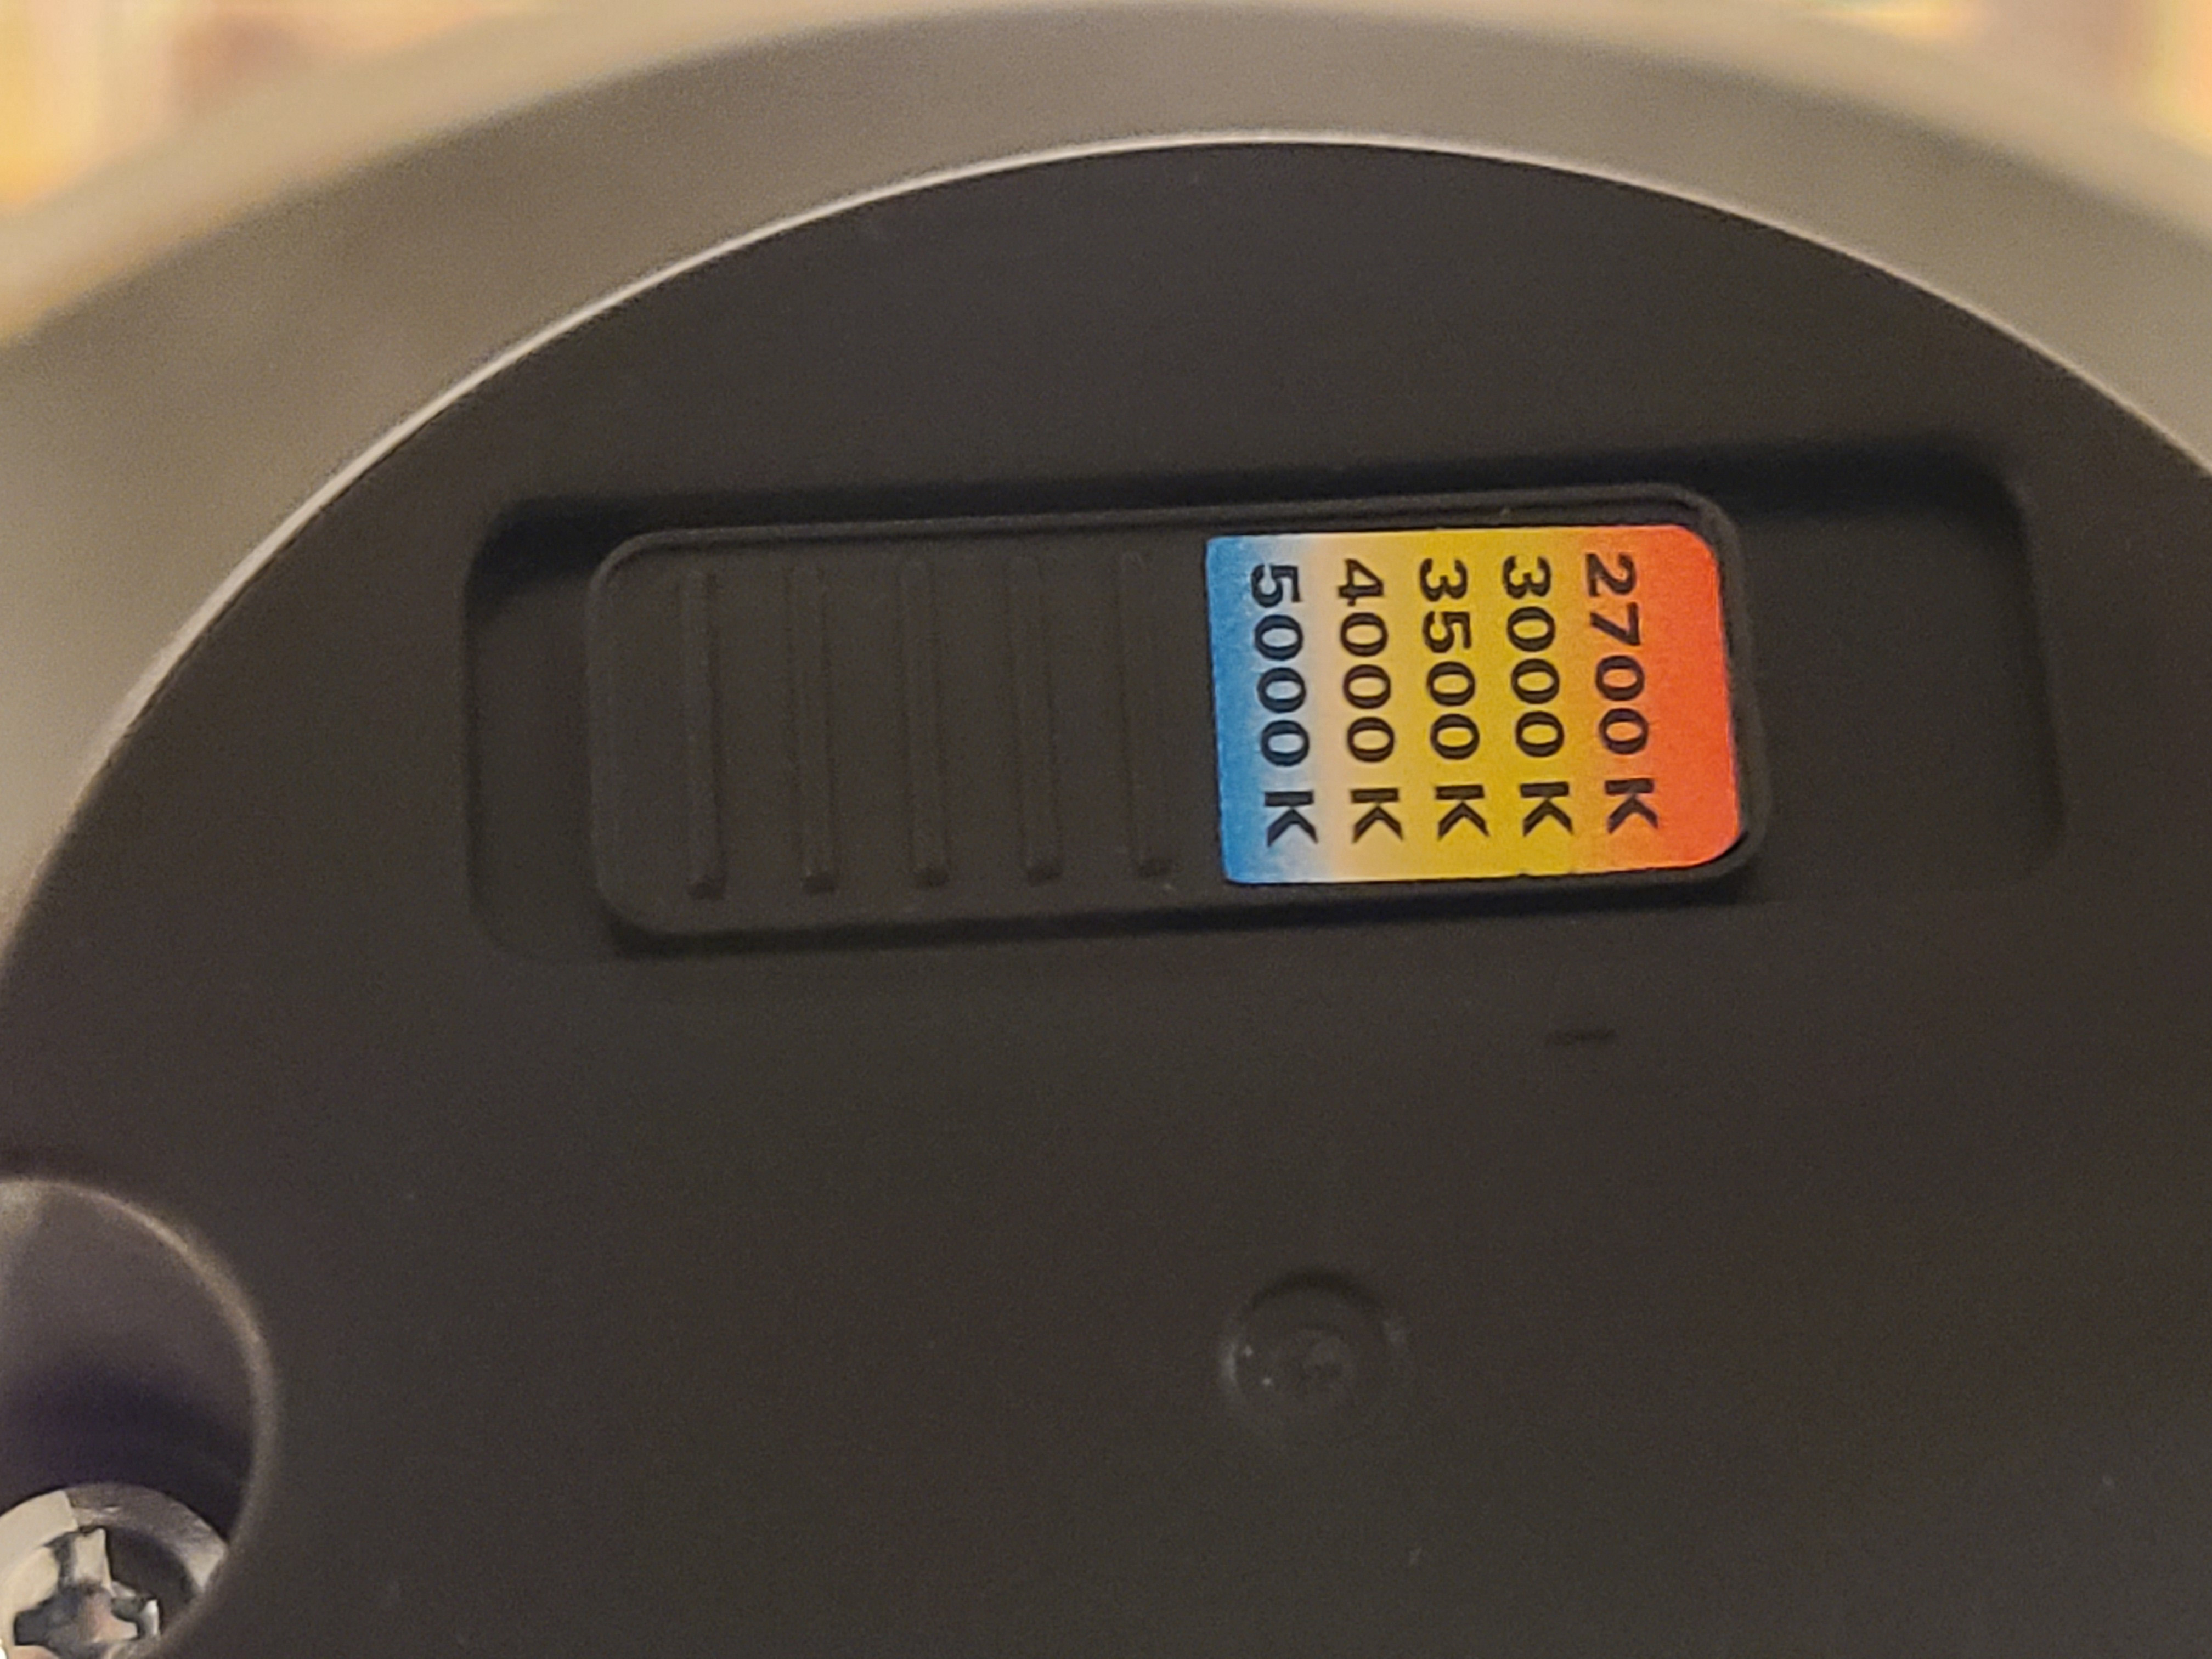
If your LED trim kit has an adjustment allowing you to set the color temperature of the light, set that temperature now: the lower numbers, shown in orange in the photo, indicate a warmer light color; higher numbers, shown in blue, indicate cooler light colors (Figure 7).
Source
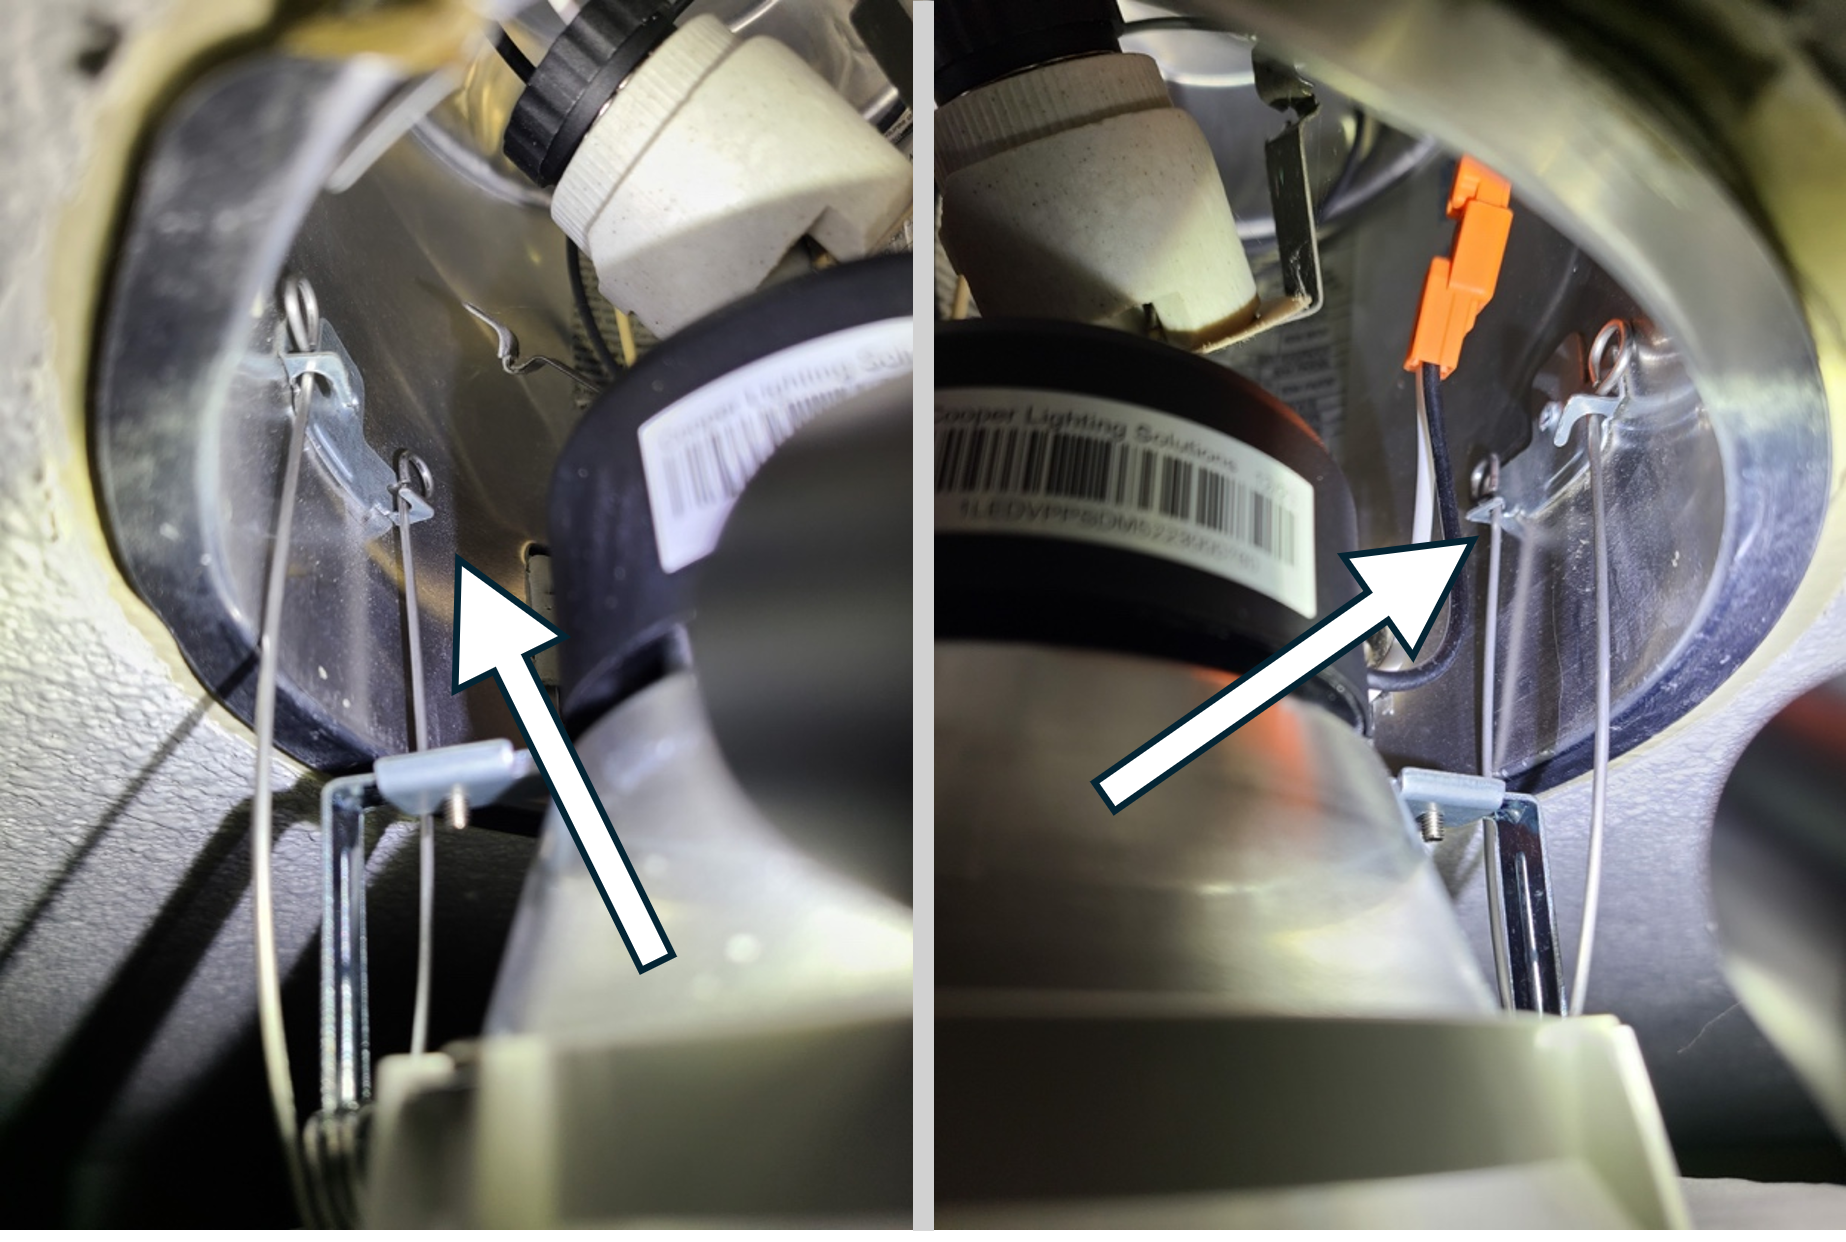
9. Re-attach the spring clips.
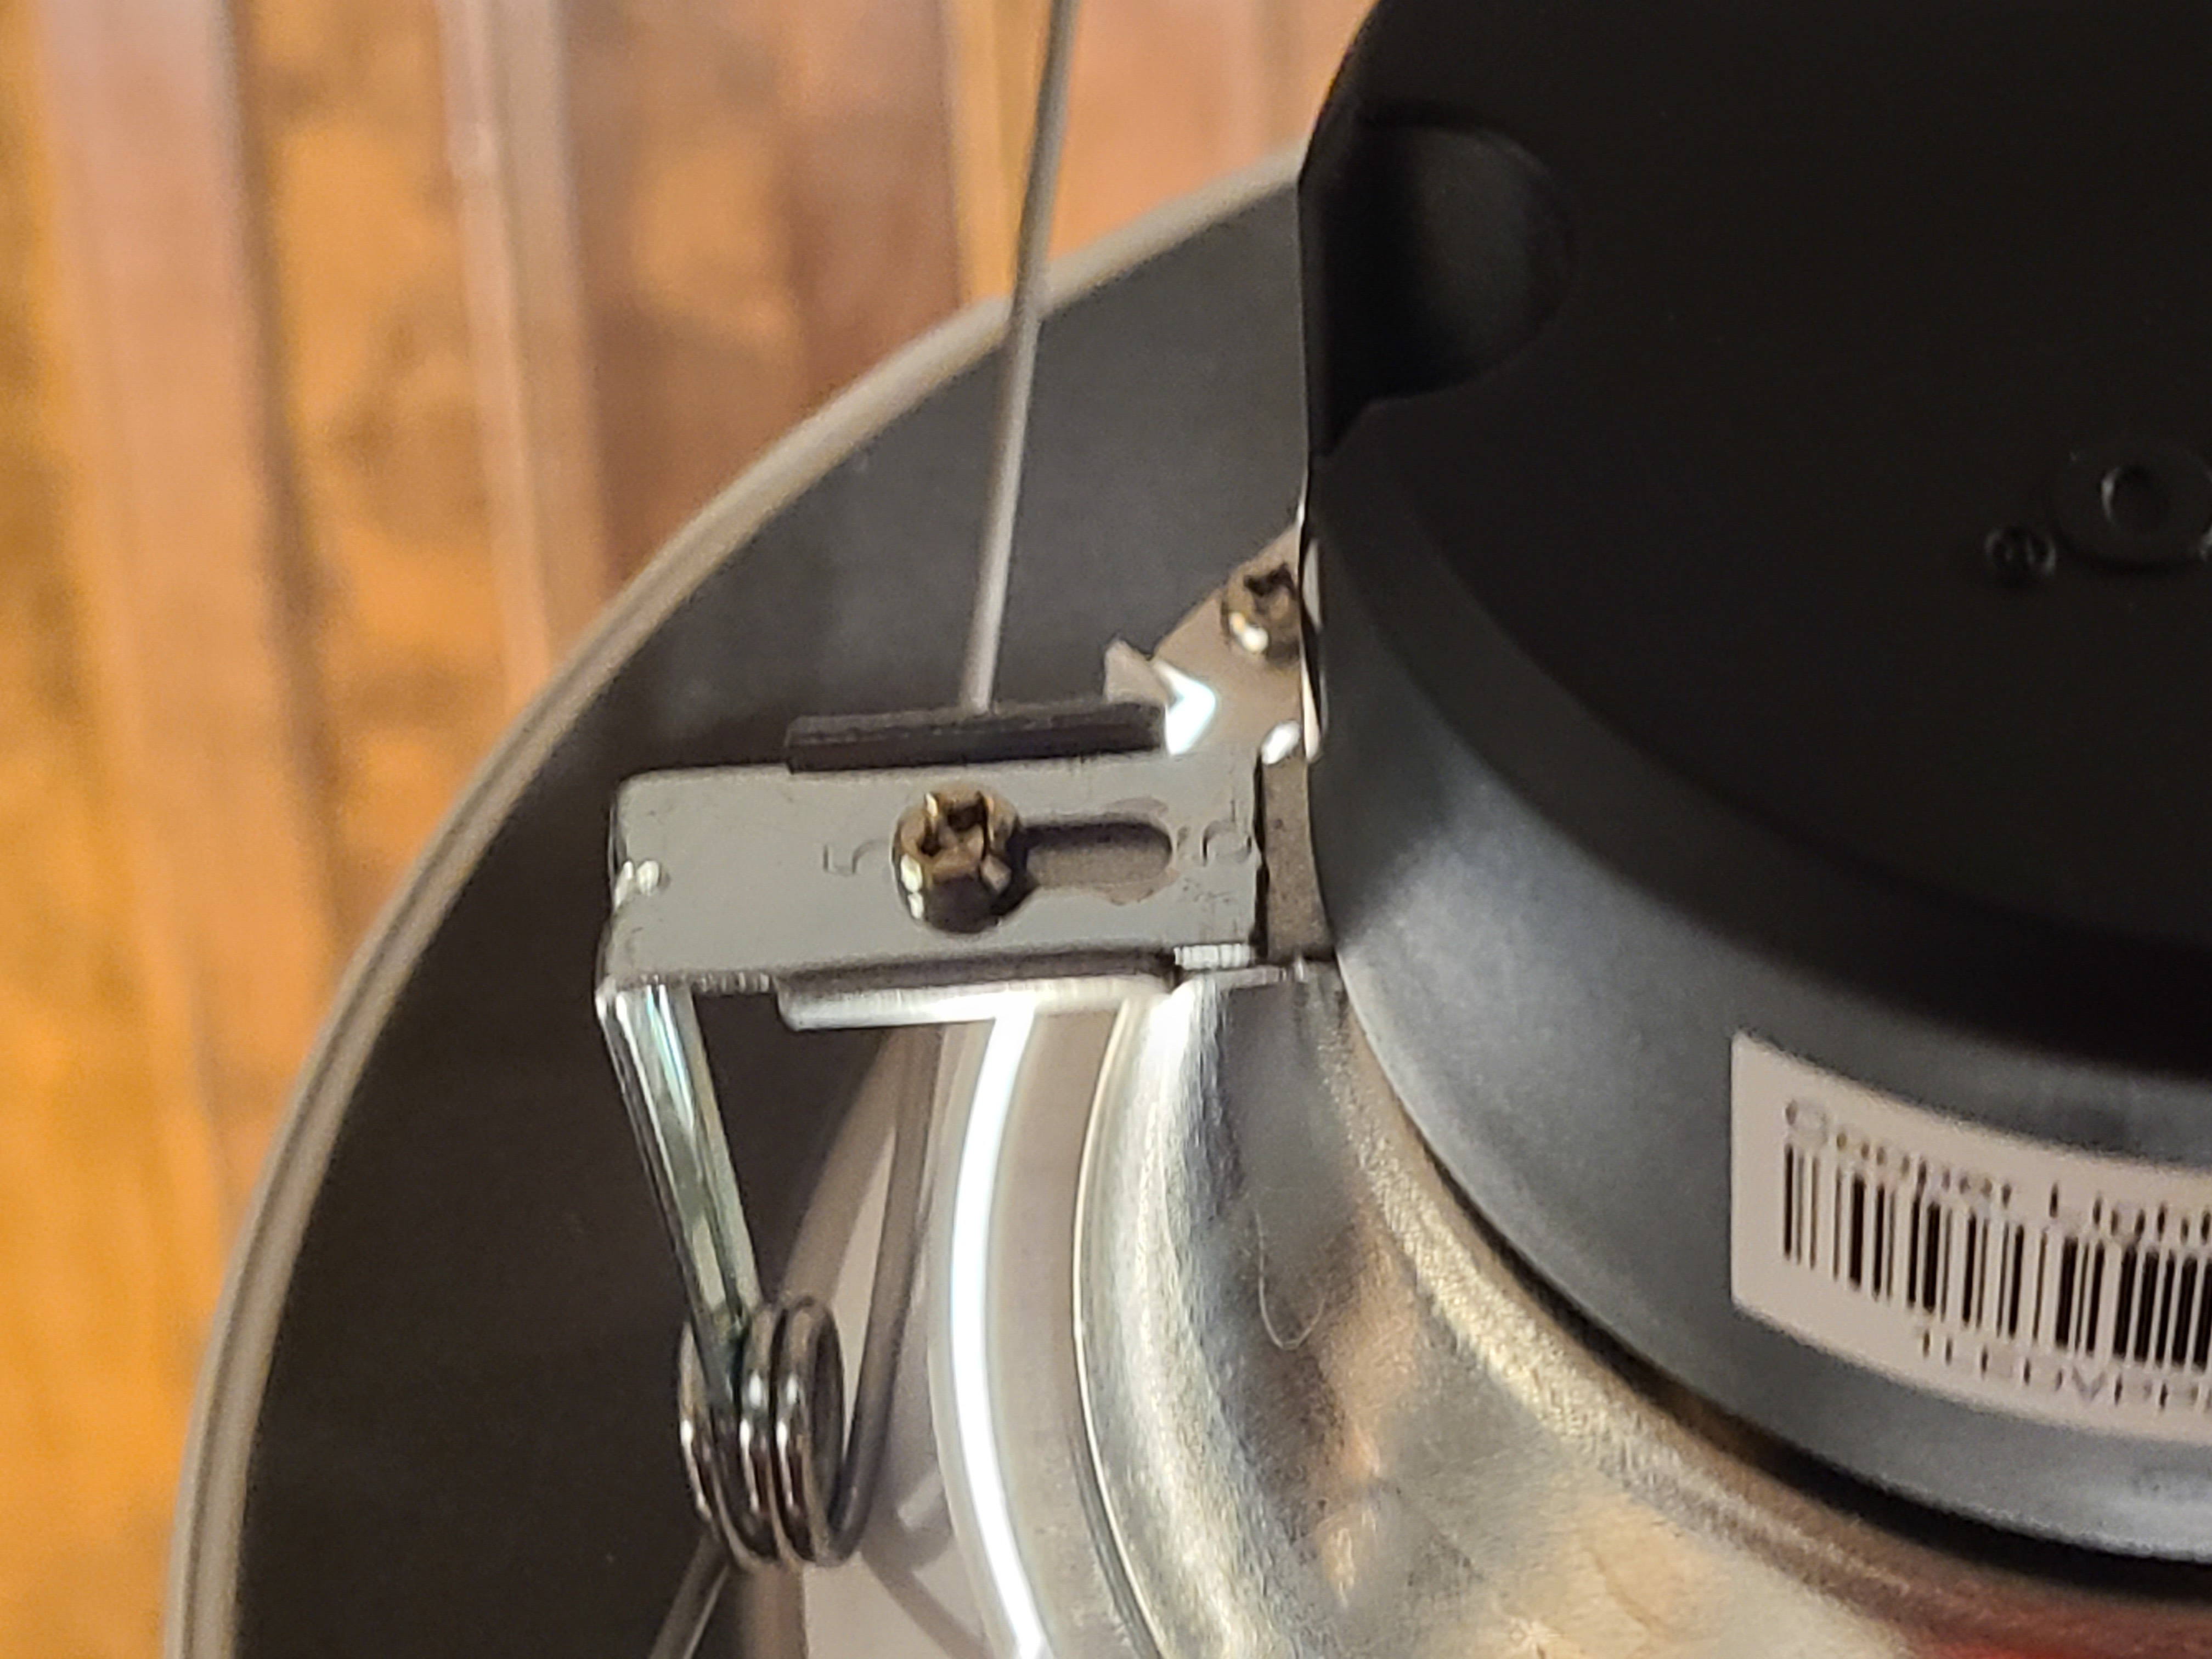
If your retrofit kit has sliding adjustments to adjust how far apart the spring clips are, use a screwdriver to adjust those, if necessary (Figure 8). Then squeeze the spring clips to hook them into the brackets in the recessed light housing. Hook the spring clips into the housing on each side of the fixture (Figure 9). Patience may be required to get them aligned in this tight spot.
Source
Source
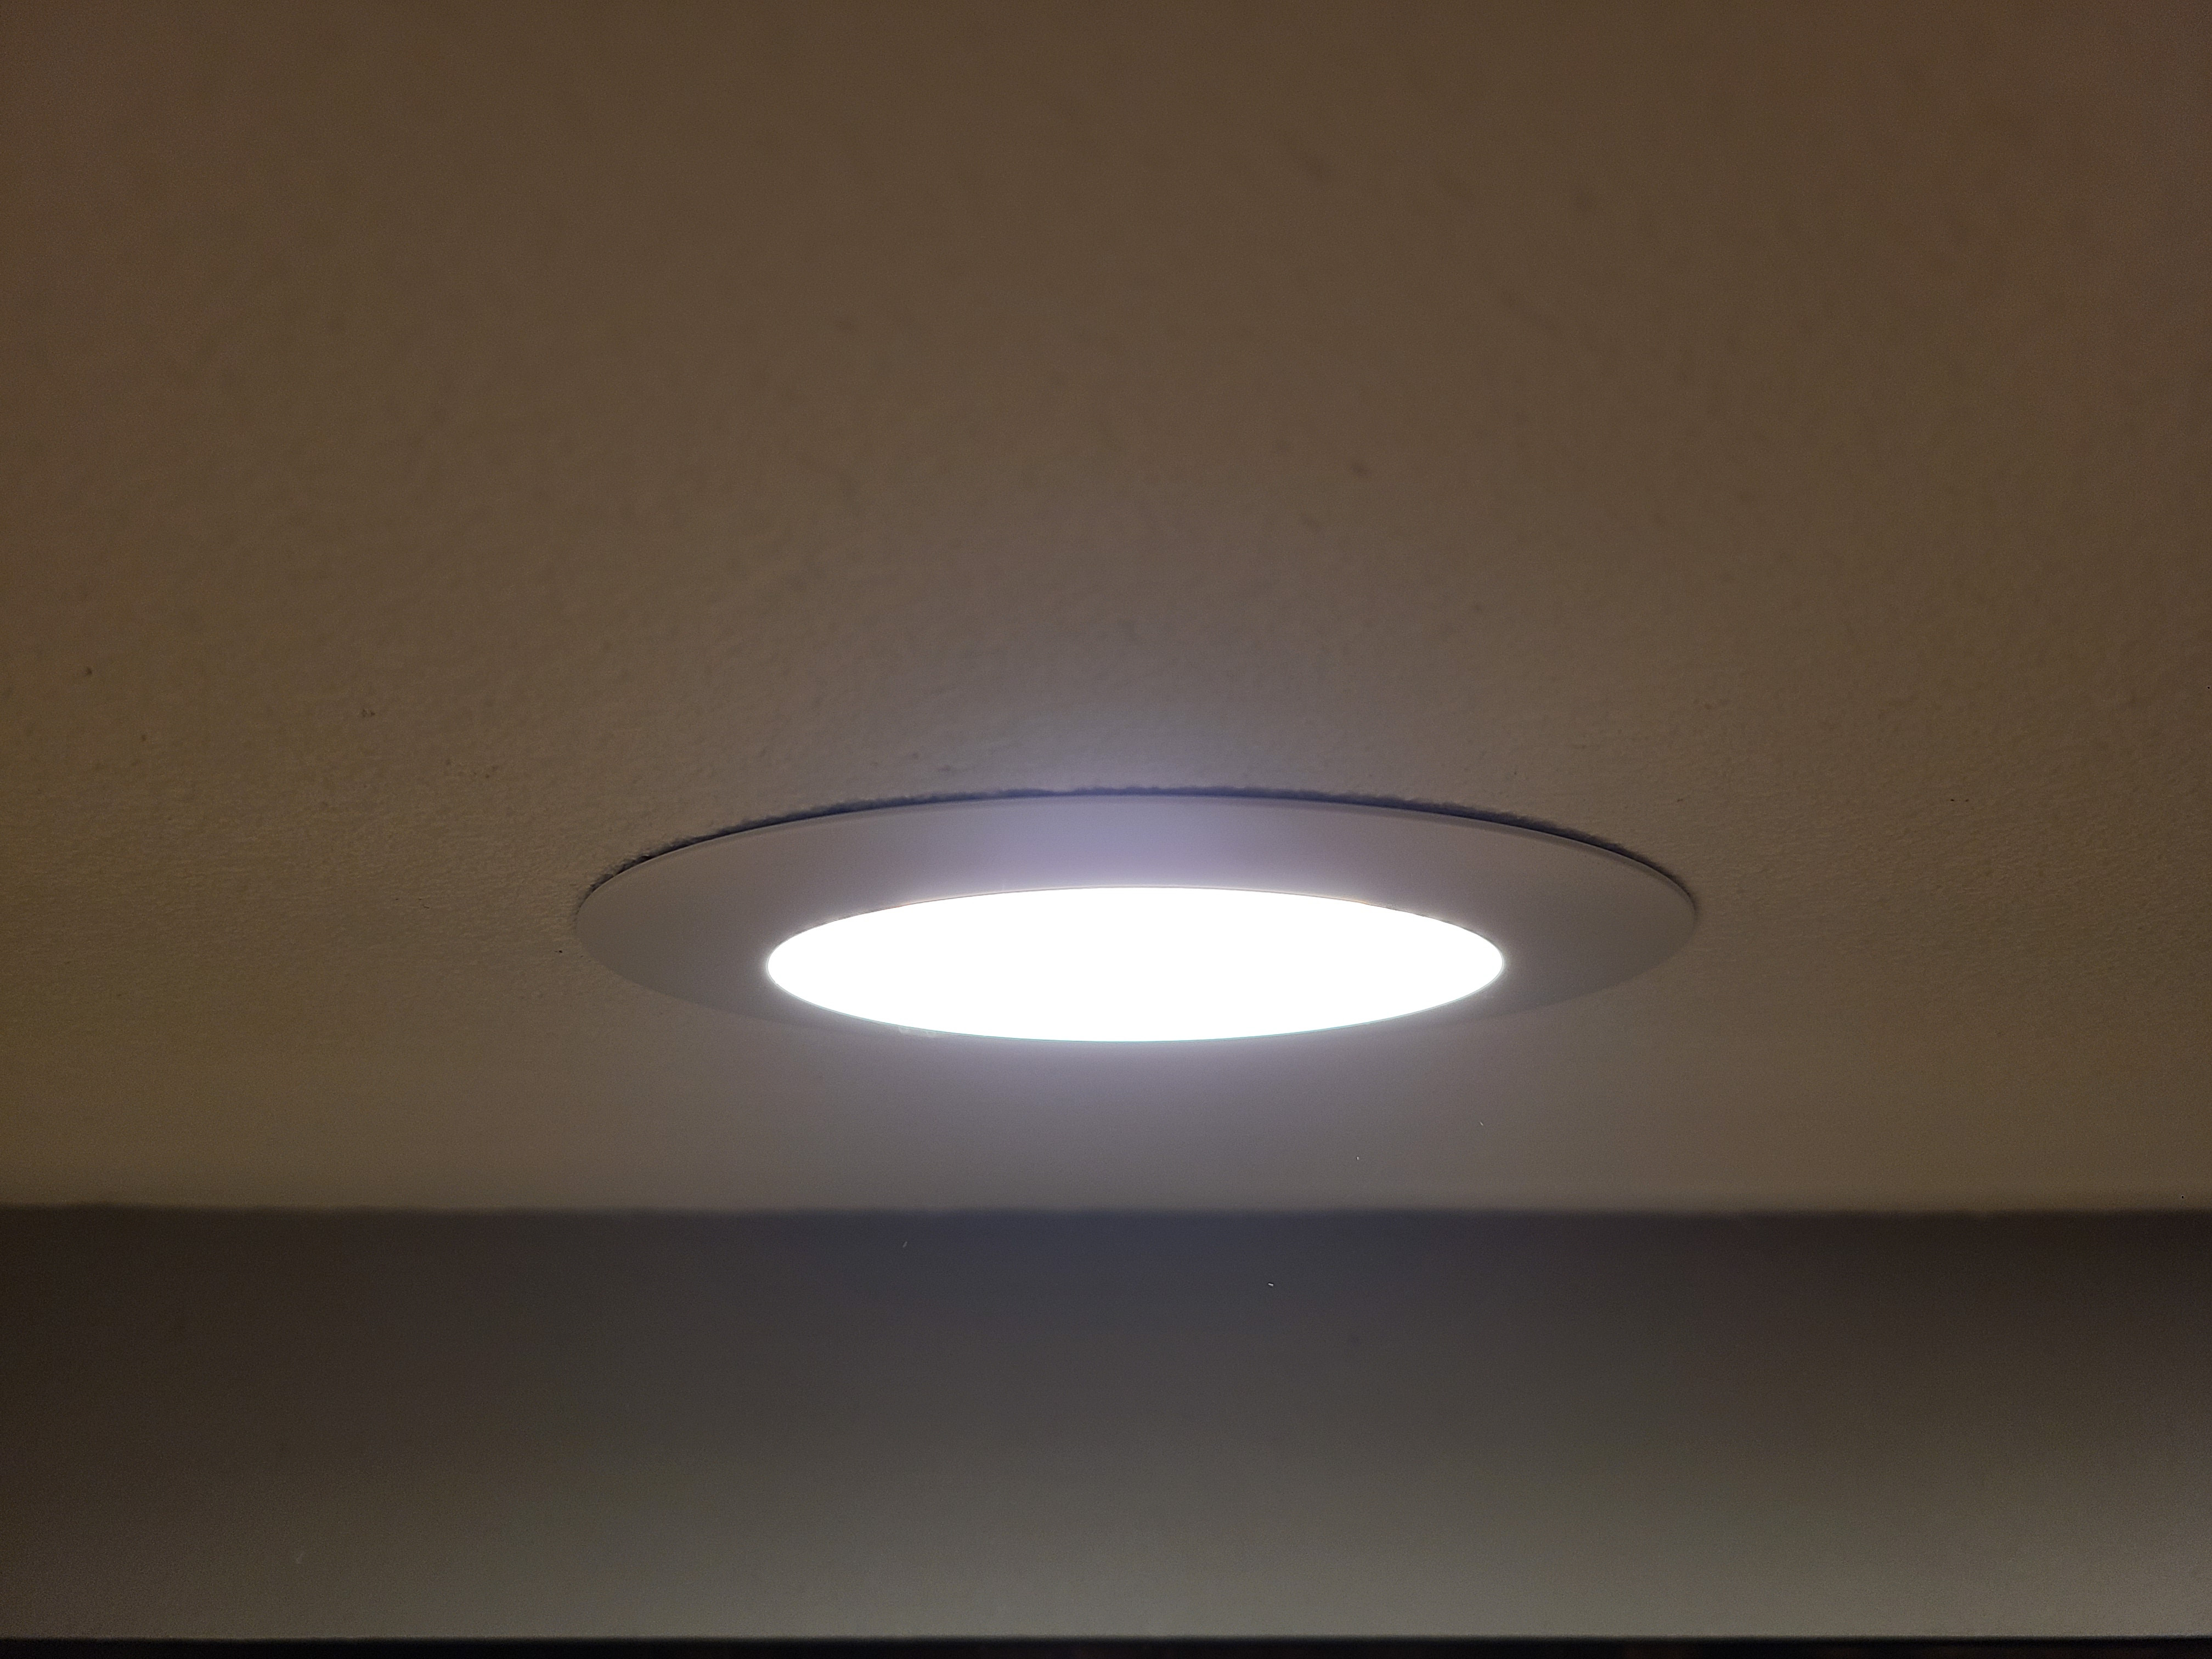
10. Push the LED trim kit up into place.
Push up on the round trim to slide the trim kit into place. The trim bezel should sit flush to the ceiling (Figure 10).
Source
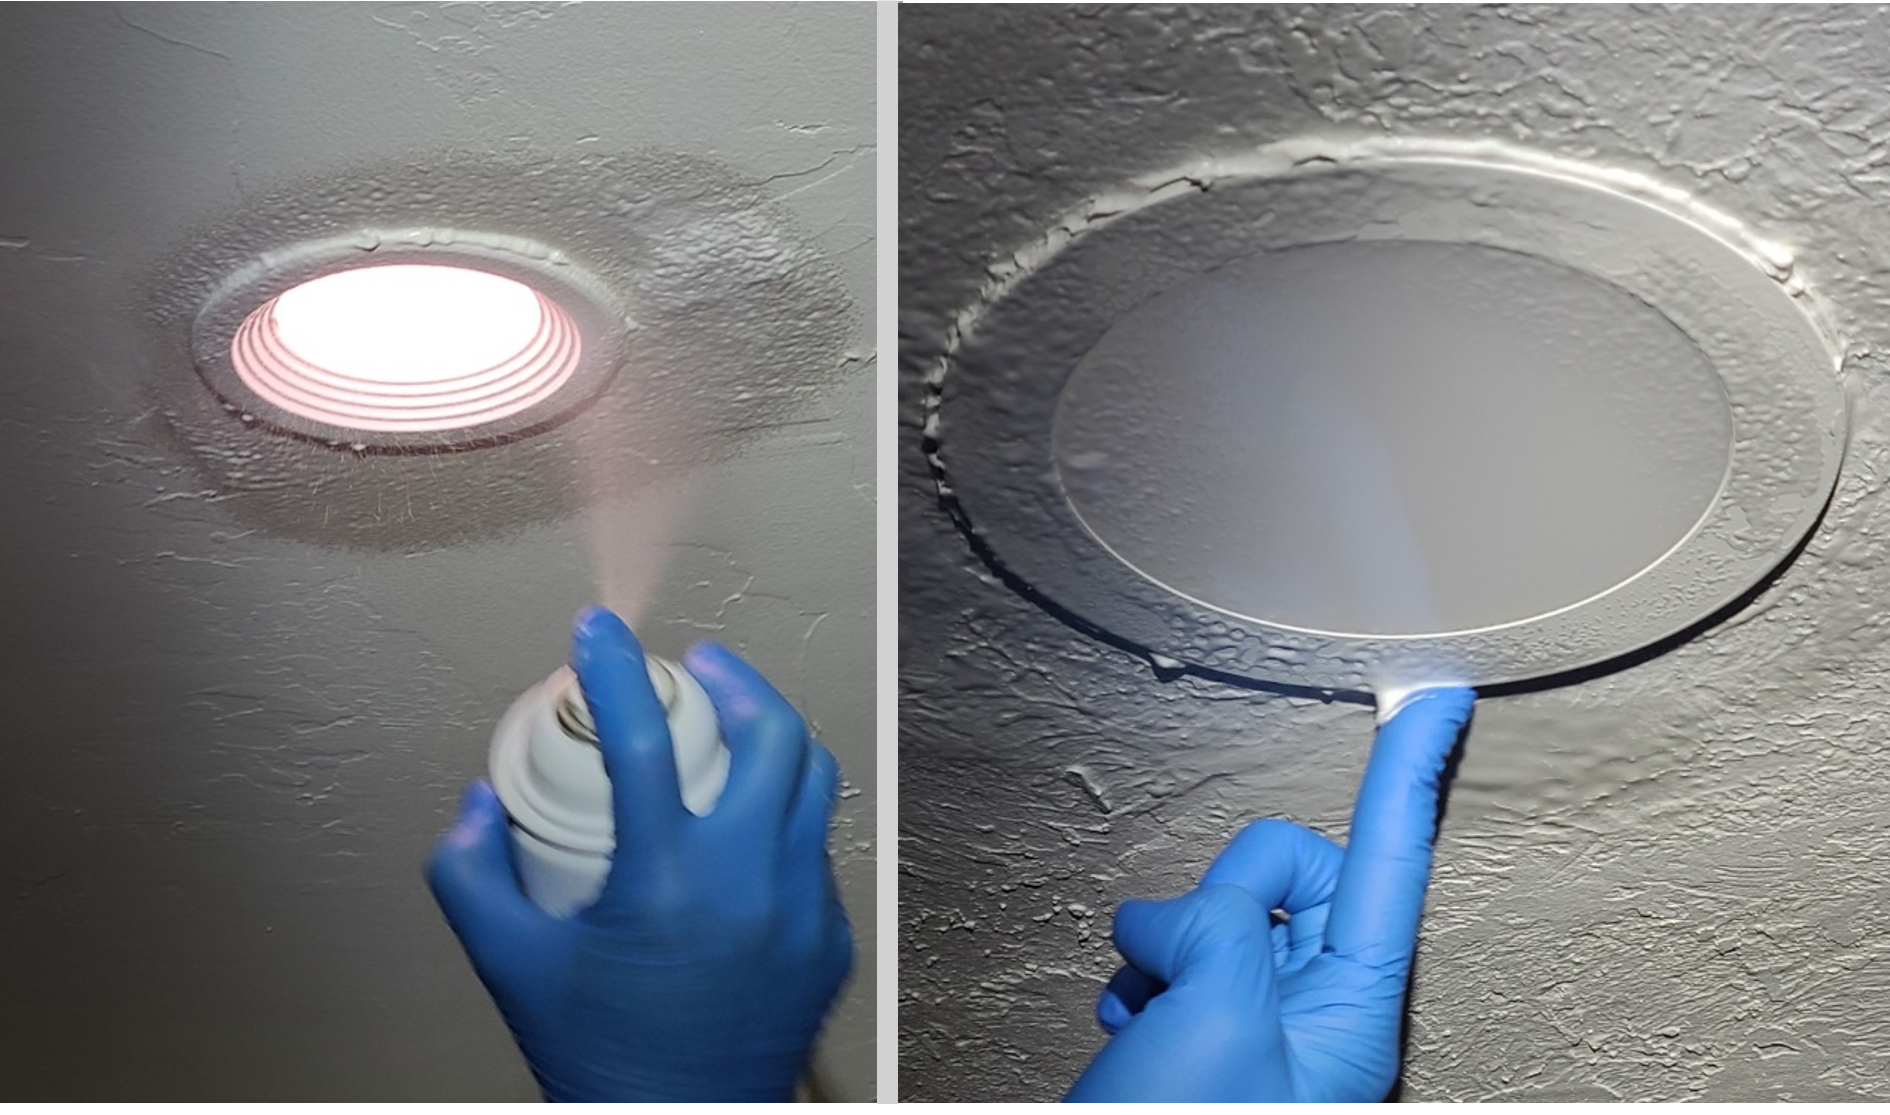
11. Caulk the trim.
If the trim ring doesn’t sit perfectly flush with the ceiling and a gap is visible, you can caulk the gap to prevent air leakage and improve its appearance (Figure 11). LED trim kit lights last 50,000 hours or more so it will be decades before you’ll need to cut the caulk to replace the light.
Source
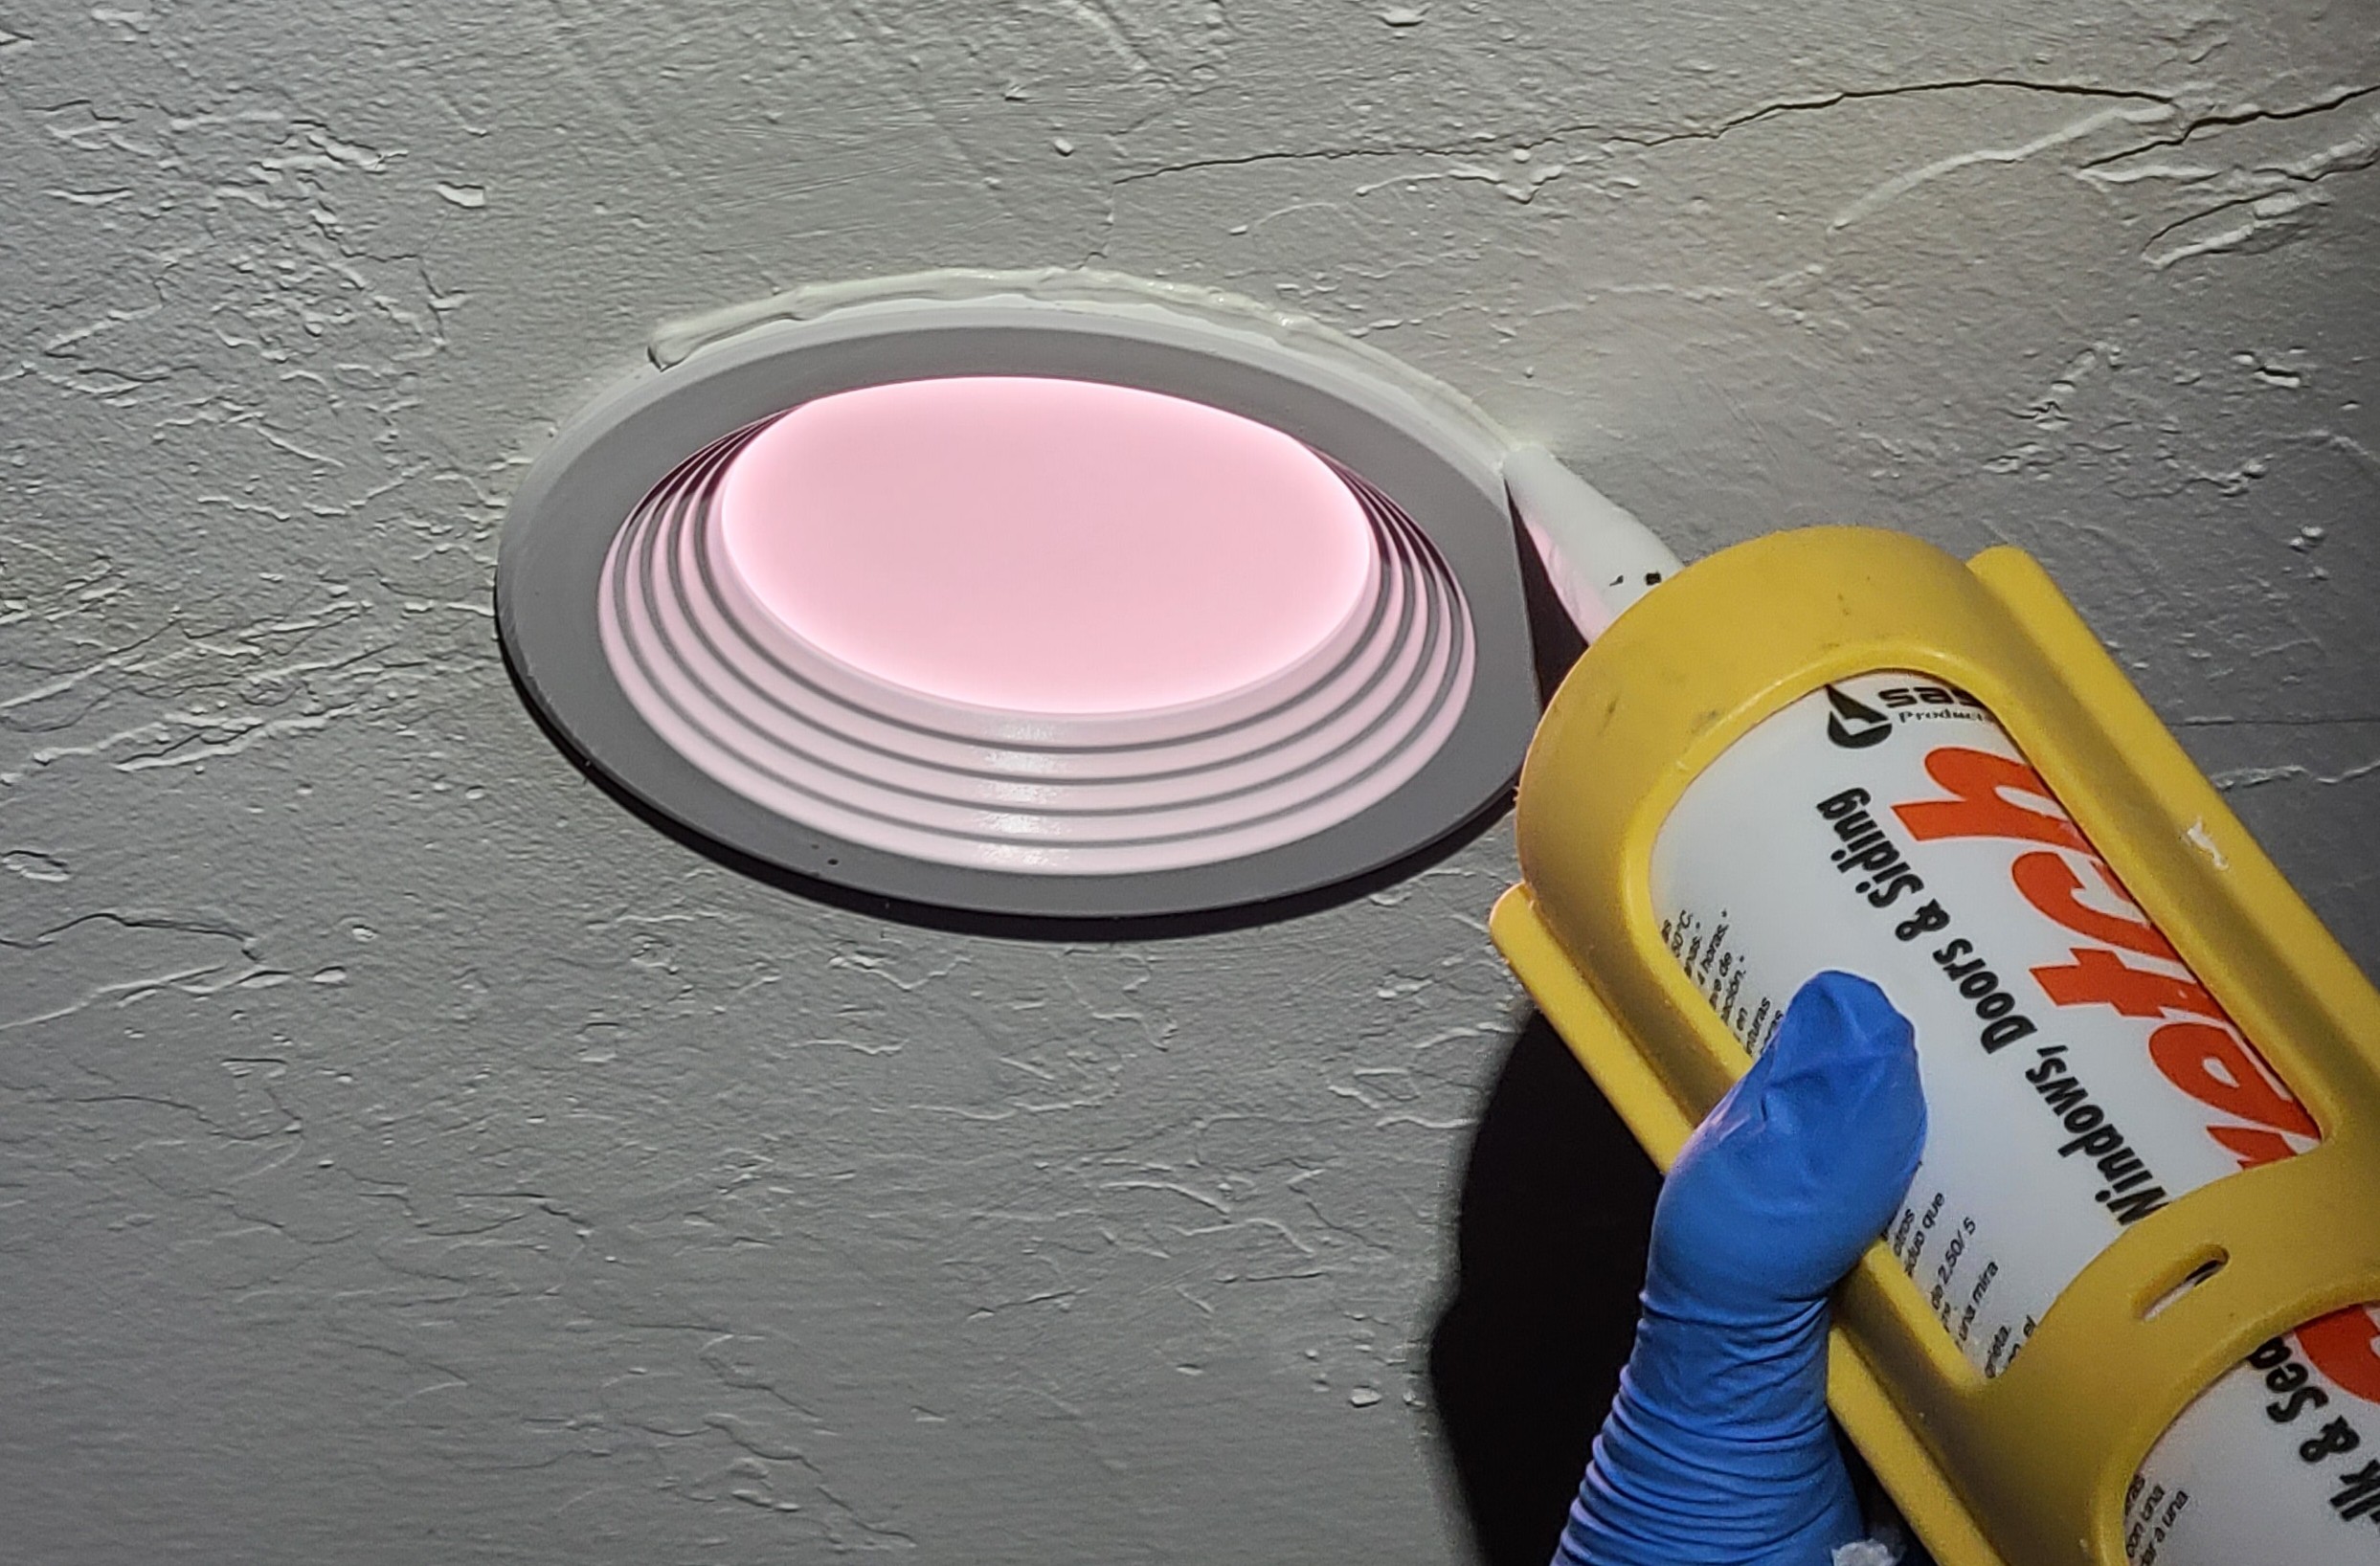
12. Smooth the caulk.
Here’s a trick for smoothing the caulk to get an even appearance and achieve a very smooth finish. Use foaming glass cleaner if desired to wet the caulk then smooth the caulk bead with a gloved finger (Figure 12). The excess foaming glass cleaner will evaporate on its own and not leave any residue.