Introduction
Sealing seams and holes in the air handler or furnace cabinet of central forced-air HVAC systems prevents the loss of conditioned air and improves the performance of your HVAC equipment.
Why
Most homes are heated and cooled using central furnaces and air conditioners or heat pumps that deliver heated or cooled air to the home through a network of ducts. You’ve probably heard you should air seal your ducts to improve the system’s performance and reduce energy losses but it’s just as important to air seal seams and holes in your furnace cabinet and supply and return air plenums where air flow and air pressures are the strongest and air leaks can have the biggest impact on system performance.
What You'll Need
- Mastic
- Fiberglass mesh tape
- Paint brush, trowels, or plastic gloves
- UL 181A or B metal tape
- Sealing putty
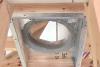
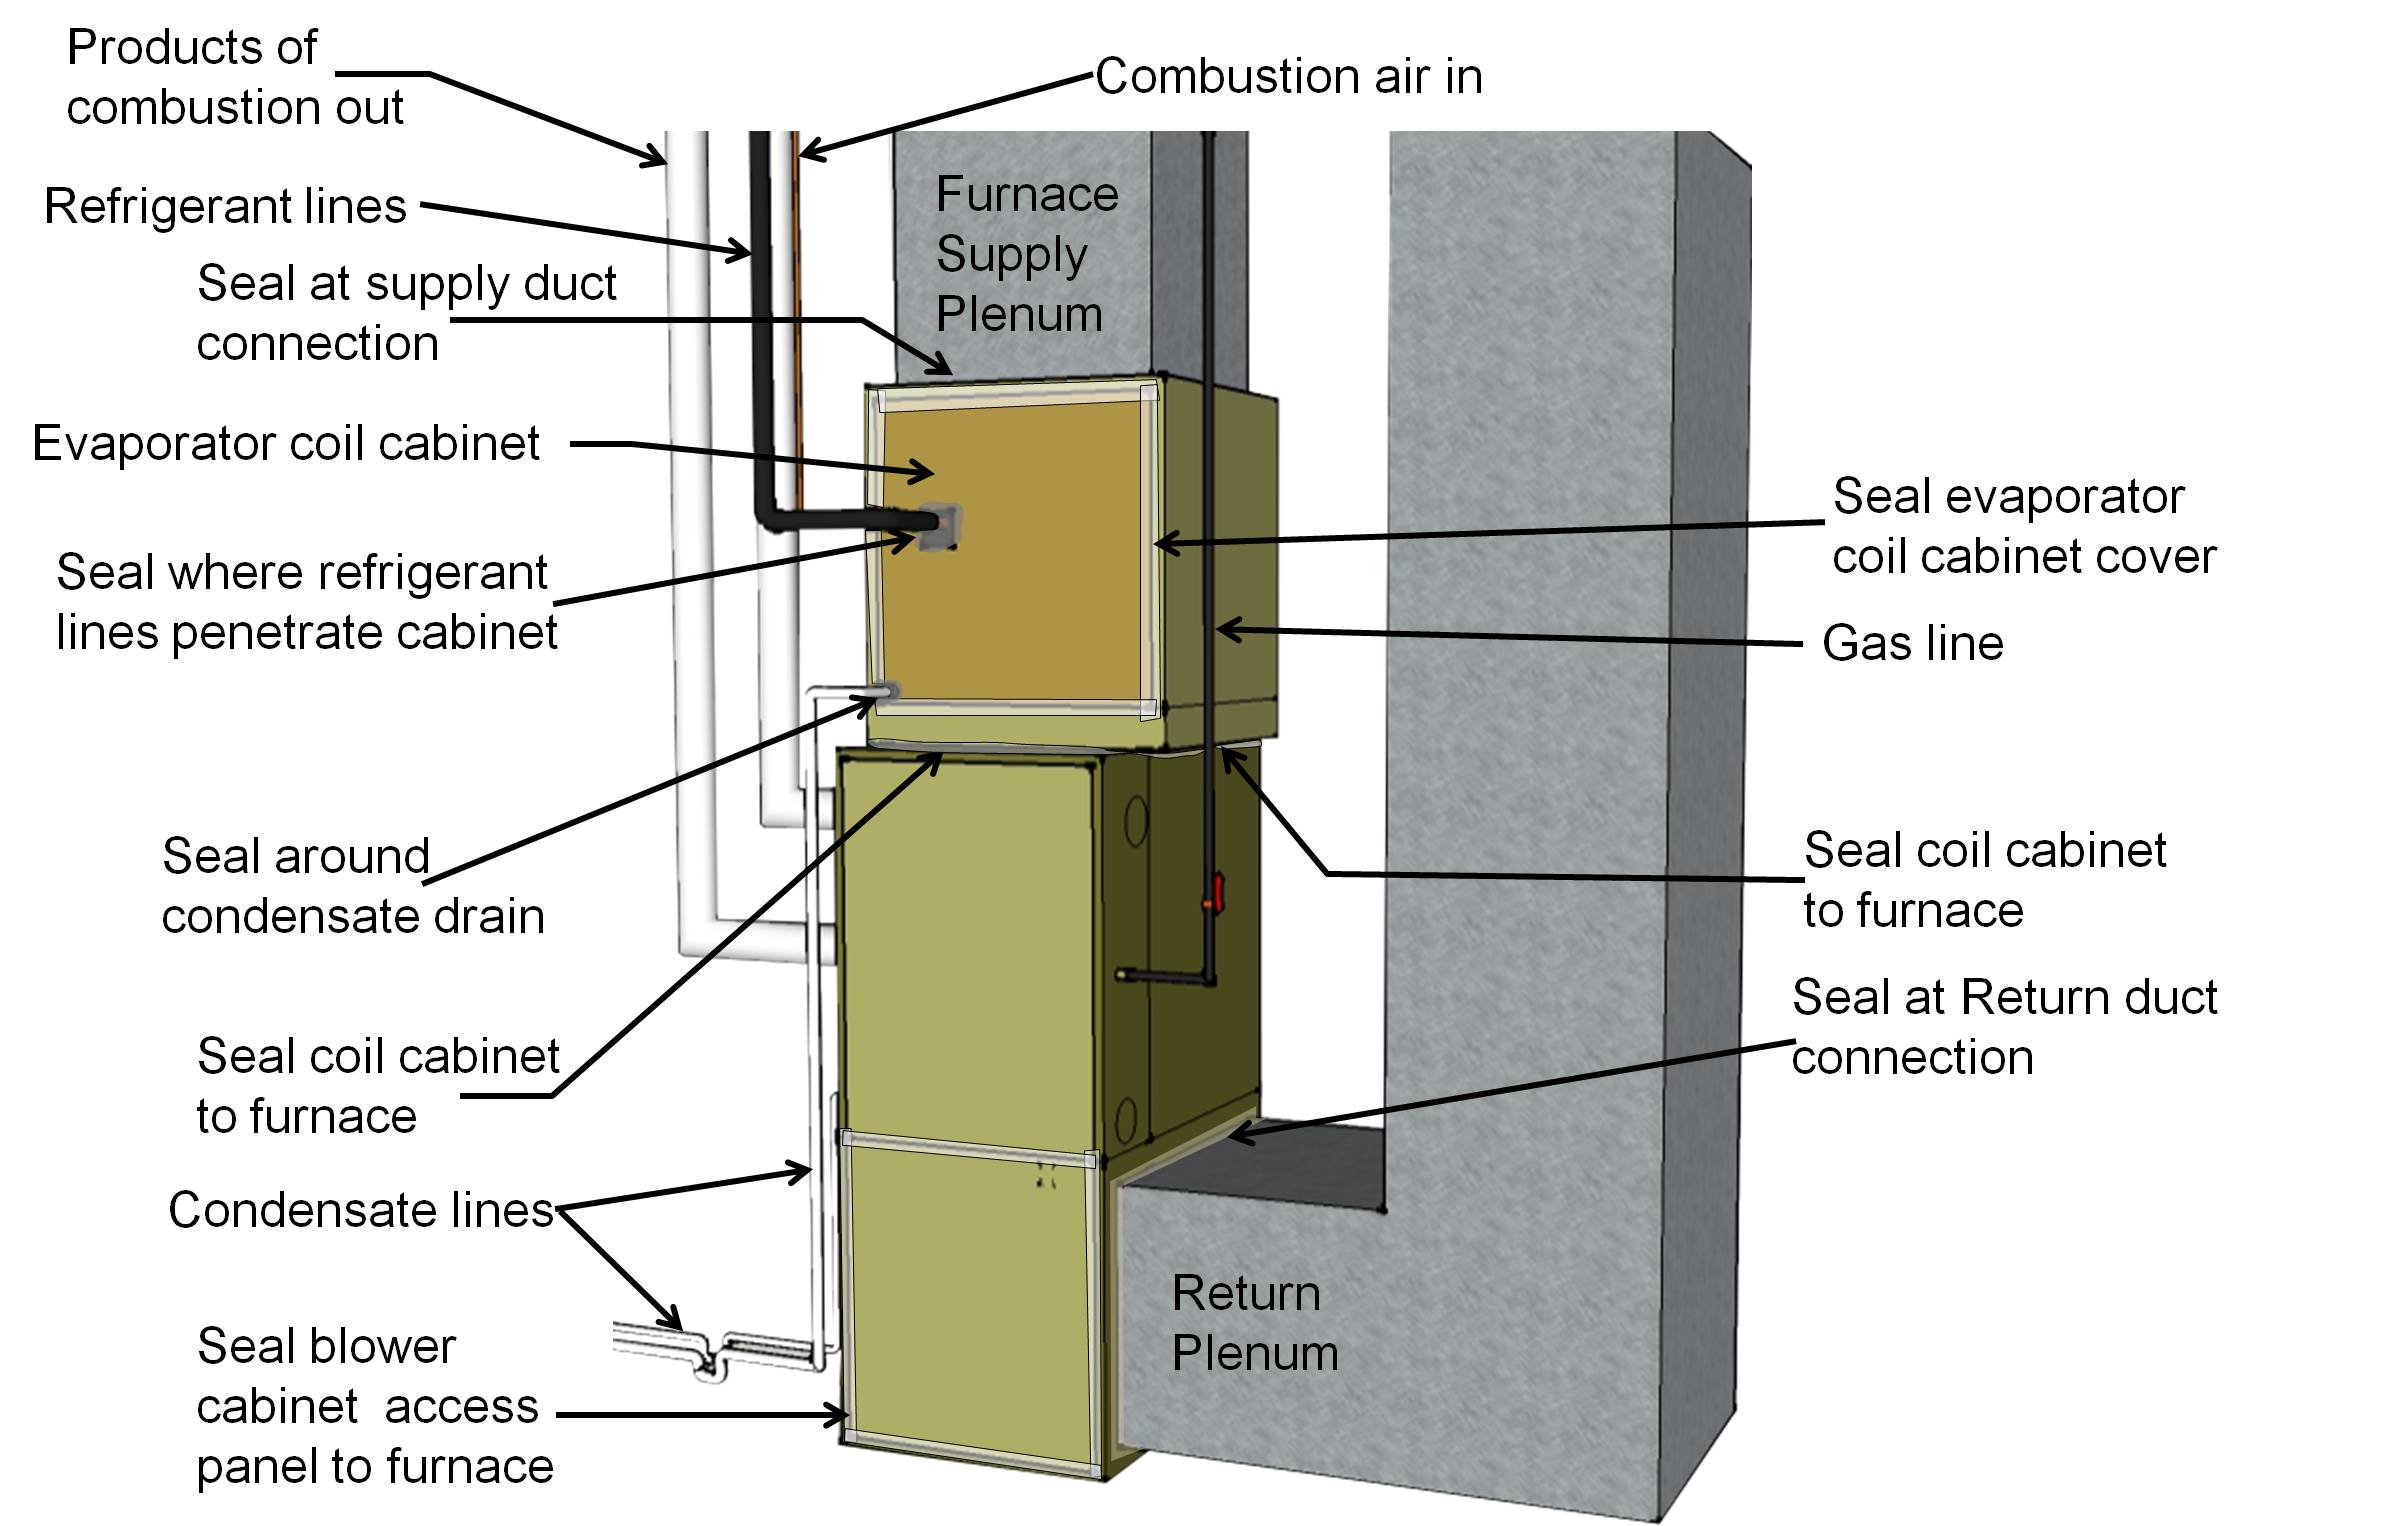
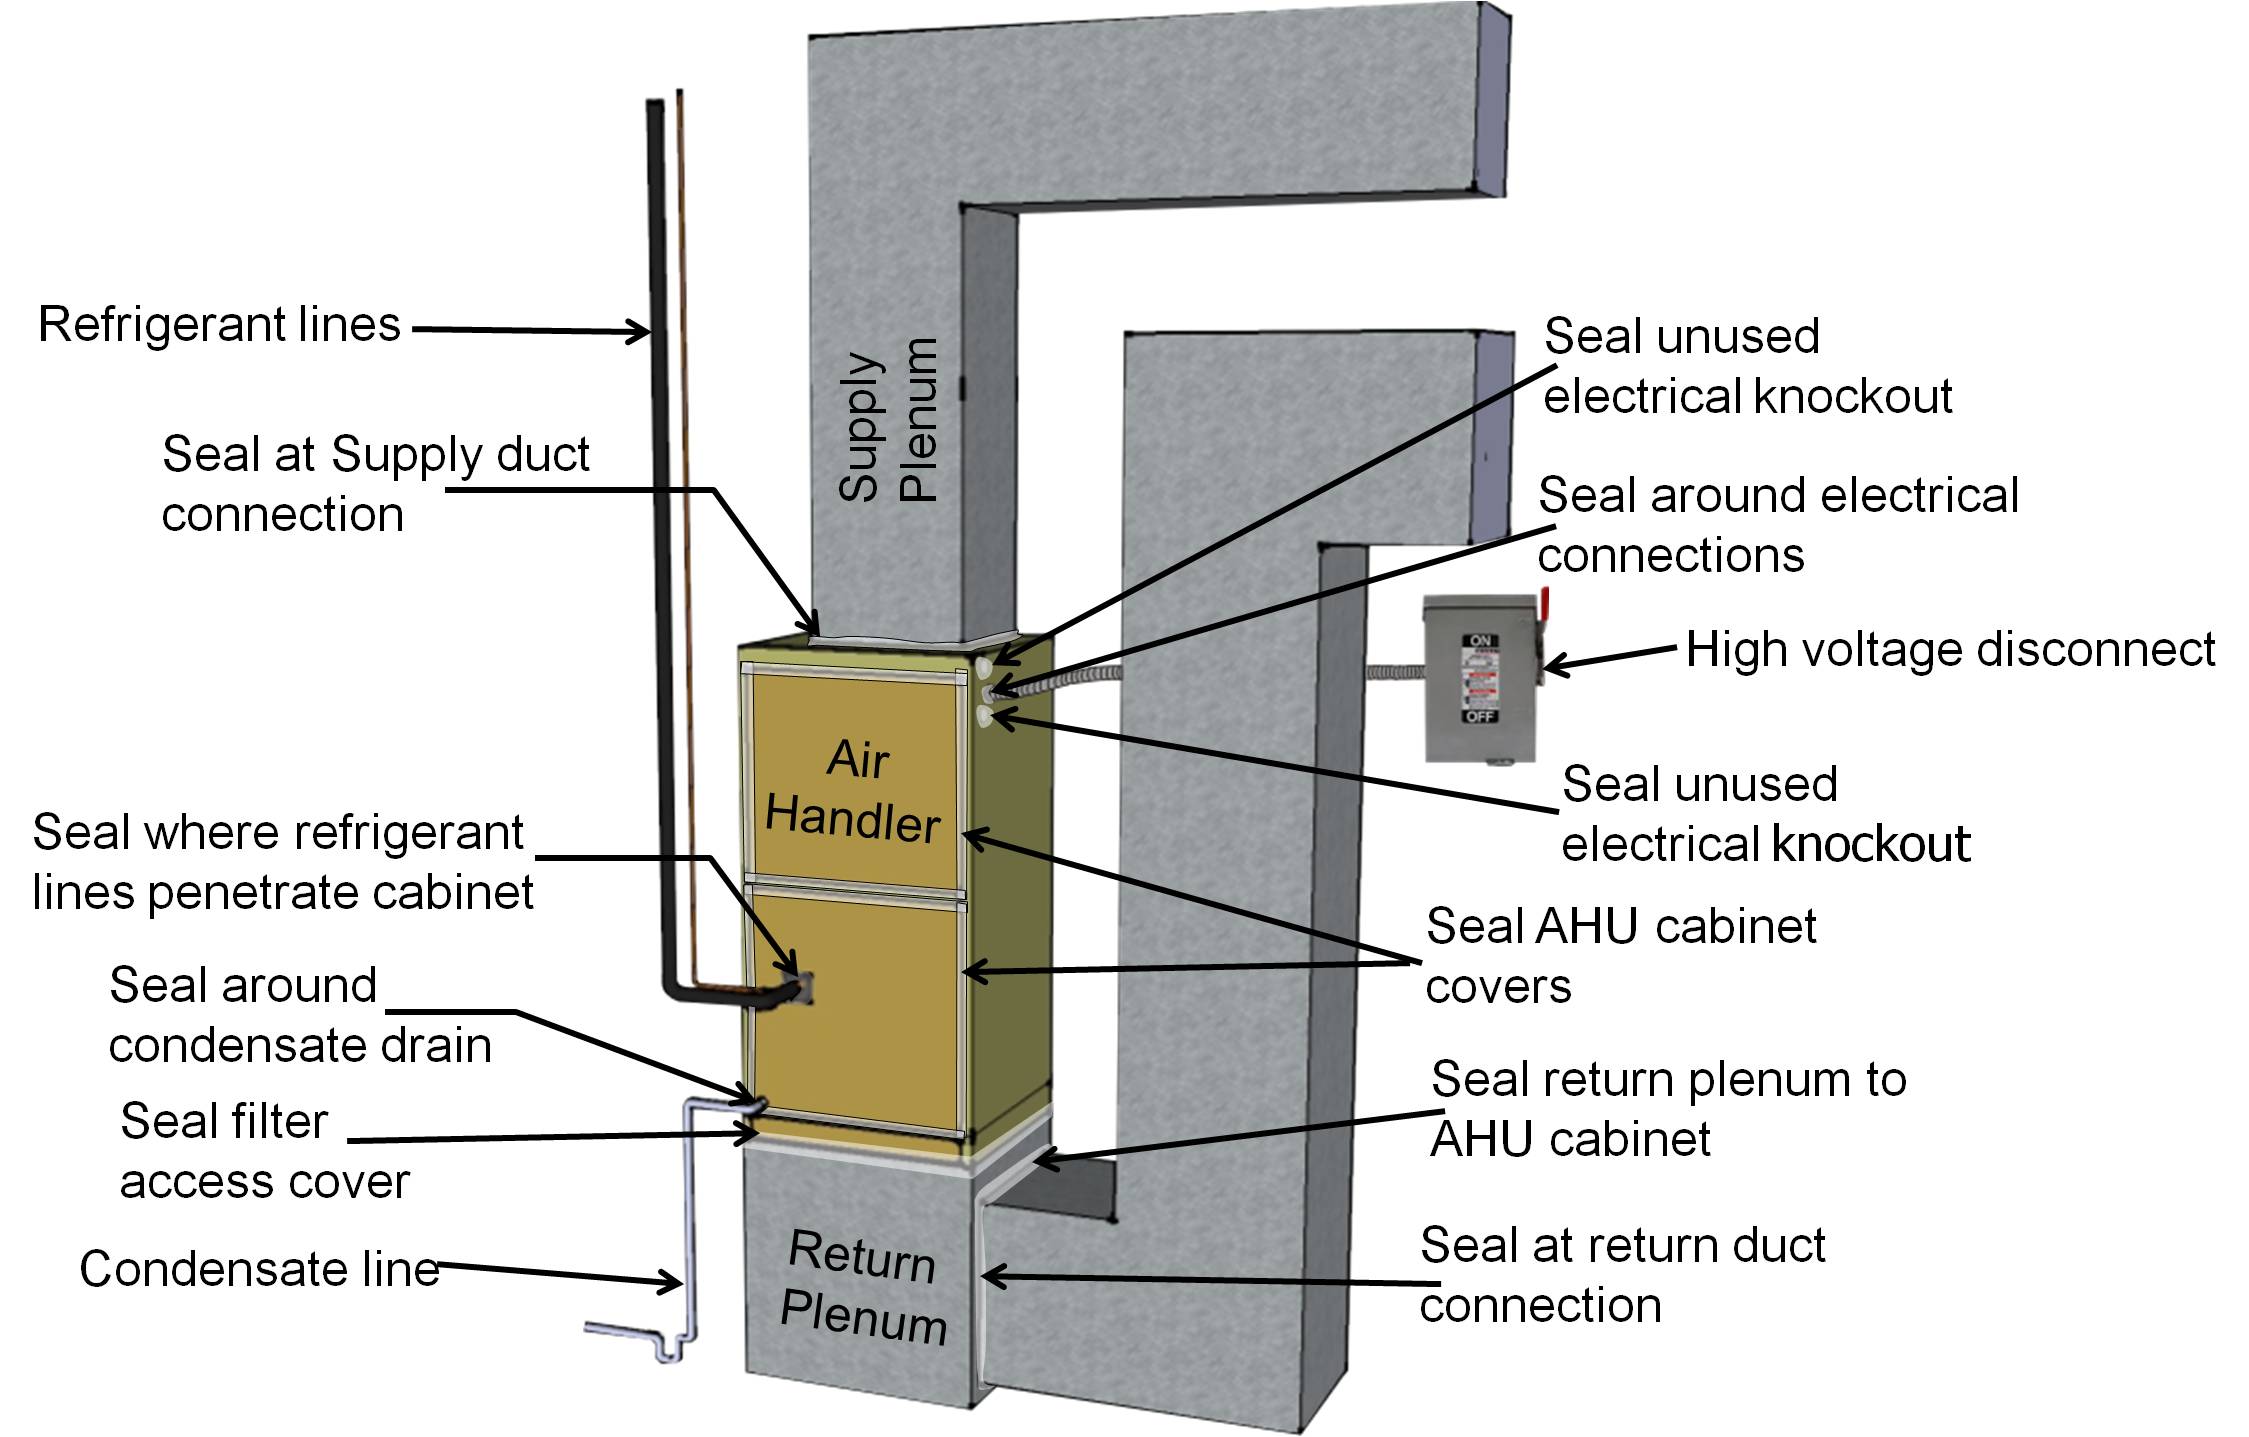
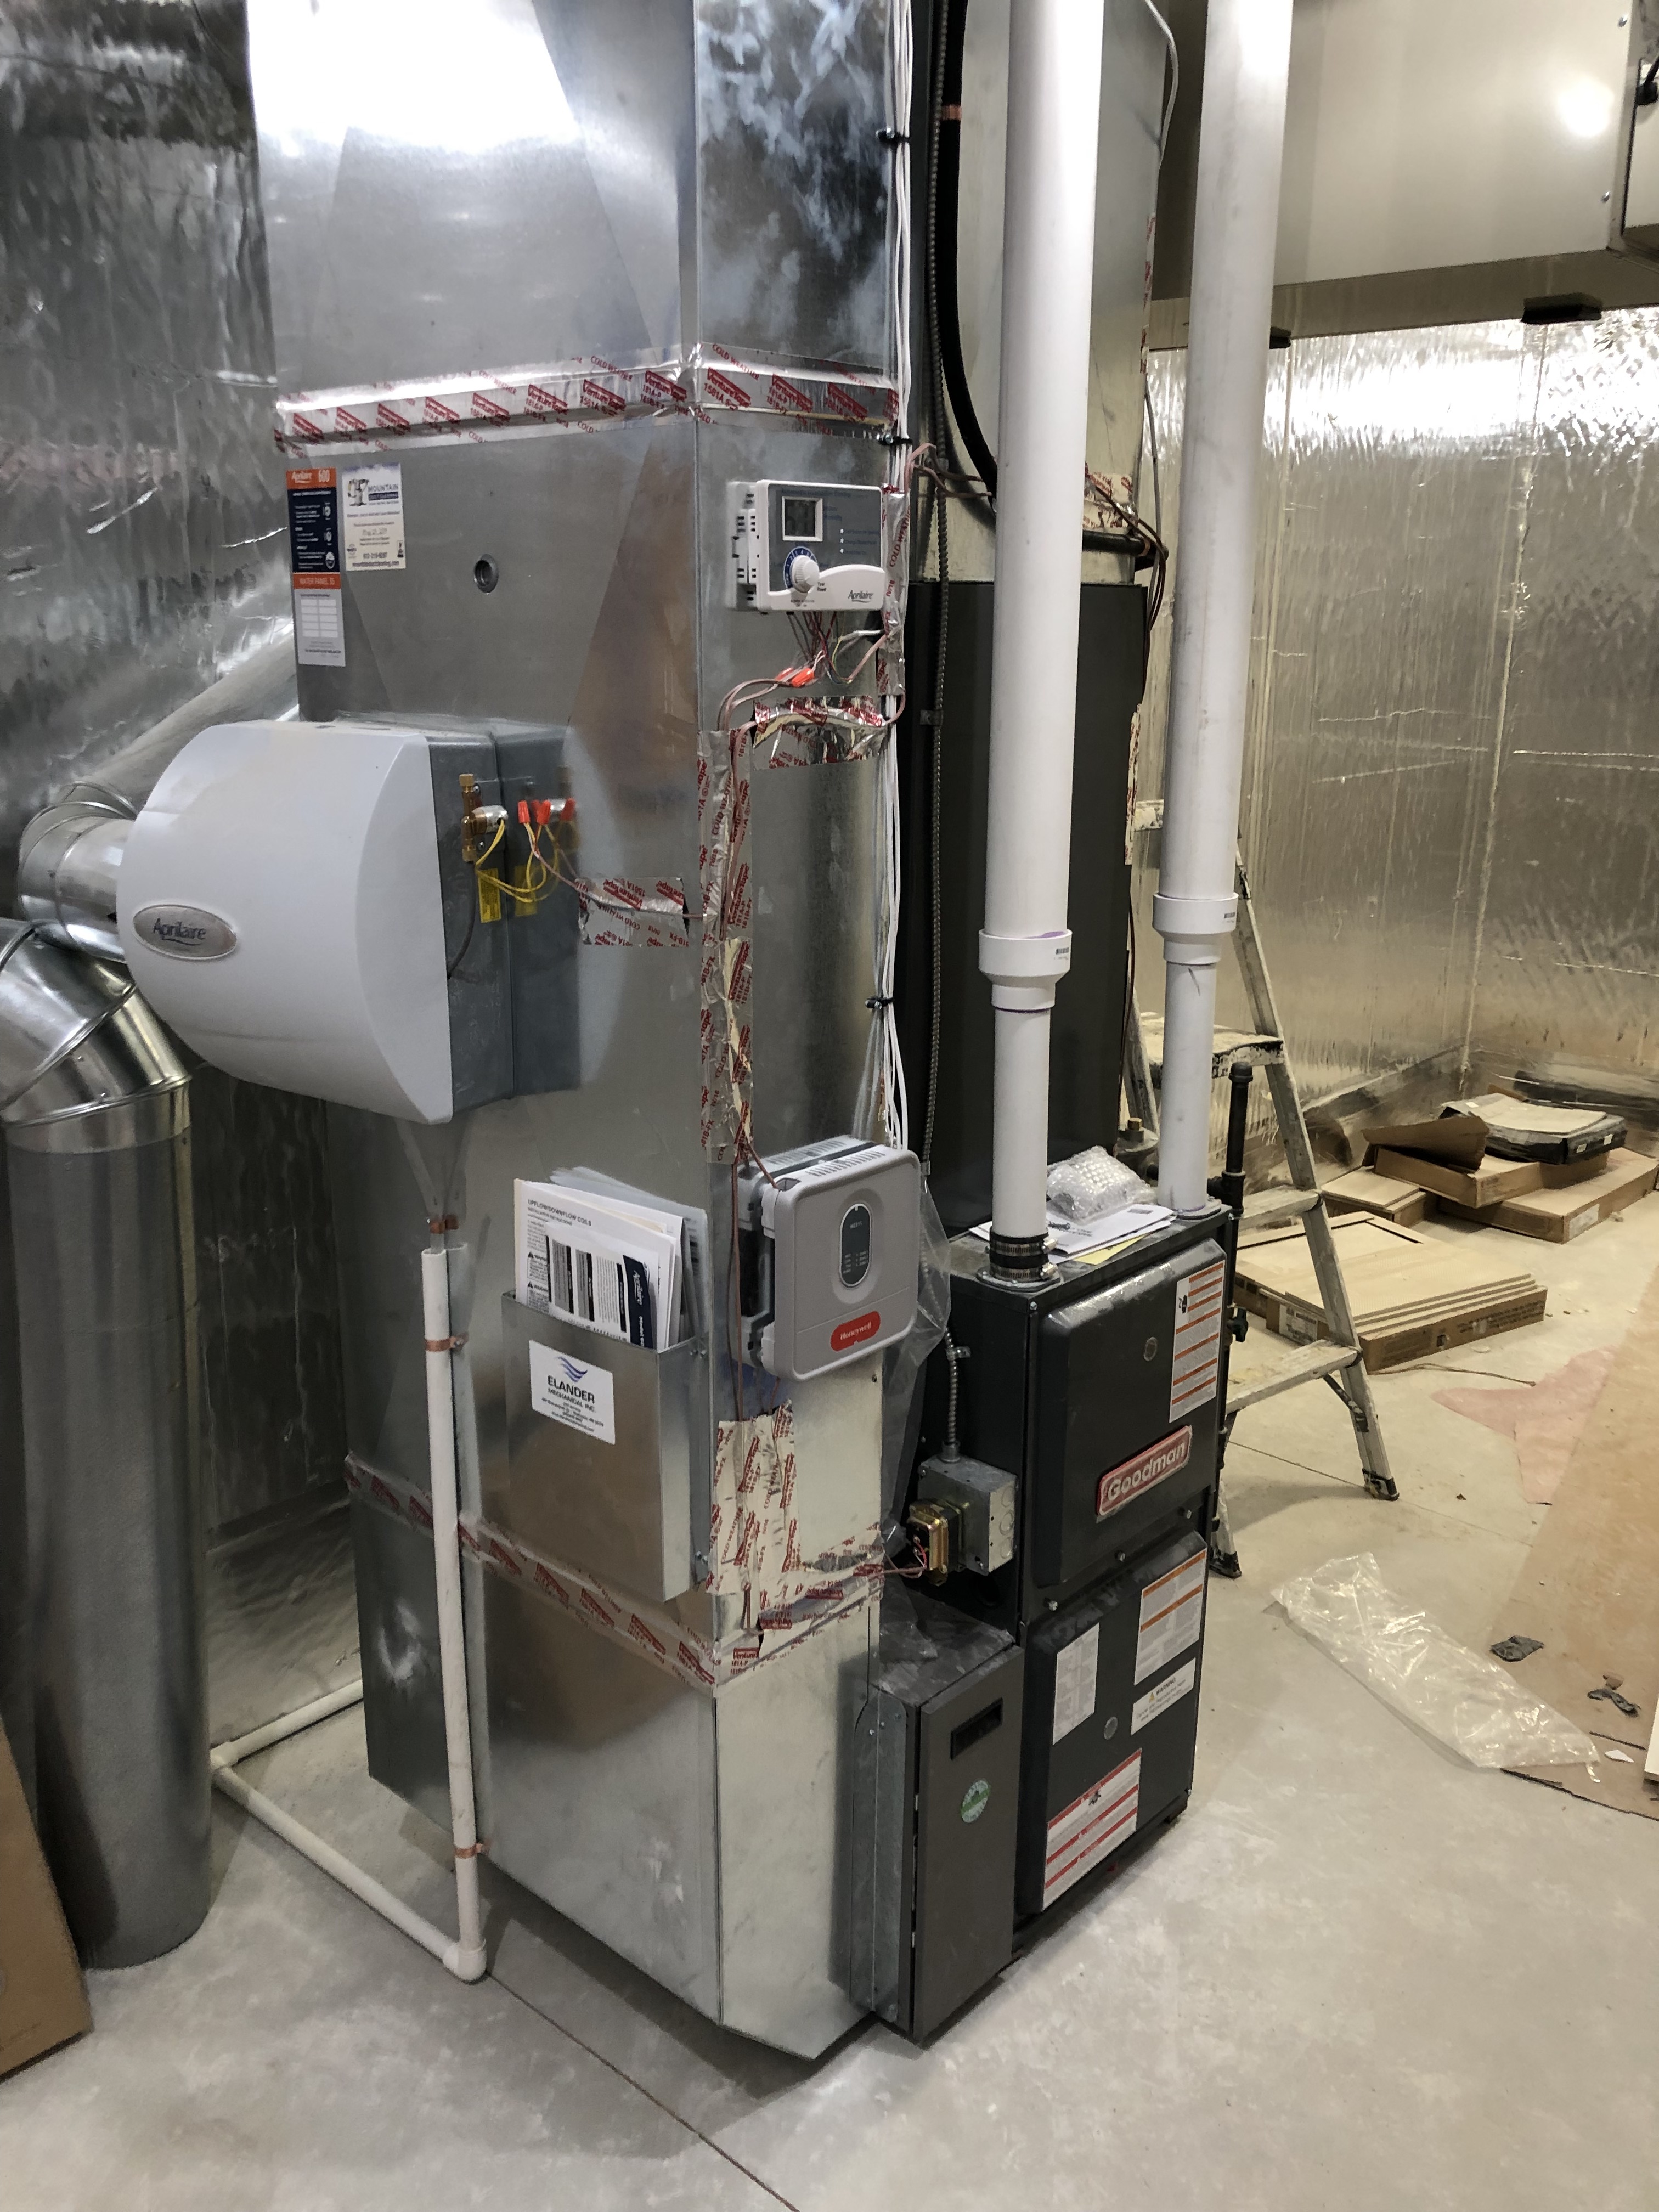
1. Identify areas to seal.
Figure 1 shows the parts of a high-efficiency gas furnace including many areas of the furnace cabinet and supply and return plenums that can be air sealed. Figure 2 shows the parts of a central heat pump air handler that can be air sealed.
Source
Source
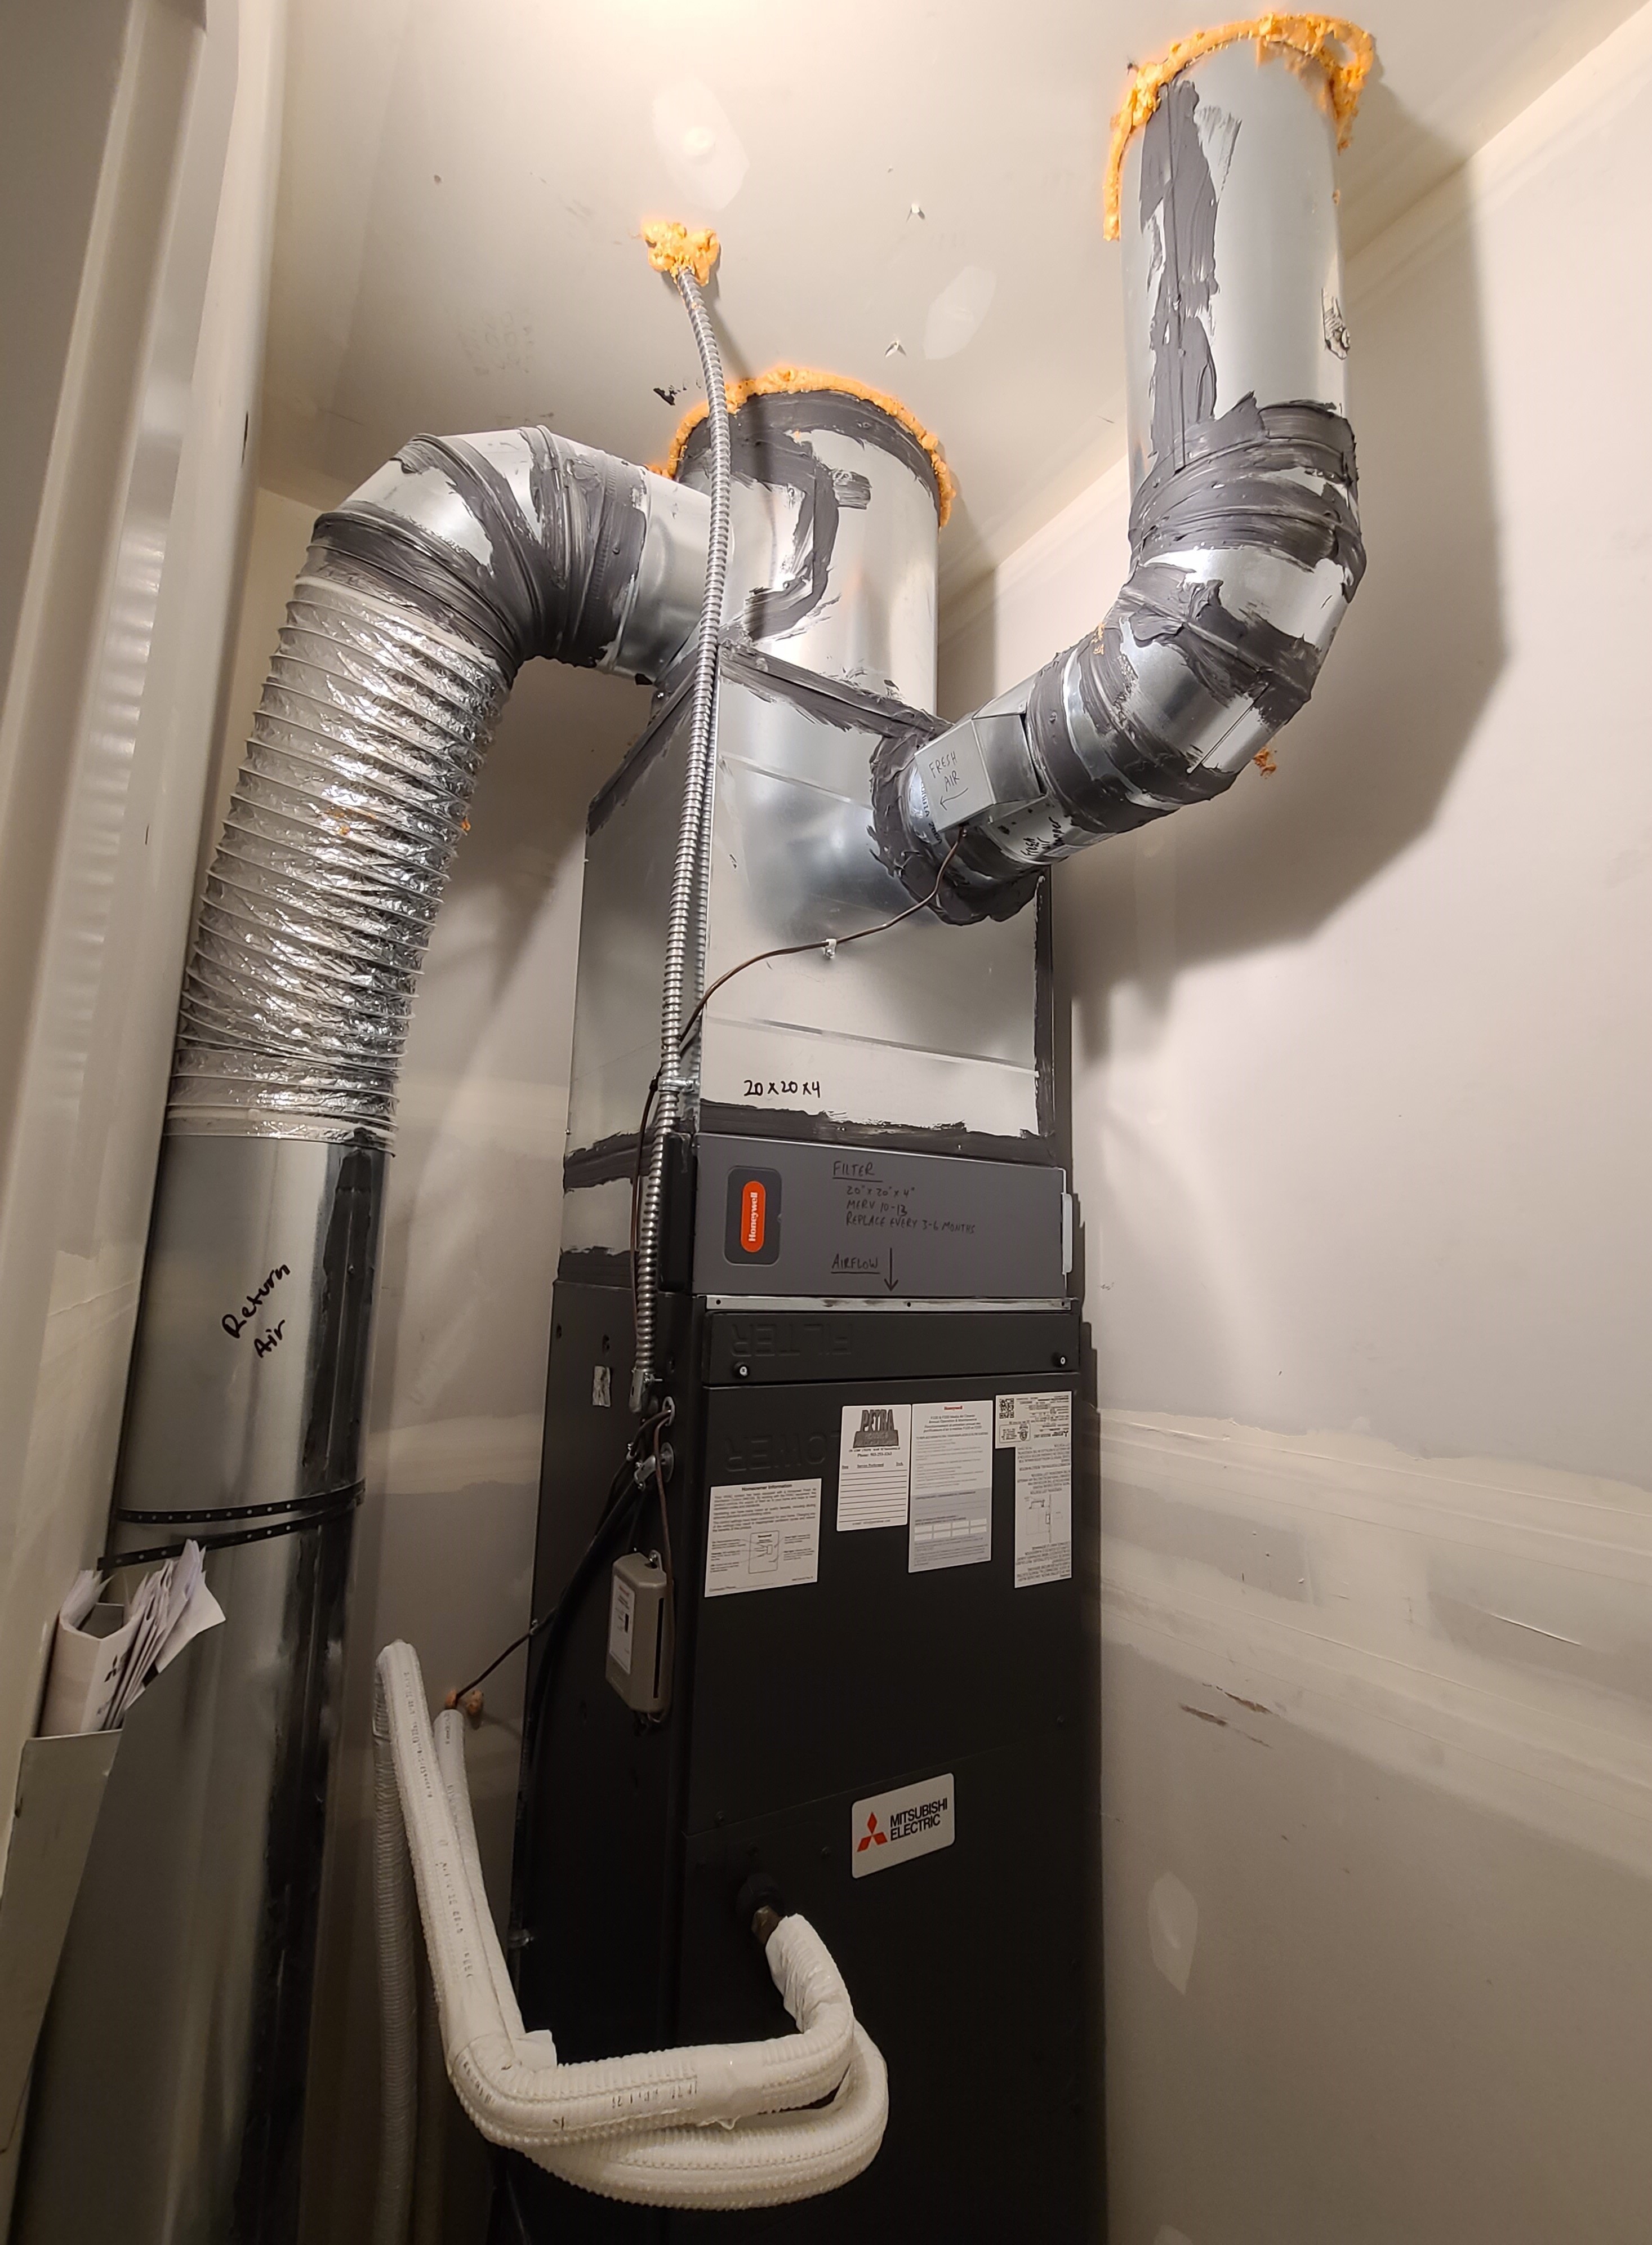
2. Air seal seams.
Use either mastic or an approved metal tape to air seal the seams in the cabinet. Mastic is a thick, paste-like sealant that is applied with a brush or trowel and dries to form a flexible, airtight barrier (Figure 3). For seams wider than 3/8 inch, use fiberglass mesh tape and cover with mastic, or use metal tape (Figure 4). Metal tapes should carry a designation such as Underwriters Laboratories (UL) 181. Ordinary duct tape is not recommended because it will dry out and fall off.
- Seal the junction between the evaporator coil cabinet and the furnace cabinet.
- Seal the seams between the supply plenum and the evaporator coil cabinet.
- Seal all seams between the return plenum and the furnace cabinet.
- Seal all fixed seams in the cabinet.
- Seal filter box seams and cabinet door seams with duct tape or foil tape that is easy to cut so the filter slot or cabinet door can be easily accessed.
Source
Source
3. Seal conduit and wiring holes.
- Seal around conduit and wiring where it comes through holes in the cabinet with sealing putty.
- Seal over all unused conduit knockouts with UL-listed tape or mastic.