

Introduction
Caulking the base of your walls is a simple way to reduce air leakage, reduce drafts, improve comfort, and increase the energy efficiency of your home.
Why
The seam where the bottom board (bottom plate) of a framed wall meets the subfloor or floor slab is especially susceptible to air leakage due to the stack effect, which naturally pulls exterior air in through the lower part of the building and out through the top. In newer homes, a strip of foam fabric is installed between the baseplate and the slab to serve as a capillary break and air sealer but in older homes this may not have been installed. Sealing the bottom plate with caulk or canned spray foam is a simple task that can significantly improve your home’s performance and comfort. It can also help keep out dust and bugs.
What You'll Need
- Vacuum or shop vac
- Caulk and caulk gun
- Canned spray foam
1. Check the bottom plates for air leakage.
If you want to know if you have air leakage at the bottom plates, you can depressurize your house by closing all exterior doors and windows, opening all interior doors, and turning on all of the exhaust fans in your house. Then walk around and feel along the base trim to see if you feel air coming in. Another tell-tale sign that you have air leakage at the sill plates, if you have light-colored carpets - do they appear dark along the edge of the walls (even when you vacuum along the walls with a wand attachment)? That dark border means your light carpets are “filtering” the dust out of the air as it leaks into your home through the gaps under the sill plate.
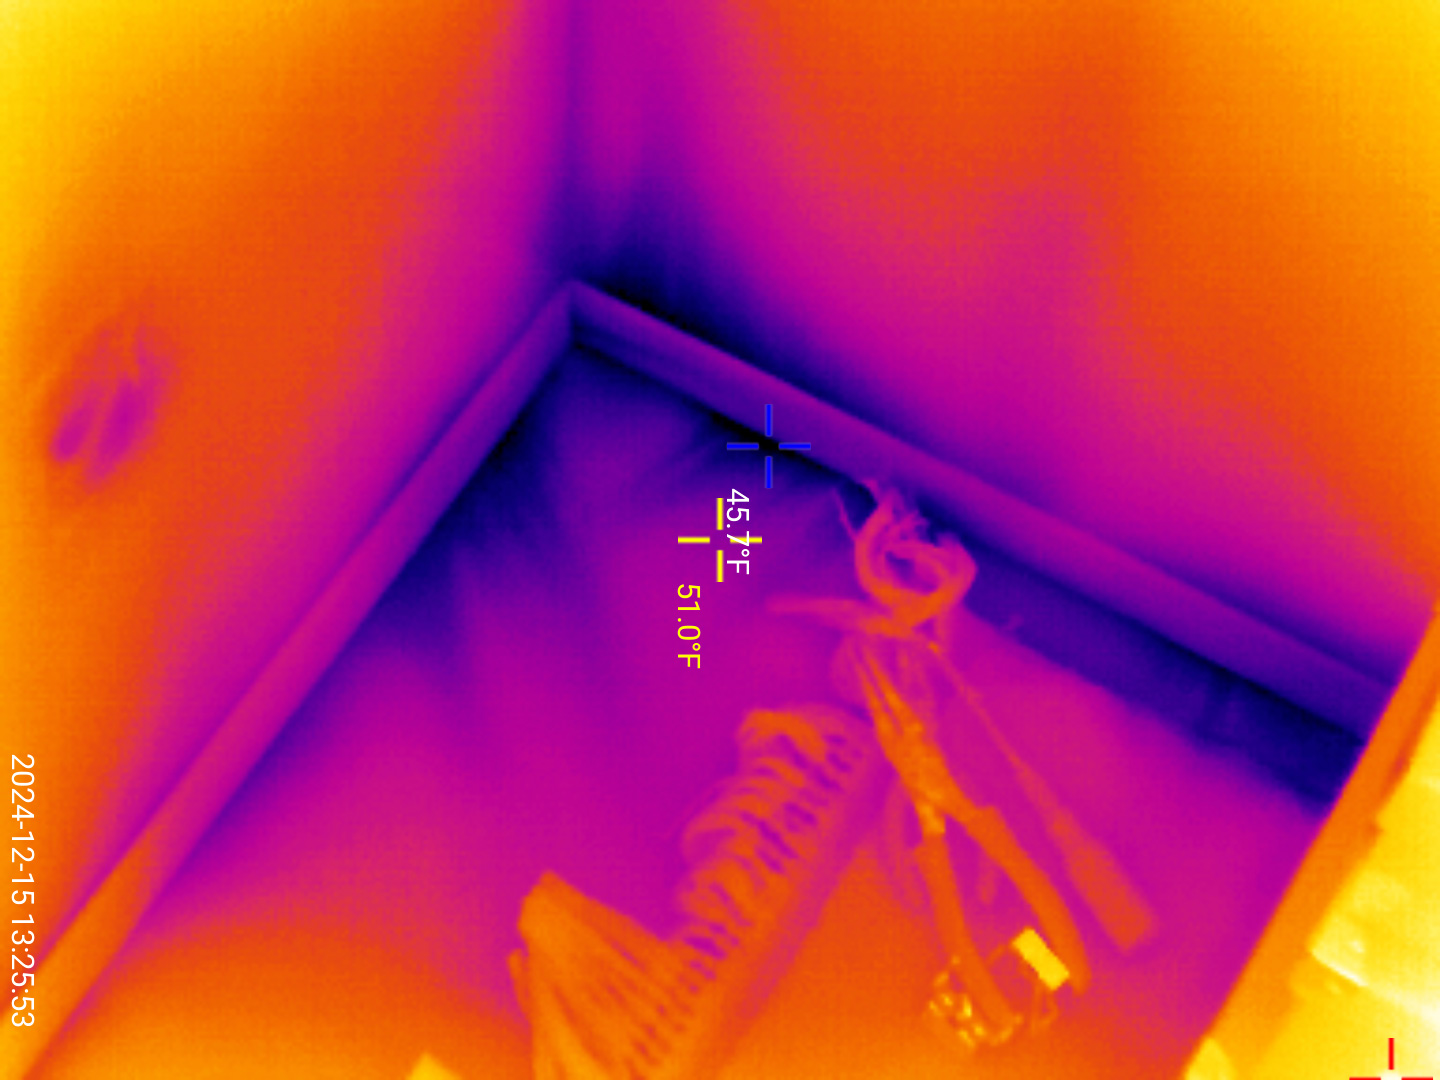
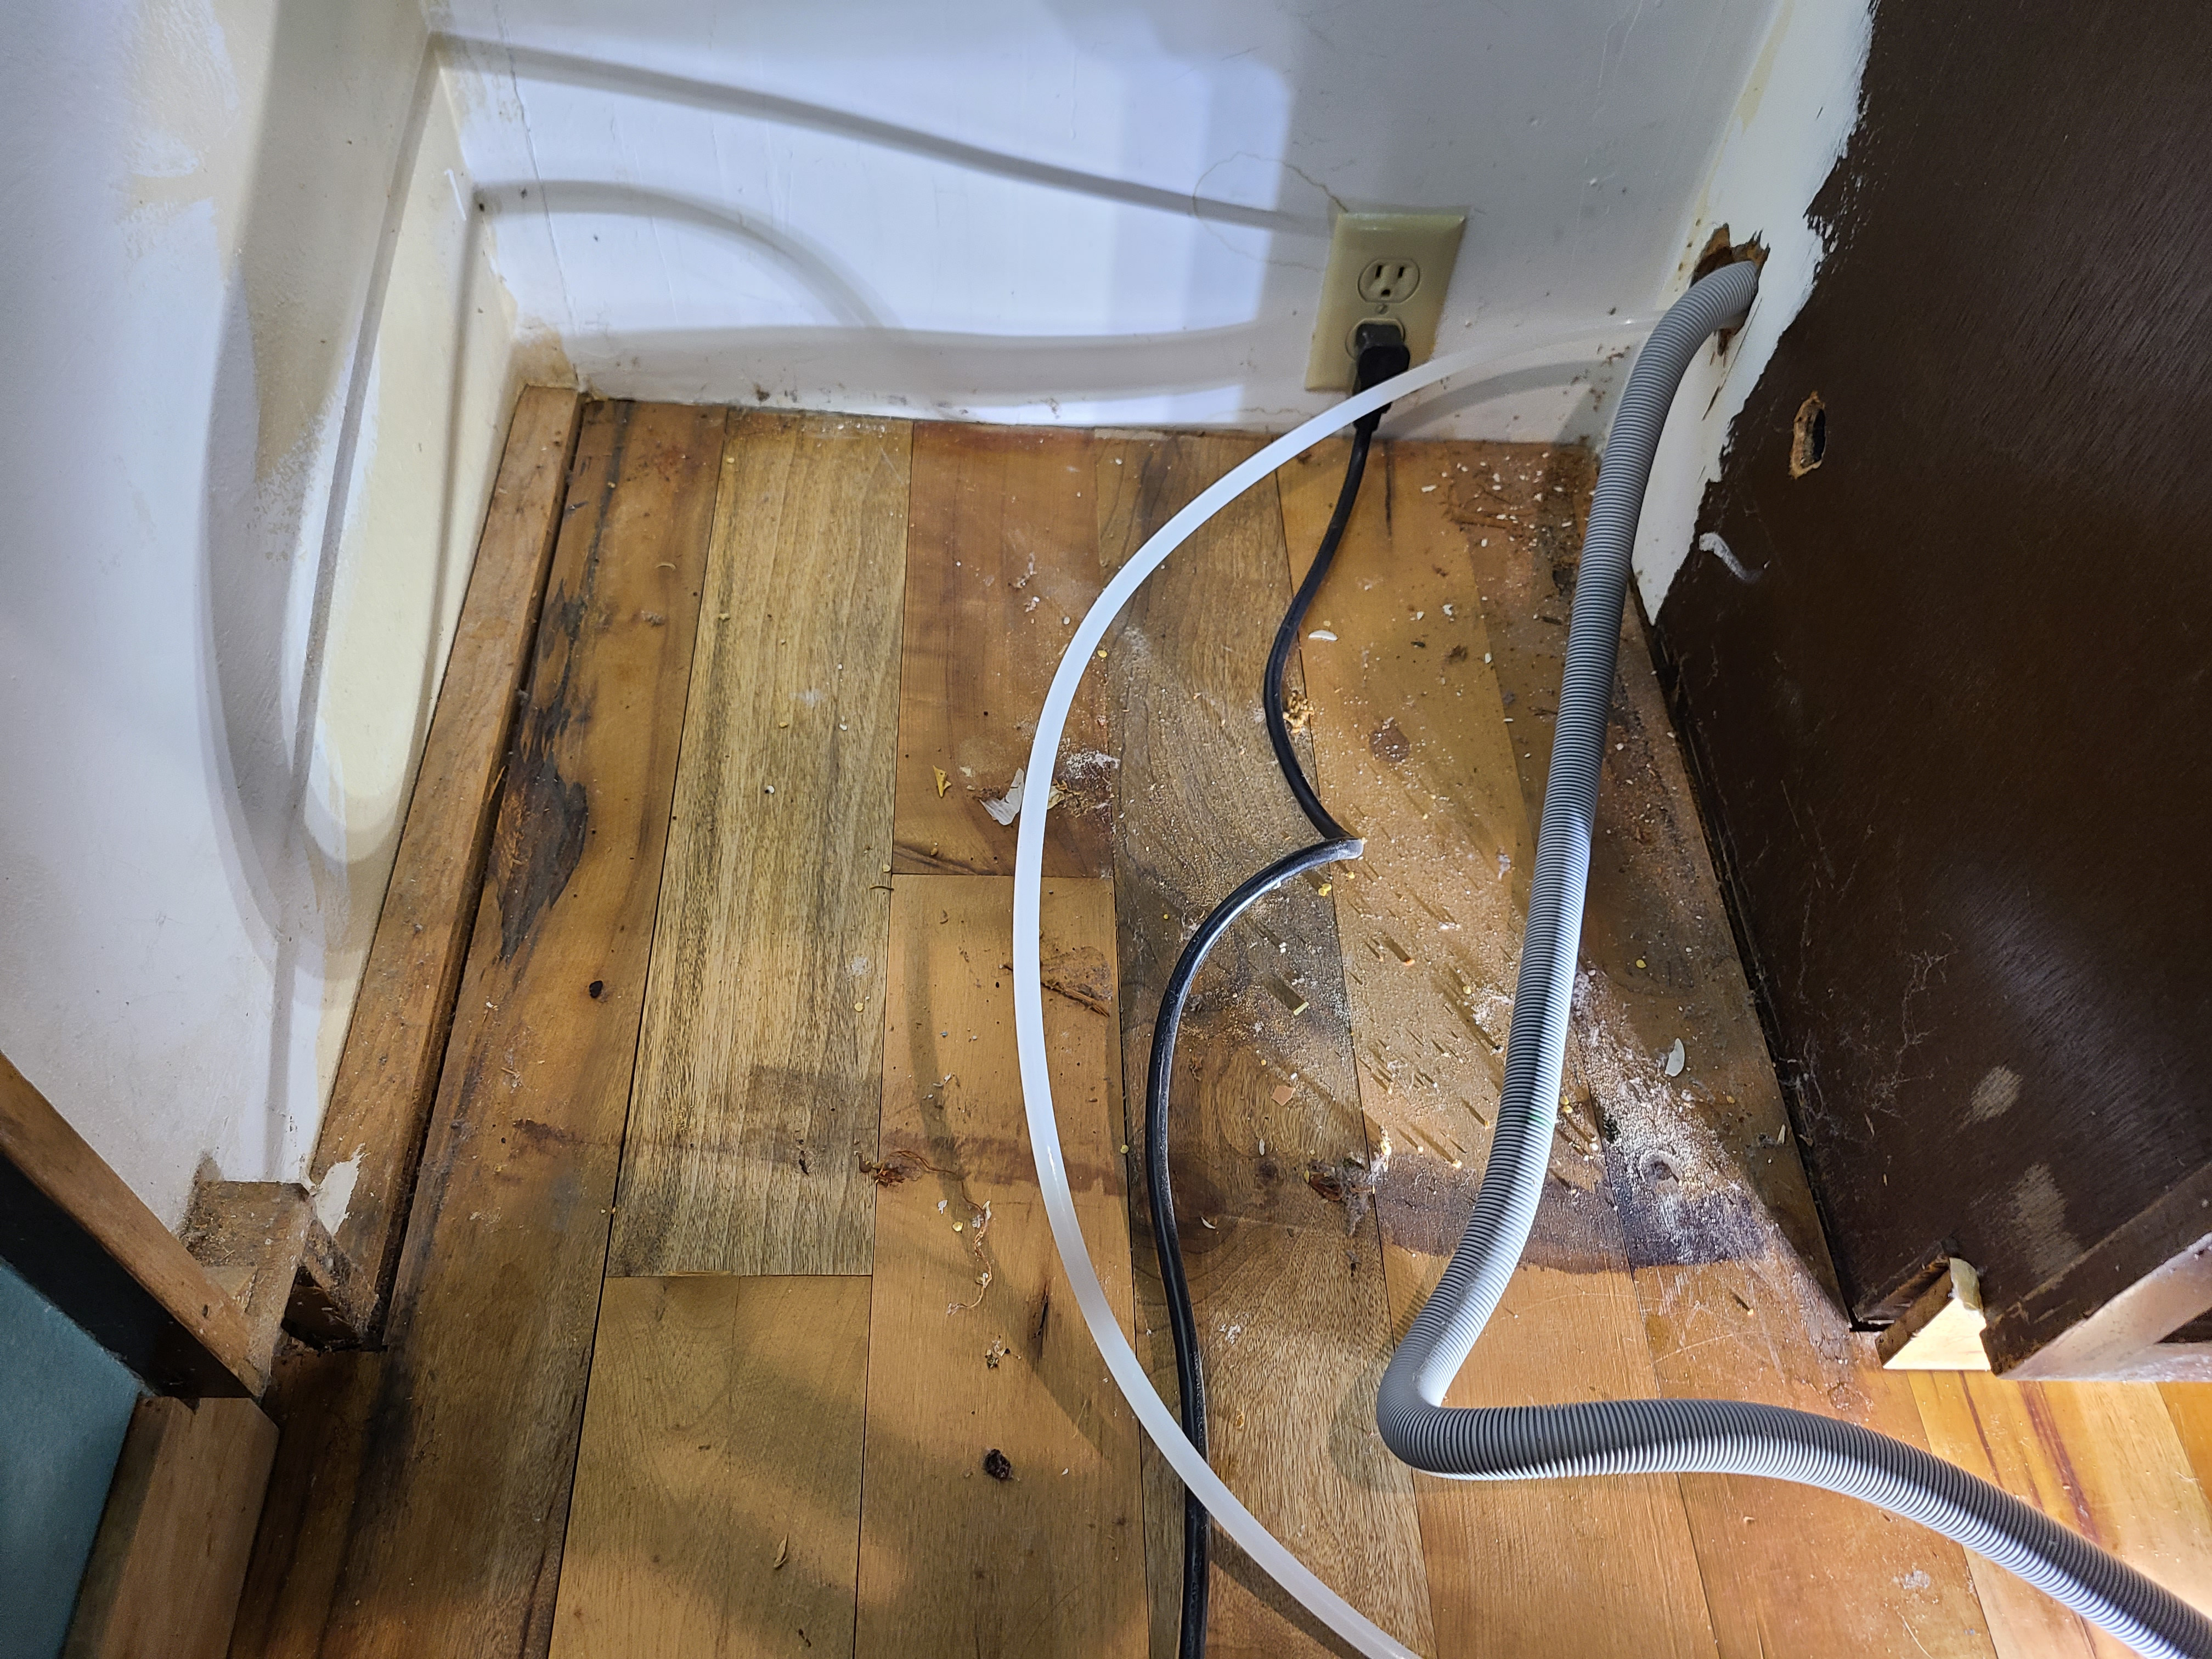
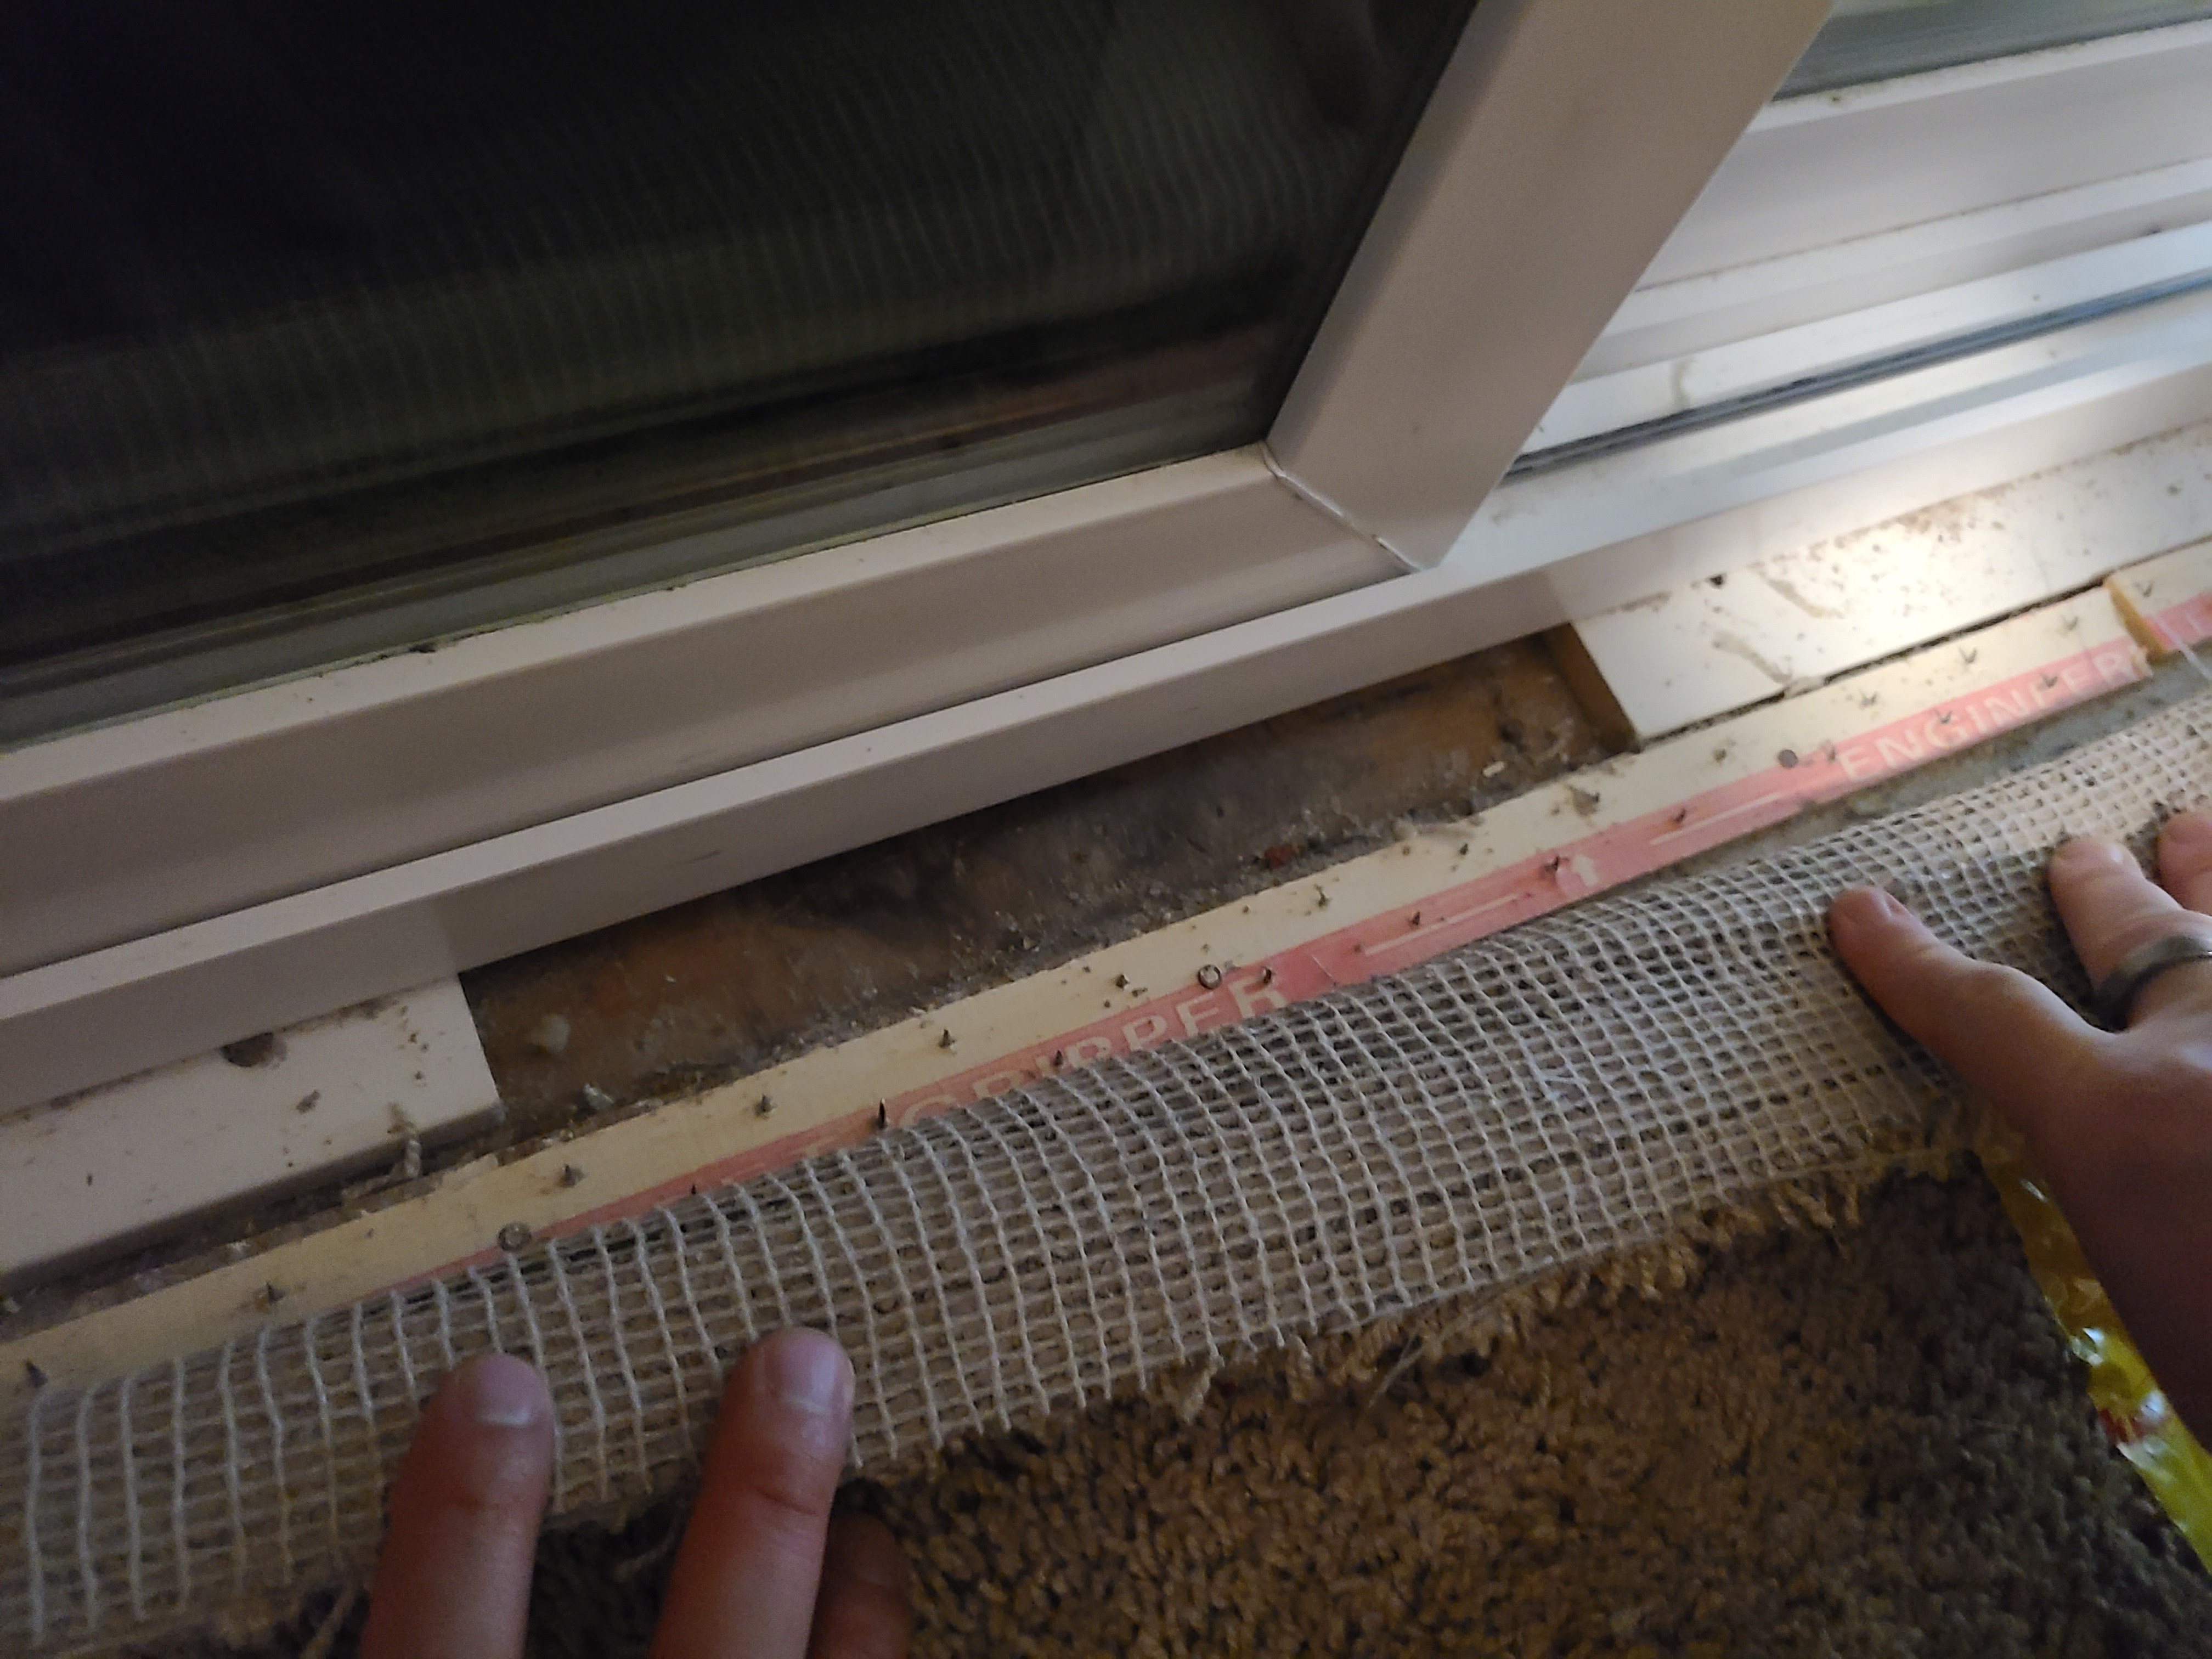
The infrared camera image in Figure 1 clearly shows air leakage along the sill plates of a room. The dark areas indicate cold spots and the streaks indicate air leakage where cold air is streaking into the room. As the IR image shows, on a winter day cold air is entering the home through the sill plates and chilling the floor to 45°F. Pulling out appliances will often reveal holes, air leaks, and gaps under the sill plates (Figure 2). Sliding glass doors are another place where large air leaks can occur between shims under the door frame (Figure 3).
Source
Source
Source
2. Remove the Trim.
Use a pry bar to carefully remove the baseboard trim at the base of the walls. If needed, use a hammer to tap in the pry bar. Work carefully, tapping in and lifting the pry bar along the edge of the trim a little at a time to avoid splitting the trim. You can slide a piece of cardboard or wide putty knife blade between the pry bar and the wall to keep the pry bar head from damaging the wall. If the trim-to-wall seam was caulked or painted over, use a sharp utility knife or flexible putty knife to score the caulk or paint at the seam before attempting to pry the trim off. Set the trim aside to be re-installed later. You may want to number the trim pieces clockwise around the room with a pencil on the backside of the trim to assist you with reassembly later.
Pull back carpet past the tack strips if carpet is installed in the room.
If the baseboard trim is glued to the wall or to door trim and removal proves difficult, you may need to leave the baseboard trim in place and provide air sealing by caulking the seams where the top of the trim meets the wall and where the base of the trim meets the floor. The trim-to-floor seam can be sealed if it is wood, tile, or vinyl. If the floor is carpeted, leave the carpet in place and don’t attempt to caulk any baseboard-to-carpet seams.
3. Clean the seam.
Vacuum where the walls meet the floor to remove all loose debris. If there is stubborn debris that won’t vacuum up, you can clean the flooring at the seam with a rag dipped in warm water with dish soap. Allow the area to air dry completely before caulking or spray foaming.
4. Seal seams.
To seal the seams, apply canned polyurethane spray foam or caulk.
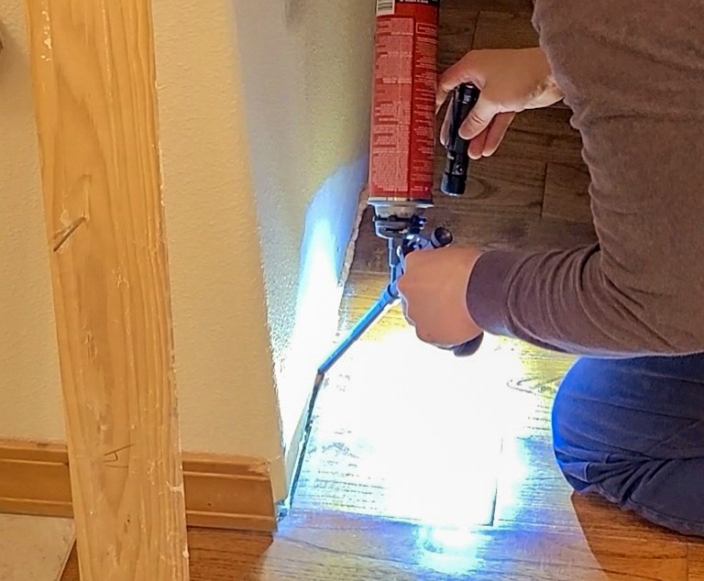
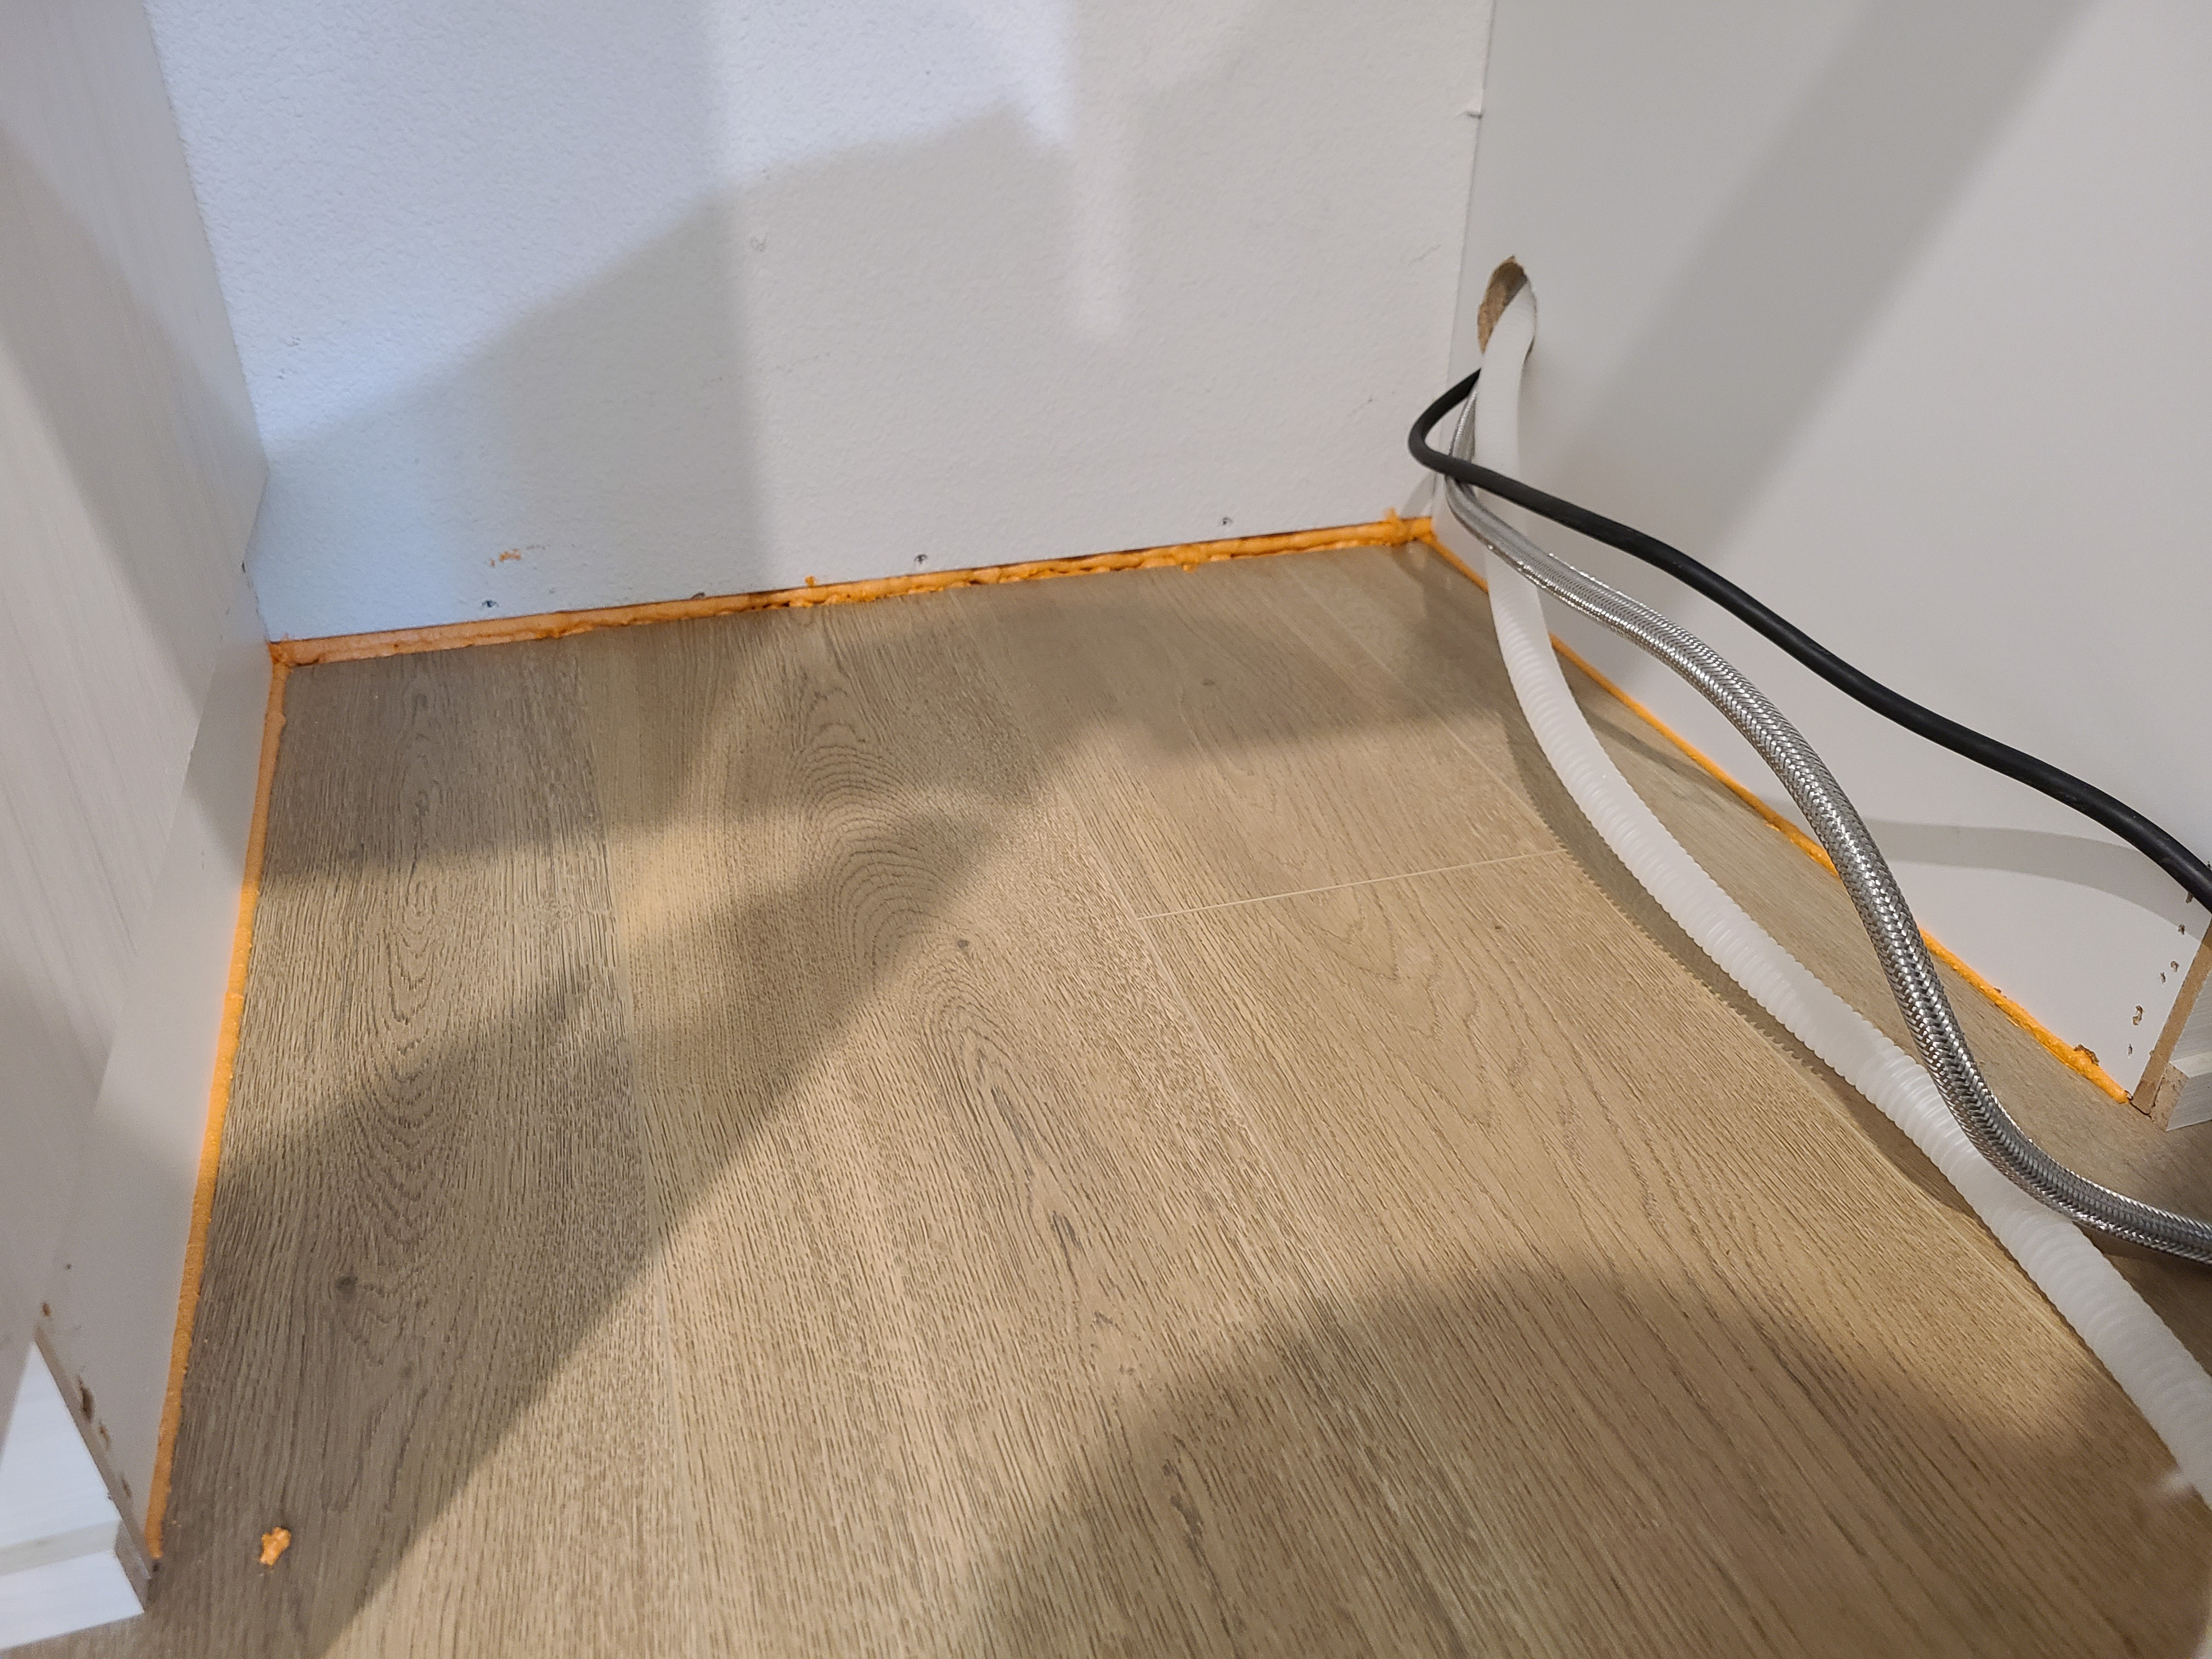
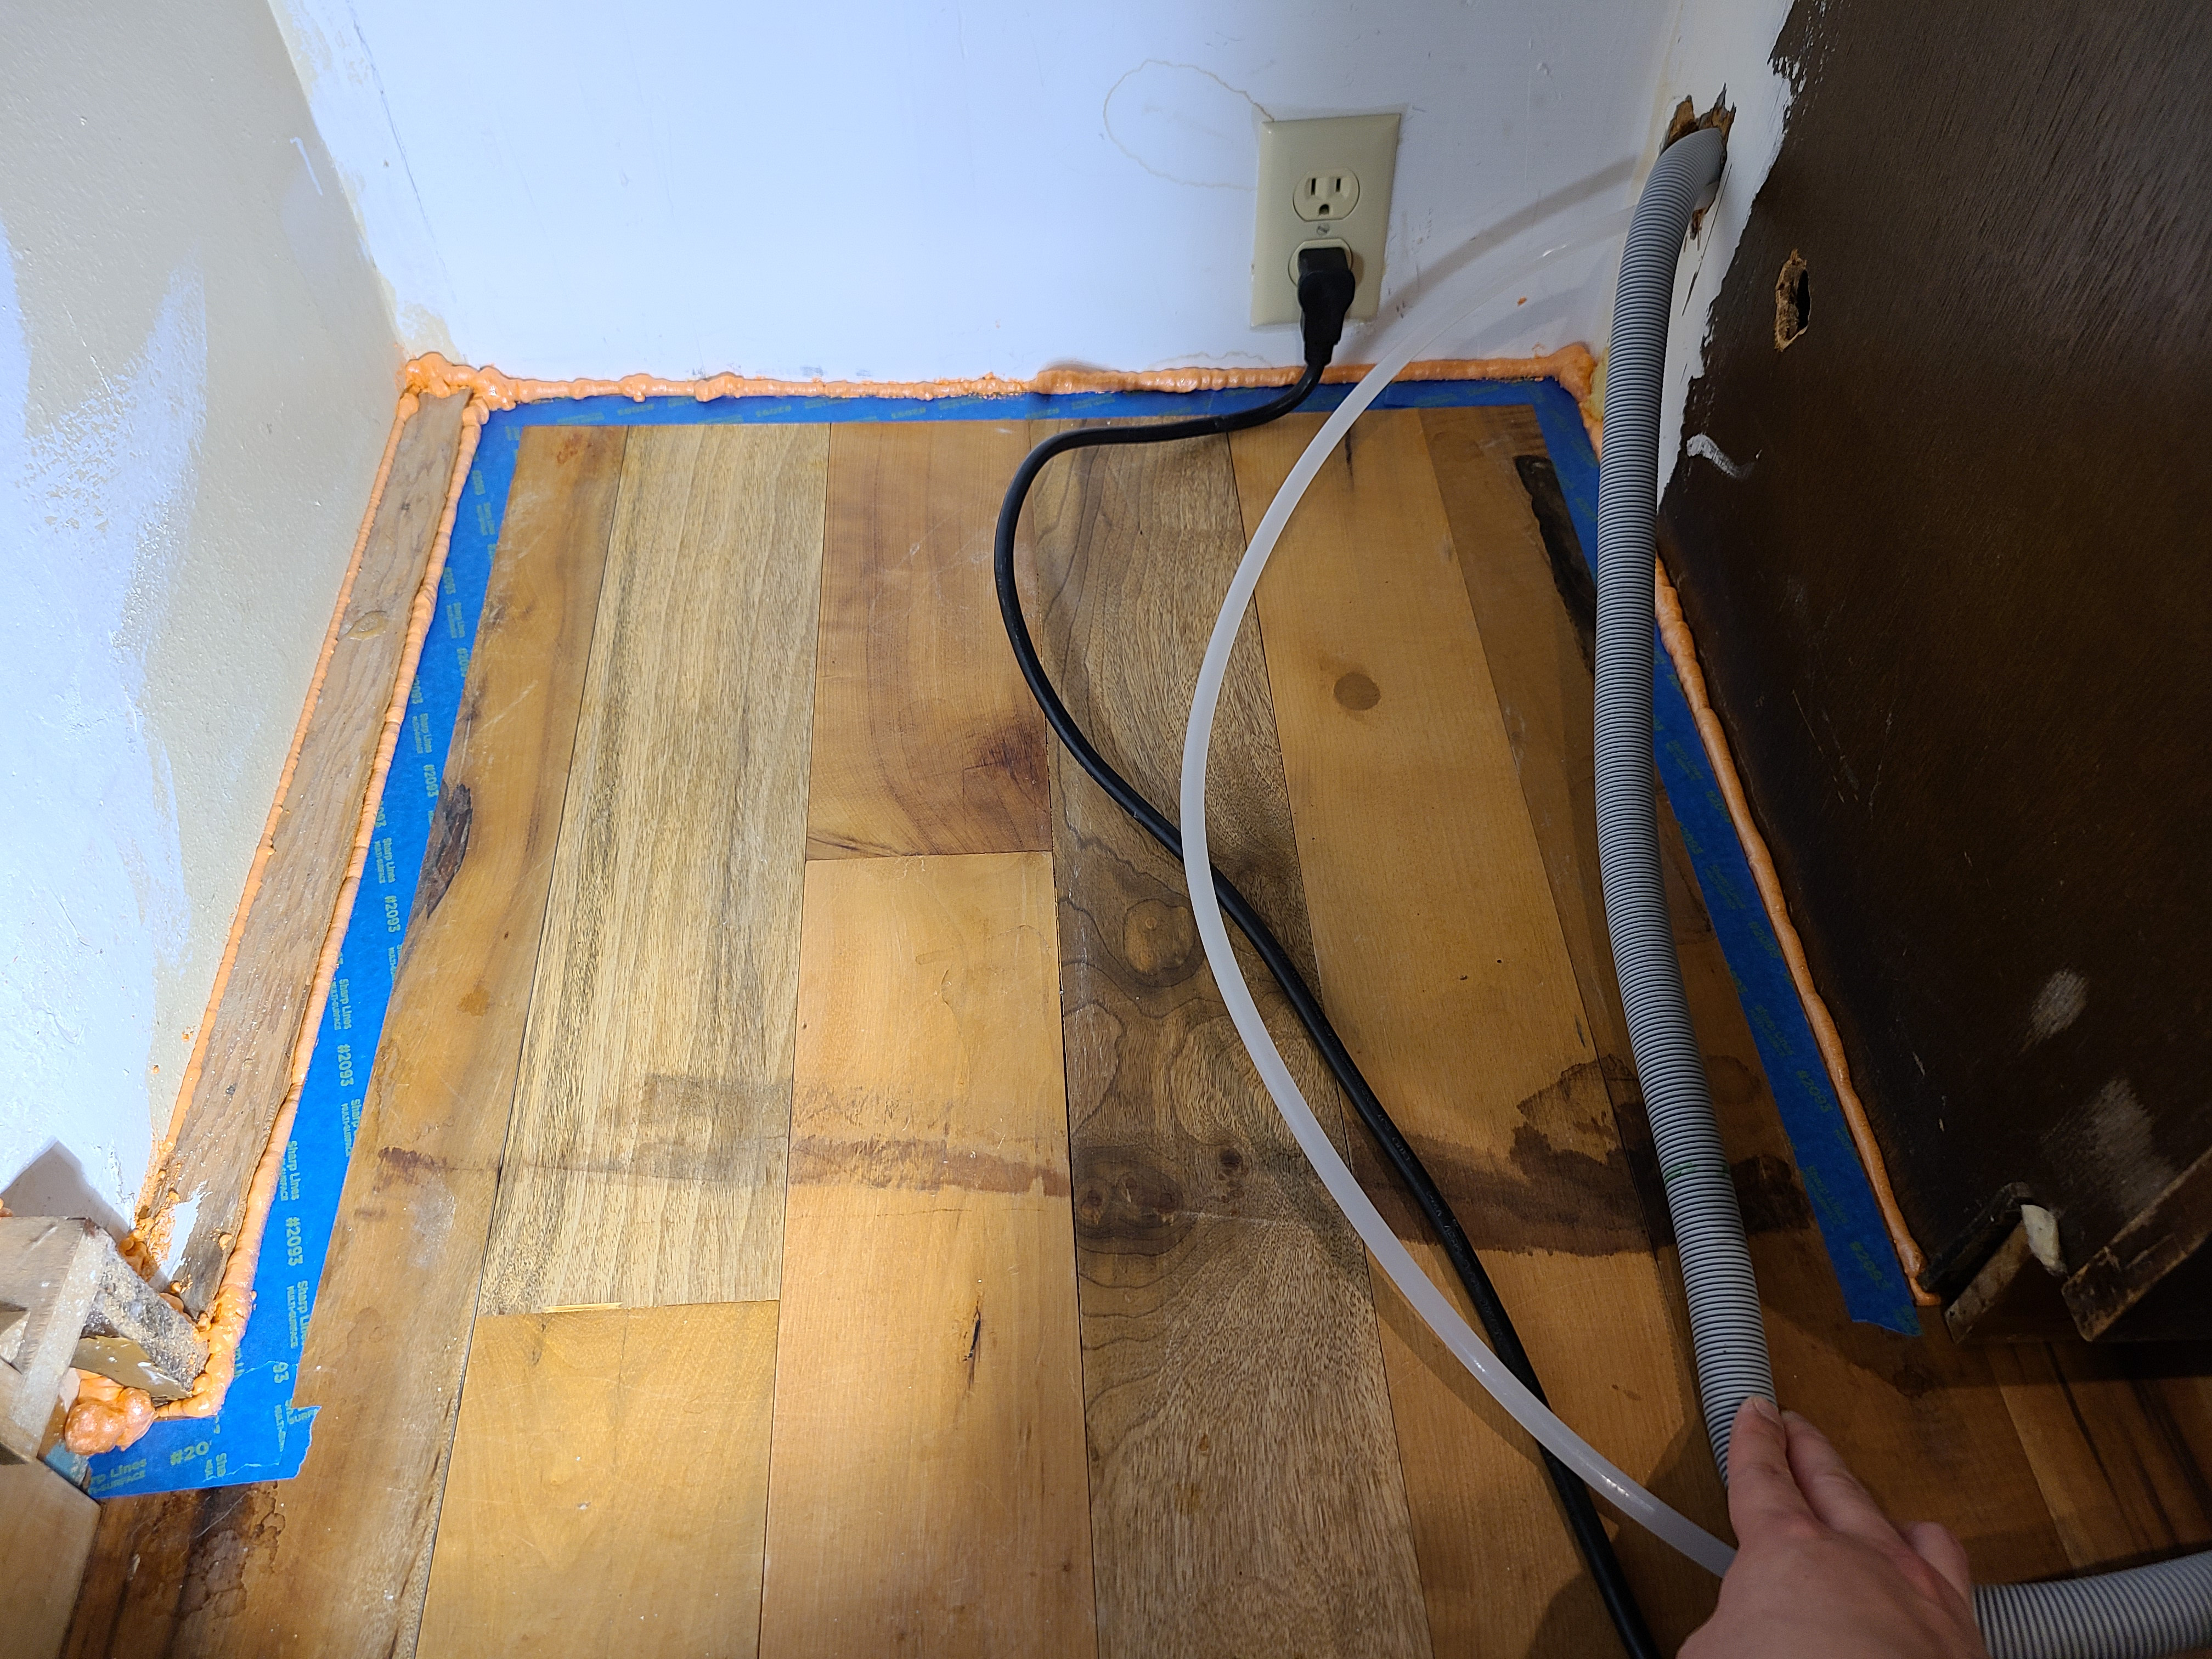
For larger gaps that will be hidden behind baseboard trim, use canned spray foam. The “gun” style professional applicator is recommended for greater control than the applicator that comes with the spray foam can (Figure 4). Use the narrow applicator tube to get a more defined bead in this narrow spot (Figure 5). A strip of masking tape can be installed about one-half inch from the seam before installing the canned spray foam to protect the flooring surface. (Figure 6).
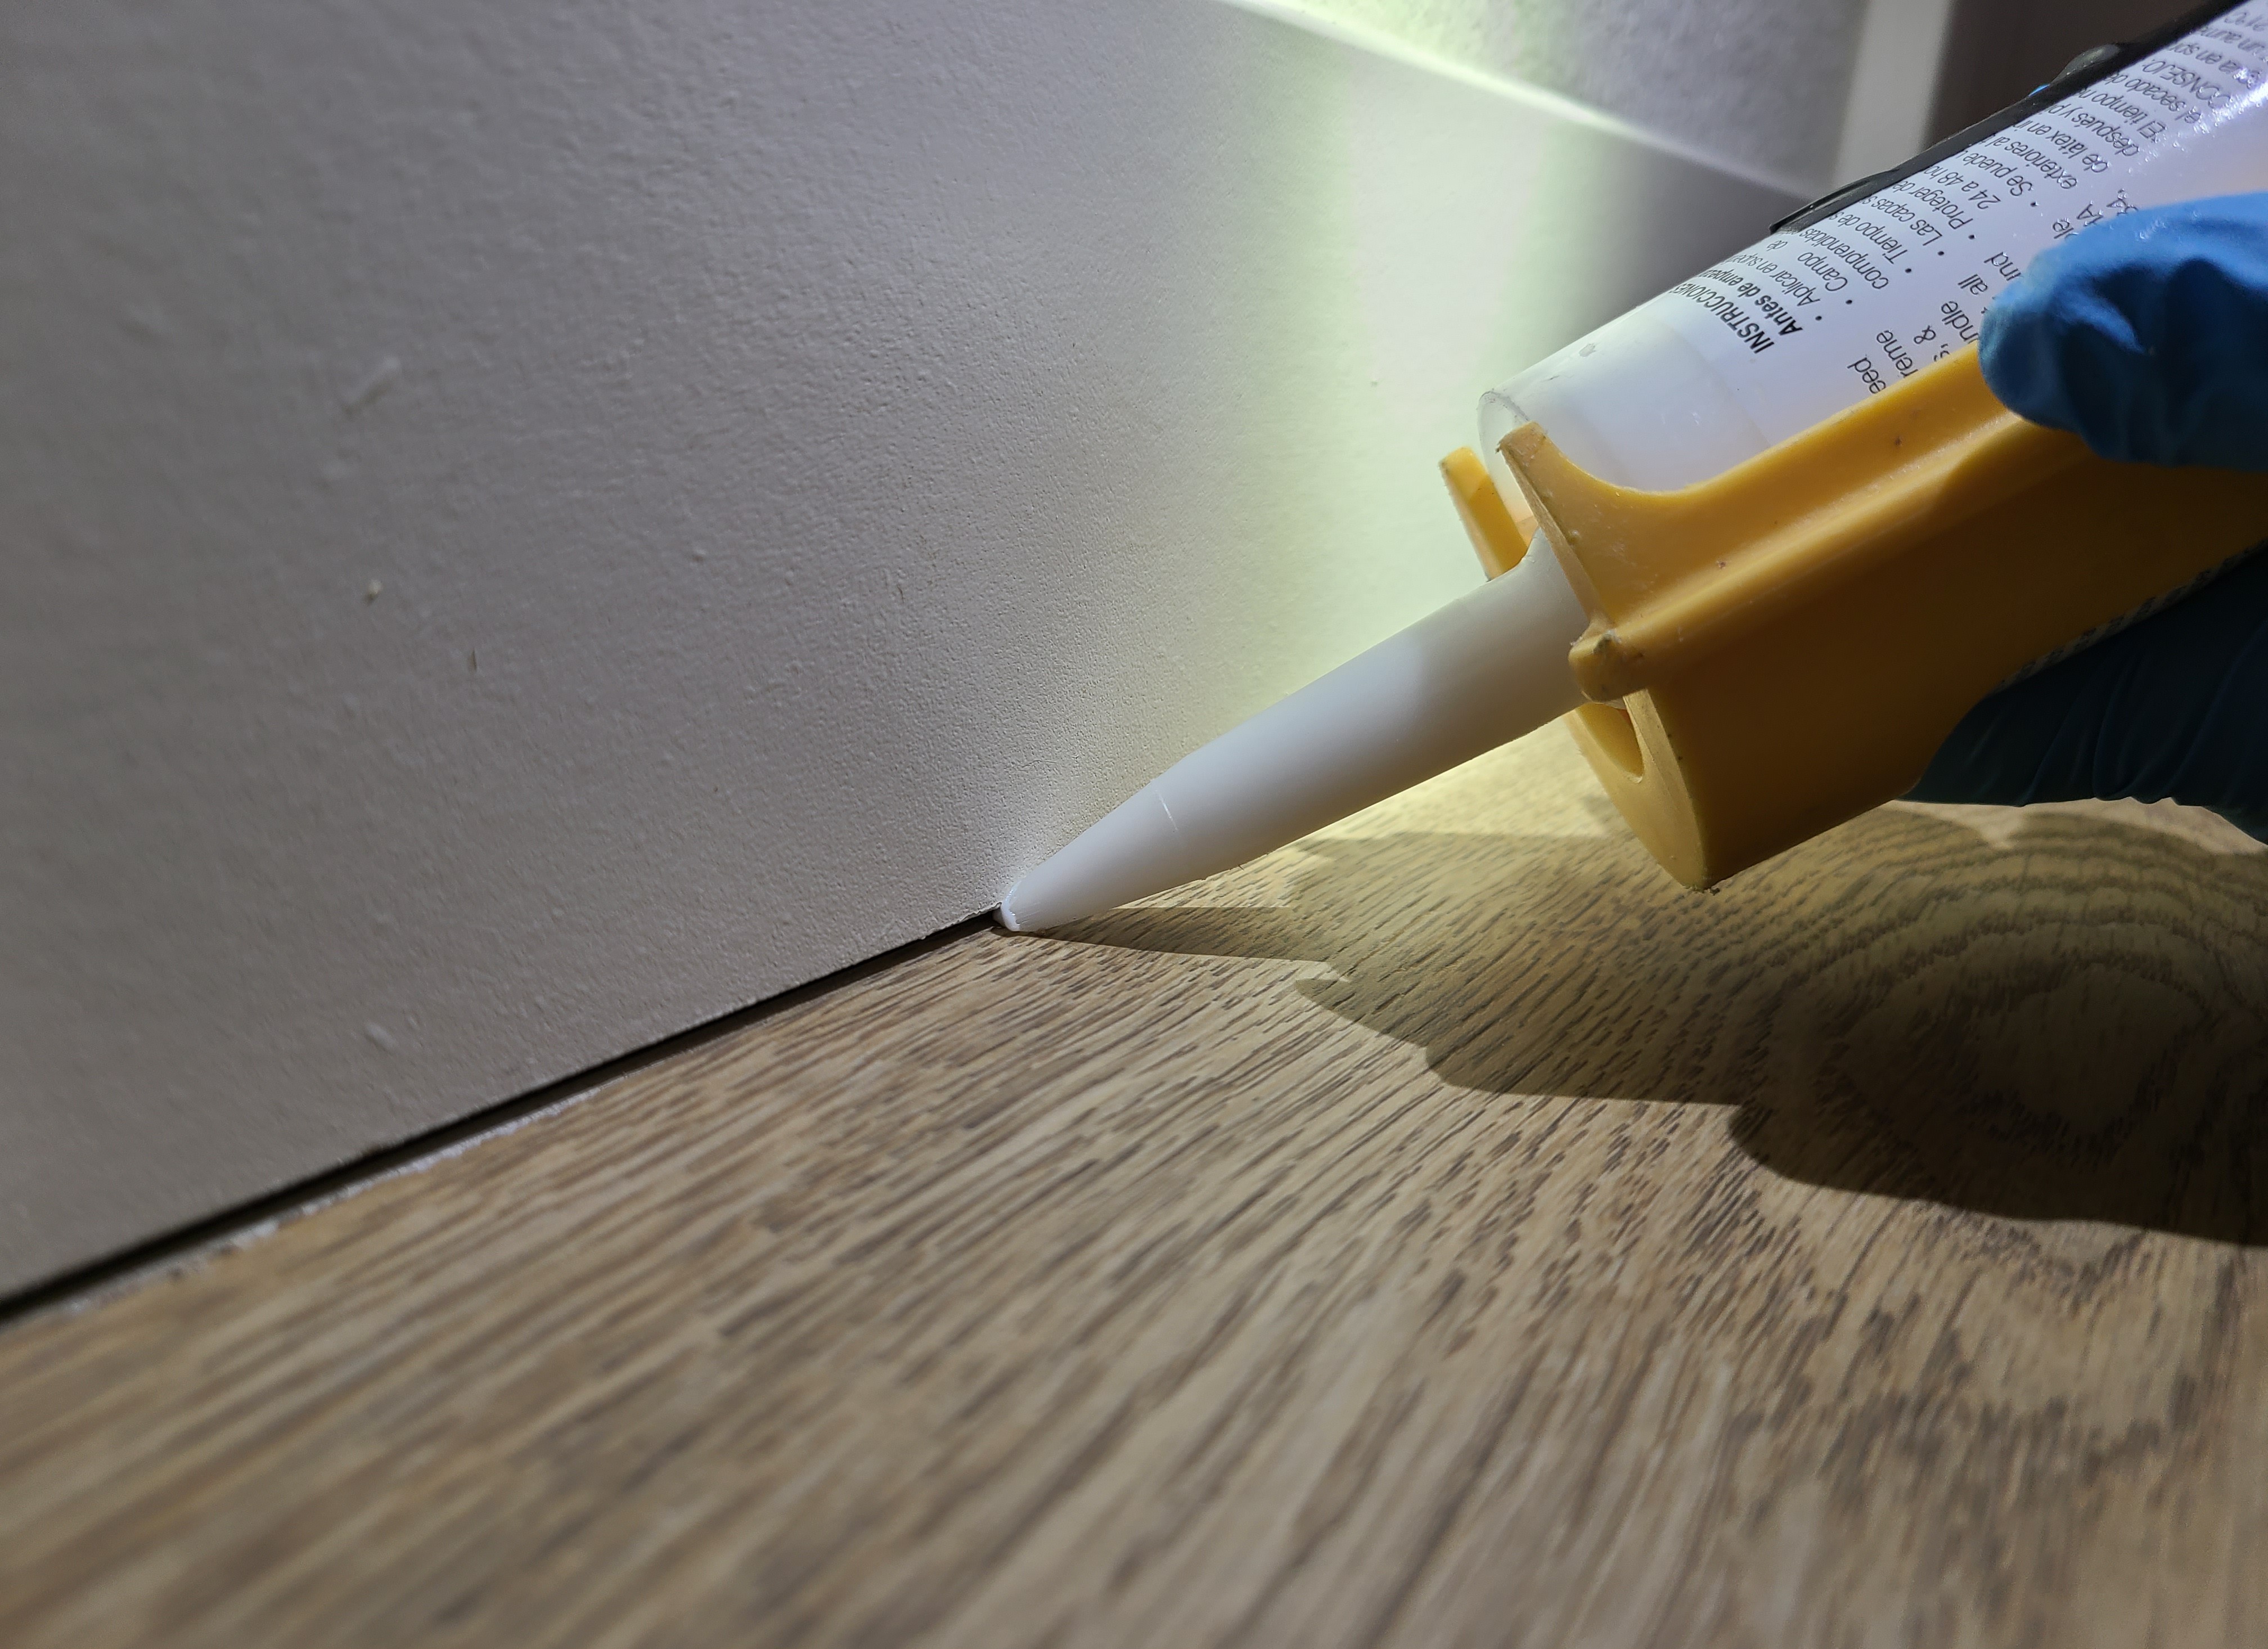
For narrower gaps or for sealing trim to flooring without removing the baseboard, use caulk (Figure 7). Acrylic-based caulk can be painted. Silicone-based caulks are recommended for wet areas like bathrooms, kitchens, and laundry rooms.
Source
Source
Source
Source
5. Trim foam.
When the canned spray foam has completely dried and hardened, use a utility knife to trim off excess, then remove any masking tape from the floor or walls and reinstall the baseboard trim.