

Introduction
Converting your existing fluorescent fixtures to LED technology offers improved energy efficiency and longer bulb life. This guide demonstrates the step-by-step process for safely rewiring a linear fluorescent light fixture to accommodate LED tubes.
Why
Upgrading linear light fixtures from fluorescent to LED tubes can reduce energy consumption by up to 60%, eliminate flickering, provide instant lighting at maximum brightness, and extend bulb lifespan—significantly lowering maintenance and operating costs over time.
What You'll Need
- Compatible LED tube lights, retrofit kit, or LED fixture
- Screwdriver (flathead and Phillips)
- Wire strippers/cutters
- Electrical tape
- Voltage tester
- Wire nuts or connectors
- Step ladder to reach the fixture
- Work gloves
- Safety glasses.
1. Identify LED upgrade type.
You have three options when retrofitting a tubular fluorescent ceiling fixture to have tubular LED lamps (TLEDS):
- Bulb-only replacement—easiest and lowest cost, but highest risk of bulb failure.
- Type A: Keep existing ballast and sockets, just replaces the old fluorescent tube with a new Type A LED linear bulb, <$10 per tube.
- Not recommended if your fixture has a ballast that is more than 10 years old.
- Bulb and ballast replacement —better efficiency and lifespan, but slightly higher cost and time to install.
- Type B: Replaces the old ballast and fluorescent tube with a Type B linear LED, which has a built-in driver (ballast), about $10 per LED tube. This is the most common option.
- Type C: Replaces the old ballast and fluorescent tube with a Type C linear LED requiring a separate external driver; about $10 for each Type C TLED plus $20 for the Type C driver; more expensive and time-consuming.
- Fixture replacement—best efficiency and lifespan and lowest risk of bulb failure, but most expensive and most installation work required.
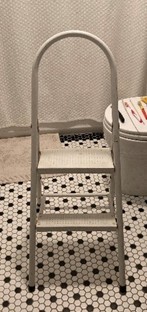
2. Get a step ladder.
- Use a ladder or step ladder if needed to safely reach the fixture.
- Wear eye protection to keep falling debris out of your eyes.
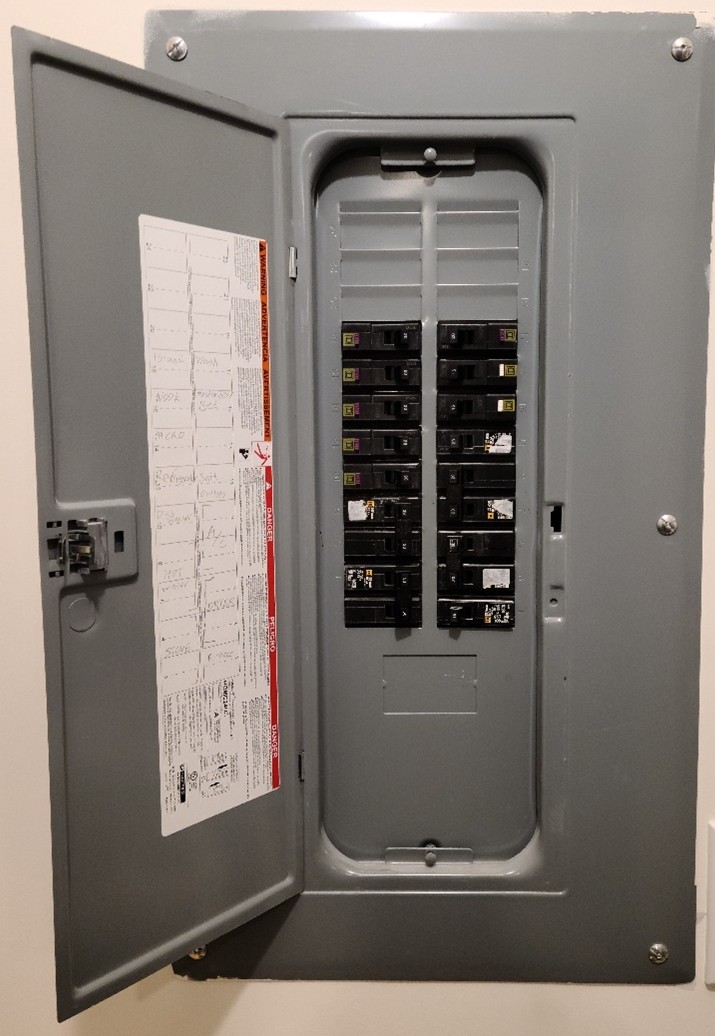
3. Turn off power to the fixture.
(Warning: high electric shock risk.)
- Locate and turn off the appropriate circuit breaker (Figure 2).
- Verify power is off using a voltage tester.
Source
4. Remove cover from fixture.
- If there is a cover over the tubes, unscrew or unclip any securing components to the cover and remove the cover.
- Clean the cover if there is dust or debris buildup.
5. Remove fluorescent tubes.
- Allow time for lamps to cool before removing them if they have been on for a while.
- Rotate tubes 90 degrees until they release.
- Carefully lower and set aside for proper disposal. (Fluorescent bulbs contain mercury and must be disposed of properly.)
- If you are doing just a Type A LED tube replacement, skip ahead to step 13.
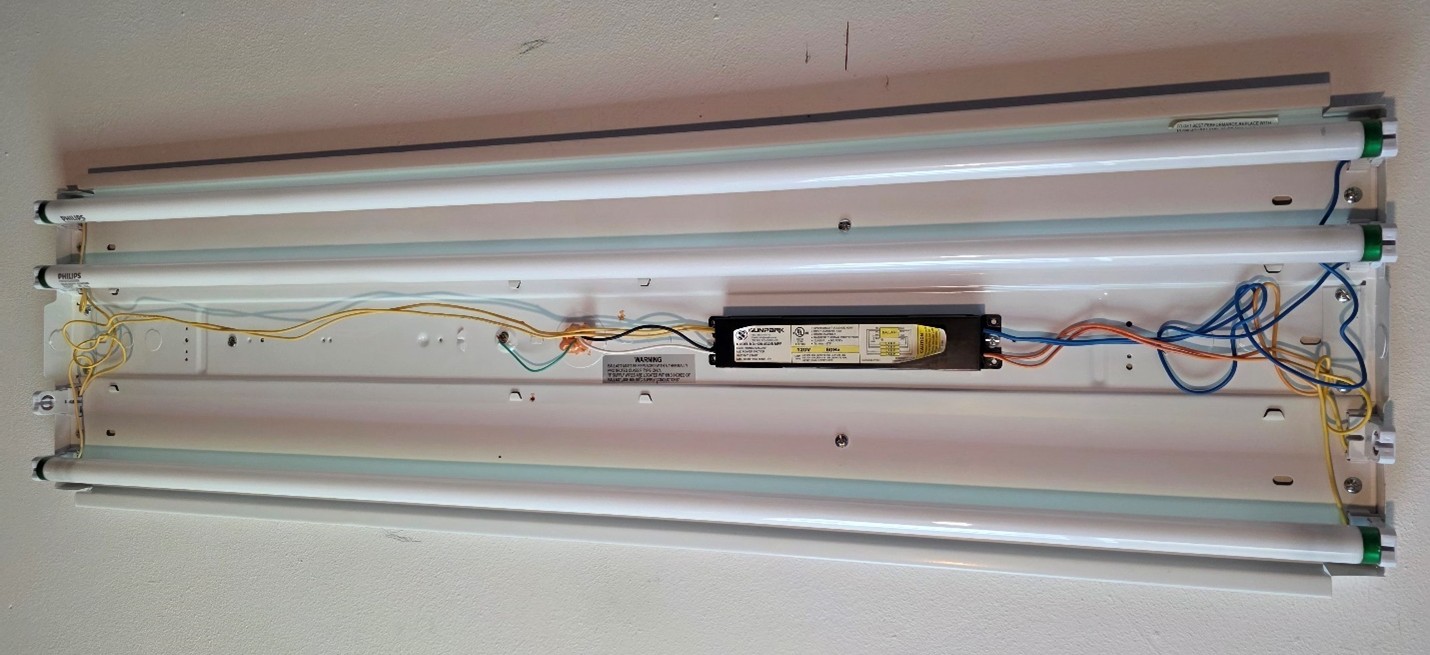
6. Remove fixture housing to access ballast and wiring.
Do this if you are replacing the fluorescent tubes with Type B and Type C LEDs - Type B TLEDs have a built-in driver (ballast). Type C TLEDs need an external LED driver. Neither can use the old existing fluorescent ballast so it should be removed.
- Unscrew the mounting screws holding the housing that is covering the ballast. (The housing is the white metal panel in the center of the fixture in Figure 3.)
- Lower the housing carefully.

Source
7. Remove the ballast.
- Find the ballast – usually a black rectangular box located near the center of the fixture (Figures 4 and 5).
- Identify the input wires from the power source (black, white, green) and output wires to the lamp sockets (yellow, orange, blue).
- Disconnect all the wires from the ballast, removing wire nuts or cutting wires if necessary.
- Unscrew ballast from fixture and remove.

Source
Source
8. Remove and replace the fixture.
Only do this if you are doing a full fixture replacement; otherwise, skip to the next step.
Unscrew the fixture mounting screws and carefully remove the fixture from the ceiling.
- Using the existing ceiling mounting (if applicable), screw in the new fixture. (A power drill may be necessary for this step.)
- If replacing the fixture mounting, carefully access the ceiling above the mounting hole. Remove the existing mounting structure and replace with the new fixture mounting. Screw in the new fixture to the new ceiling mount. (A power drill may be necessary for this step.)
- Go to step 14.
9. Mount external driver.
Only do this if you are replacing the existing tubes with Type C linear LEDs. If installing Type B linear LEDs, skip to step 11.
- Identify the location where the old ballast was installed.
- Use the existing mounting holes and screws to install the new LED external driver.
10. Rewire to external driver.
- If wires were cut in step 7, use wire stripper to strip wire coverings from ends of wires, exposing just enough wire (about ½ inch) to make strong connections when reconnecting the wires that had gone to the old ballast to now go to the new driver.
- Connect the line/hot wire (black) to the driver line input.
- Connect the neutral wire (white) to the driver neutral input.
- Connect the ground wire (green) to the ground terminal or a location on the fixture housing.
- Connect the output wires from the lamp sockets (yellow, orange, blue) to driver inputs.
- Go to Step 12.
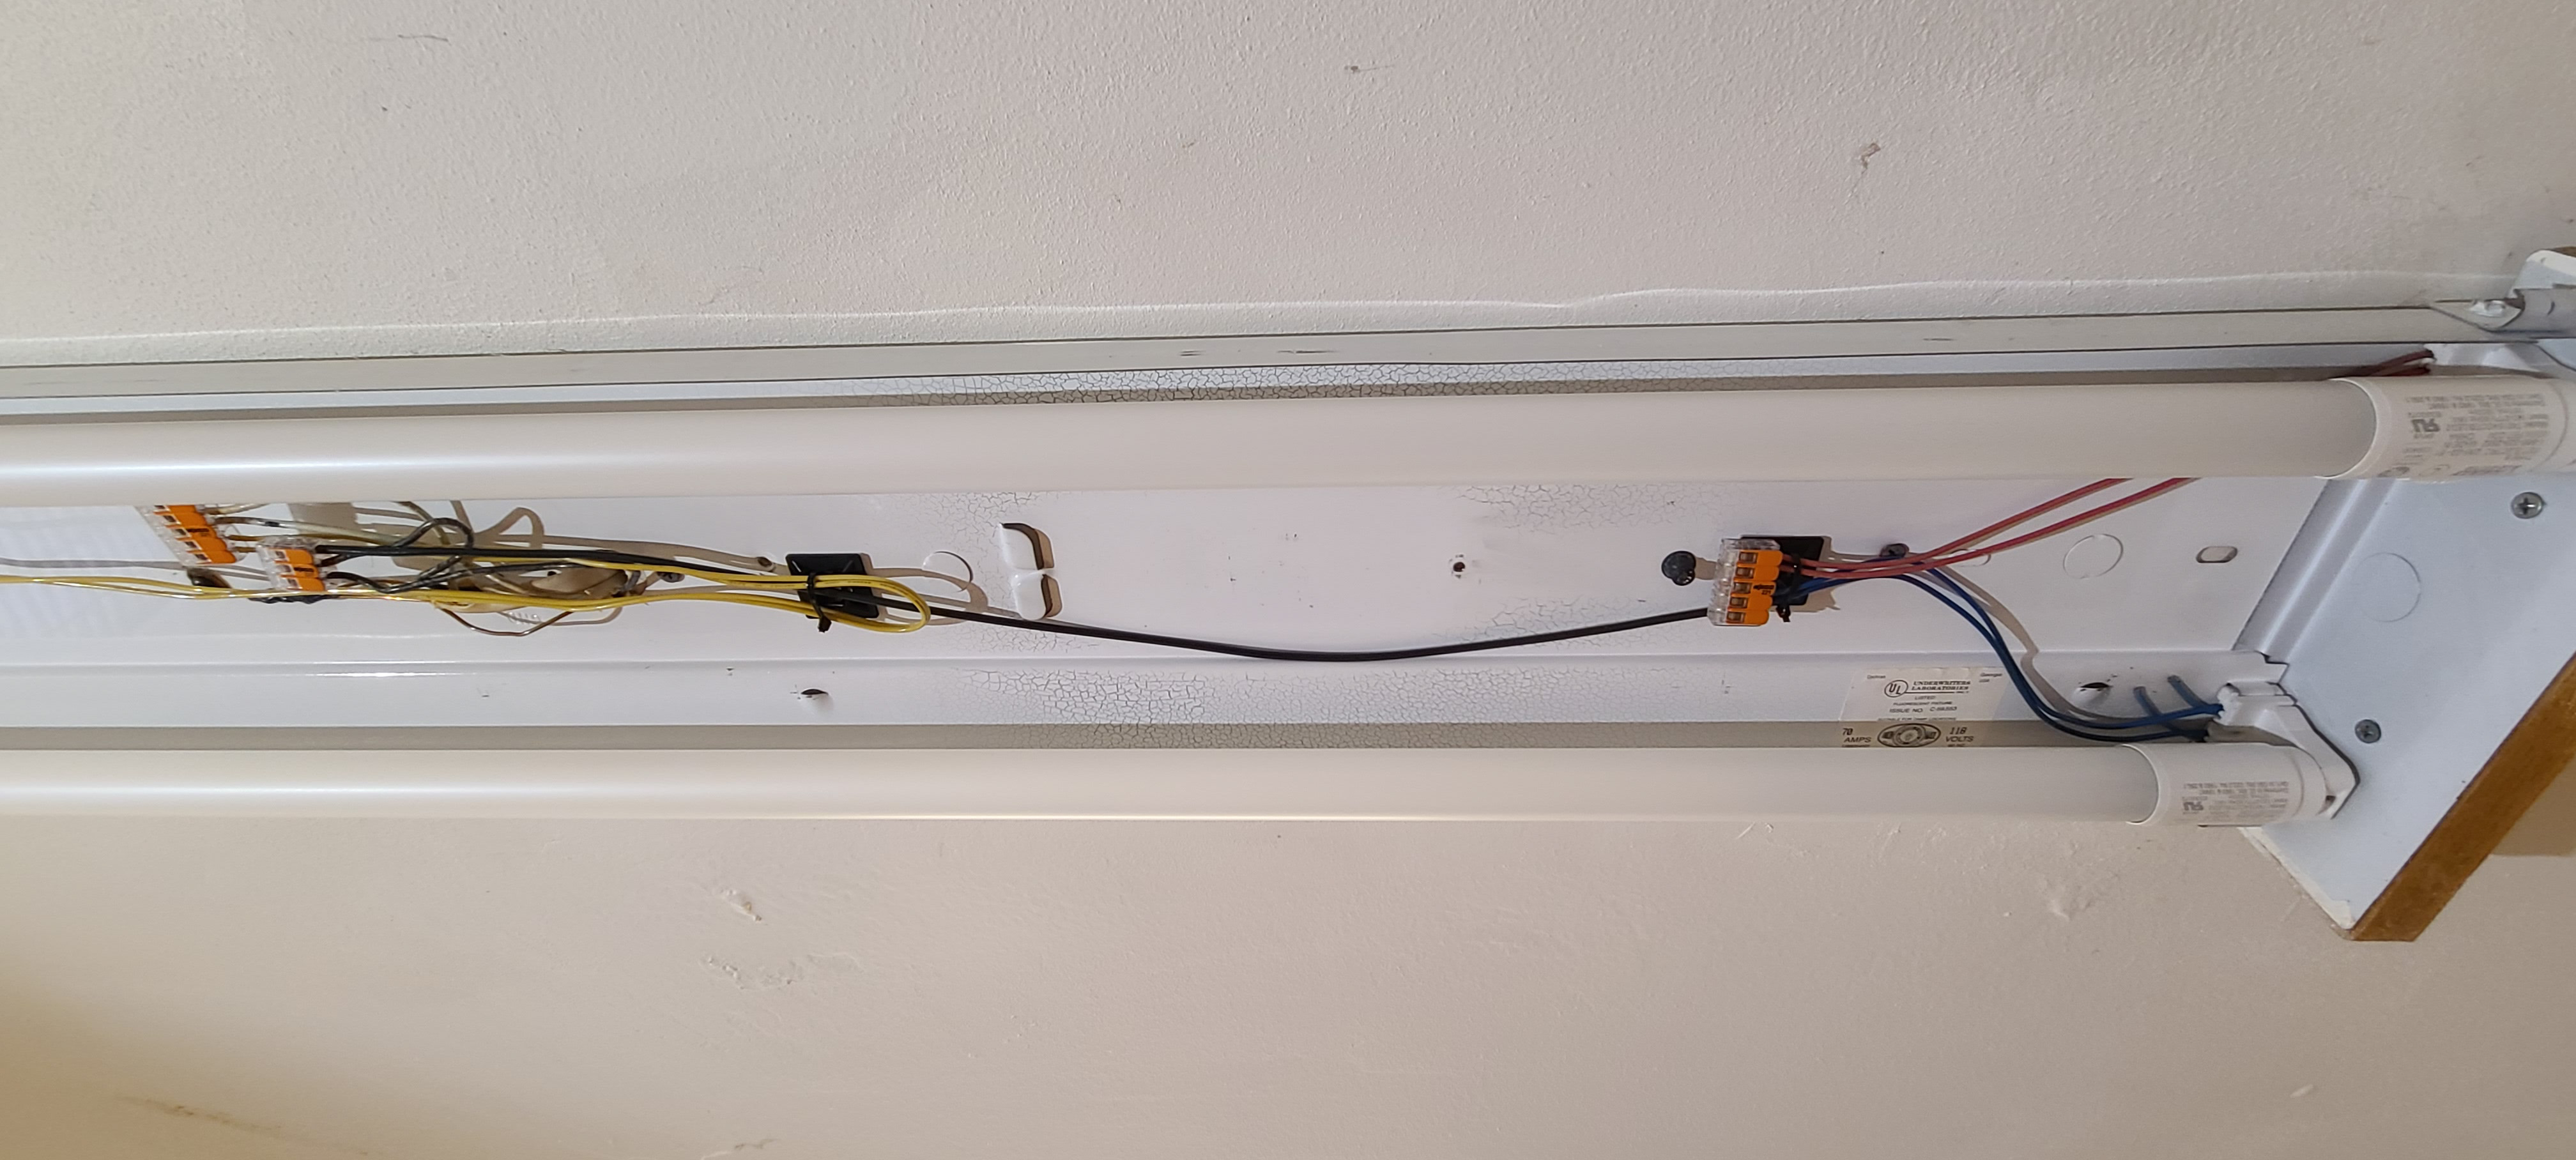
11. Rewire for direct connection to lamps.
Do this if you are installing Type B LED replacement lamps.
- If wires were cut in step 7, use the wire stripper to strip wire coverings from ends of wires, exposing just enough wire (about ½ inch) on each to make strong connections when reconnecting the wires that had gone to the old ballast to now go directly to the bi-pin lamp sockets (Figure 6).
Source
- Connect the line/hot wire (black) to one end of the fixture.
- Connect the neutral wire (white) to the opposite end of the fixture.
- Connect the ground wire (green) to the ground terminal or a location on the fixture housing.
- Remove additional wires from previous ballast (yellow, orange, blue), if any are remaining.
12. Secure all wire connections.
- Use wire nuts for all wire connections.
- Ensure no exposed copper from wires is visible.
- Slightly tug on wires to confirm secure connection.
- Wrap electrical tape around wire nut and wire to further secure connection.
13. Reinstall the fixture housing.
- Carefully tuck wires into housing.
- Secure housing with the mounting screws (Figure 7).

Source
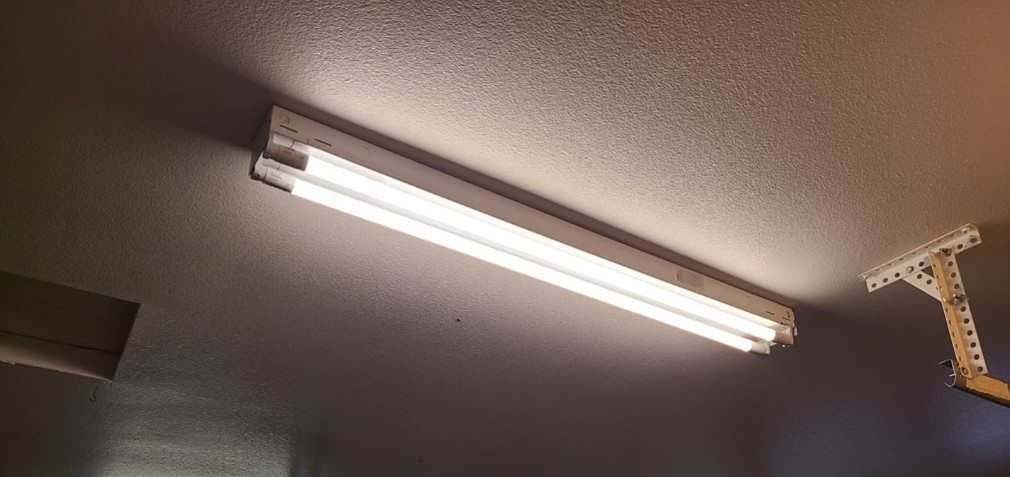
14. Install LED tubes
- Align pins at ends of LED tubes with sockets.
- Rotate 90 degrees to lock in place.
15. Restore power and test.
- Flip the circuit breaker back on (Figure 8).
- Test fixture operation; all lamps should turn on. (Electric shock warning: If lights do not turn on, turn off the power to the circuit at the breaker before doing any further troubleshooting work.)
Source
16. Replace cover (if applicable).
- Ensure cover is still clean and free of debris.
- Secure in place.