Introduction
Insulating hot water pipes gets more hot water to pipes faster, reducing wear on your water heater, saving on water heating costs, and protecting pipes from freezing.
Why
Hot water pipes can also release a lot of heat. Insulating the hot water pipes wherever they are accessible can help that heat stay in the pipes so it can provide more hot water to your showers and faucets without a lot of losses along the way, thus reducing wear on your water heater and lowering your water heating costs (Figure 1). Cold water pipes can be insulated for protection against condensation or “pipe sweating,” and subsequent water damage to floors. Pipe insulation can also help protect pipes from freezing, especially in ventilated crawl spaces, uninsulated basements, and under sinks along exterior walls in the home.

Source
What You'll Need
- Pipe insulation (closed-cell foam pipe sleeves, fiberglass or mineral wool sleeves or wraps, or insulating tape)
- Protective gear if installing uncovered fiberglass insulation:
- Long sleeves and long pant legs, gloves, goggles, dust mask
- Acrylic or aluminum foil tape, wire, metal clamps, or plastic ties
- Plastic vapor barrier sheeting
- Caulk or spray foam
- Tape measure
- Scissors, box cutter, or utility knife
- electric heat tape (optional)
1. Locate pipes.
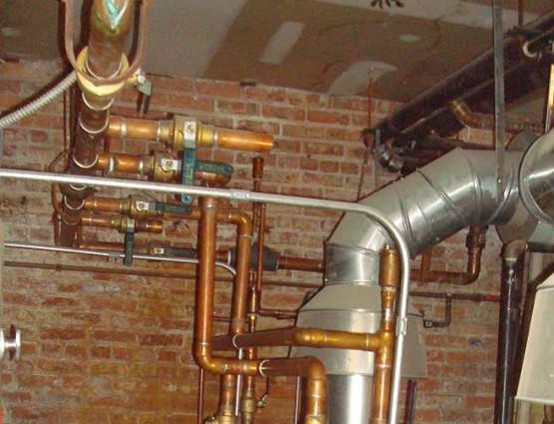
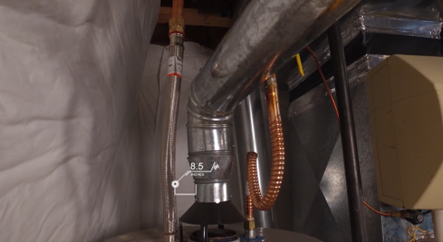
Locate plumbing pipes that can be accessed, such as the water pipes at the water heater, under sinks, in unfinished basements, and in crawlspaces. Not all pipes of your pipes will be accessible. (Figure 2).
2. Measure pipes.
The pipes you want to insulate may vary in diameter. Measure and record the lengths and diameters for each pipe you want to insulate and total the lengths to get an idea of how much you’ll need to buy.
3. Choose your insulation.
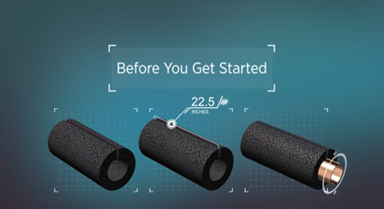
Pipe insulation is available in several forms. The decision usually comes down to size, price, ease of installation, and application. Sleeve-type insulation is easier to install but you’ll want to know the exact pipe diameters if using sleeve insulation (Figure 3). Knowing the diameter isn’t as necessary when buying pipe insulation that is wrapped around the pipe. If you are insulating pipes for hydronic heating systems, you’ll want insulation rated for high-temperature pipe (Figure 4).
- Closed-cell foam tubular pipe sleeves are made from flexible closed-cell polyethylene or neoprene foam that comes pre-cut with a lengthwise seam for easy installation. Some have adhesive strips already adhered to both sides of the slit.
- Fiberglass or mineral wool sleeves wrapped with plastic or foil vapor barrier also come with a lengthwise slit for easy installation and an overlapping adhesive flap along the seam.
- Spiral insulation wrap can be made of fiberglass and foil or polyethylene foam. It is wrapped around the pipe in overlapping layers like tape.
- Fiberglass batt insulation can be wrapped around the pipe, then covered with a plastic vapor barrier sheeting that is taped in place.
- Insulating foam tape wraps around pipes.
- In locations where pipes may be exposed to freezing temperatures, like an uninsulated basement or crawl space in a very cold climate, consider installing electric heat tape. This tape uses a heat sensor and thermostat to determine pipe temperature and adjust the heat output of the tape accordingly to prevent freezing and overheating.
Source
Source
4. Insulate plumbing pipes.
Here are steps for insulating the pipes using foam pipe sleeves or wrap insulation.
Insulating Pipes Using Tubular Foam Sleeves
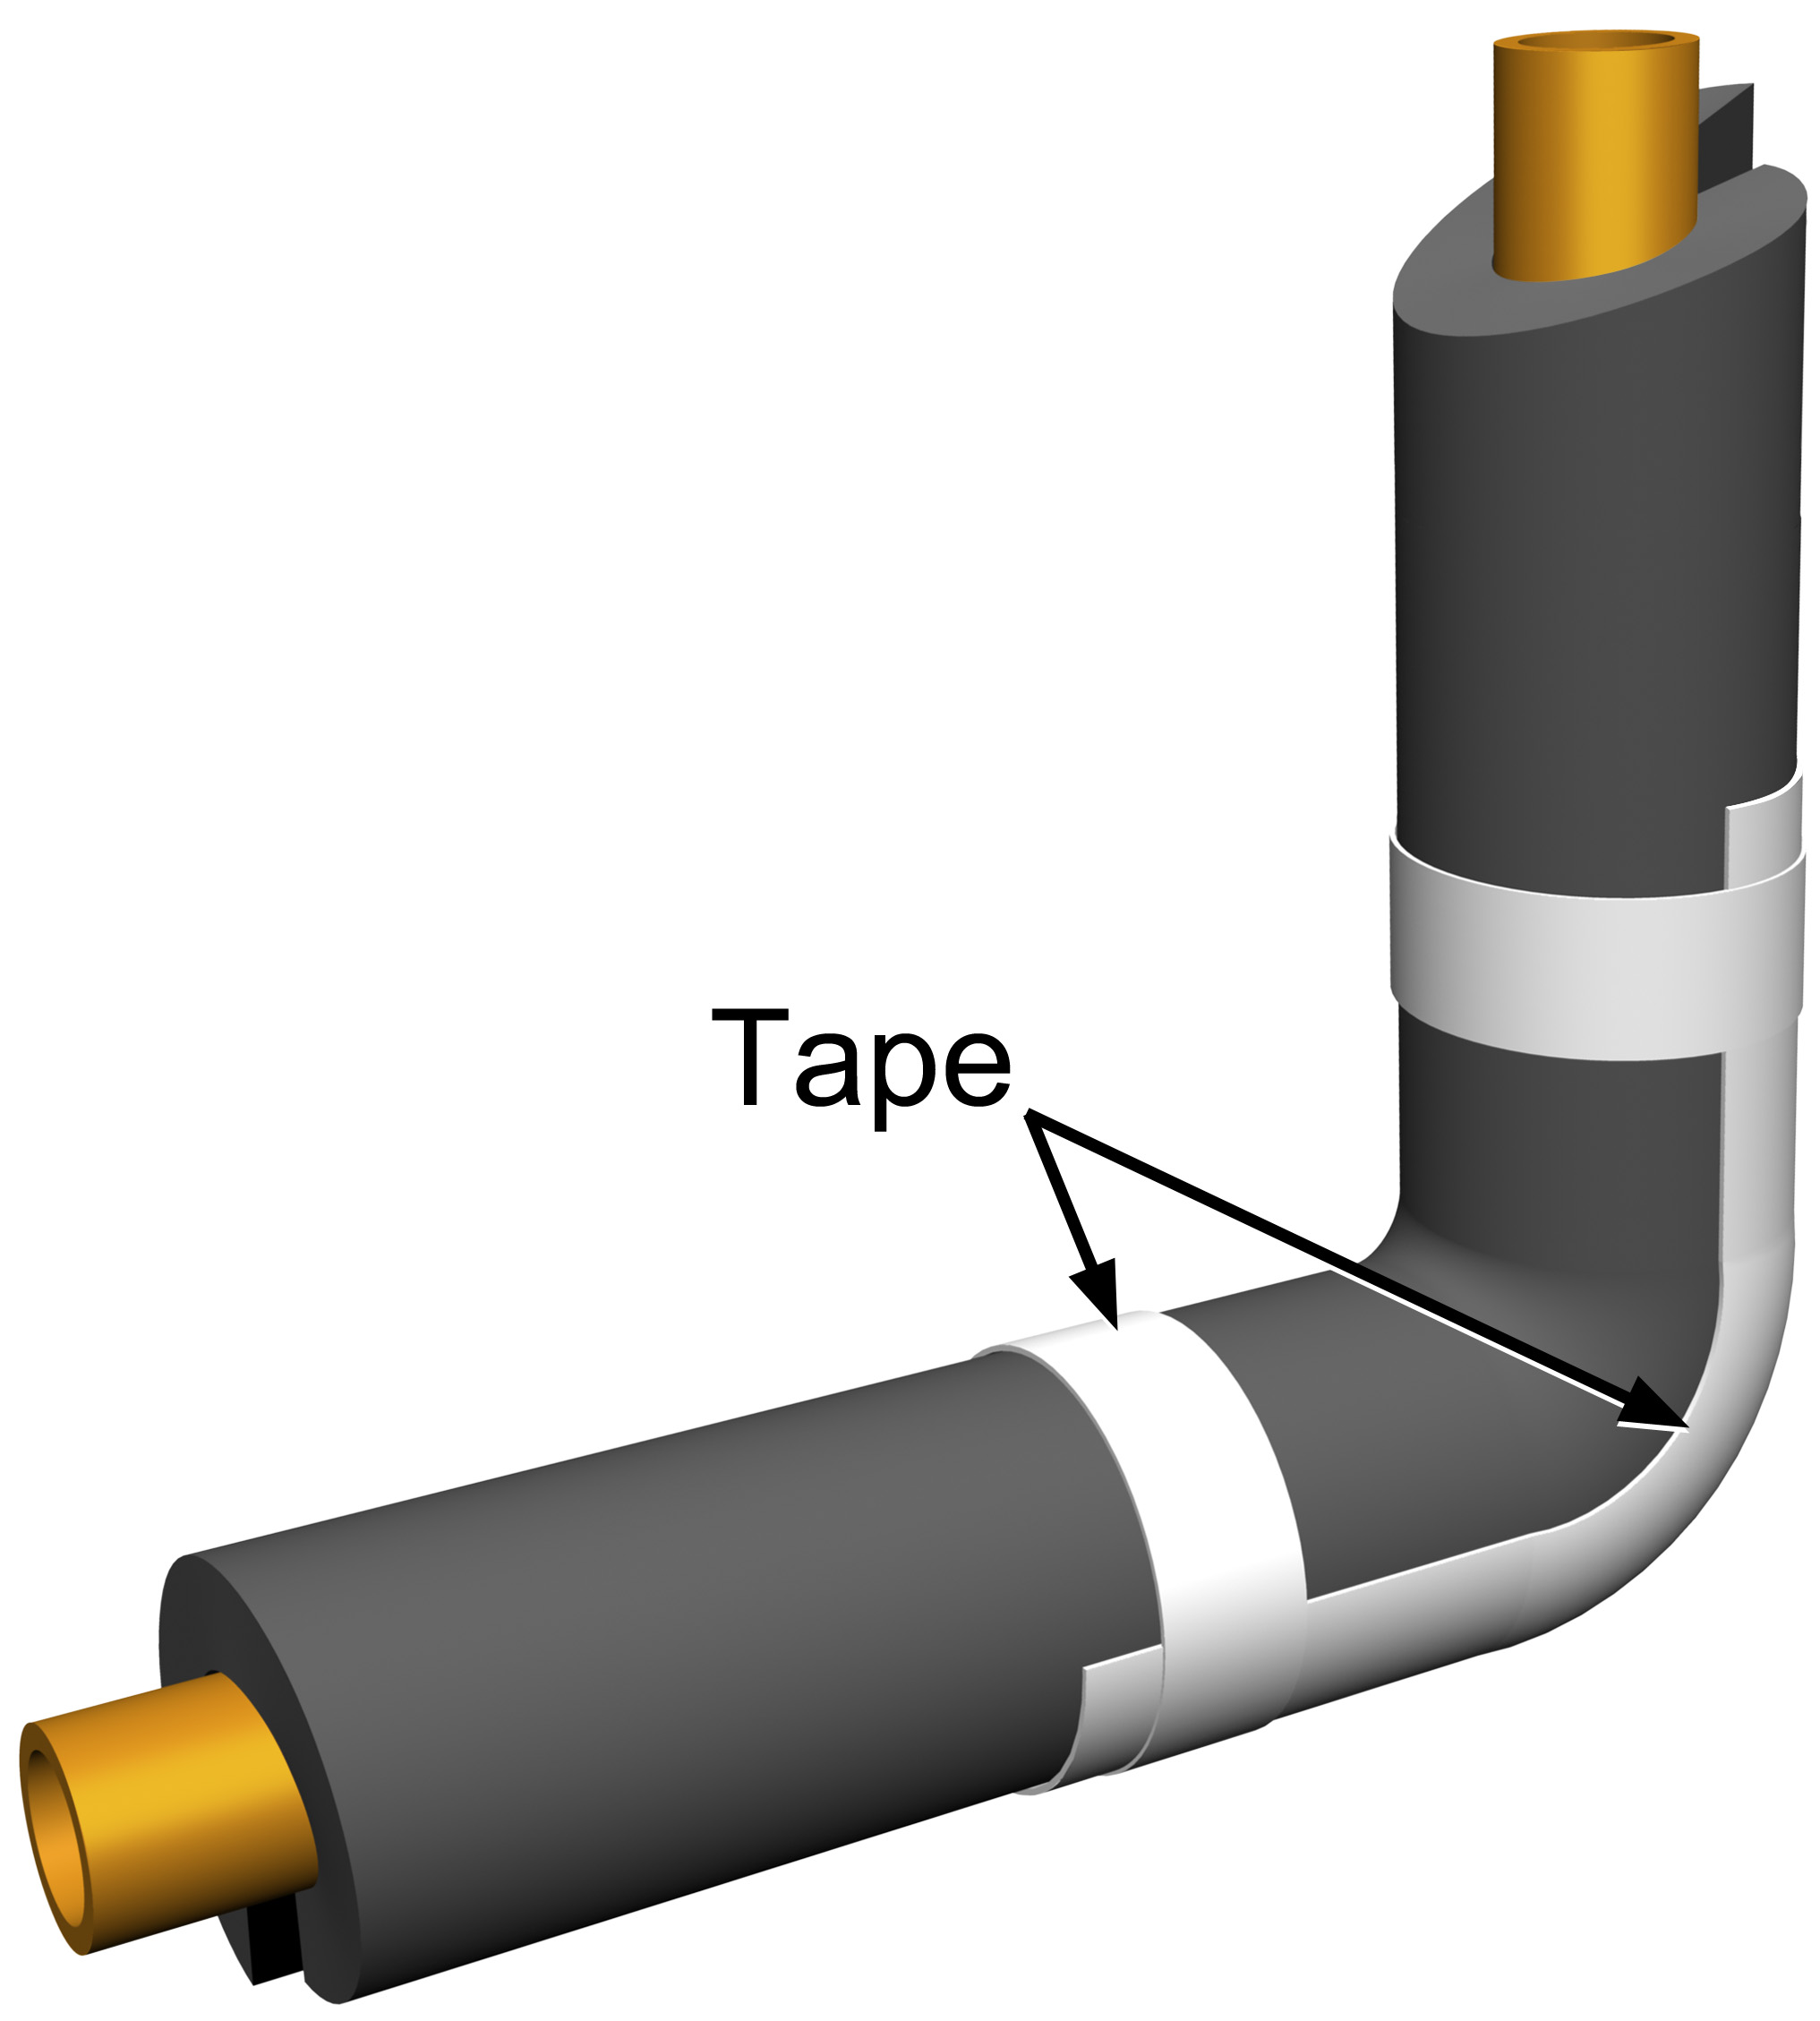
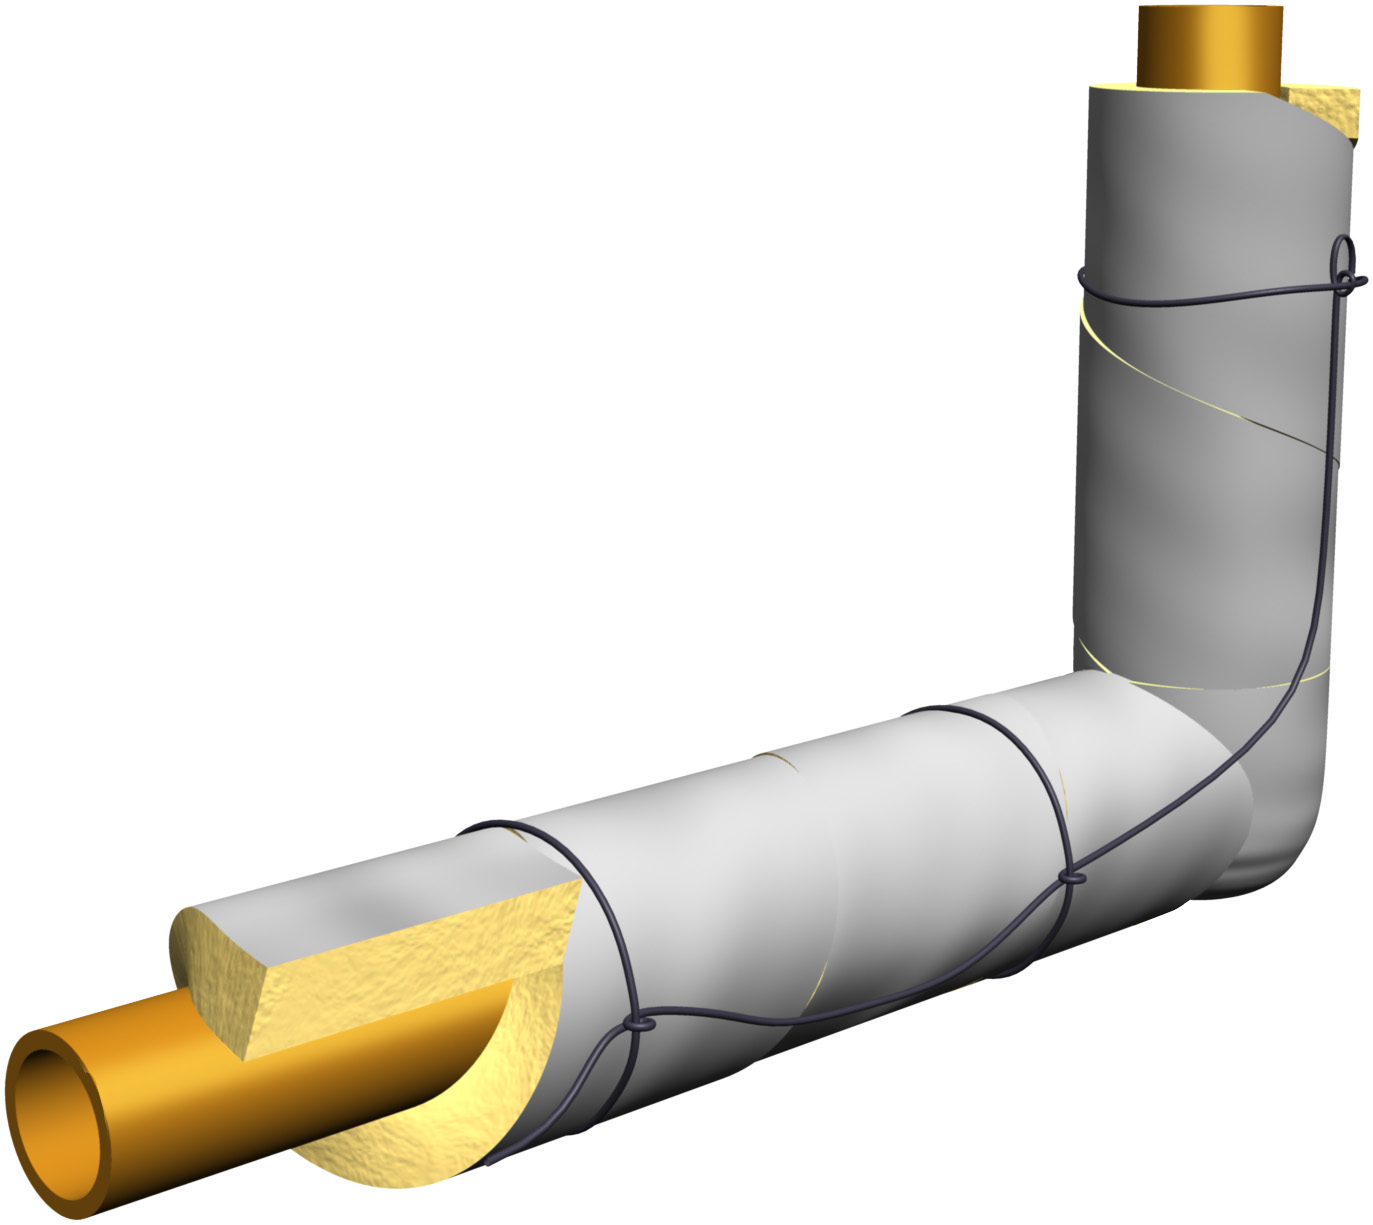
- Cut the pipe sleeve to length and wrap it around the pipe, with the slit facing down, making sure there are no gaps between sleeves. To cover bends in the pipe, make a joint at the elbow and angle the ends of the foam to form a mitered corner that fits the angle of the pipe.
- Remove the paper strips covering the self-sealing, pre-glued seam and press the edges together.
- Tape over the seams and joints with acrylic or aluminum foil tape to increase durability (Figure 5).
- Use wire, tape, a plastic tie, or metal clamp to secure the insulation around the pipe every 1 to 2 feet (Figure 6).
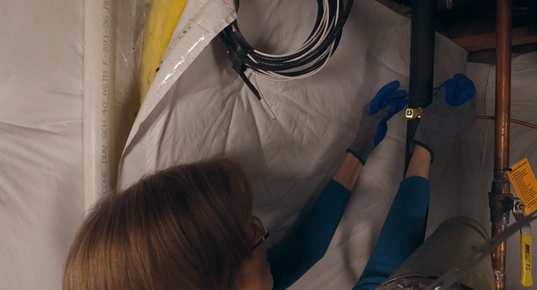
Source
Insulating Pipes Using Spiral Wrap or Fiberglass Batts
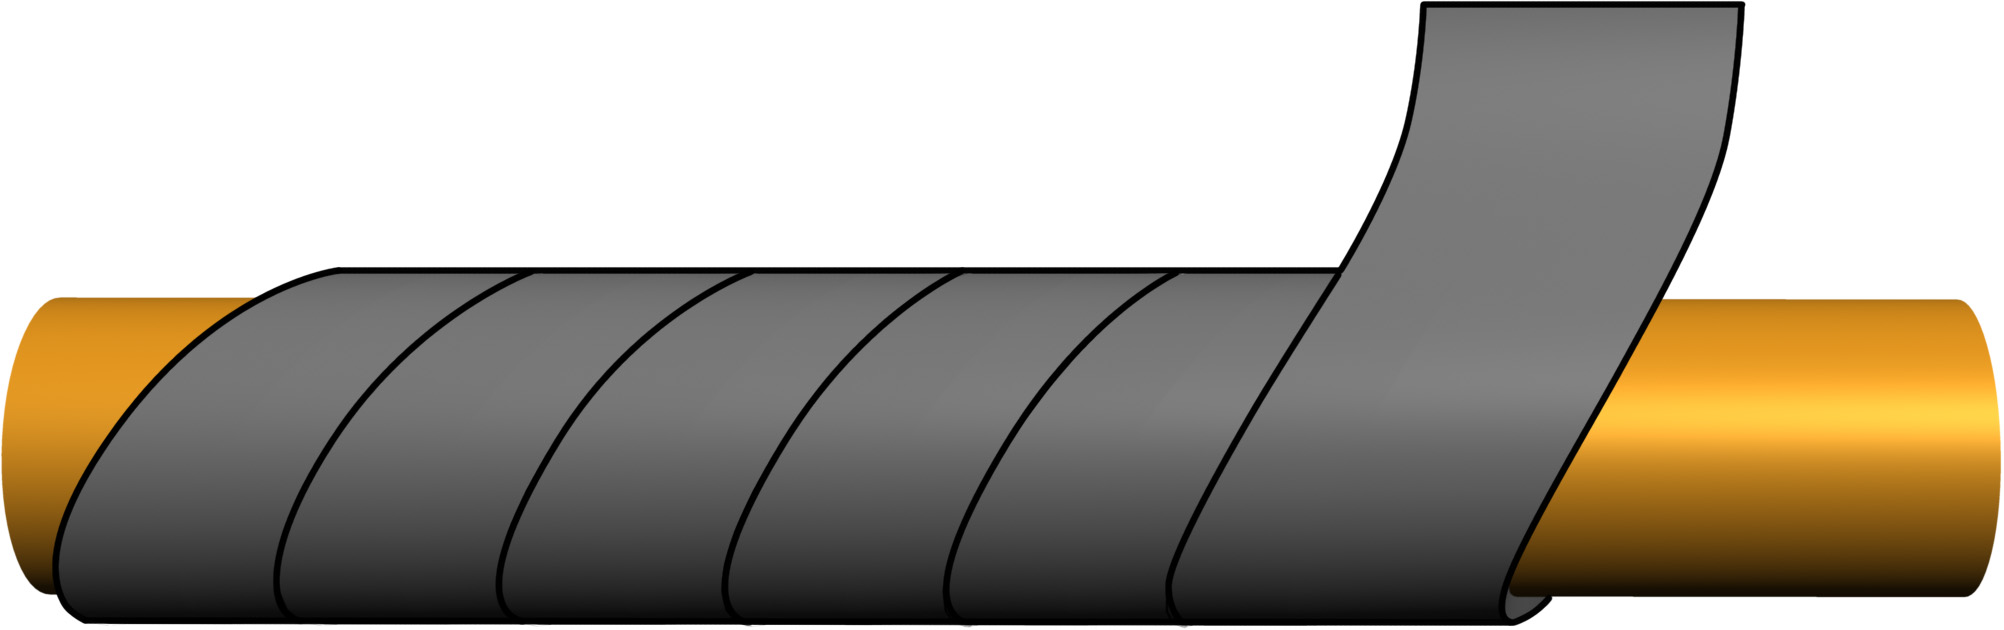
- Secure the end of the spiral wrap or fiberglass batt on the pipe with tape.
- Wrap the insulation around the pipe in a spiral fashion, overlapping each successive layer of tape by a ½-inch (Figure 7), or for batt insulation half the width of the batt insulation. Wrap batts as loosely as possible, because compressing them will reduce their R-value.
- If using fiberglass insulation without a moisture barrier, wrap plastic around the insulated pipe and seal with tape to keep the insulation from getting wet or gathering condensation.
- Use wire, tape, a plastic tie, or metal clamp to secure the insulation (and plastic covering) to the pipe every 1 to 2 feet to keep the insulation from sliding (Figure 8).
Source
5. Insulate Steam Pipes for hydronic heating systems.
If a house has a hydronic heating system (using steam or hot water pipes and radiators), heat loss can be reduced by as much as 90% by insulating the steam distribution and return pipes (DOE 2006).
- Use insulation such as 1-inch-thick, heavy-density, resin-bonded fiberglass sleeves that is approved for steam or hot water heating systems, since other forms of insulation can melt. Any surface over 120°F should be insulated, including boiler surfaces, steam and condensate return piping, and fittings.
- Cut the fiberglass sleeves to length.
- Open the pre-cut fiberglass sleeve, fit the sleeve around the pipe, and align the self-sealing lap over the sleeve.
- Seal by rubbing firmly on the adhesive strip to seal the lap to the sleeve.
- Wrap high-temperature tape around the pipe where two sleeves meet.
- Install removable insulation jackets on elbows, tees, and other pipe fittings.
6. Air seal and insulate around pipes.
- Use caulk or canned spray foam to seal any gaps in the drywall, sheathing, or subfloor around holes where the pipes go through exterior walls or floors if accessible.
- If access is available for exterior wall cavities, ensure that any space in the wall cavities behind the pipes is fully insulated.
- For fiberglass or mineral wool batts, split the batt lengthwise, slide half the batt behind the pipes and fit into the cavity. Fit the remainder of the batt in front of the pipes to fill the cavity.
- For rigid foam, cut rigid foam pieces to fit the wall cavity dimensions. Run a bead of foam adhesive around the back of the foam, slide it behind the pipe and press it into place to seal it to the back wall of the cavity. Use caulk or canned foam to air seal the edges to the framing of the cavity. Lay a split batt over the front of the pipes.