



Introduction
Install garage door insulation to help maintain moderate temperatures in your garage.
Why
Garage doors face a lot of exposure to hot and cold temperatures as well as wind, rain, and snow. In older homes, garage doors are often uninsulated. Installing insulation on an uninsulated garage door can dramatically increase the thermal comfort in the garage, and, in turn, lessen heat transfer from the garage into the house.
What You'll Need
- A ladder long enough to reach the top of the garage door
- Measuring tape
- A pencil
- 4-ft straight edge (e.g., a 4-ft level)
- Heavy-duty snap-off utility knife
- Rigid foam board with thickness to match garage door
- Canned spray foam
- Spray foam construction adhesive
- Spray foam gun
- Foam cleaner spray
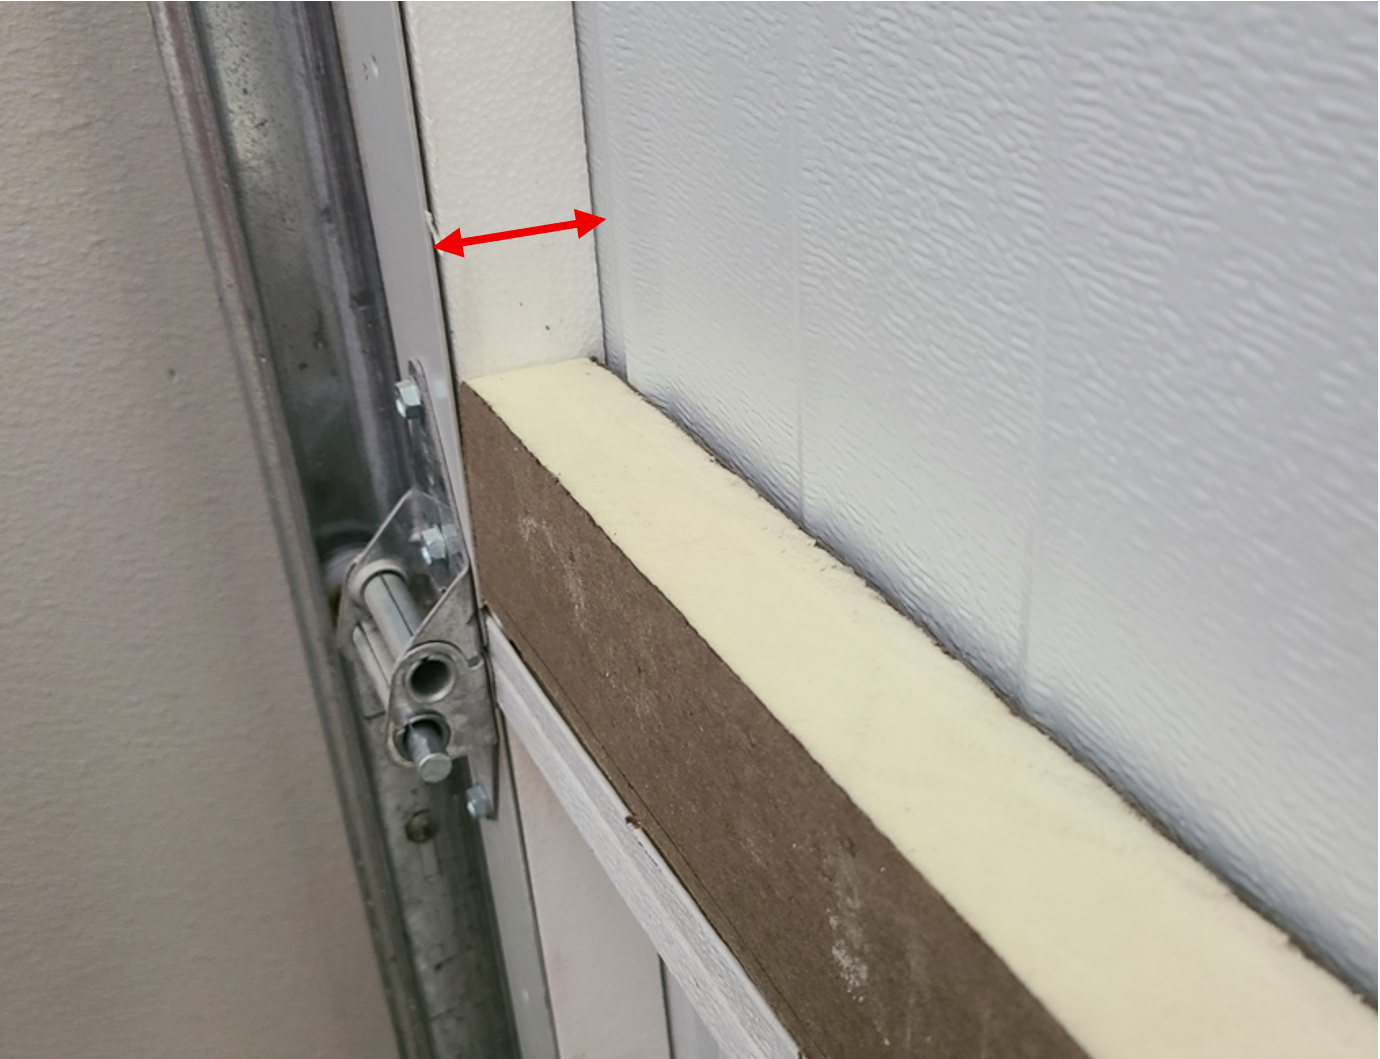
1. Measure garage door thickness.
Measure the depth of the area on the back of the garage door to determine what thickness of rigid foam insulation you should purchase (Figure 1).
Source
2. Measure door panels and cut insulation.
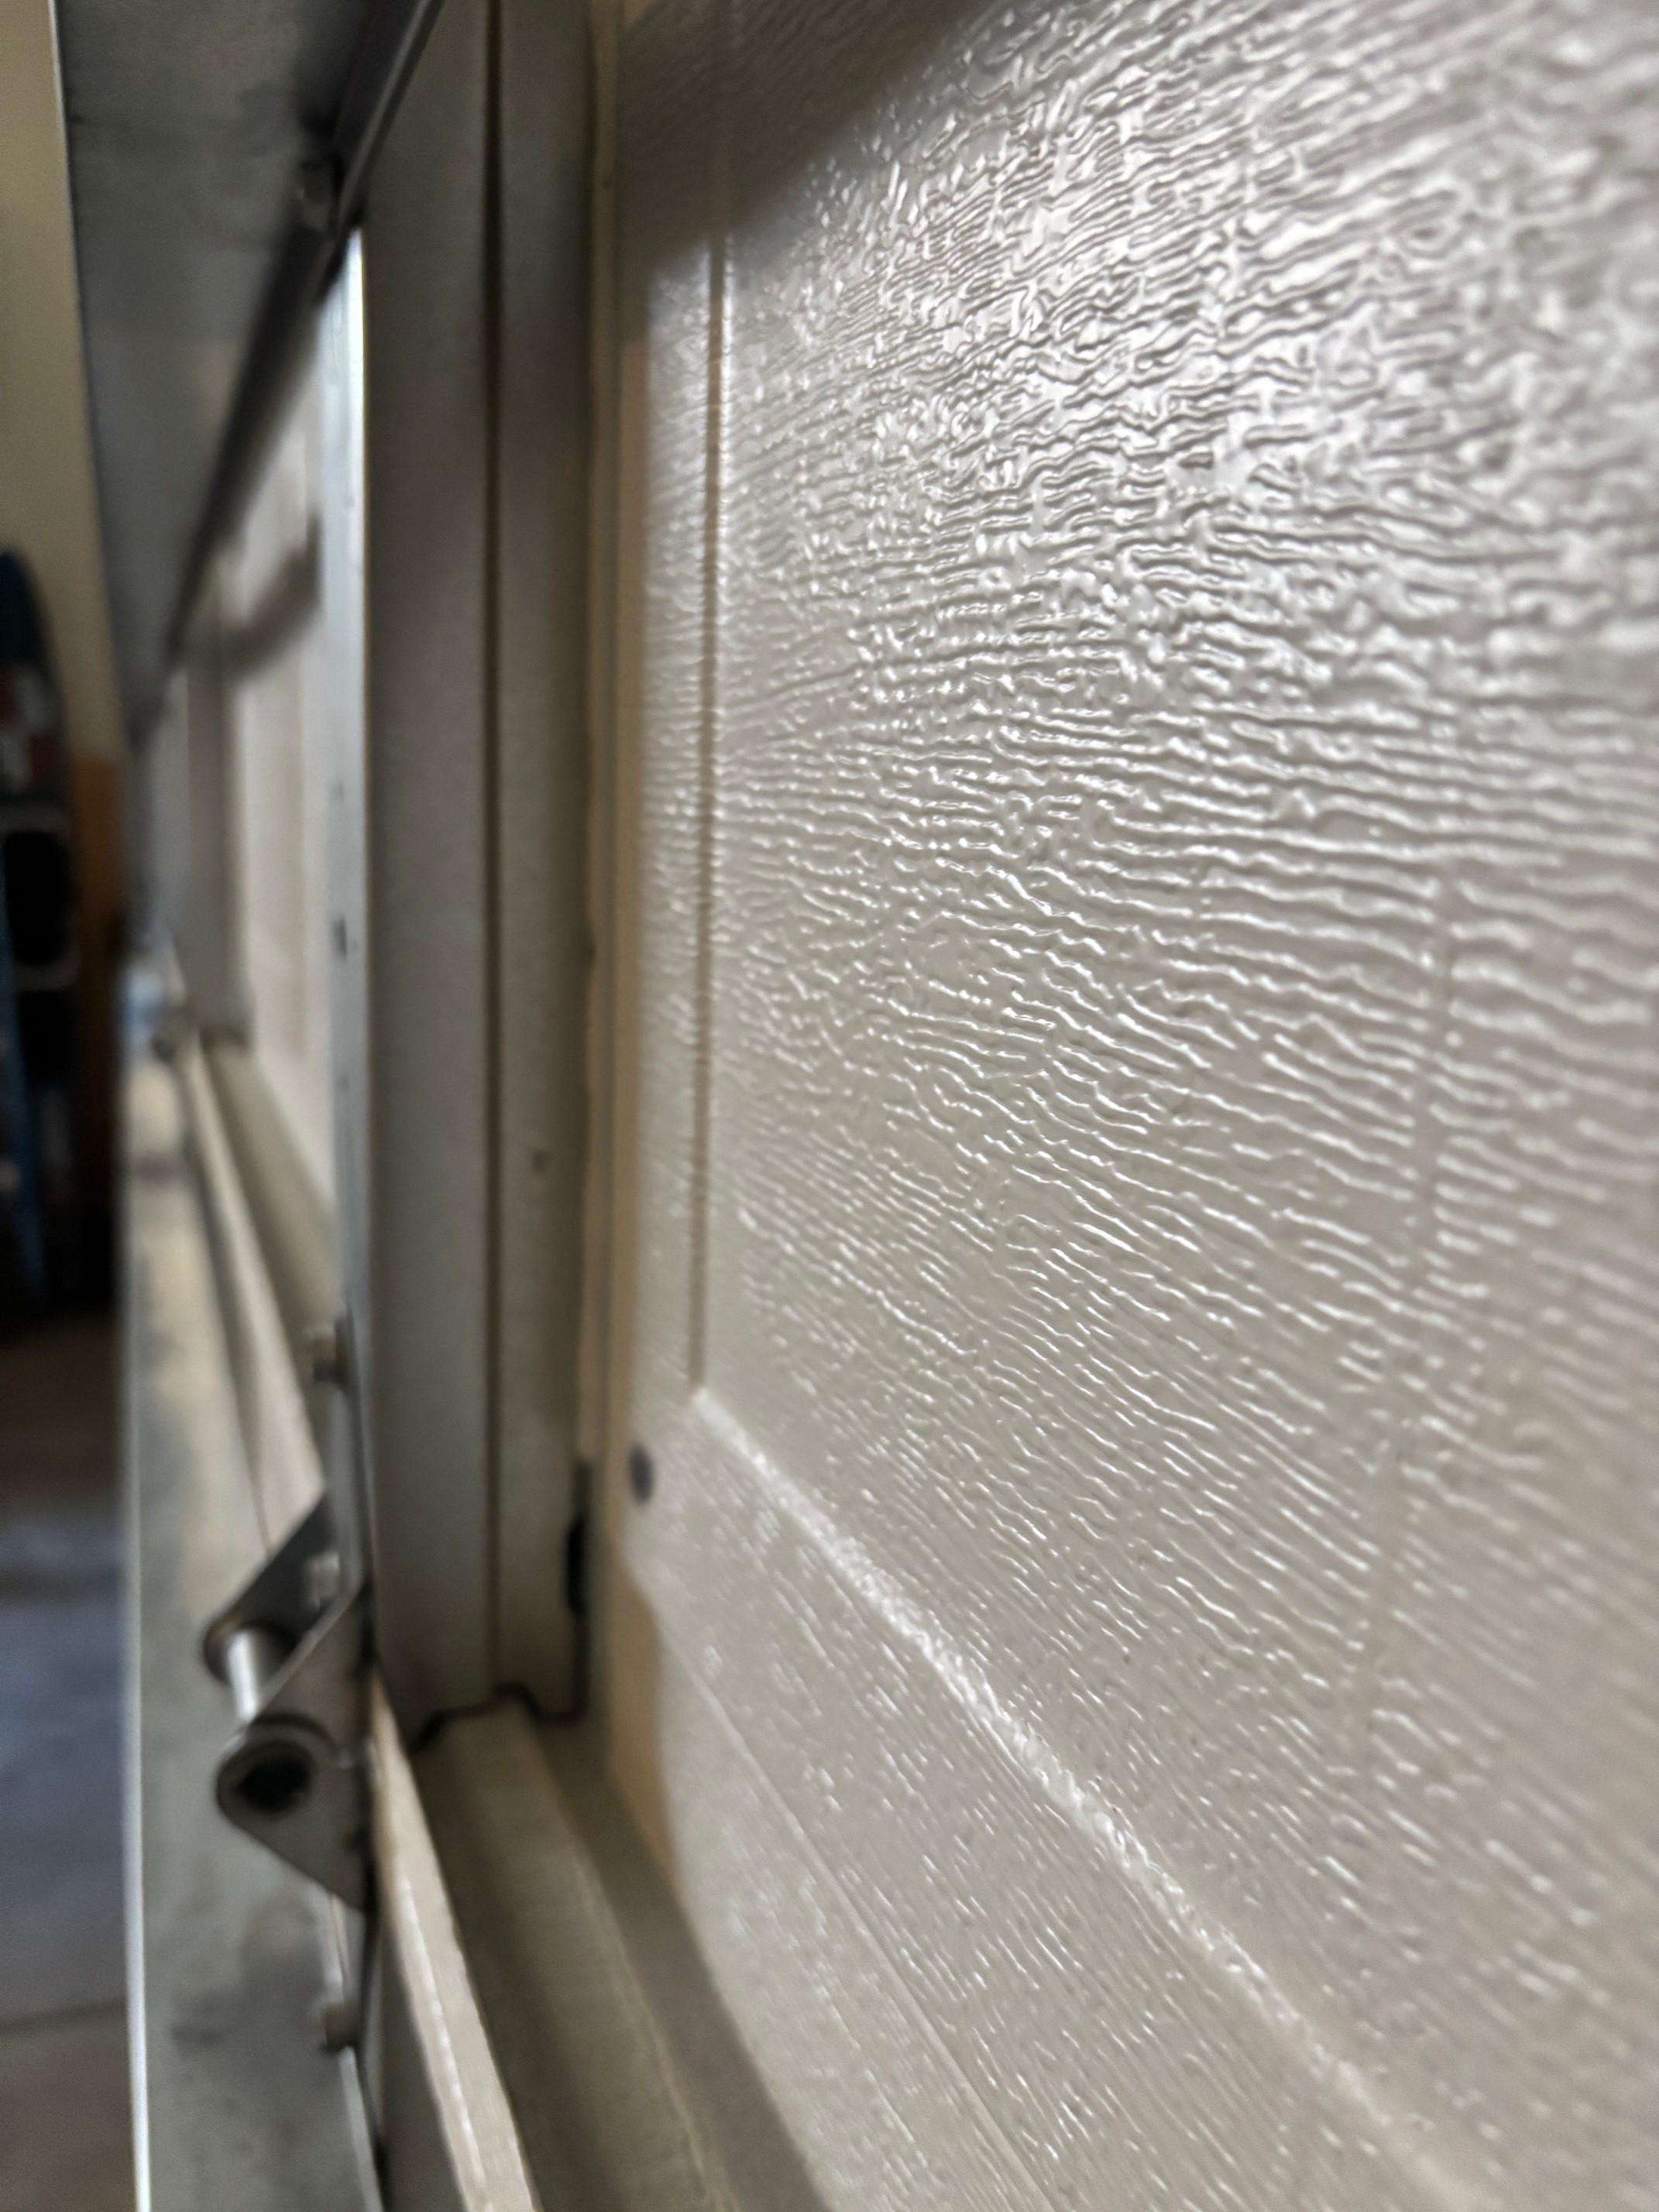
Measure the length and width of the panels on the garage doors. Note that the panels may not all be the same size so measure all of them. The metal framing for the panels may be C-channel metal or otherwise have a lip on it; this is handy for holding the rigid foam in place but could limit the thickness of the foam pieces you install (Figure 2). You may need to cut the foam to fit into the channels on one or two sides and short of the channels on two or three of the sides so you can get the foam pieces in without breaking the edges. The unfilled channels can be filled with canned spray foam or strips of rigid foam before installing the full foam panels.
Source
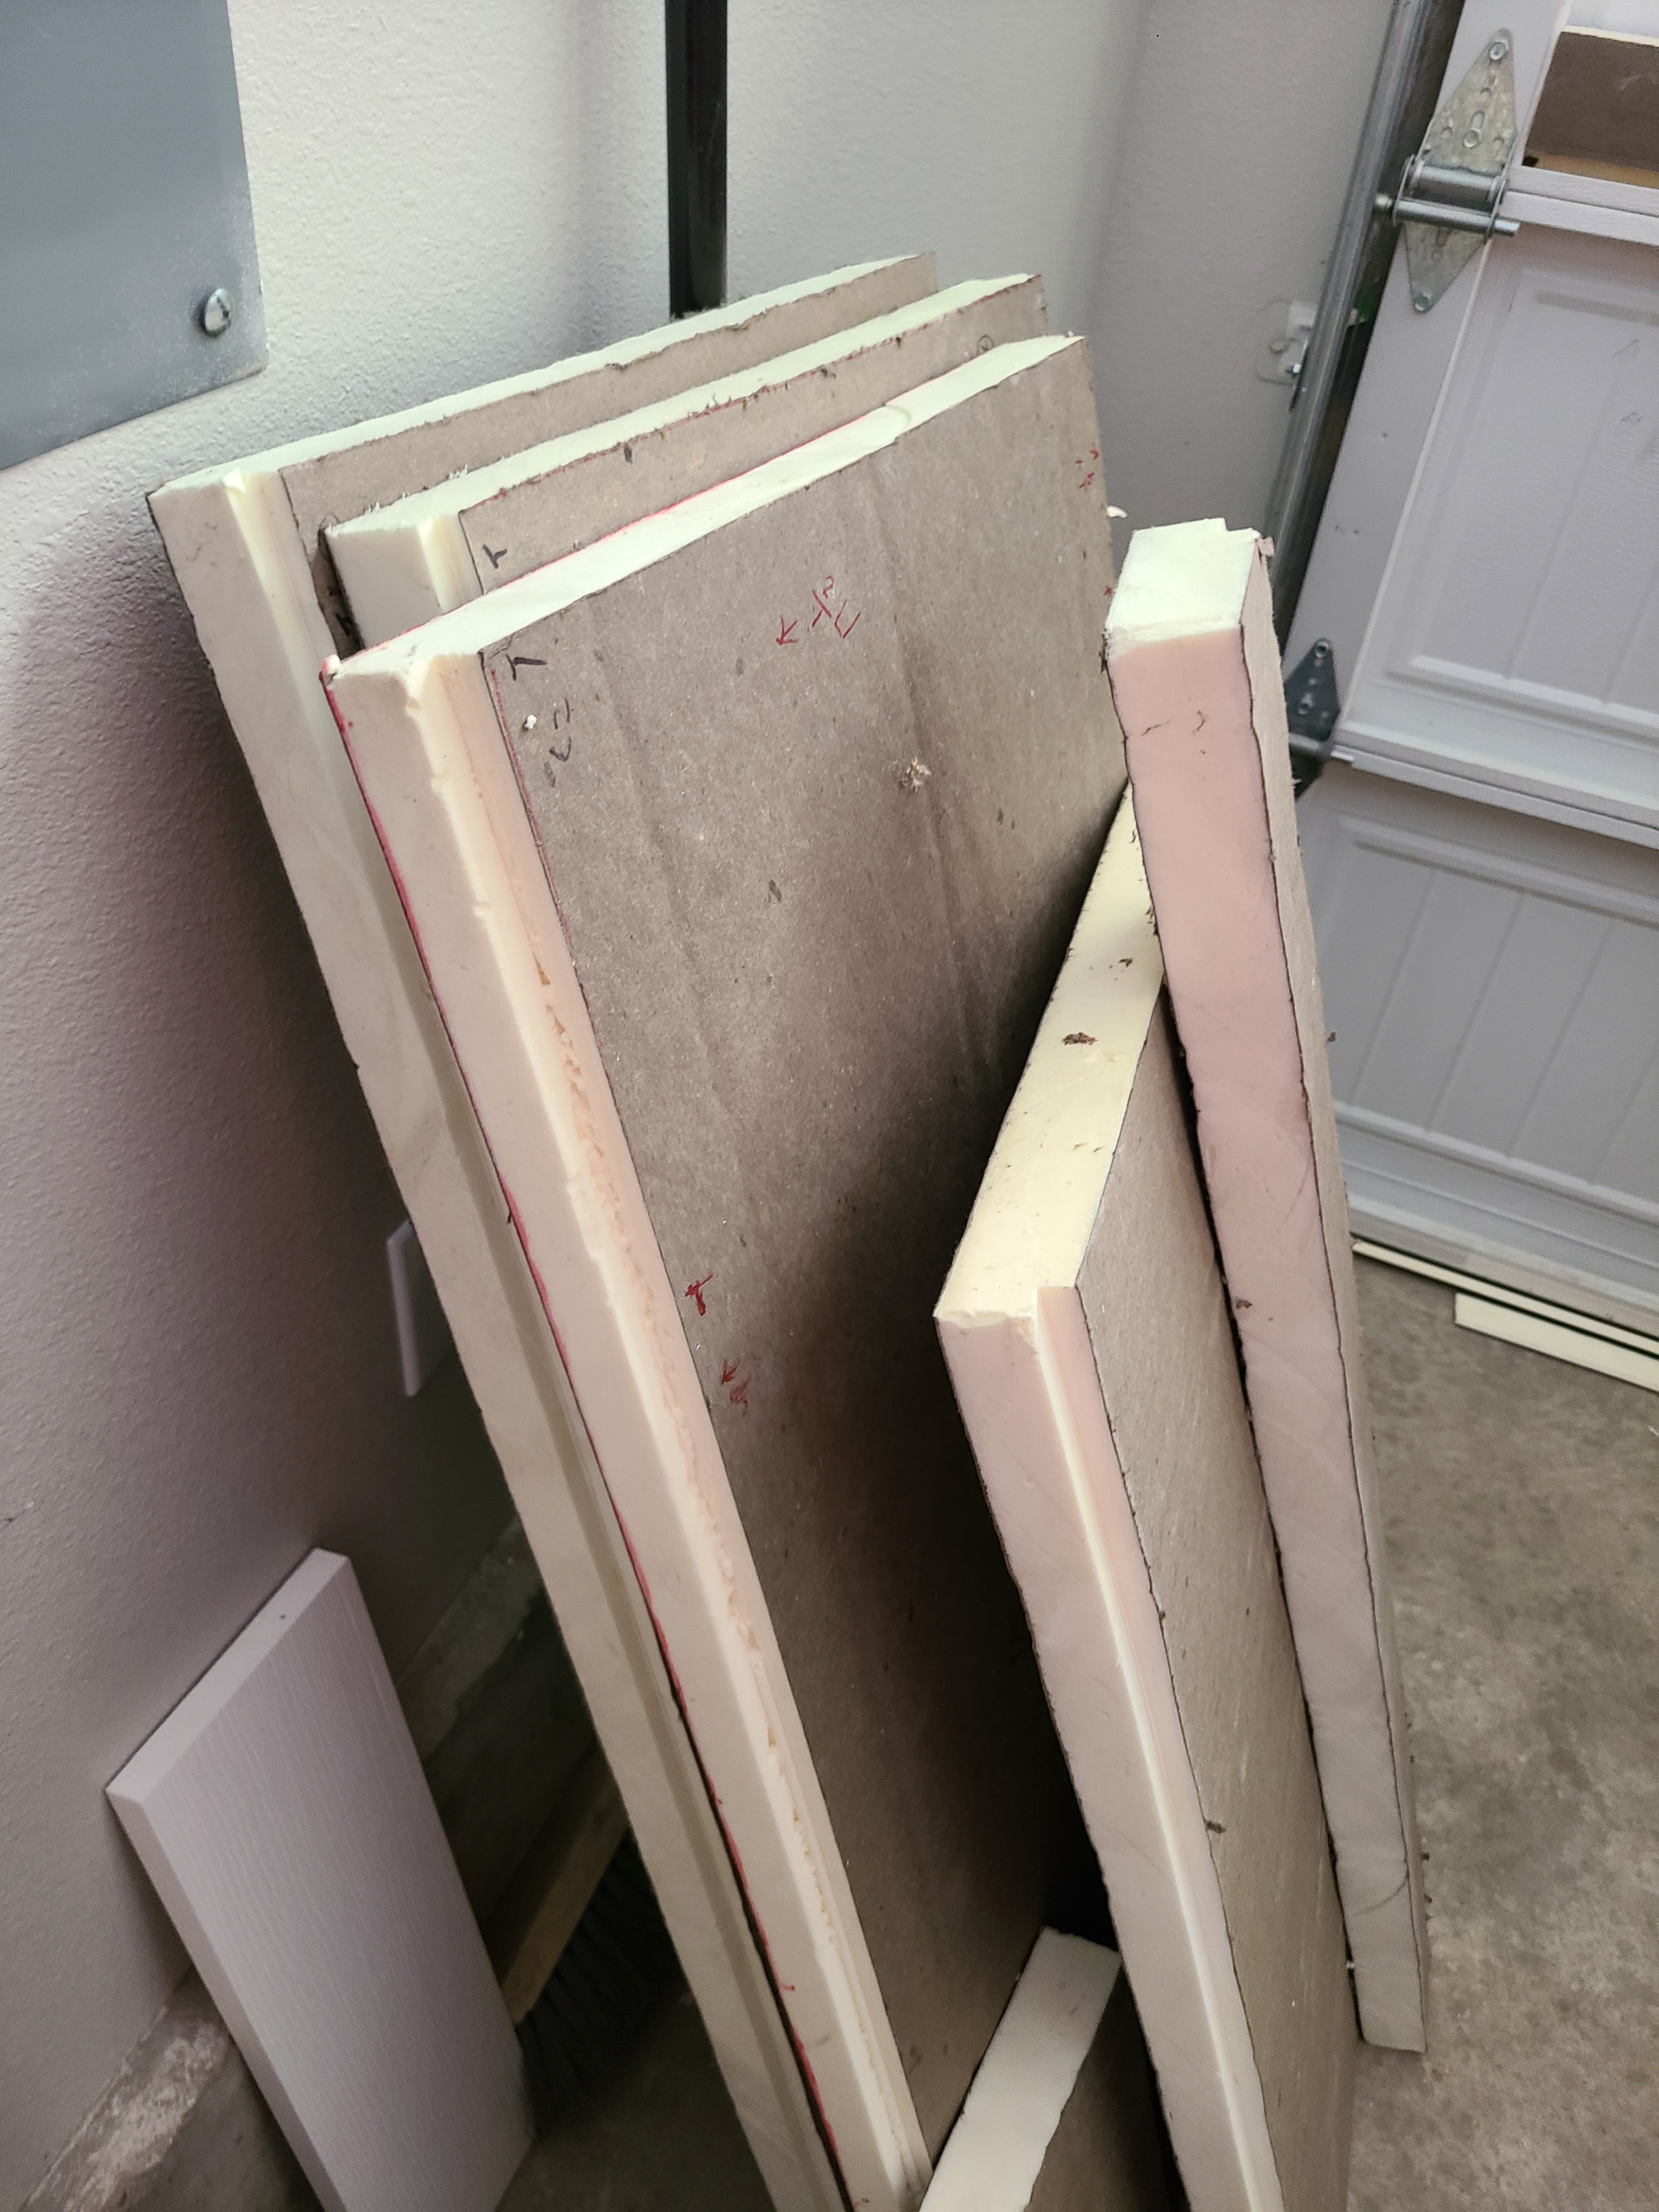
Use a sharp heavy-duty snap-off utility knife and straight edge to cut the rigid foam insulation to size, (Figure 3). Score and snap the rigid foam insulation along the cut line.
Source
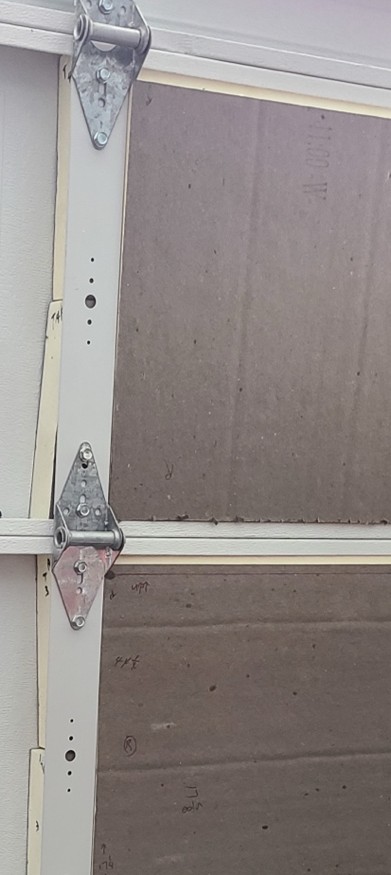
Scraps of foam can be used to fill in gaps around bigger pieces and along the sides as is shown in Figure 4. Small gaps around large pieces can also be filled in with canned spray foam.
Source
3. Test fit, then glue foam into place.
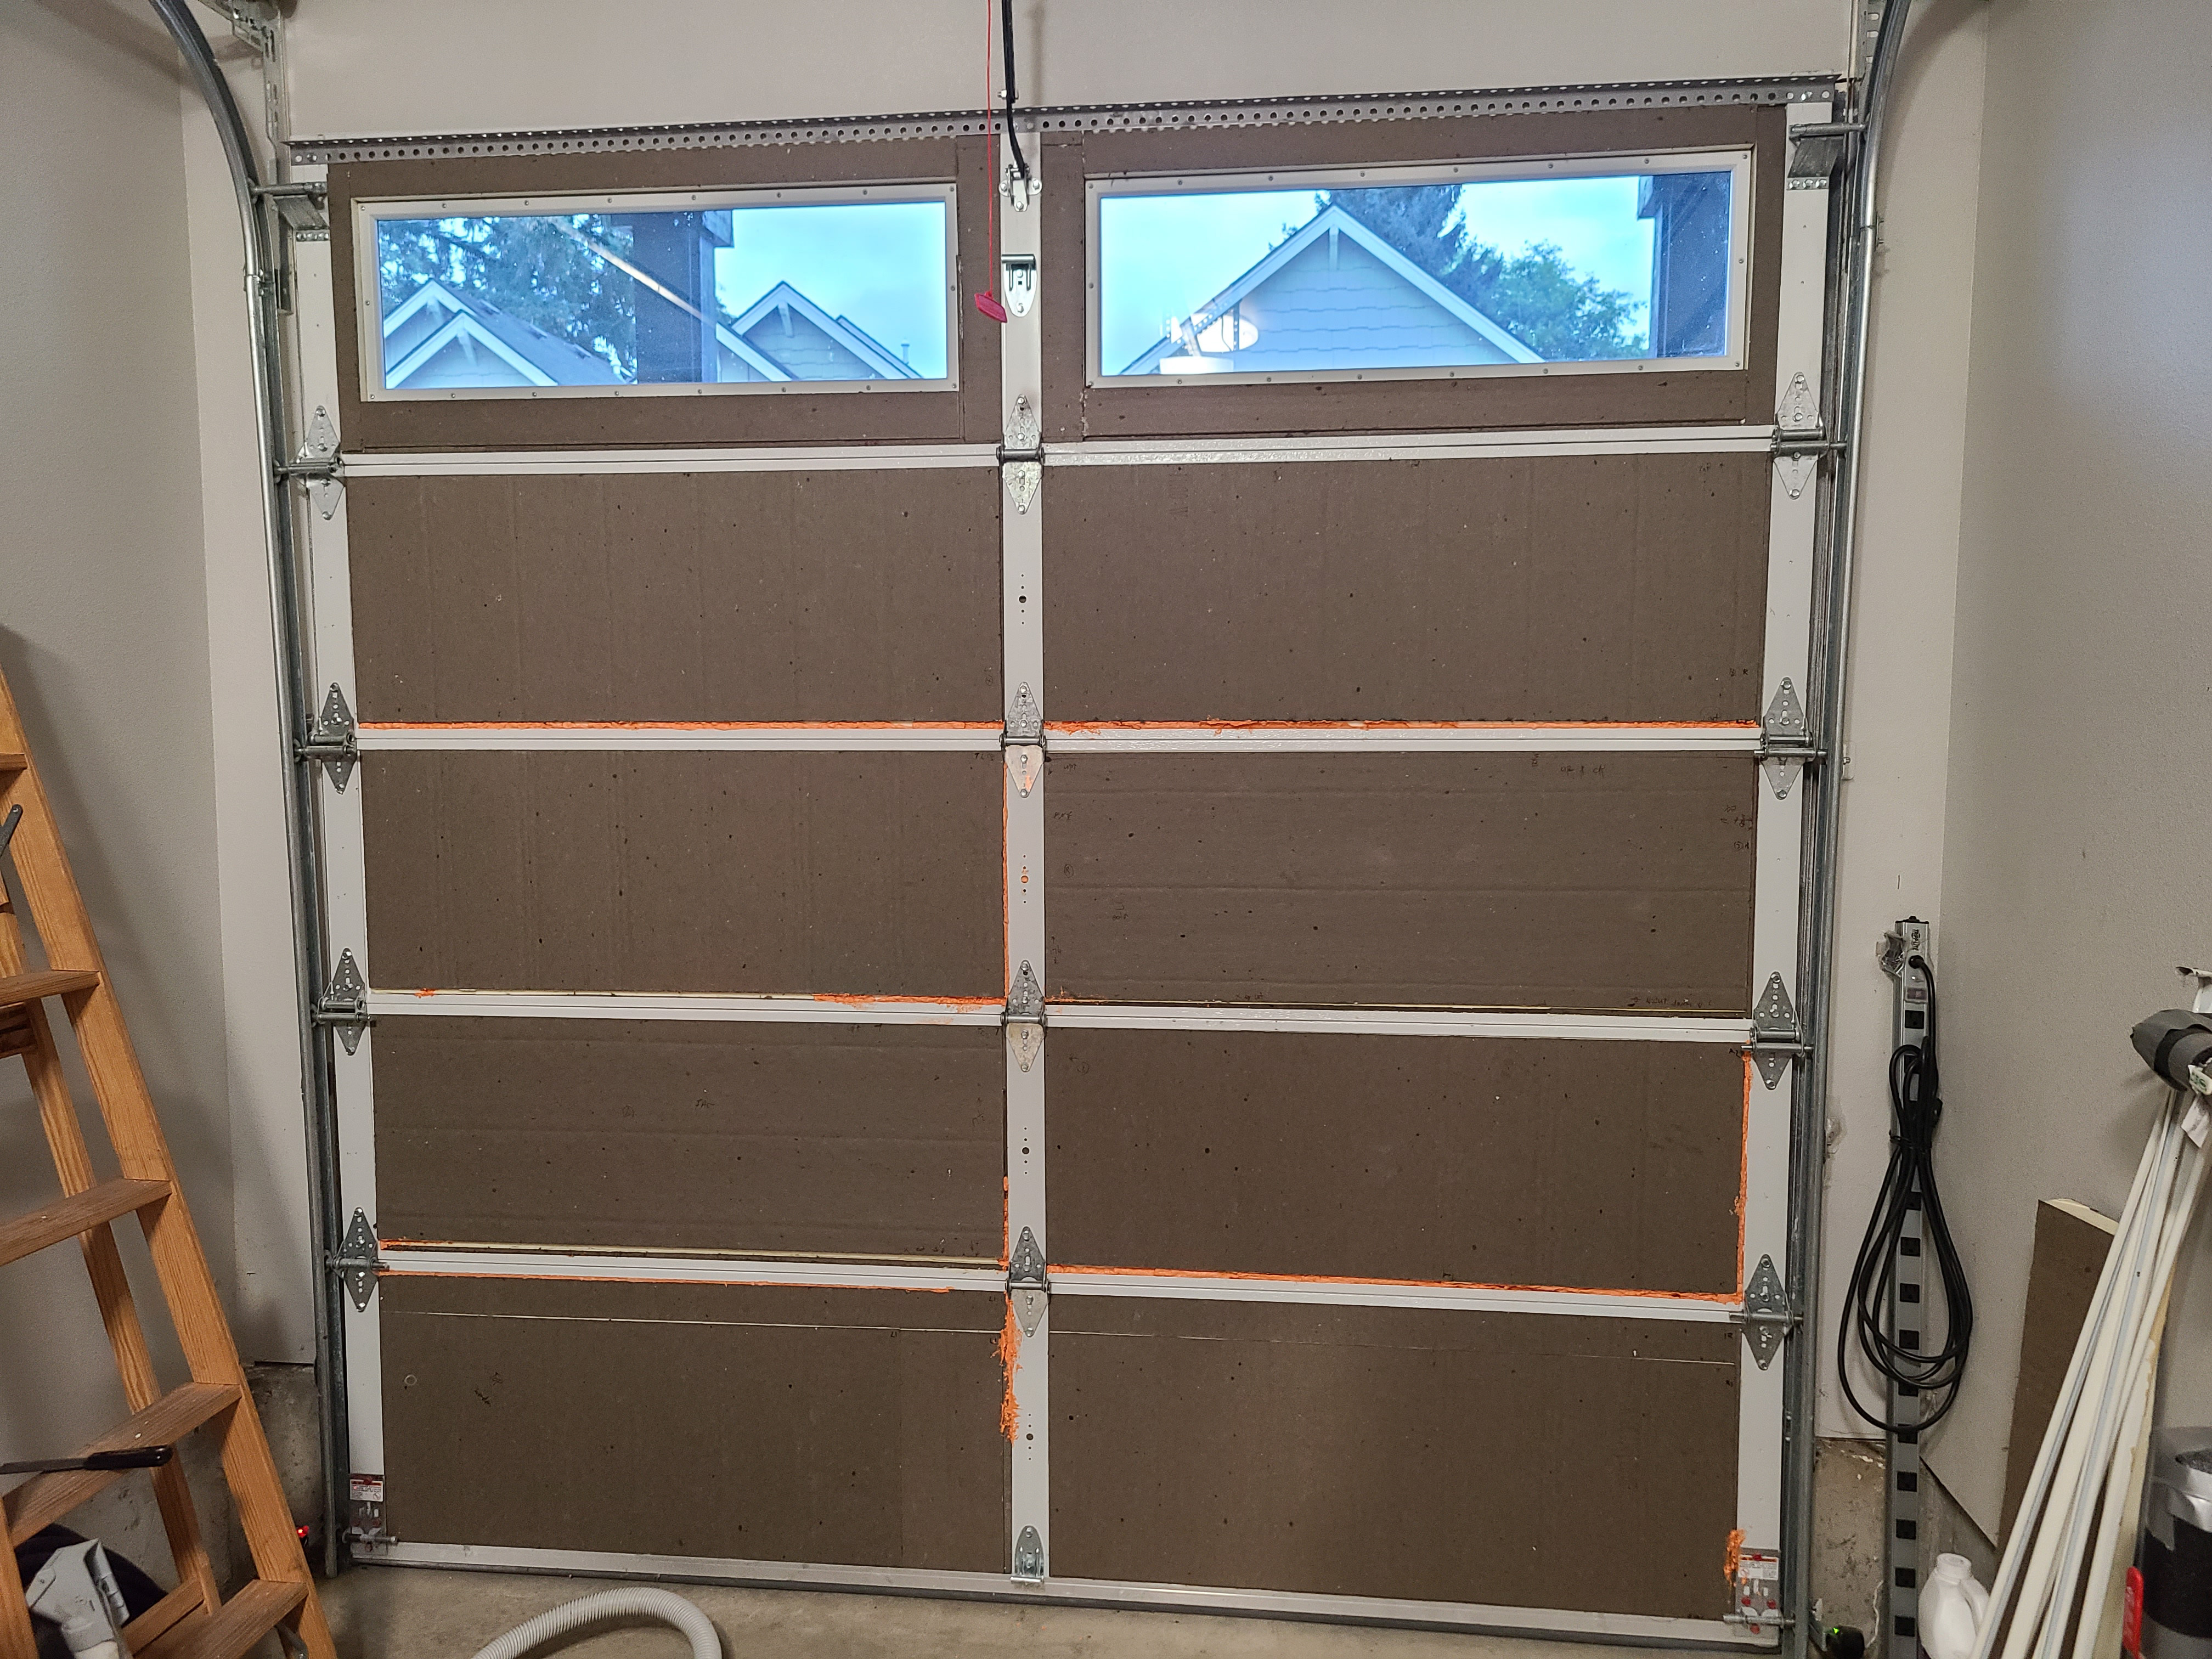
Test fit the pieces of rigid foam insulation and, if they work well, glue them into place using spray foam construction adhesive. For edges that will be slid into C channel, you can make a diagonal cut along the top edge of the foam to bevel the edge and help slip it into place. For sides where the foam will not be slid into the channel, you can fill the channel with canned spray foam or narrow pieces of rigid foam before placing the large pieces of rigid foam over the panels. Use canned spray foam insulation to insulate the small gaps between pieces of rigid insulation. After the canned spray foam dries and cures, use an extended snap-off utility knife to trim the spray foam flush to the garage door. Figure 5 shows a fully insulated garage door.
Source
4. Add weatherstrip to the garage door.
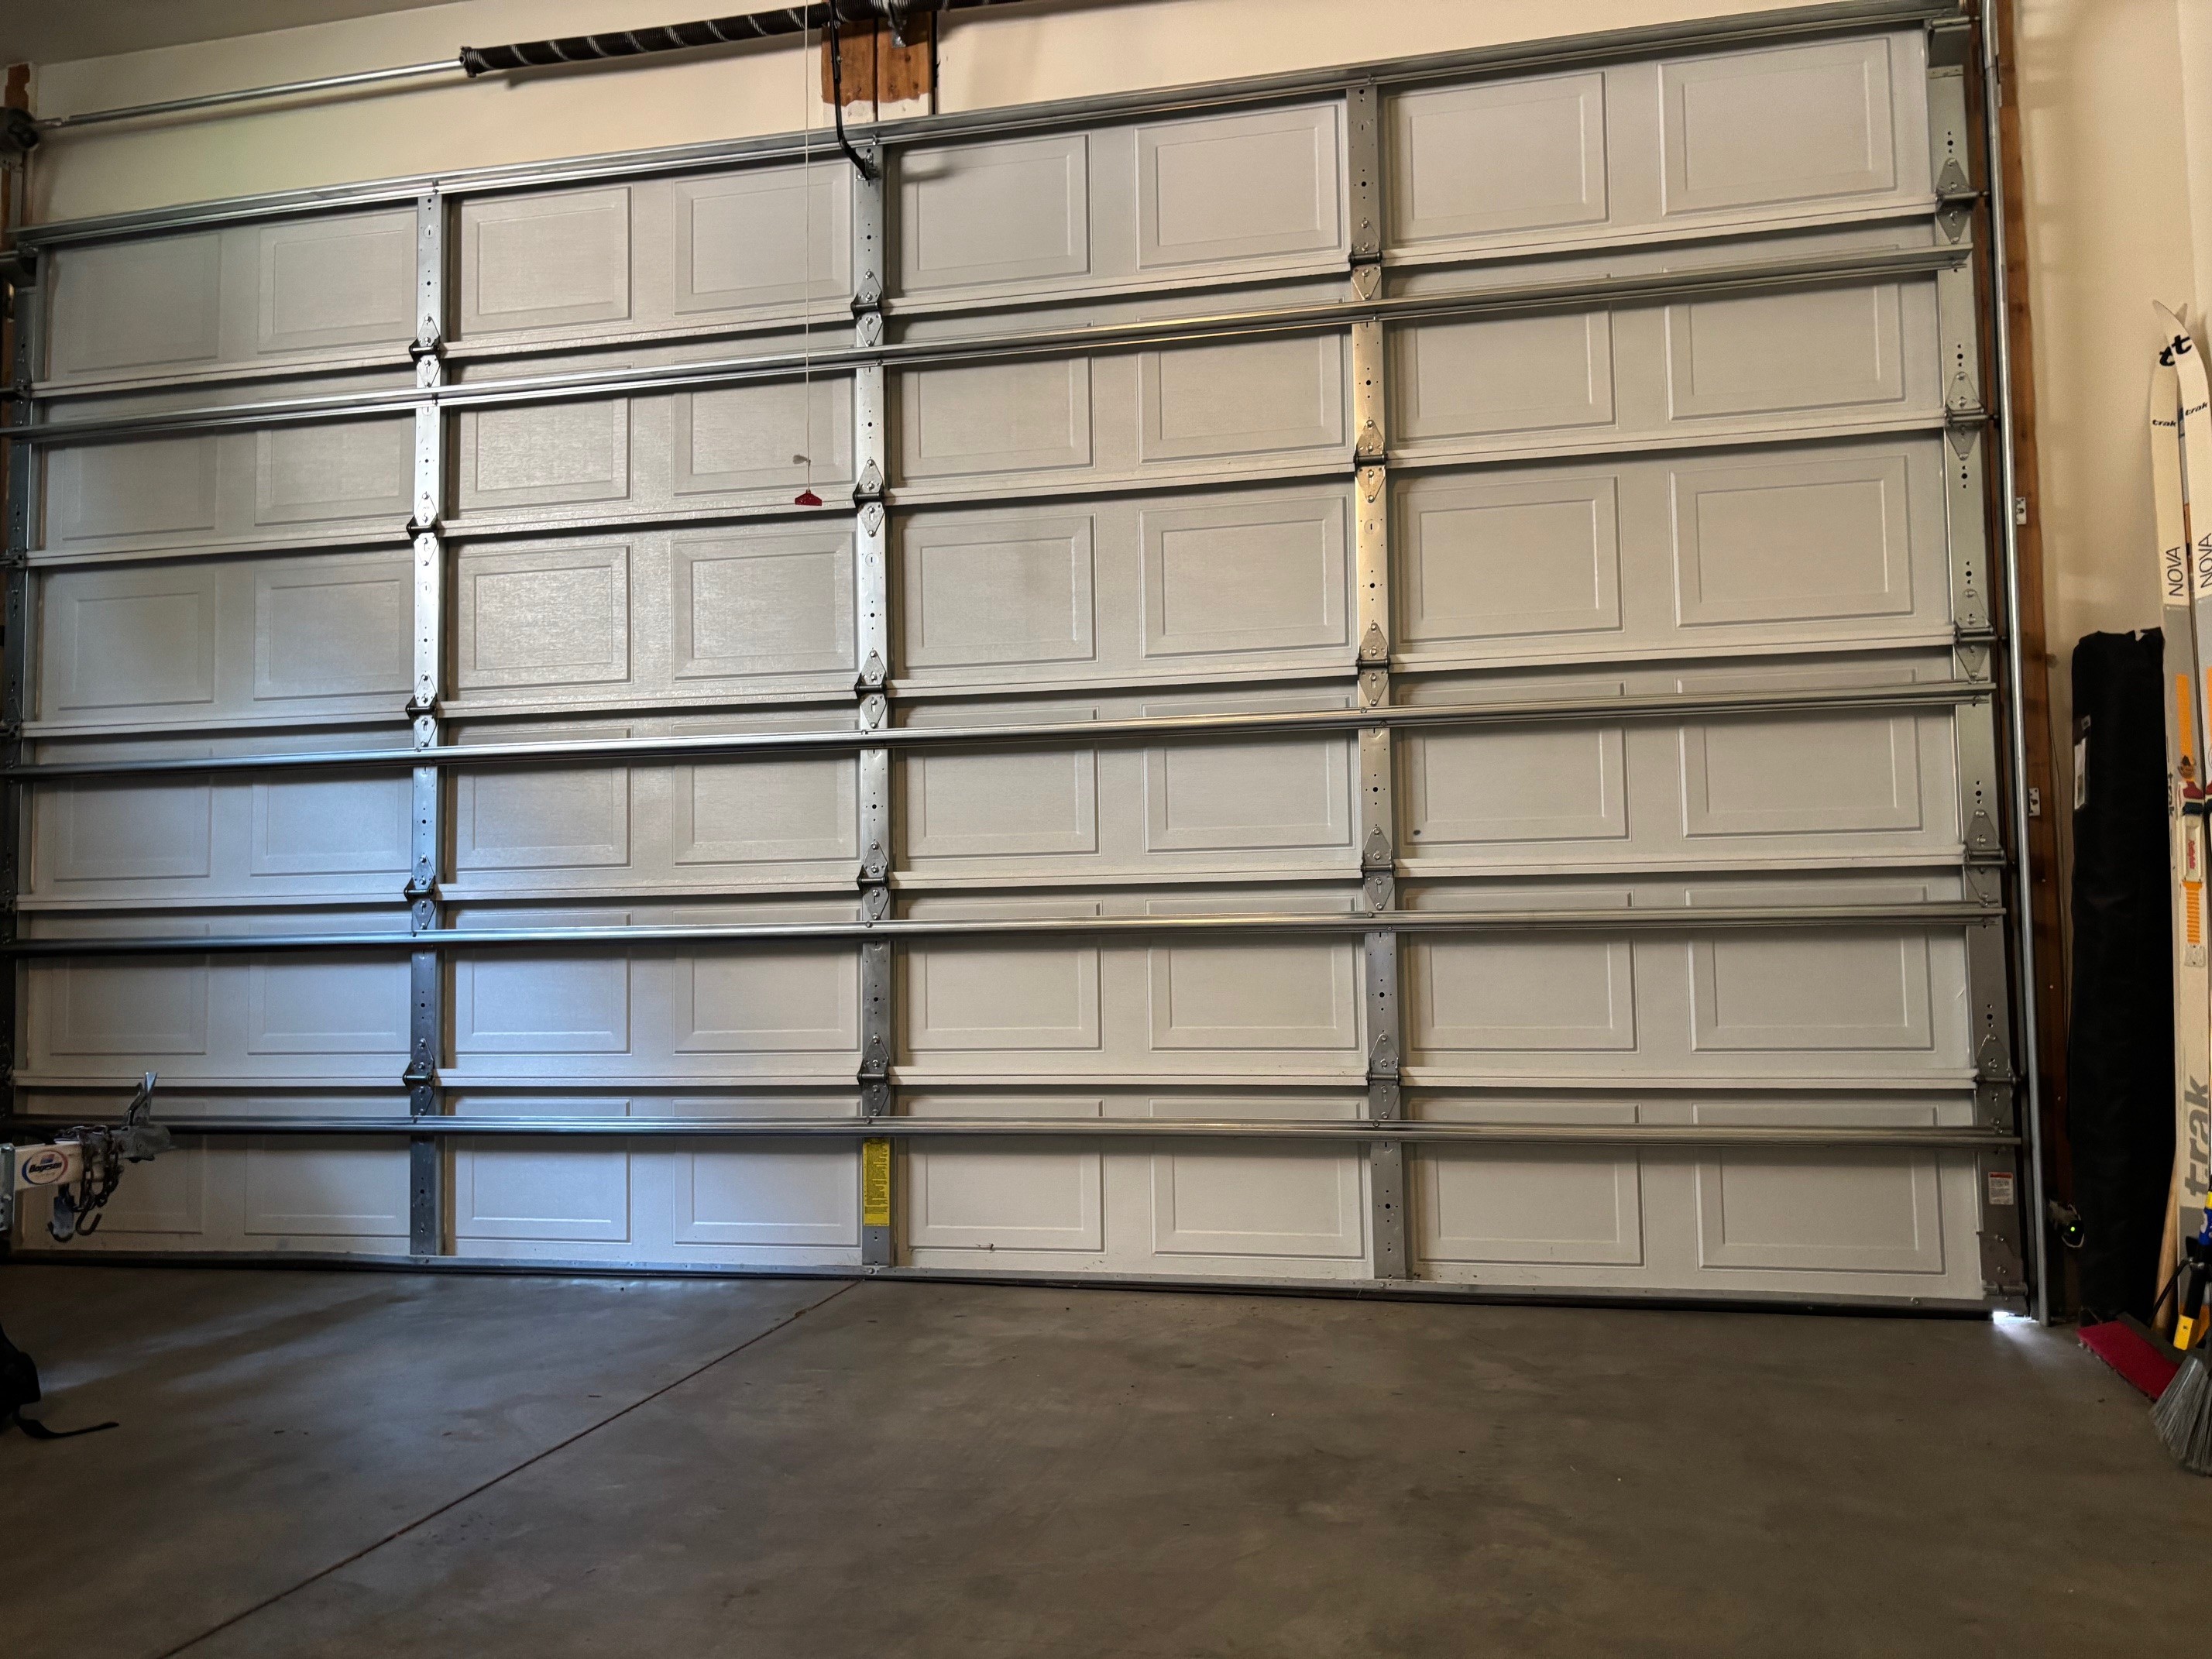
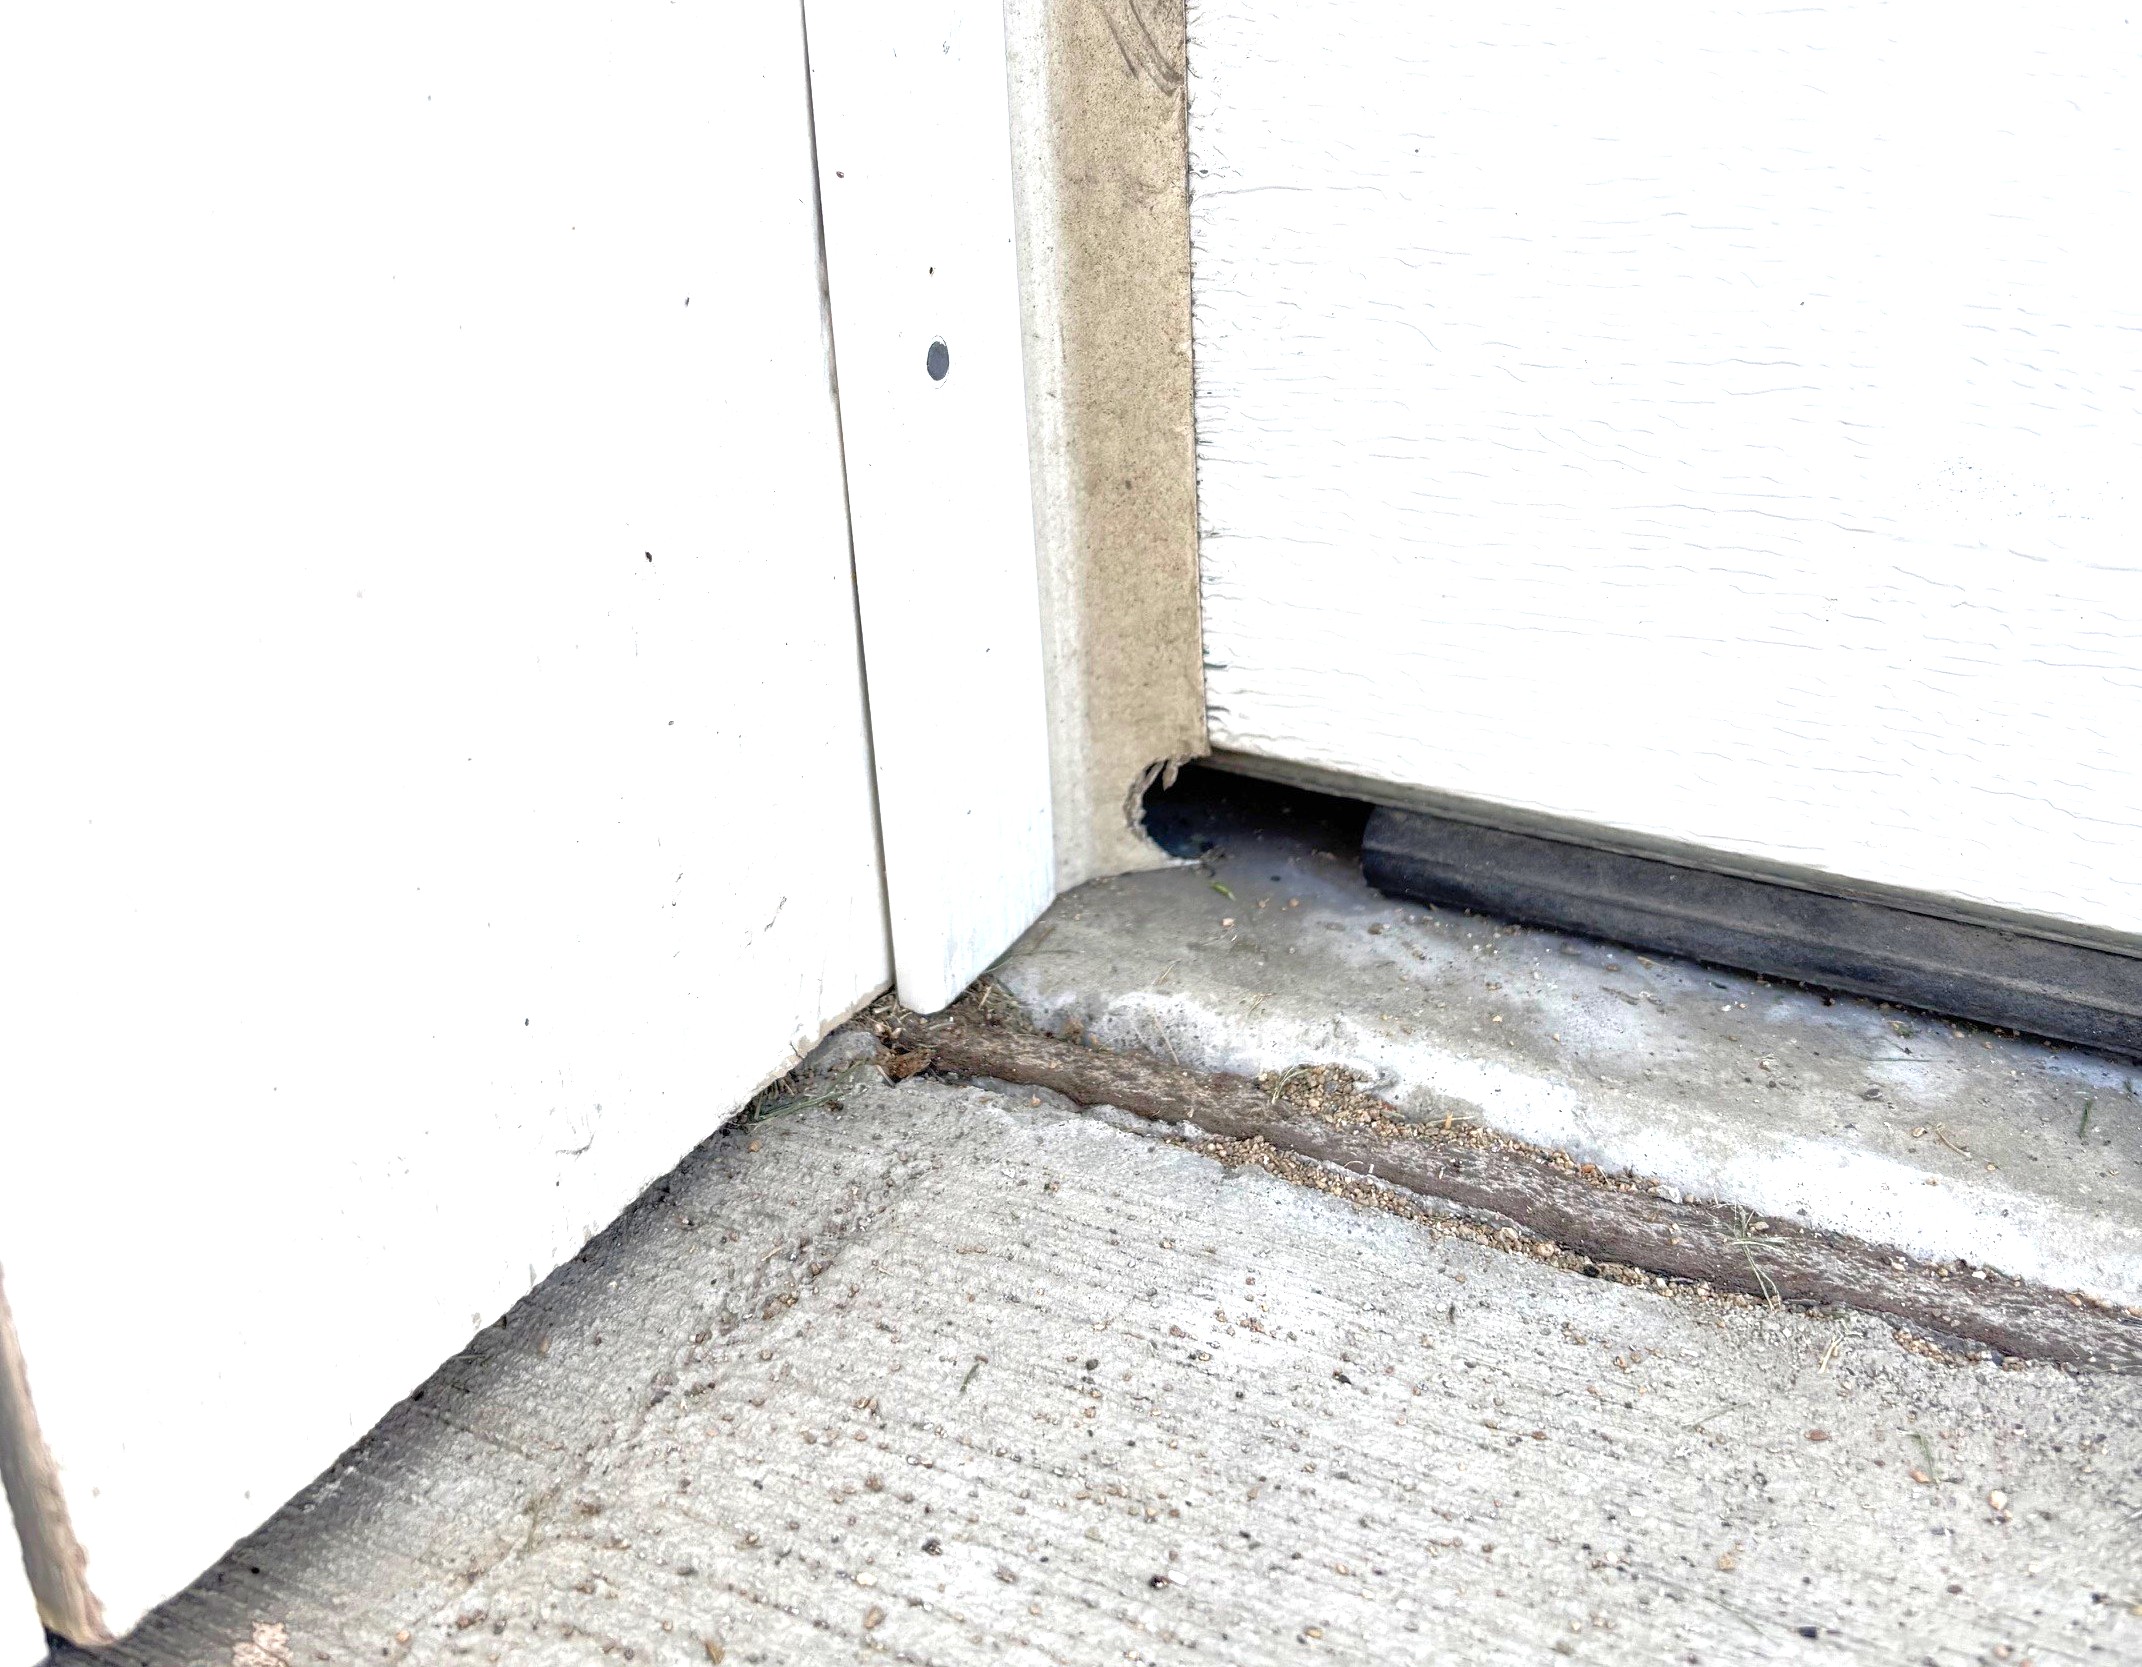
While you are working on the garage door, check the condition of the weatherstripping along the bottom edge and sides of the garage door. If it’s cracked or peeling or if you can see daylight below the garage door when it’s closed, now is a good time to replace the weatherstripping as well (Figures 6 and 7).
Source
Source
There are various products for sealing the bottom of the door. (See the DIY guide “Install or replace door sweeps”.) If your garage door is made out of wood, you can purchase a simple strip-style door sweep consisting of a flexible vinyl or rubber flange sweep or vinyl brush sweep attached to a metal or plastic strip that is fastened to the door with nails or screws. Metal doors often have an aluminum strip at the base with two grooves or channels cut into the bottom side. A U-shaped rubber gasket slides into the channels to provide a compressible seal when the garage door is lowered. After the old gasket is removed, use a stiff dust brush to sweep out the grooves and spray in some silicone lubricant to make it easier to install the new gasket.
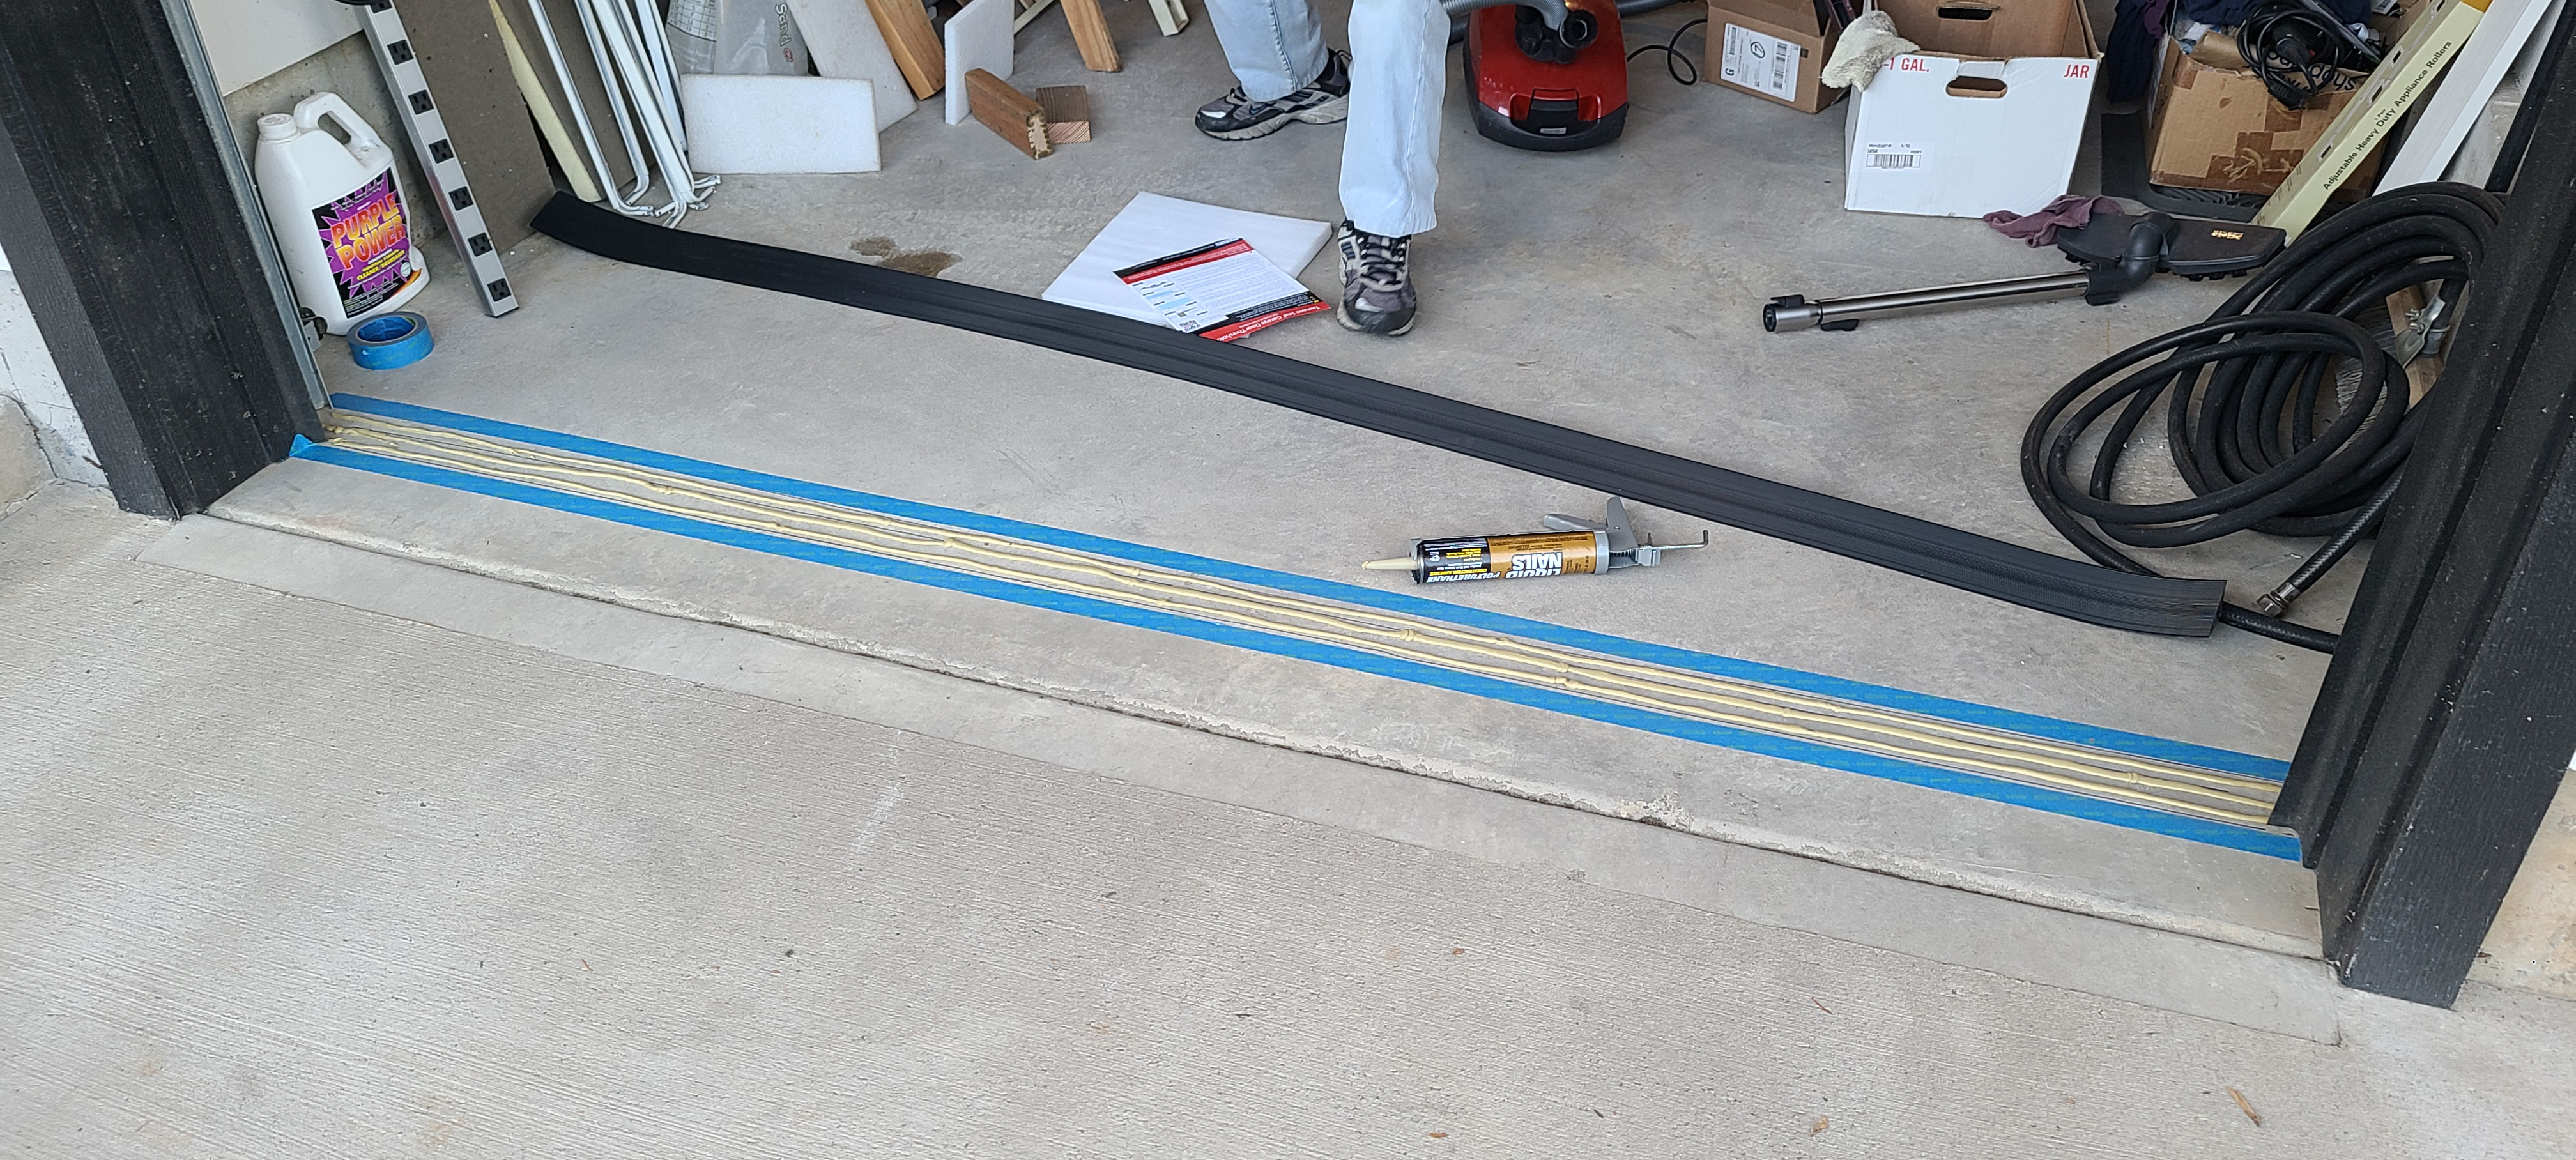
There are also rubber threshold seals that are glued to the garage floor below the garage door (Figure 8). If the driveway slopes slightly toward the house or if prevailing winds blow rain toward the garage door, these threshold strips can help keep surface water out of the garage but they also make it difficult for spills in the garage to flow out. They may make it more difficult to sweep out the garage as well.
Source
Check the rubber or vinyl weatherstripping along the sides of the garage door. If it’s worn or weathered (Figure 9), there are several products available to replace it. You can replace the old weatherstripping with vinyl or rubber strips that you adhere to the wood doorstop trim along the sides of the doors. Or you can remove the old trim and the wood doorstop molding and replace it with a vinyl molding that comes with the vinyl weatherstripping flange pre-attached. If rodents are a problem, you can buy metal guards that are attached to these vinyl flanges at the base of each side of the door to prevent gnawing.
If you have older wooden doors that have gaps between the horizontal panels you can even buy V-shaped weatherstripping that has adhesive strips along each side of the V. Peel off the backing and press the weatherstripping into the edges of the panels.
