Introduction
Make and install a chimney air sealing pillow to block air flow through your chimney when it will not be in use for long periods.
Why
Fireplaces are a common source of drafts in homes because the flue dampers rarely close tightly. When you aren’t using your fireplace for long periods of time, temporarily air sealing the flue can stop drafts, making your home feel more comfortable and saving energy.
What You'll Need
- Insulation batts, old pillows, or an old sleeping bag
- Two plastic garbage bags, 30-gallon or larger, preferably with plastic drawstrings
- Zip tie
- Eye protection
- Dust mask
- Old towel or drop cloth
- Flashlight or headlamp
1. Gather materials.
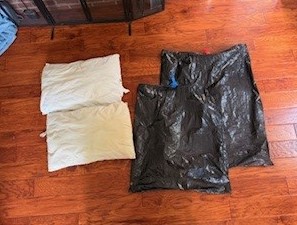
For this project you will need something to act as an insulator and something to hold that insulator. For the insulator we suggest a roll of fiberglass batt insulation, one or two old pillows, or a sleeping bag. To hold the insulation, use two heavy-duty garbage bags (Figure 1). Visually check the space to determine what “stuffing” material will best fill the flue space. The stuffing, once in the bag, should be a few inches wider than the diameter of the flue.
Source
2. Prepare fireplace.
Remove the screen, grate, logs, and debris from the fireplace. Sweep ashes out of the fireplace and dispose of them. Close the damper. Lay an old towel or drop cloth on the floor of the fireplace (to protect your clothing) and extend it out over the hearth in front of the fireplace (to protect the floor from falling debris).
3. Fill bags.
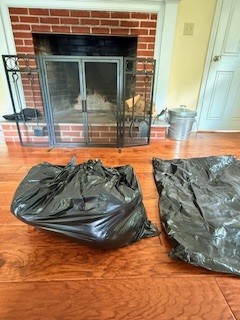
Open one of the garbage bags, stack the pillows and place them both in the bag (Figure 2). If using an insulation batt or old sleeping bag instead, roll the batt or sleeping bag and stuff it into one of the plastic bags.
Source
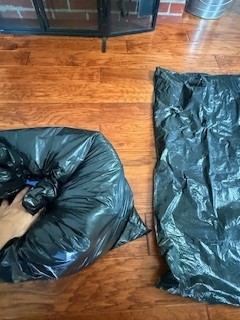
Tie the bag with the plastic drawstrings, then squeeze out the excess air (Figure 3). Having less air in the bag will allow you to better shape the bag to your chimney shaft.
Source
Insert the first bag into the second bag (Figure 3). Two layers of plastic increases the durability and air sealing capability of the bag. Squeeze out the excess air and tie the bag with the drawstrings. To further seal the bag, you can fasten a zip tie around the “neck” of the bag below the drawstring knot.
4. Stuff bag in flue.
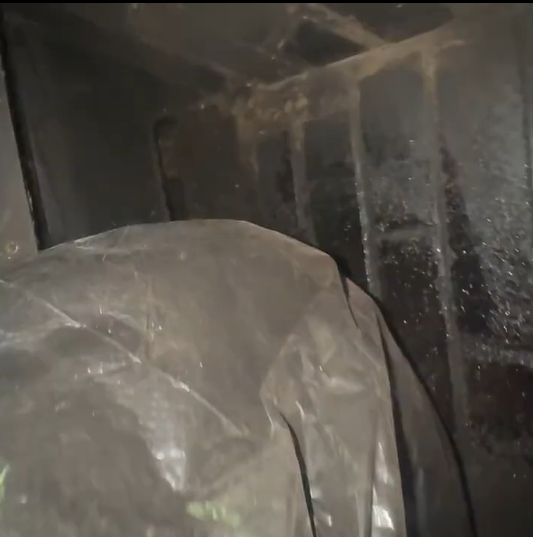
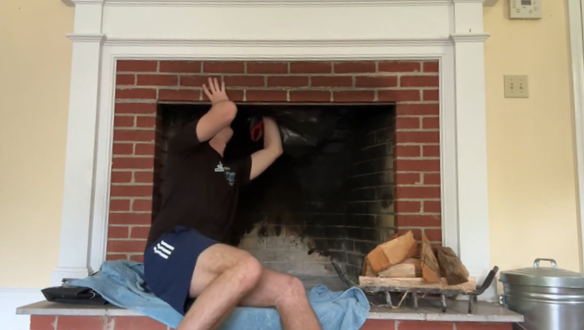
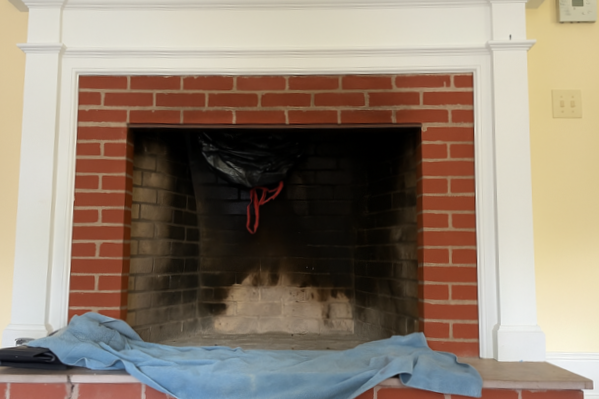
Once the insulation is securely double-bagged, it is time to use it to plug your chimney. First, put on a dust mask and eye protection to protect yourself from dust and ash falling from your chimney. Use a flashlight or headlamp to view the flue shaft. Stuff the plastic bag into the flue shaft (Figure 4). The stuffing should consist of enough material that it needs to be squeezed to fit into the shaft, so that it will be held in place below the damper by friction, without the need for any additional attachments or strapping. If you are using a rolled insulation batt or sleeping bag, consider the direction of the roll when inserting the bag into the chimney shaft. Ideally, if the roll loosens, it should expand widthwise in the shaft rather than falling out of the shaft. Install so that the tie straps of the bag hang down for easy removal of the bag when you want to use the fireplace (Figure 5).
Make a note card to place in the fireplace with a message reminding you that the chimney stopper is in place and must be removed before lighting a fire.
Source
Source
5. Check the fit.
With a flashlight or headlamp, visually check to see if there is any open flue space around the bag. If there is a significant gap (Figure 6), re-adjust the chimney pillow or add more stuffing to the bag. Another pillow, more insulation, or even wadded up newspaper will work.